

Guide
How the kit works
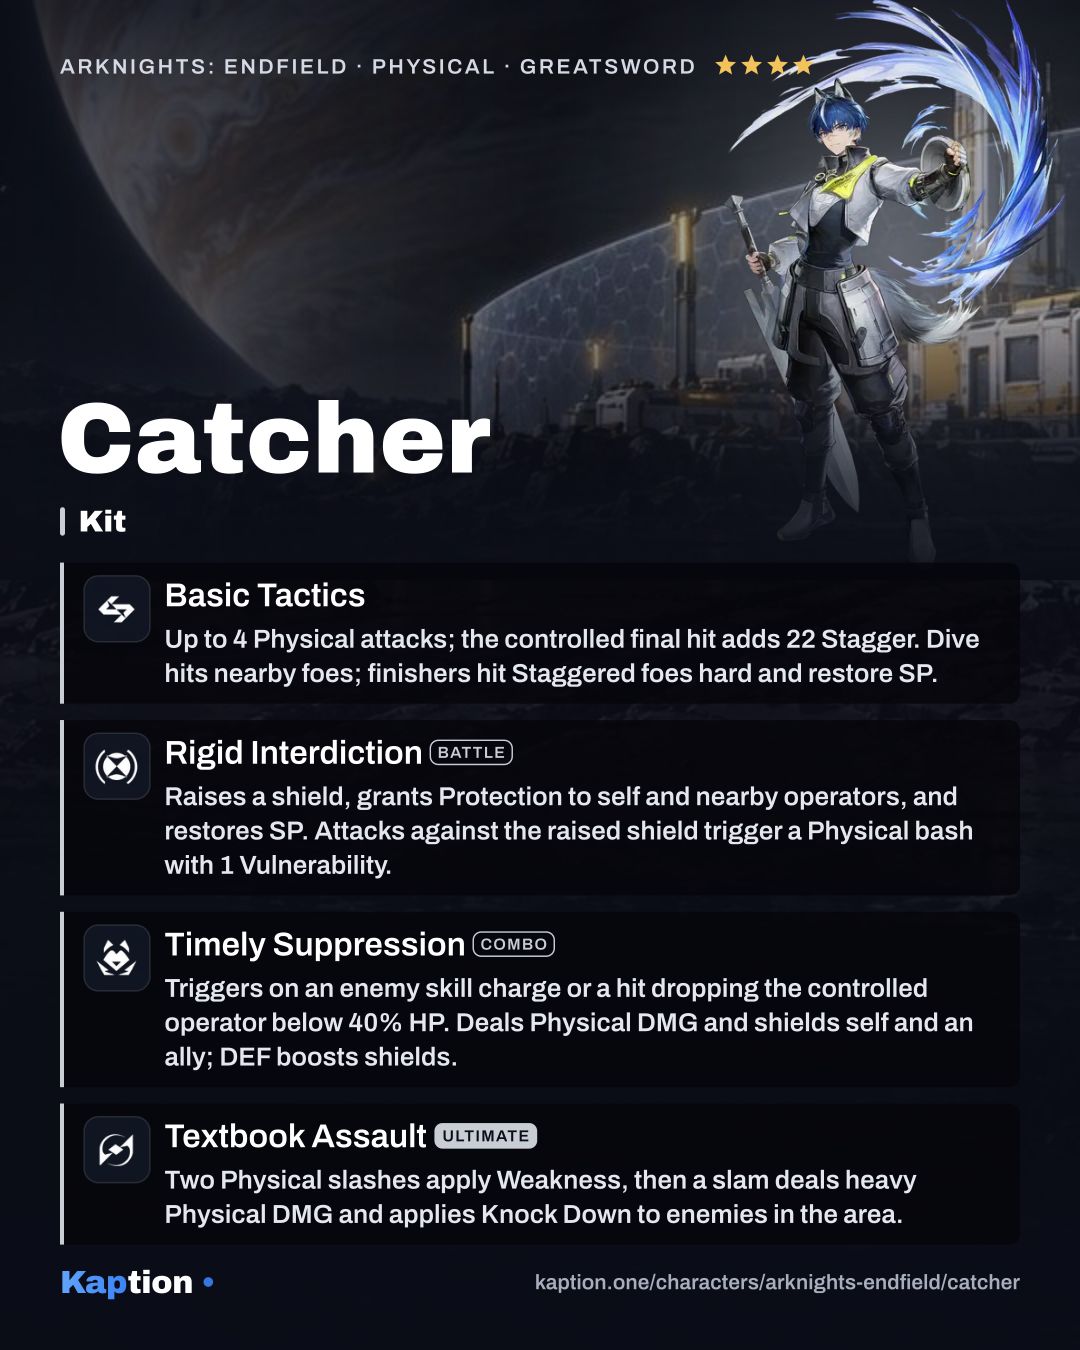
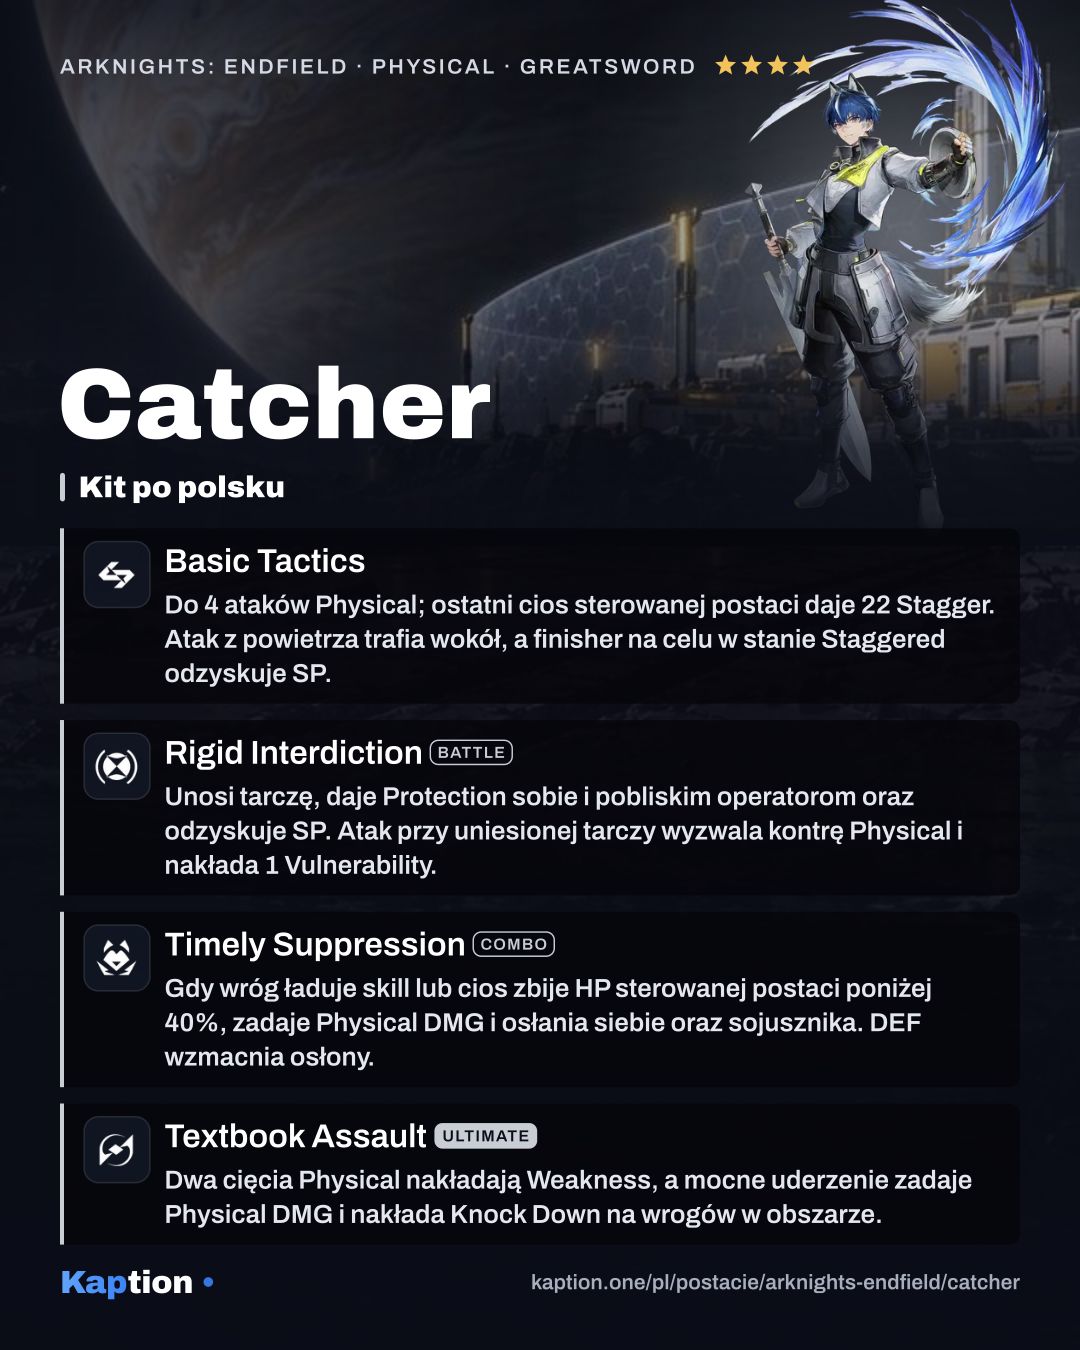
Use Rigid Interdiction (Skill) when you want to block an attack. Catcher raises a shield, grants Protection to himself and nearby operators, and immediately returns some SP. If he is attacked while the shield is raised, he retaliates with a bash that deals Physical DMG and applies one stack of Vulnerability to the attacker.
Between defensive actions, Basic Tactics gives you a four-sequence attack. When Catcher is the controlled operator, its Final Strike also deals 22 Stagger. A basic attack in mid-air becomes a dive attack against nearby enemies.
Timely Suppression becomes available when an enemy starts charging a skill, or when the controlled operator is attacked and falls below 40% HP. It deals Physical DMG and gives shields to Catcher and one teammate, prioritizing the controlled operator. More DEF increases the shield points.
Textbook Assault (Ult) deals Physical DMG with two slashes that apply Weakness, then slams enemies in the area and applies Knock Down. Its final hit also creates three shockwaves, each dealing Physical DMG equal to 45% ATK. When an enemy is Staggered, use a basic attack nearby for a finisher that deals massive Physical DMG and recovers some SP.
Build and why
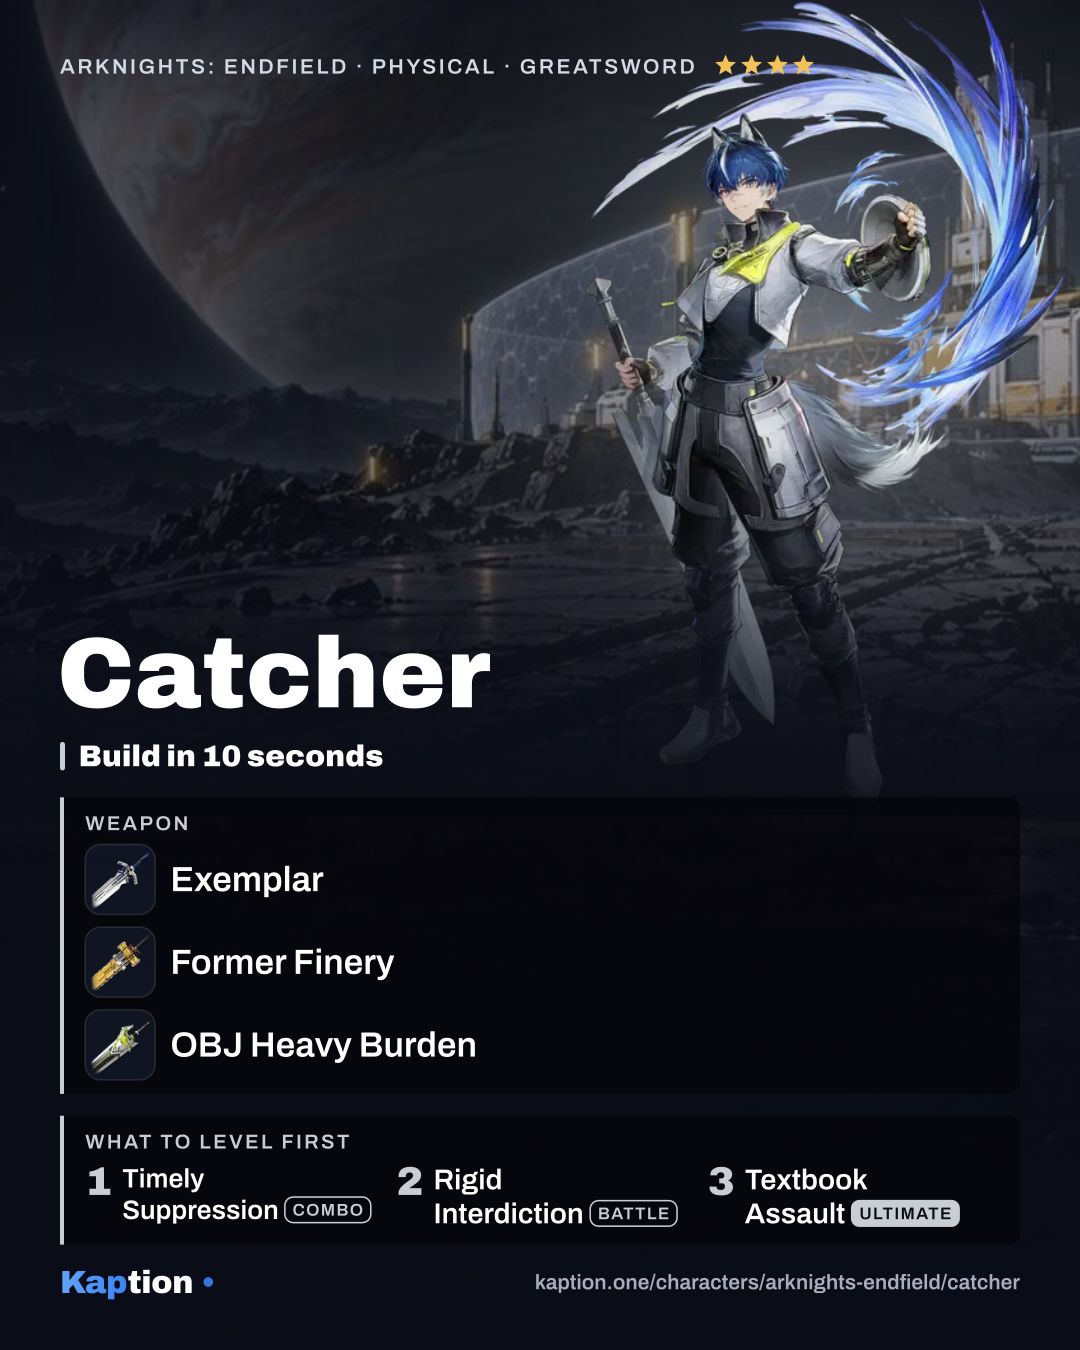
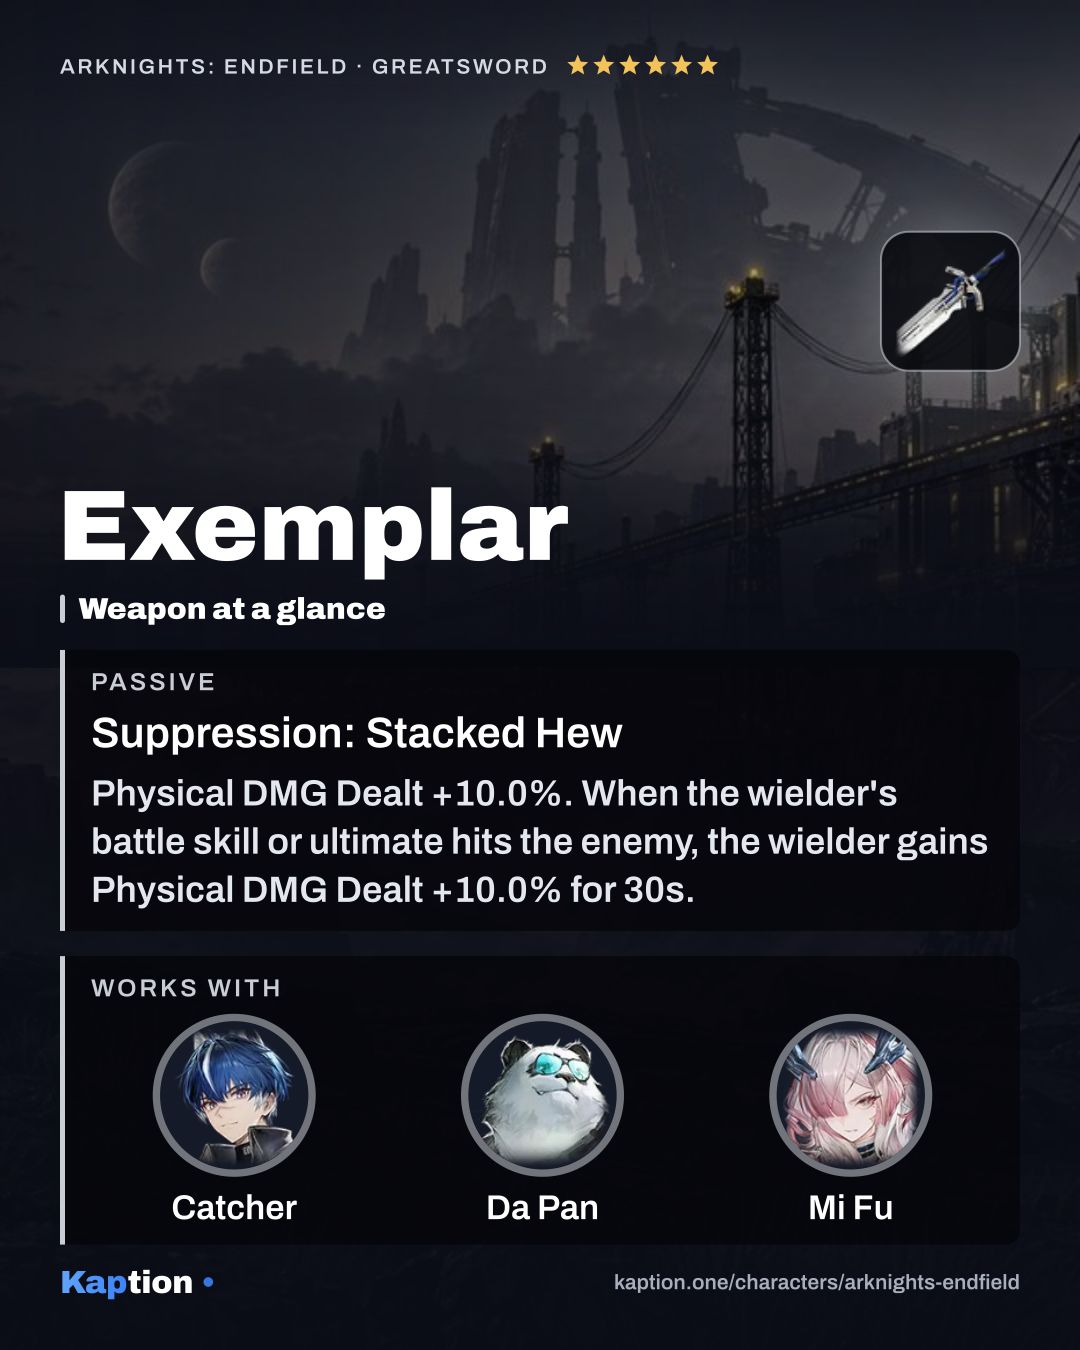
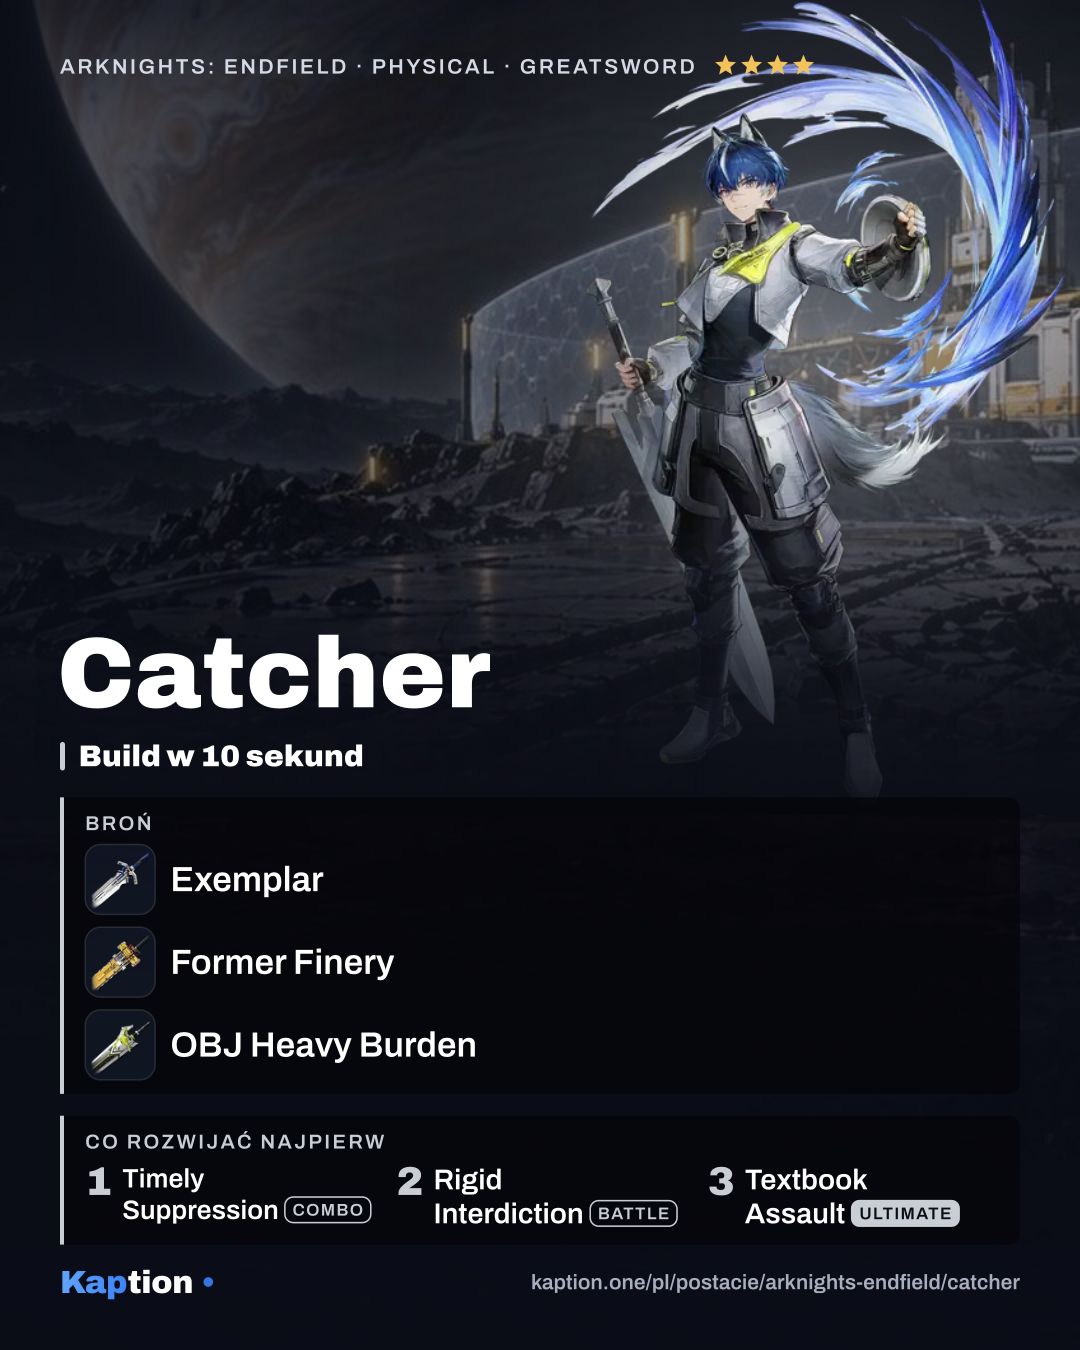
Exemplar is the lead weapon choice. It grants 10% Physical DMG Dealt, then adds another 10% per stack when the skill or ultimate hits. It can hold three stacks for 30 seconds each, which suits a kit that deals Physical DMG throughout.
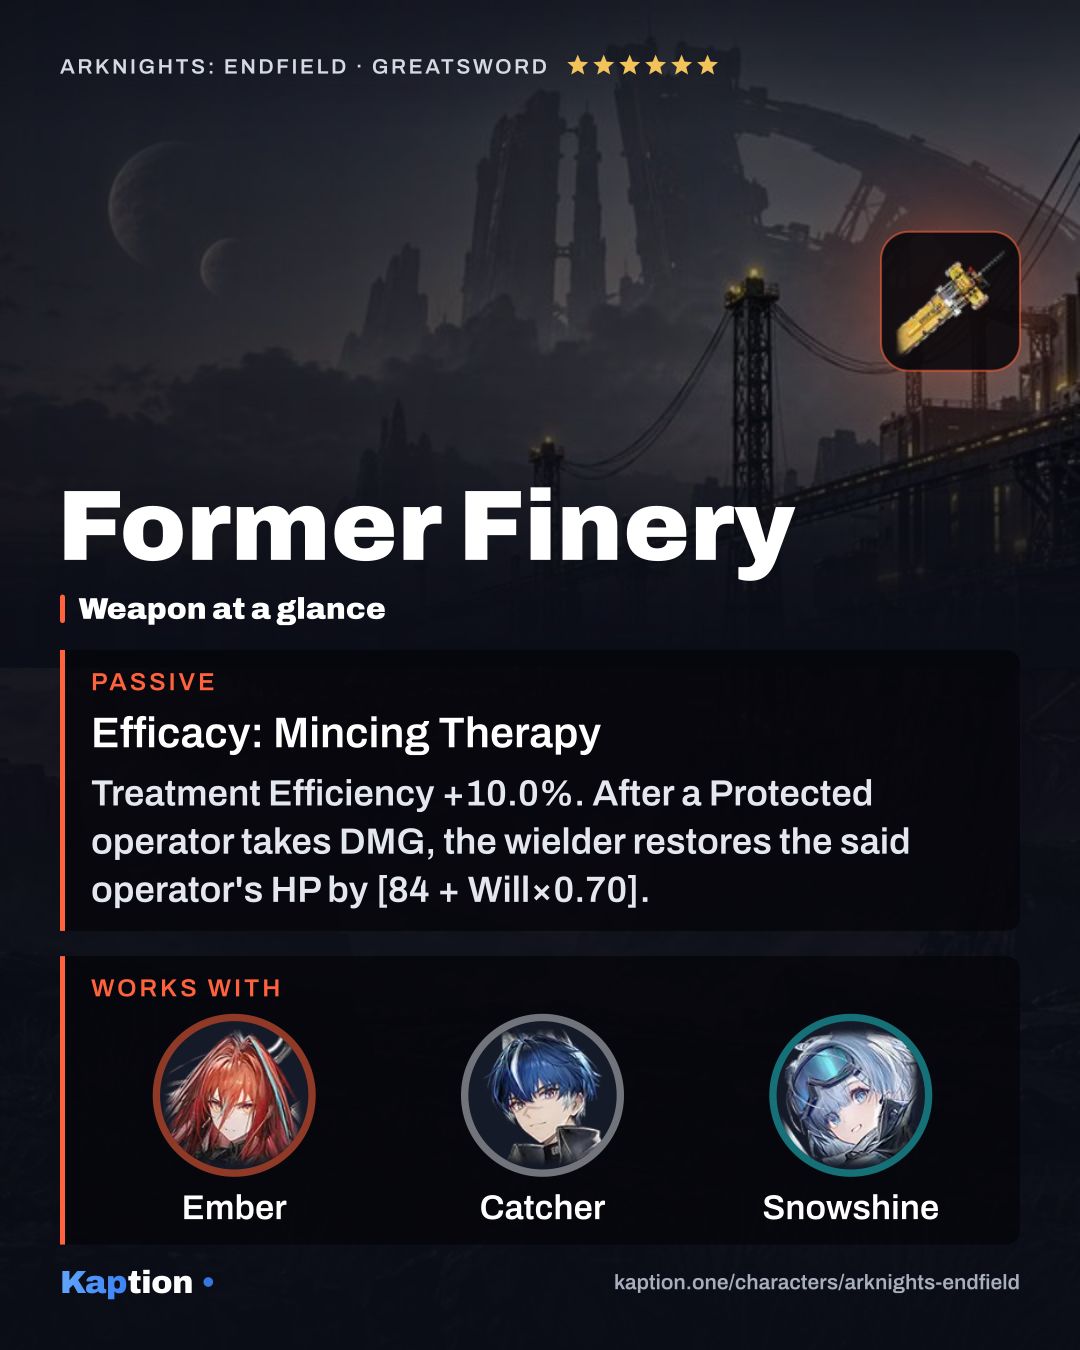
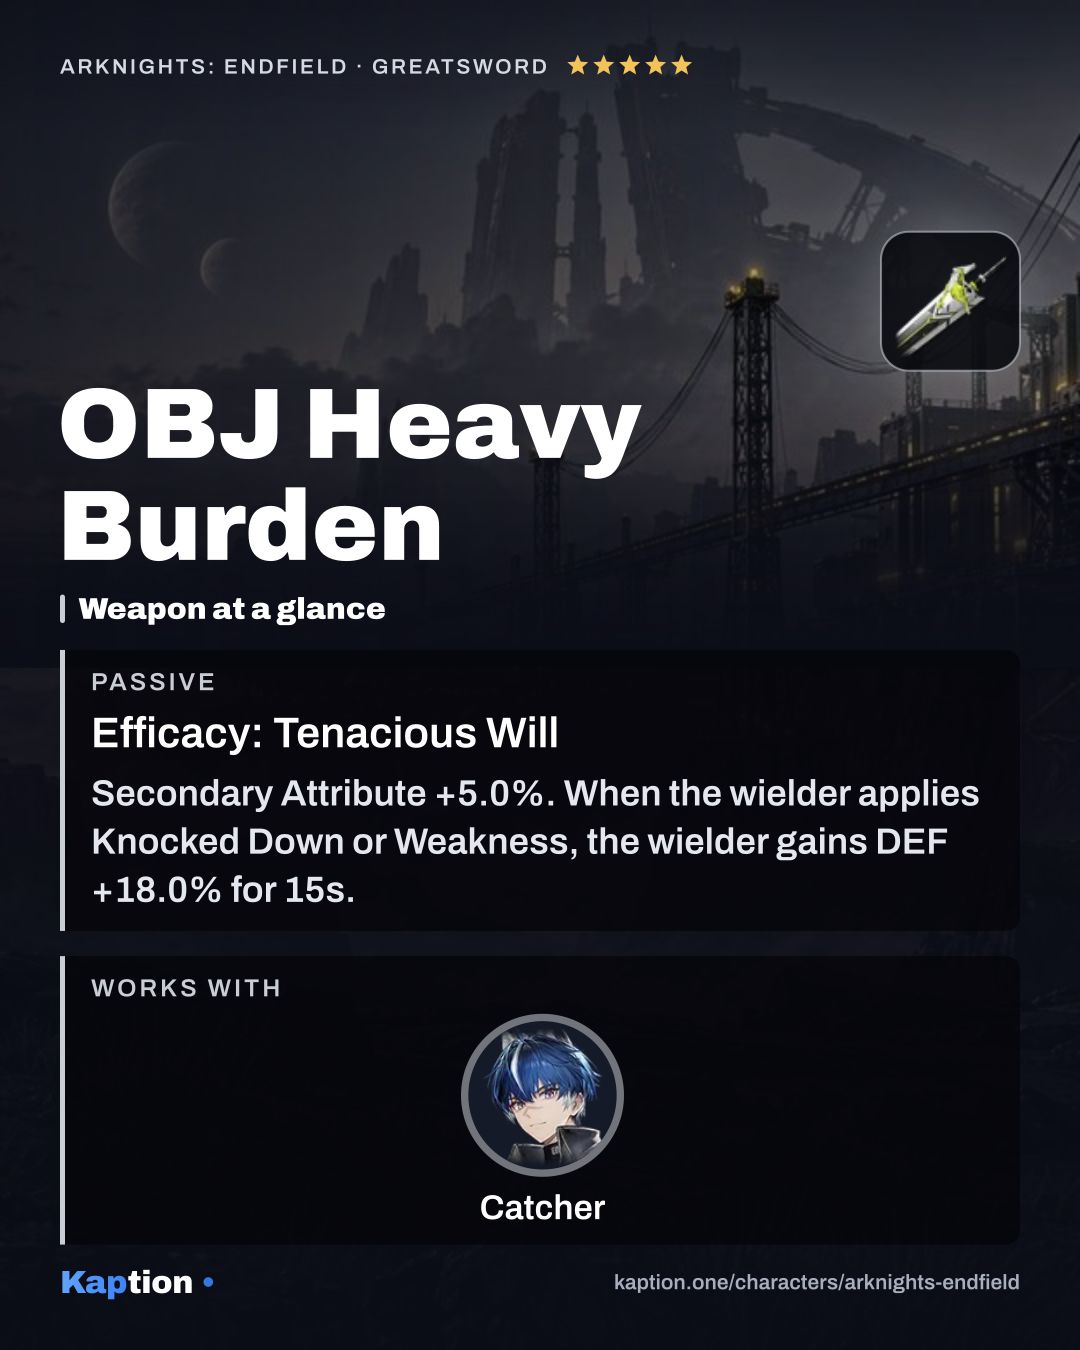
OBJ Heavy Burden is a defensive option. Applying Knocked Down or Weakness grants 18% DEF for 15 seconds, and Catcher’s ultimate applies both. The weapon also gives 5% Secondary Attribute. Former Finery is another option: after a Protected operator takes damage, it restores that operator’s HP by 84 plus 0.70 times Will, once every 15 seconds. It also grants 10.0% Treatment Efficiency.
For sets, start by looking at Eternal Xiranite. Æthertech and Swordmancer are alternatives. Their bonuses are not described here, so check the pieces in game before deciding which one to equip.
DEF is a useful stat for the combo shield. Will is worth considering too: for every 10 Will, Catcher gains 1.2 DEF, and Former Finery’s healing also scales with Will.
Leveling priority
As a suggested leveling order, start with Timely Suppression, then Rigid Interdiction (Skill), followed by Textbook Assault (Ult). Leave Basic Tactics until last if you mainly use Catcher for defense. This order focuses on his shields and Protection first; check the individual level effects in game before spending materials.
For ascension to the maximum level, you need 152,200 T-Creds, 33 Protodisk, 3 Pink Bolete, 5 Red Bolete, 60 Protoset, 5 Ruby Bolete, 20 Tachyon Screening Lattice and 8 Bloodcap.
For all skills, you need 787,200 T-Creds, 461 Protoprism, 12 Kalkodendra, 16 Chrysodendra, 562 Protohedron, 16 Vitrodendra, 24 Mark of Perseverance, 116 D96 Steel Sample 4, 84 False Aggela and 116 Metadiastima Photoemission Tube.
Potential upgrades worth it
Potential 1 is a good first upgrade to consider. After Rigid Interdiction (Skill) or Textbook Assault (Ult) hits an enemy, it adds a strike dealing Physical DMG equal to 300 plus five times DEF. That gives the defensive stat another use.
Potential 3 is worth considering for a shield-focused build because it adds five seconds to the Timely Suppression shield. Potential 5 returns 10 SP when you hit an enemy while the skill’s shield is active.
Potential 2 adds 20 DEF and 10 Will, but you can skip pursuing it if those stats are not your priority. Potential 4 reduces the ultimate’s Ultimate Energy cost by 10%; consider it if you want the lower cost, or leave it for later if you prefer the other upgrades.
Teams
Pair Catcher with a damage dealer who can make use of the room his defense creates. Rigid Interdiction (Skill) gives Protection to nearby operators, while Timely Suppression can shield the controlled teammate. Textbook Assault (Ult) adds Weakness and an area Knock Down.
A healer is worth considering alongside him, especially if you are not using Former Finery. Catcher’s listed skills deal Physical DMG and do not require a teammate of a specific element, so choose the rest of the team around the damage dealer you want to use.
Common mistakes
Do not expect the combo to trigger merely because the controlled operator is below 40% HP. The listed condition is that the operator is attacked and falls below that threshold, or that an enemy starts charging a skill. Also remember that the combo shields only Catcher and one teammate, not the whole team.
Do not forget to control Catcher for the basic attack’s 22 Stagger on Final Strike. If an enemy is already Staggered, move close enough to use the finisher and recover some SP. When using his skill, position him near teammates who need Protection.