Genshin Impact Guide
Genshin Impact elemental reactions explained: what each pair of elements does
By: Kaption Editorial Published: 6 min read

A reaction can start when a second element hits an enemy that still carries the aura of the first, while Hyperbloom and Burgeon start from a Dendro Core. Hydro on Pyro gives Vaporize at x2, Pyro on Cryo gives Melt at x2, and Dendro opens Bloom, Quicken and Burning.
Key points
- The first element you apply leaves an aura, and a second element landing on that aura can set off a reaction. Hyperbloom and Burgeon work differently: they start when Electro or Pyro hits a Dendro Core.
- Vaporize and Melt multiply the hit that triggers them. Hydro triggering Vaporize and Pyro triggering Melt get x2, while the reverse order gets x1.5.
- Overloaded and Superconduct both deal AoE damage within 5 m, but neither applies its element to the targets it hits, so neither chains into another reaction.
- Crystallize deals no damage but drops a shard that gives you a shield of the matching element.
- Dendro plus Hydro makes Dendro Cores. Electro turns a core into Hyperbloom, and Pyro turns it into Burgeon, which also hits players.
How an elemental reaction starts
When a character applies an element to an enemy, that element stays on the target as an aura that fades over time. If a second element lands on that aura while it is still there, an elemental reaction can trigger. Some hits will not react, because many damage sources have an Internal Cooldown, a lockout that stops them from reapplying their element right away. Elemental Mastery can increase reaction damage, and the way its bonus applies changes from one reaction type to another.
Vaporize and Melt multiply a single hit
Vaporize happens when Hydro hits a target that carries Pyro, or Pyro hits a target that carries Hydro. It raises the damage of the Pyro or Hydro attack that sets it off. A Pyro attack that triggers it deals 1.5 times its damage, and a Hydro attack that triggers it deals 2 times its damage. The tutorial teaches you to put Pyro on enemies first, then switch to a Hydro character and attack, which makes the Hydro hit the trigger and gives you the x2.
Melt works the same way with Pyro and Cryo, in either order. A Cryo attack that triggers it deals 1.5 times its damage, and a Pyro attack deals 2 times its damage. The tutorial version is to apply Cryo with attacks, then swap to a Pyro character for the triggering hit.
The Crimson Witch of Flames artifact set, which comes in 4 to 5 star rarity, supports both reactions. Its 2-piece bonus is Pyro DMG Bonus +15%. The 4-piece bonus raises Vaporize and Melt DMG by 15%, and Overloaded, Burning and Burgeon DMG by 40%. Look at character builds on Kaption when you decide which Pyro character gets the set.
What Overloaded, Superconduct and Electro-Charged do
These three reactions all come from Electro meeting another element:
- Overloaded triggers when Electro hits a Pyro-affected target, or Pyro hits an Electro-affected one. It sets off an explosion that deals AoE Pyro DMG within 5 m and knocks enemies back hard. Its damage also breaks down certain enemy shields more effectively. The explosion does not put Pyro on the targets it hits, so it cannot chain into another reaction.
- Superconduct comes from Electro on a Cryo-affected target, or Cryo on an Electro-affected one. It deals AoE Cryo DMG within 5 m. Its damage depends on the triggering character's level and Elemental Mastery; it ignores DEF and can never CRIT. Like Overloaded, it does not apply its element to the targets it hits, so nothing else reacts off it.
- Electro-Charged starts when Electro hits a Hydro-affected target, or Hydro hits an Electro-affected one. It is one of the Hydro-related reactions, together with Vaporize, Frozen and Hydro Swirl. It deals Electro DMG over time to the target and to nearby targets carrying Hydro: the first hit lands at once, then it ticks once per second. While it runs, the target holds a Hydro aura and an Electro aura at the same time. Gauge units measure how much of an element an aura holds, and each tick takes 0.4 of them off both auras; the ticks stop as soon as either aura runs out.
How Frozen locks enemies in place

Frozen happens when Cryo is applied to a Hydro-affected target, or Hydro to a Cryo-affected one. The reaction itself deals no damage. It puts a Freeze Aura on the target that holds it in place for a while. How long the freeze lasts depends on the gauge units of the weaker of the two elements you applied, so the smaller application sets the duration.
A frozen enemy is also a setup for a follow-up. Pyro on a Freeze Aura uses it up and triggers Melt. Electro on a Freeze Aura uses it up and triggers Superconduct, which deals AoE Cryo DMG within 5 m.
What Anemo and Geo add with Swirl and Crystallize
Anemo and Geo react with four elements each, but in very different ways:
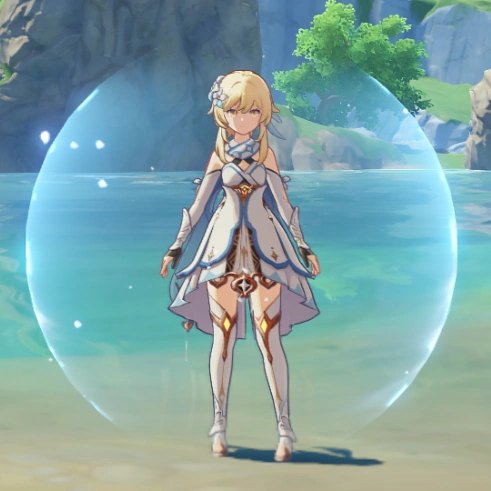
- Swirl triggers when Anemo hits a target carrying Electro, Pyro, Hydro or Cryo, or when one of those four hits a target carrying Anemo. It deals damage of the non-Anemo element and spreads that element to other targets within 6 m. The target where the reaction started does not receive the spread element.
- Pyro, Electro and Cryo Swirl each deal area damage of their own element. Hydro Swirl behaves differently: it spreads Hydro to other targets but only damages the target that triggered it.
- Chains are possible because Swirl spreads elements. A Pyro Swirl can carry Pyro onto a target affected by Electro and trigger Overloaded, and that Overloaded damage is based on the Anemo character's level and Elemental Mastery.
- Crystallize occurs when Geo hits a target already affected by Electro, Pyro, Hydro or Cryo. It deals no DMG and instead drops an Elemental Shard of that element, which gives you a shield of the same element when you pick it up.
- The shield's health comes from the Geo character who triggered the reaction: their level sets the base health, and their Elemental Mastery raises it by a percentage. The shield absorbs damage until it breaks.
- Against its own element, a Crystallize shield is 250% effective, taking only 40% as much damage as it would from other elements. A Pyro shard shield is therefore at its strongest against Pyro attacks.
How Quicken, Aggravate and Spread boost Dendro and Electro
Dendro and Electro have their own chain, built around the Quicken Aura:
- Quicken occurs when Dendro hits a target affected by Electro, or Electro hits a target affected by Dendro. It deals no DMG and leaves a Quicken Aura on the target that decays over time.
- Aggravate triggers when an Electro attack hits a target with a Quicken Aura, and that attack deals extra DMG.
- Spread is the Dendro version: a Dendro attack on a Quicken Aura deals extra DMG, and Dendro gains more from Spread than Electro gains from Aggravate.
What Bloom, Hyperbloom, Burgeon and Burning do with Dendro

Dendro with Hydro or Pyro creates reactions that leave something behind on the field:
- Bloom happens when Dendro and Hydro are applied to the same target, in either order, and it creates a Dendro Core.
- Each Dendro Core lasts up to 6 seconds. If more than 5 cores exist, the oldest one expires at once.
- An expiring core explodes for AoE Dendro DMG in a 5 m radius, but only if the character who created it is alive and still in the party. If not, the core vanishes without exploding.
- Hyperbloom triggers when Electro hits a Dendro Core. The core becomes a homing Sprawling Shot that deals increased AoE Dendro DMG within 1 m when it lands.
- Burgeon triggers when Pyro hits a Dendro Core. It uses up the core to deal increased AoE Dendro DMG within 5 m, and that blast hits players as well as enemies, so keep your active character outside that radius.
- Burning starts when Pyro and Dendro land on the same target, in either order, and it keeps dealing Pyro DMG until it wears off. Its Pyro application has an Internal Cooldown of 2 seconds.
- A burning target shows a Burning aura that looks like an animated Pyro aura, and it sits alongside the Pyro and Dendro auras underneath. Burning eats the Dendro aura at a steady rate and stops when either the Burning aura or the Dendro aura is used up.
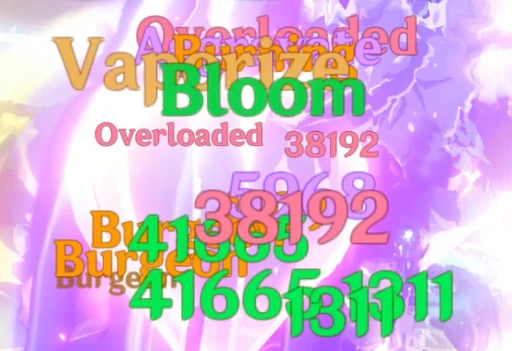
Elemental Reaction
A reaction that can occur when a second element is applied to an existing aura.
More: genshin-impact.fandom.com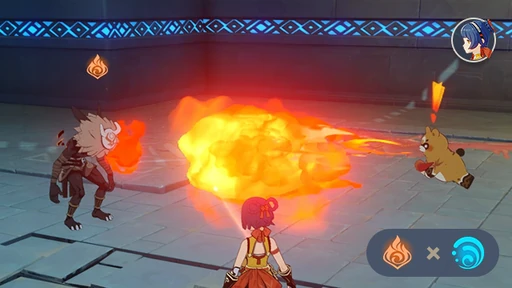
Vaporize
An elemental reaction triggered by applying Hydro and Pyro to a target in either order.
More: genshin-impact.fandom.com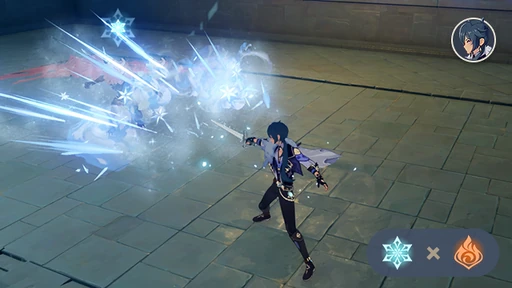
Melt
A reaction triggered by applying Pyro and Cryo to a target in either order.
More: genshin-impact.fandom.com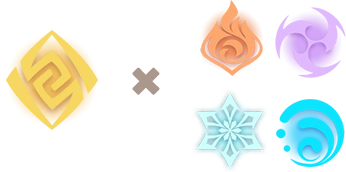
Crystallize
An elemental reaction triggered when Geo hits a target affected by Electro, Pyro, Hydro, or Cryo.
More: genshin-impact.fandom.com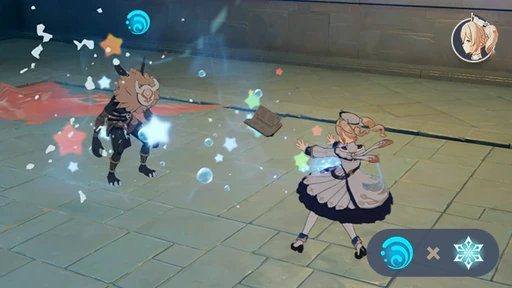
Frozen
A reaction triggered by applying Cryo and Hydro to a target in either order.
More: genshin-impact.fandom.com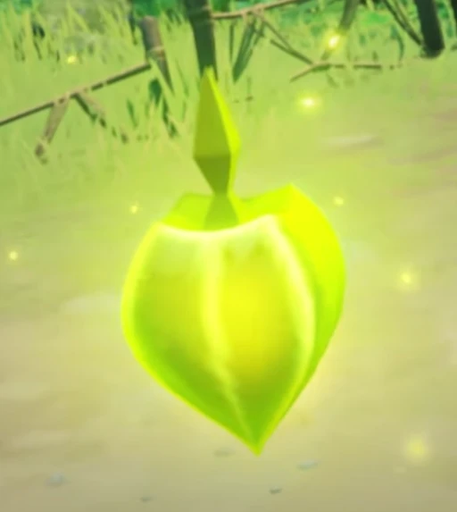
Bloom
A reaction between Dendro and Hydro on the same target that creates a Dendro Core.
More: genshin-impact.fandom.com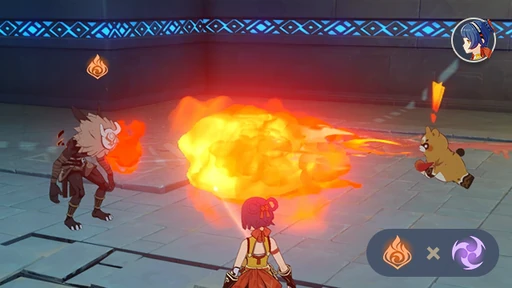
Overloaded
A reaction triggered by applying Electro and Pyro to a target in either order.
More: genshin-impact.fandom.com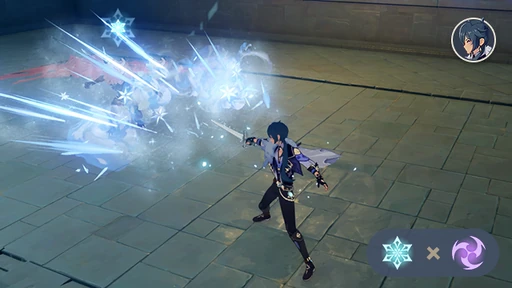
Superconduct
An elemental reaction triggered by applying Electro and Cryo to a target in either order.
More: genshin-impact.fandom.com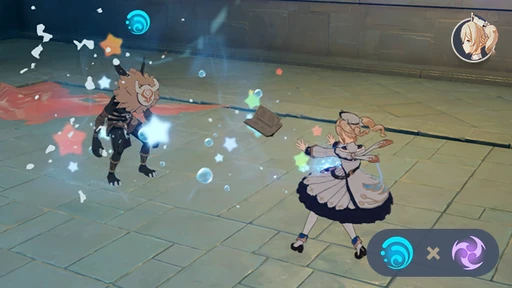
Electro-Charged
A reaction triggered by applying Electro and Hydro to a target in either order.
More: genshin-impact.fandom.com