

Guide
How the kit works
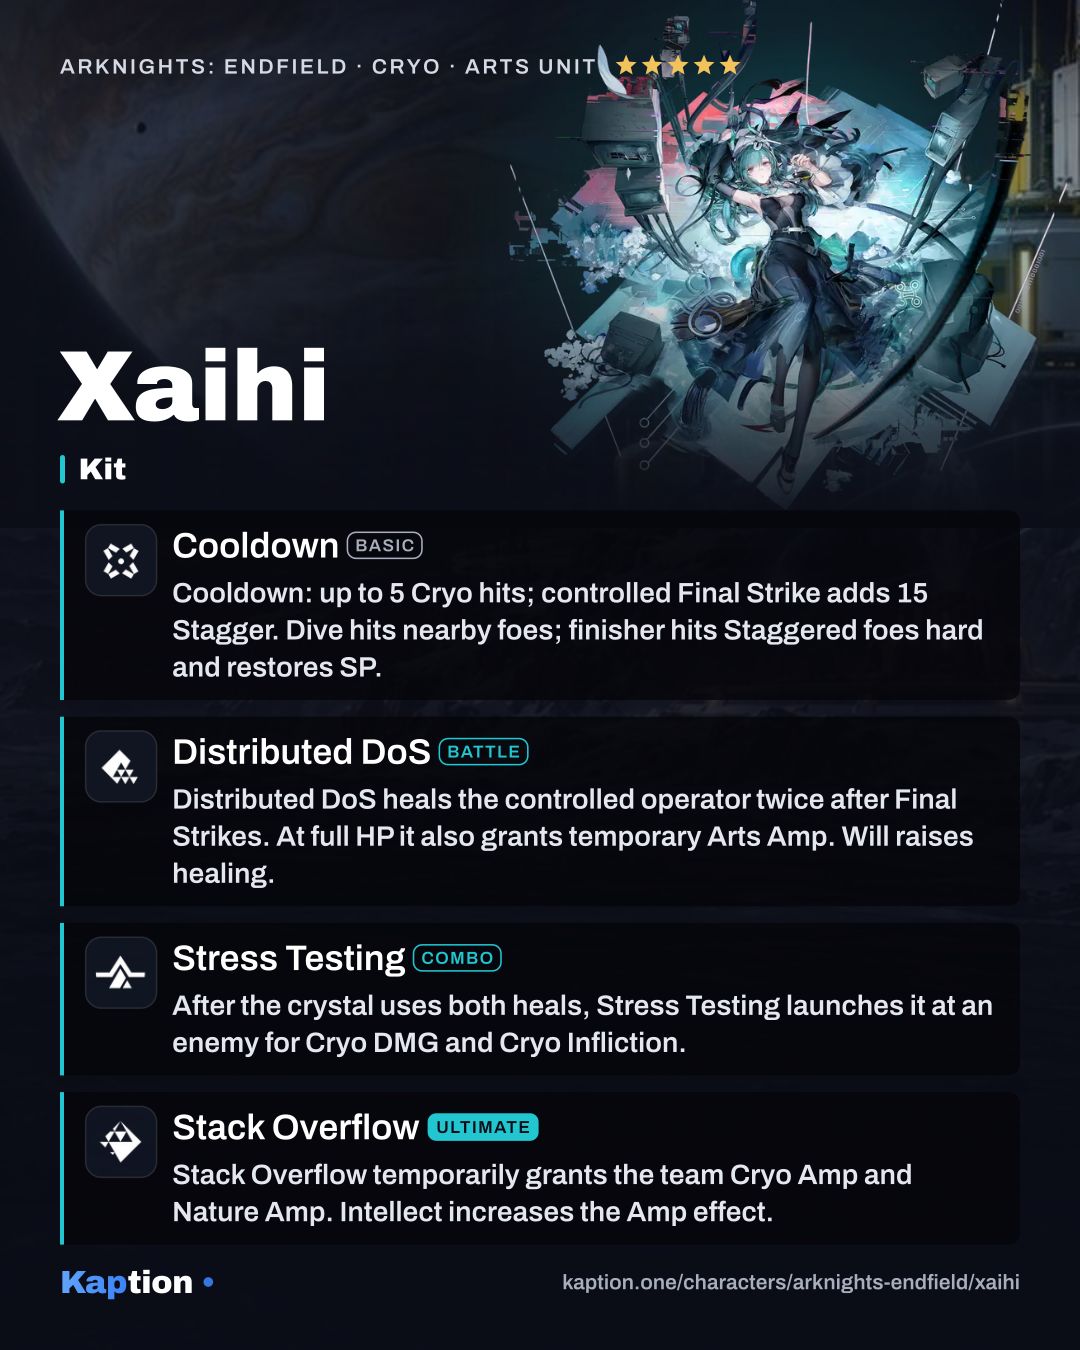
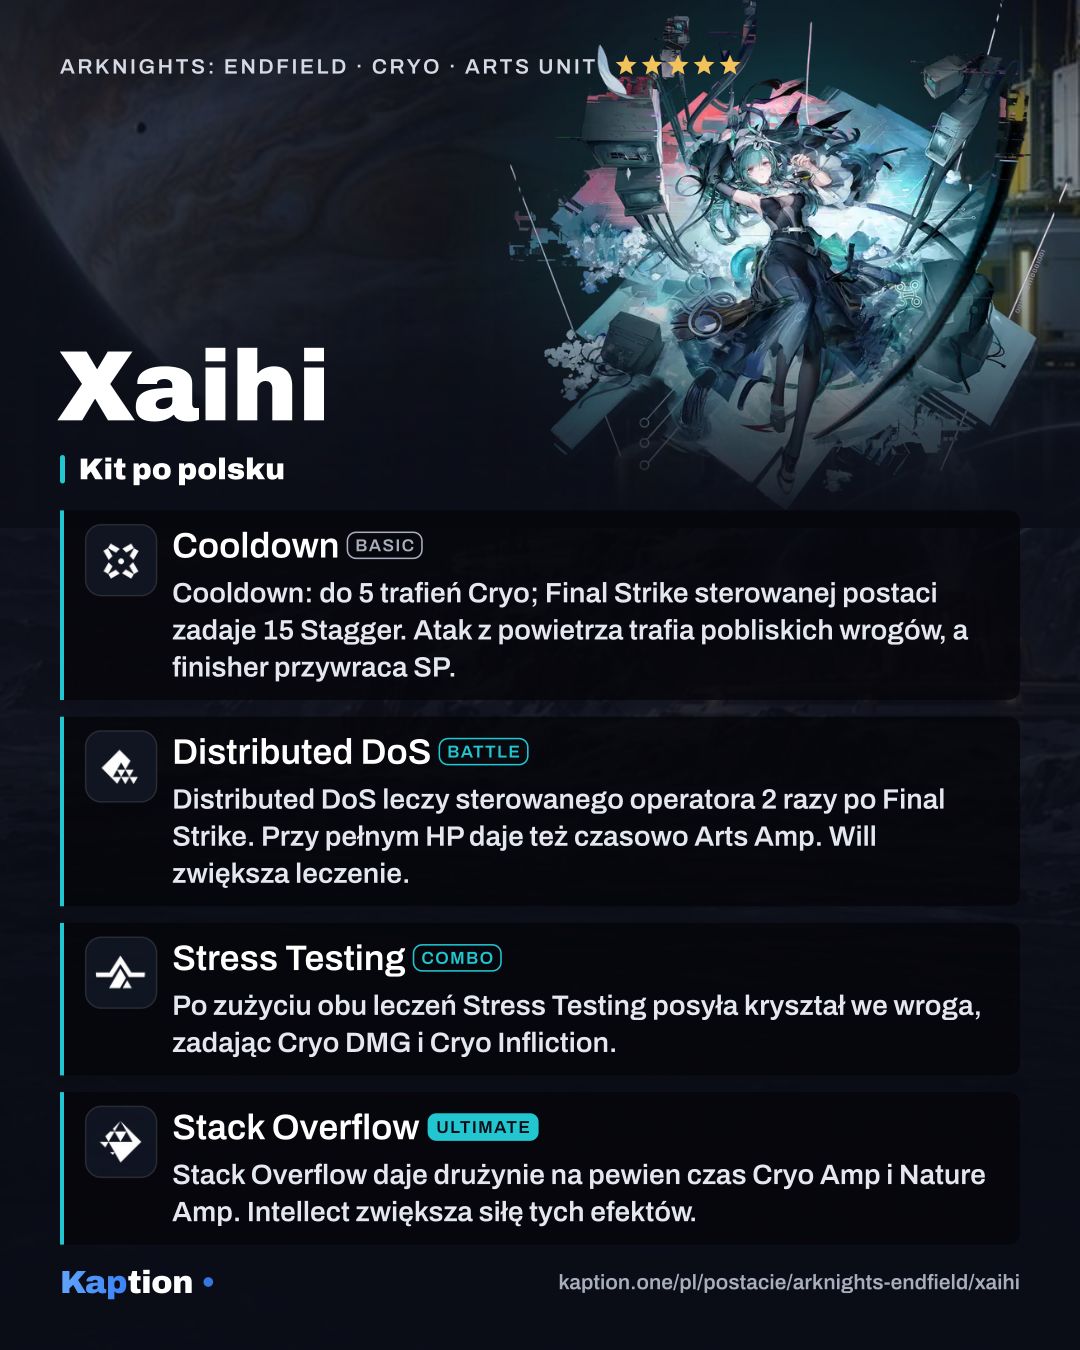
Start with Distributed DoS (Skill) to summon an Auxiliary Crystal. It orbits the controlled operator for a while and restores that operator's HP after a Final Strike hits an enemy. It can provide treatment twice, and Will increases the treatment amount.
If the operator is already at Max HP when a treatment triggers, the crystal also grants temporary Arts Amp. That effect cannot stack. Switch to the operator you want to support and finish their attack strings to use the treatments.
Once both treatments are spent, Stress Testing becomes available. Xaihi launches the crystal at an enemy, dealing Cryo DMG and applying Cryo Infliction. Her talent also makes enemies hit by the combo take 10% more Cryo DMG for 5 seconds if they have Cryo Infliction or Solidification. The increase cannot stack.
Use Stack Overflow (Ult) when the team can use its Cryo Amp and Nature Amp. Intellect increases the Amp effect, and a talent makes the ultimate dispel Cryo Infliction and Solidification from the team. Cooldown (Basic) ends with a Final Strike that deals 15 Stagger when Xaihi is controlled; its finisher against a Staggered enemy deals Cryo DMG and recovers some SP.
Build and why
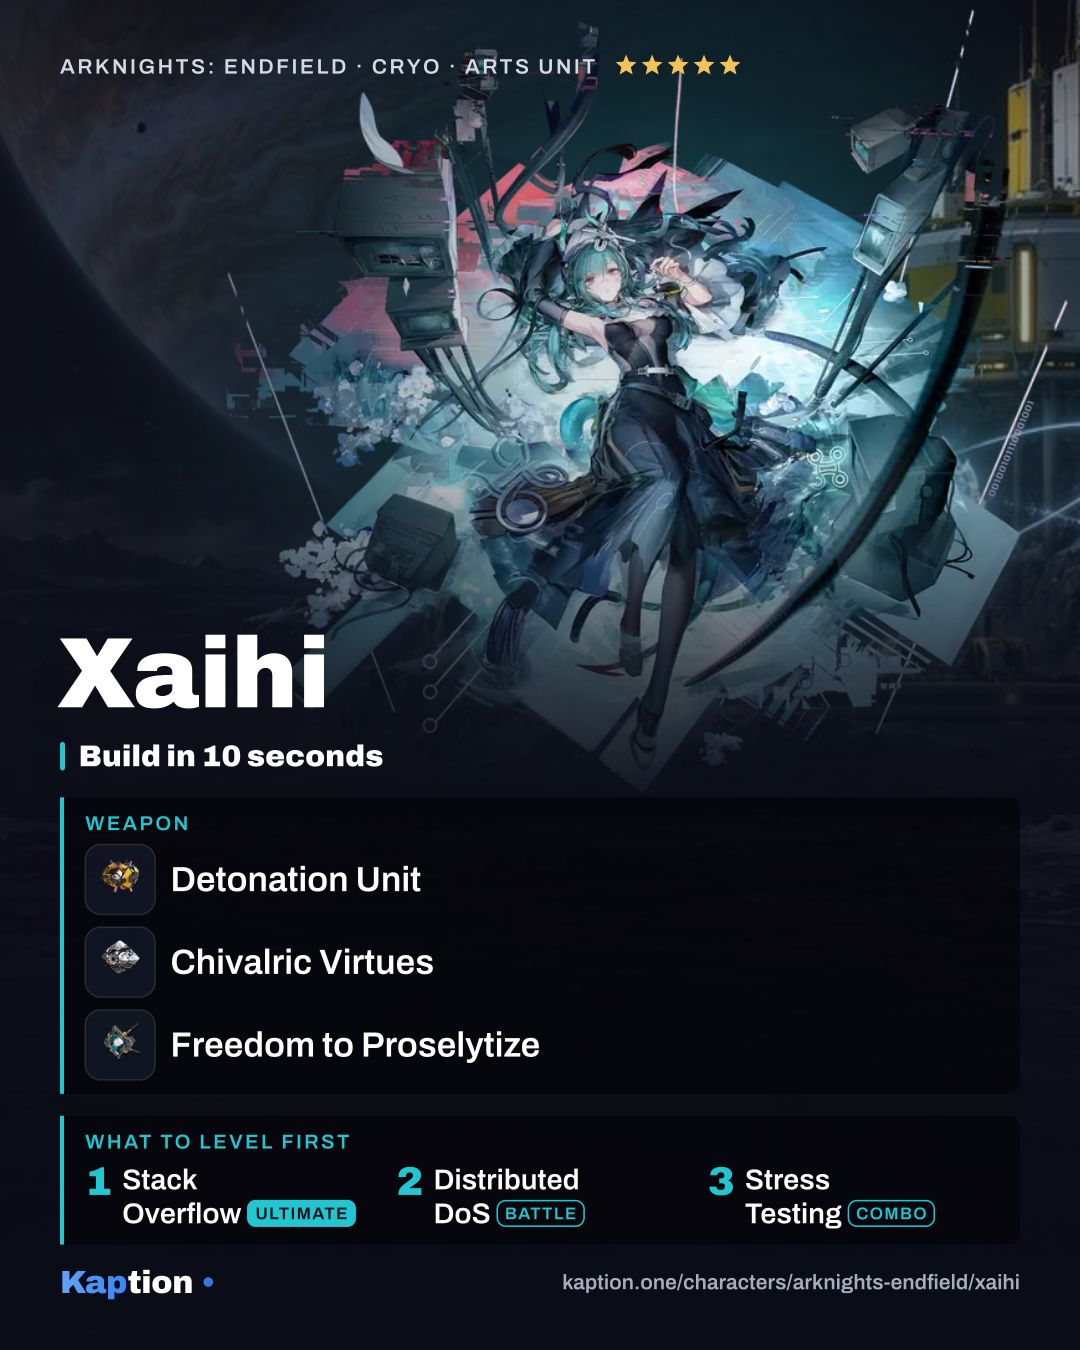
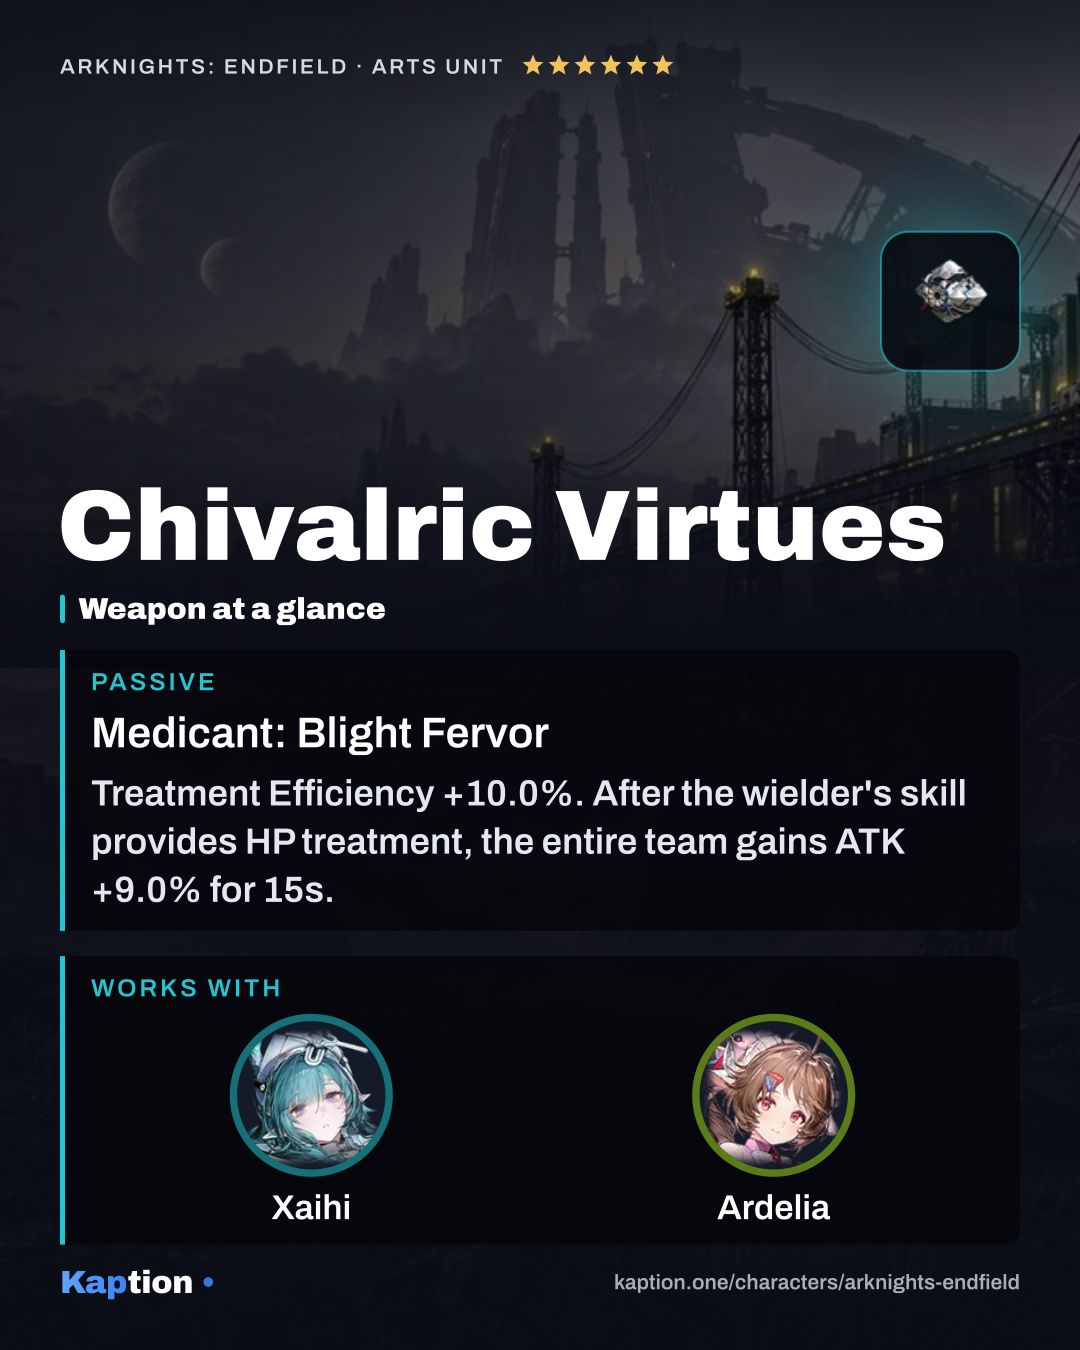
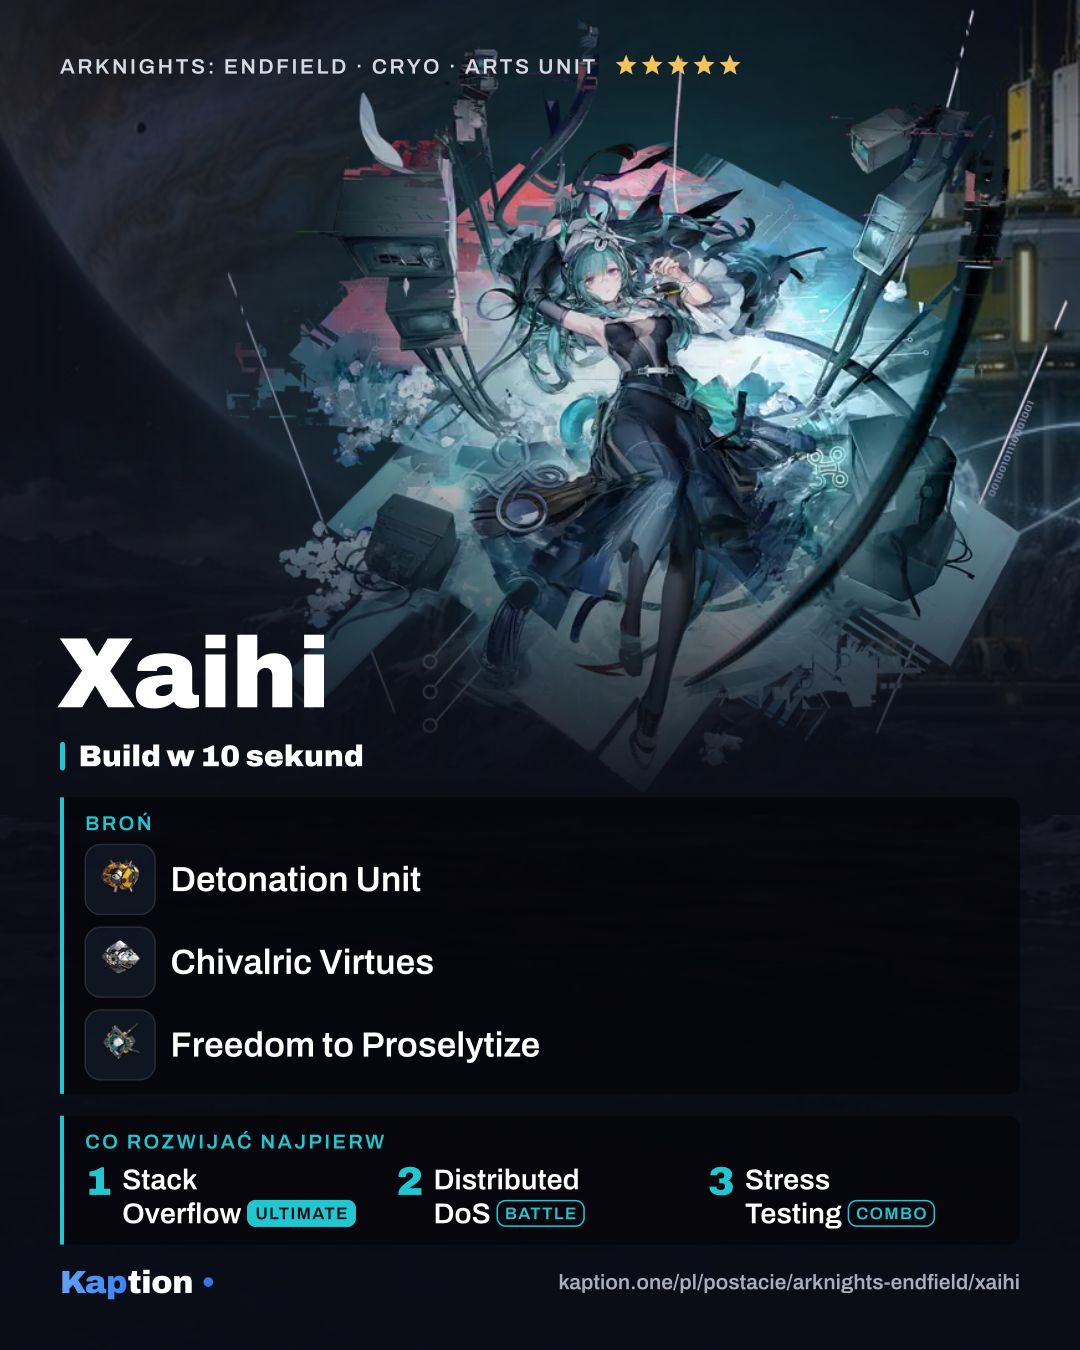
Chivalric Virtues is the first weapon to consider. It gives 10% Treatment Efficiency, and after Xaihi's skill provides HP treatment, the team gains 9% ATK for 15 seconds. Its named effect cannot stack, so repeated treatments do not add separate copies of that buff.
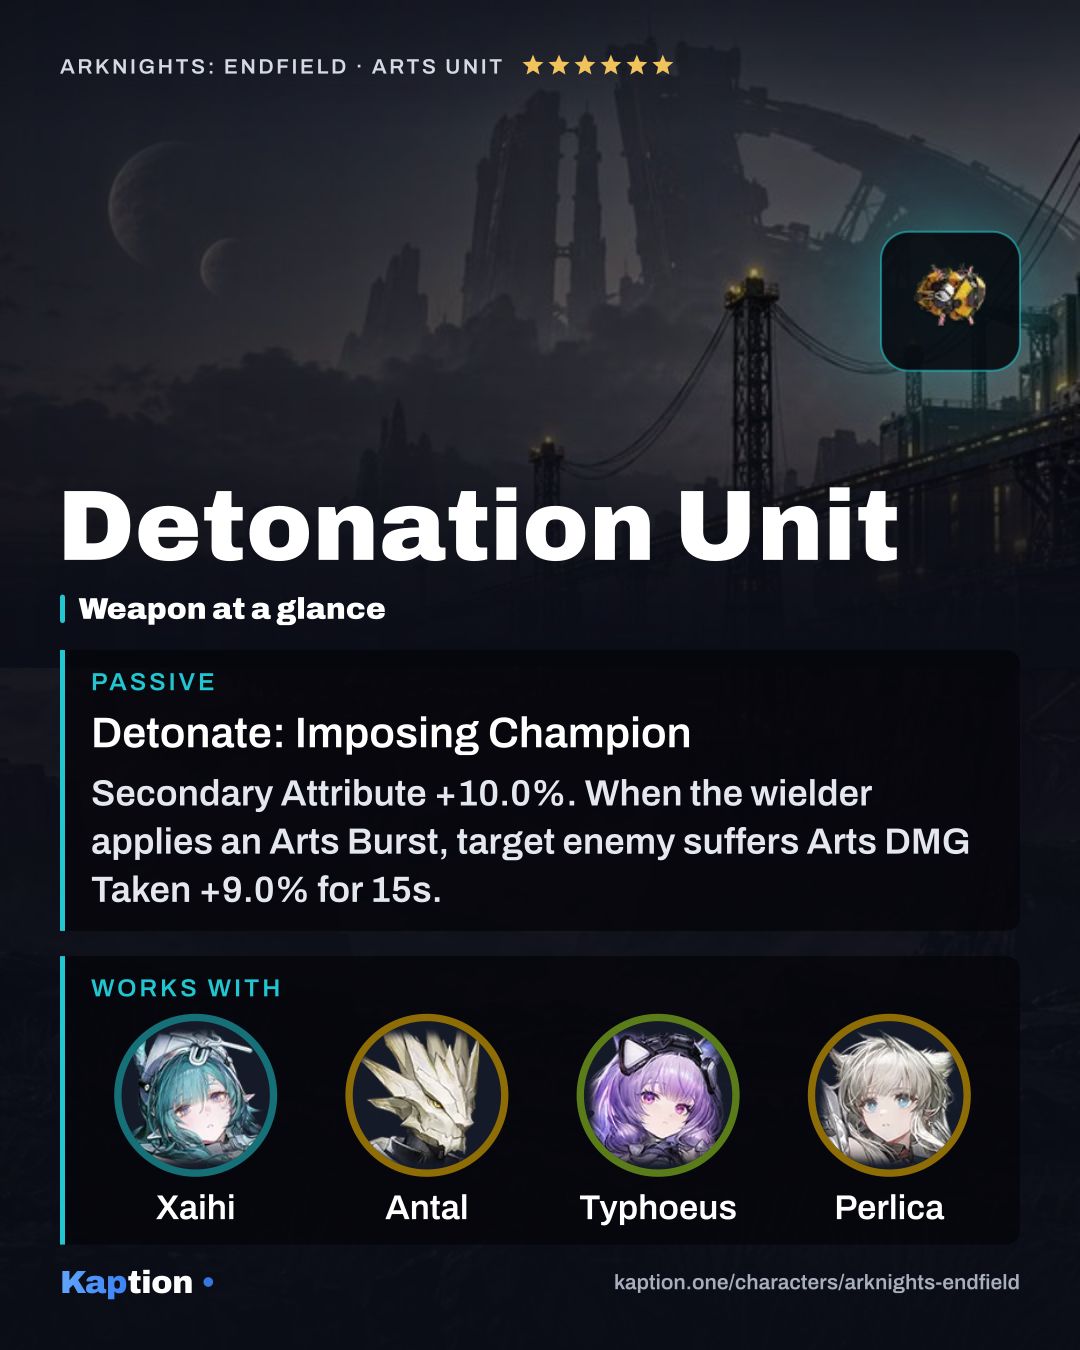
Detonation Unit is another recommended weapon. It gives 10% Secondary Attribute and, when its wielder applies an Arts Burst, makes the target take 9% more Arts DMG for 15 seconds. Xaihi's listed skills do not state that they apply Arts Burst, so do not assume the weapon's debuff will trigger from her kit alone.
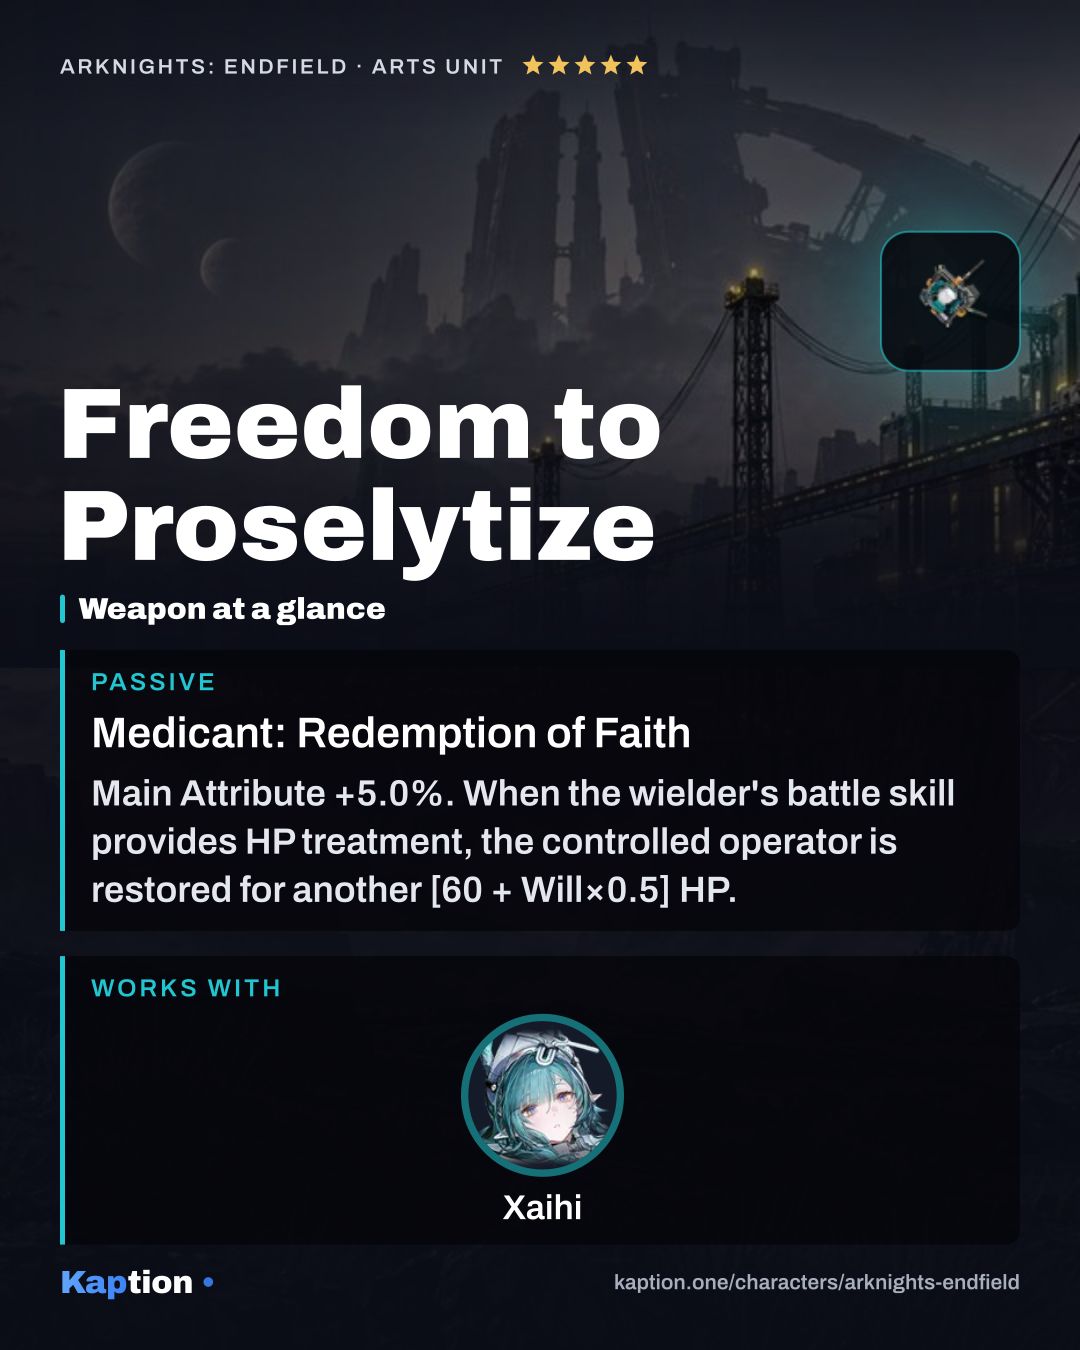
Freedom to Proselytize is a healing option. It gives 5% Main Attribute and restores an extra 60 + Will × 0.5 HP to the controlled operator when the wielder's battle skill provides treatment. That extra heal can trigger once every 15 seconds.
Use Eternal Xiranite as the gear set. No set effects are specified here, so do not assume a particular bonus from it. For stats, Intellect supports the ultimate's Amp effect, while Will increases the crystal's healing.
Leveling priority
A suggested order is Stack Overflow (Ult) first, since its elemental Amp reaches the whole team. Follow it with Distributed DoS (Skill) for the treatment you use to support the controlled operator.
Level Stress Testing next for its Cryo follow-up. Leave Cooldown until last if Xaihi spends most of the fight off the field. This is a suggested order rather than a fixed requirement.
For maximum ascension, you need 152,200 T-Creds, 33 Protodisk, 3 Pink Bolete, 5 Red Bolete, 60 Protoset, 5 Ruby Bolete, 20 D96 Steel Sample 4 and 8 Bloodcap.
To raise all skills to the maximum, you need 787,400 T-Creds, 421 Protoprism, 12 Kalkodendra, 16 Chrysodendra, 570 Protohedron, 16 Vitrodendra, 24 Mark of Perseverance, 116 Quadrant Fitting Fluid, 84 Blighted Jadeleaf and 116 Tachyon Screening Lattice.
Potential upgrades worth it
Potential 5 is worth considering for elemental support. It raises the ultimate’s Amp effect to 1.1 times its original value.
Potential 4 is another good option. It gives 15 Intellect, which supports the ultimate’s Amp, and 10% Treatment Efficiency for healing. For an earlier upgrade, consider Potential 2, which reduces the ultimate’s Energy cost by 10%.
Potential 1 increases the crystal’s Arts Amp by another 5%. Potential 3 lets the combo chain to one additional nearby target. You can stop before the later Potentials if you do not need their effects; the healing and combo loop works without them.
Teams
A Nature teammate can use the other Amp from Xaihi's ultimate. Xaihi brings healing as well as that team-wide elemental support, while her combo can apply Cryo Infliction. Her ultimate can also remove Cryo Infliction and Solidification from the team.
Common mistakes
Do not leave the crystal unused after summoning it. Its treatments depend on the controlled operator landing Final Strikes, and the combo trigger comes only after those treatments are used. If you interrupt attack strings repeatedly, you delay both the healing and the follow-up.
Do not expect the crystal's Arts Amp to stack, or expect it when the operator is below Max HP at the treatment trigger. Also, do not build around a weapon effect without checking its condition: Detonation Unit needs its wielder to apply Arts Burst. If healing and the team ATK buff are your goal, Chivalric Virtues directly matches the crystal's treatment.