



































Guide
How the kit works
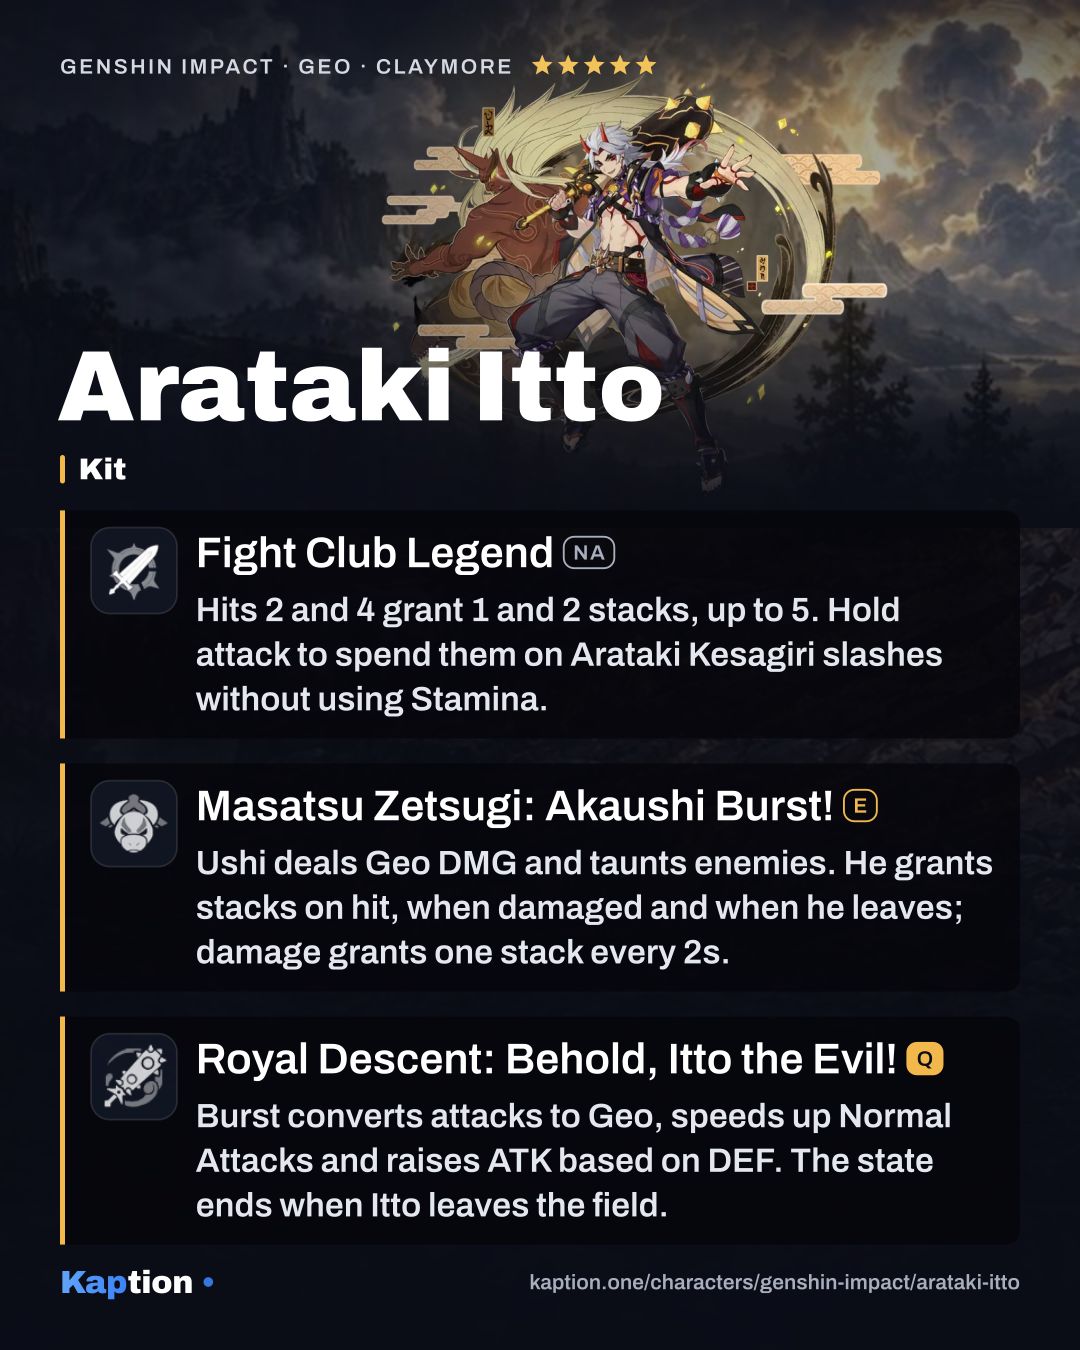
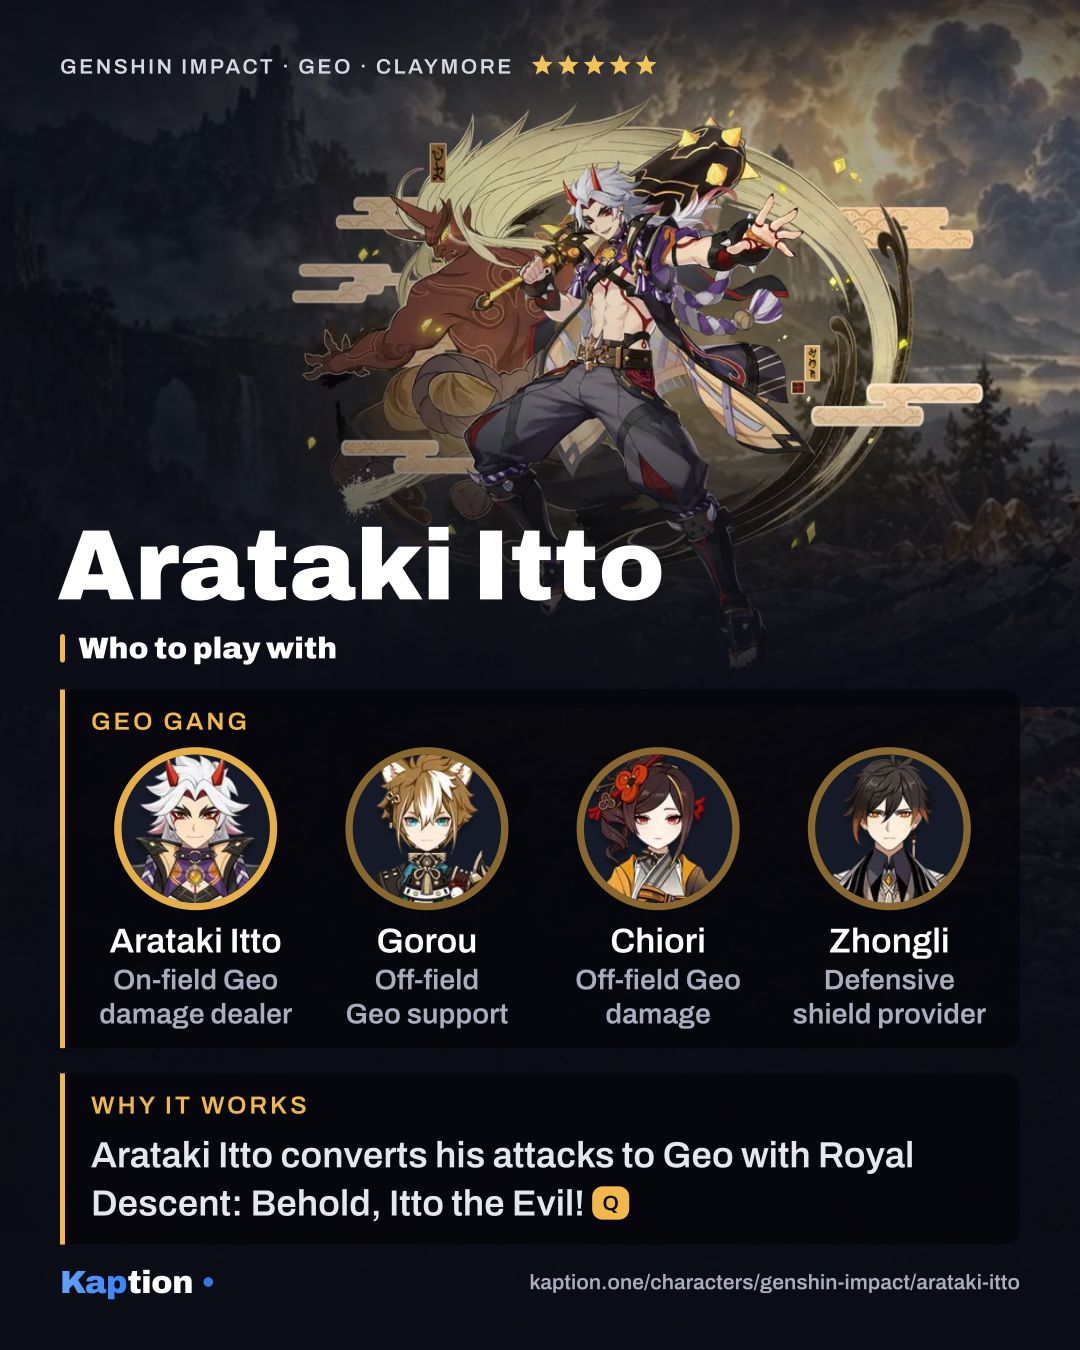
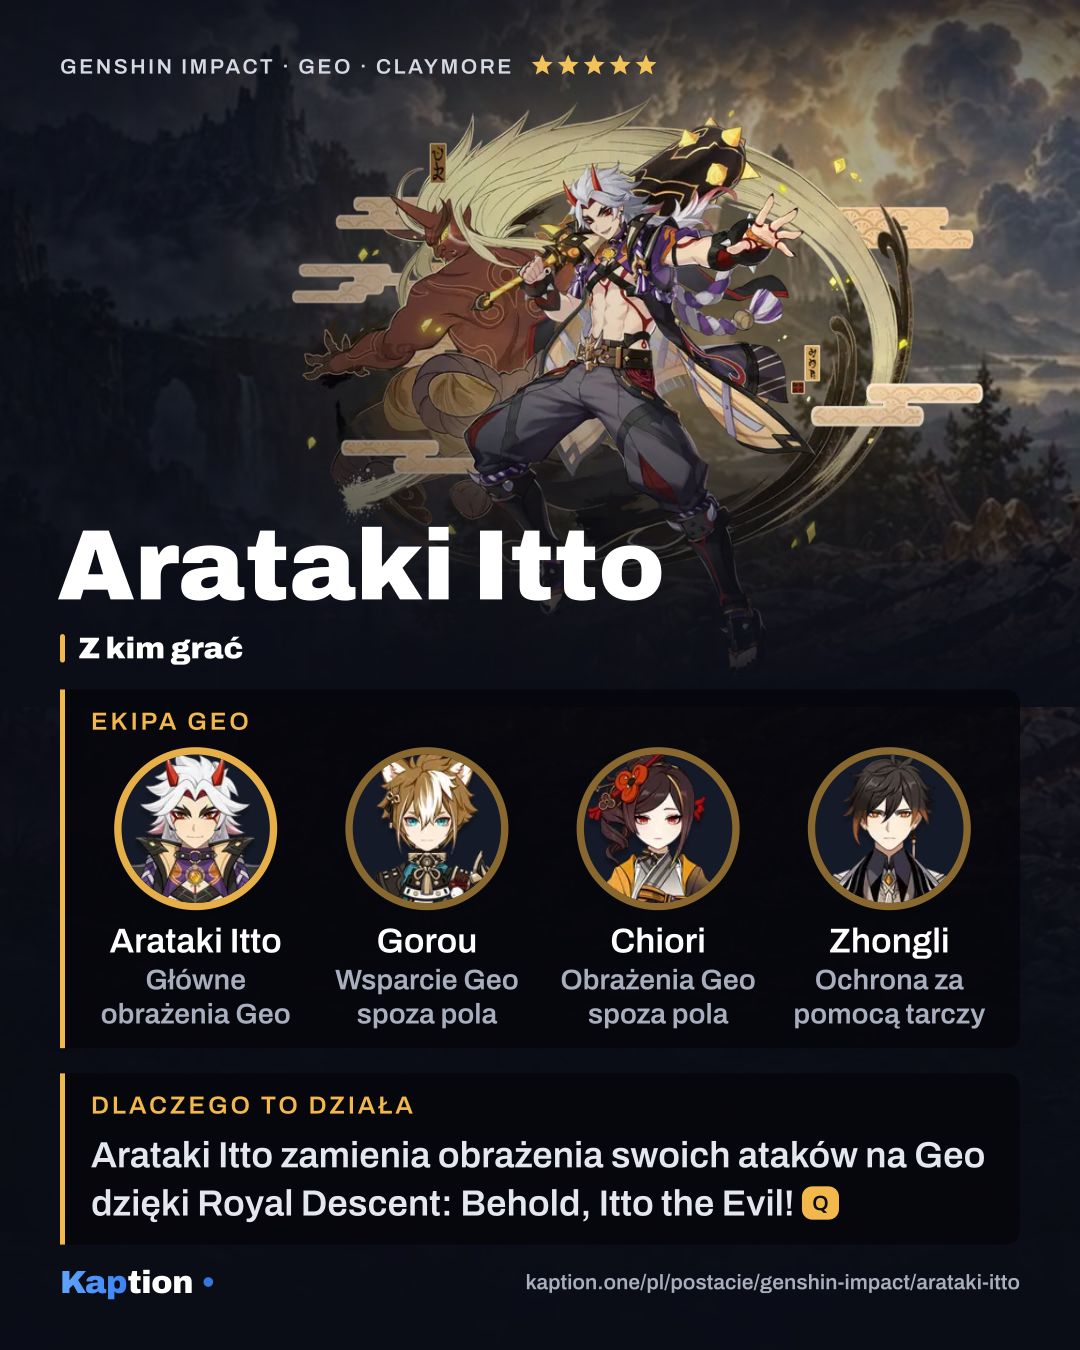
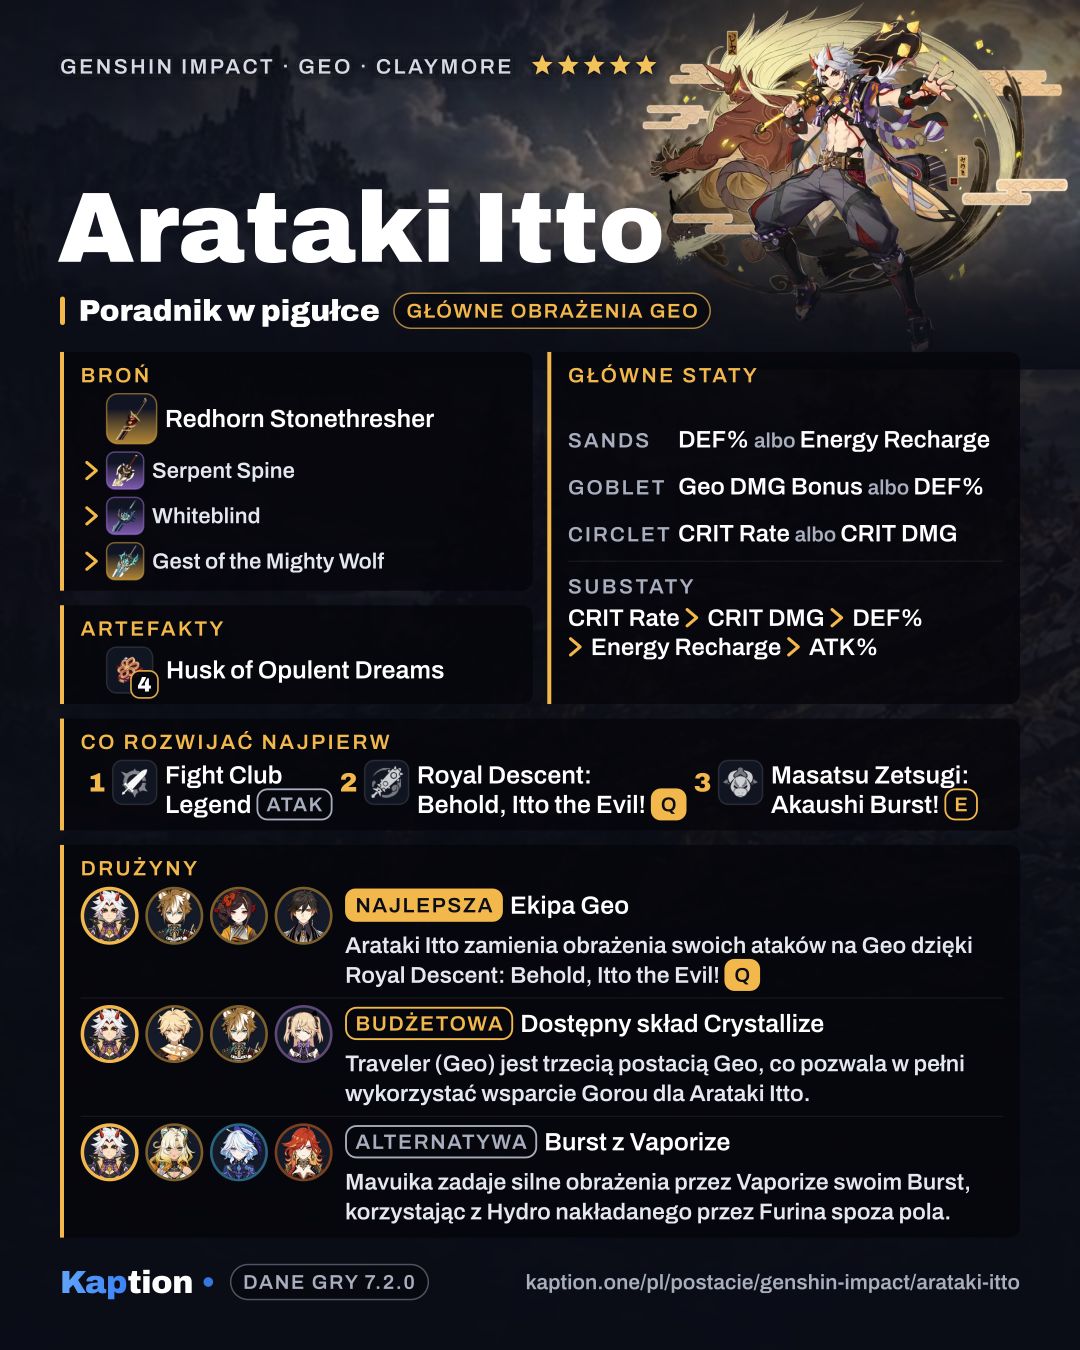
Start Itto's field time with Royal Descent: Behold, Itto the Evil!. It converts his attacks to Geo, increases Normal Attack speed and grants ATK based on DEF. The first and third Normal Attack hits also give one stack each. The state lowers his Elemental and Physical RES by 20% and ends if he leaves the field.
Throw Ushi with Masatsu Zetsugi: Akaushi Burst!. A hit grants one stack, and Ushi taunts nearby enemies. It gives another stack when damaged, at most once every two seconds, and one more when it leaves. Hold the Skill to aim; Ushi counts as a Geo construct, and only one can be on the field.
Use Fight Club Legend (NA) to fill the remaining stacks. The second hit gives one and the fourth gives two, up to a maximum of five. Sprinting or using the Skill does not immediately reset the combo, so you can fit either into it.
Hold Charged Attack to spend the stacks on Arataki Kesagiri. The final stack produces a stronger final slash. Consecutive slashes get faster and increase interruption resistance; stopping the sequence clears those effects. Without stacks, Itto uses a single Saichimonji Slash instead.
Build and why
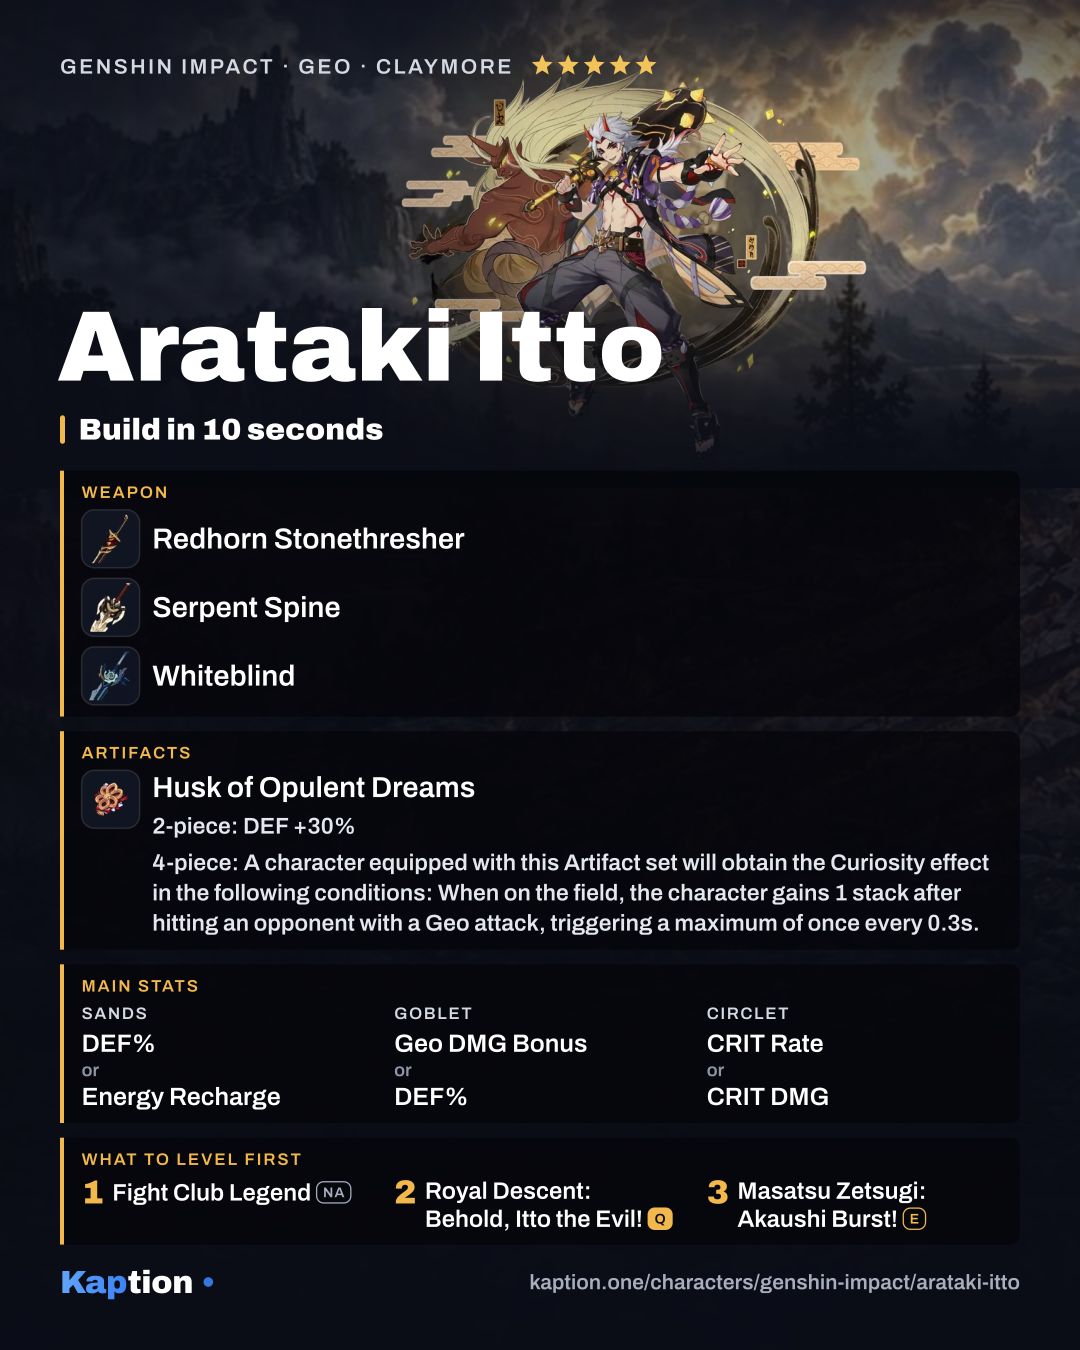
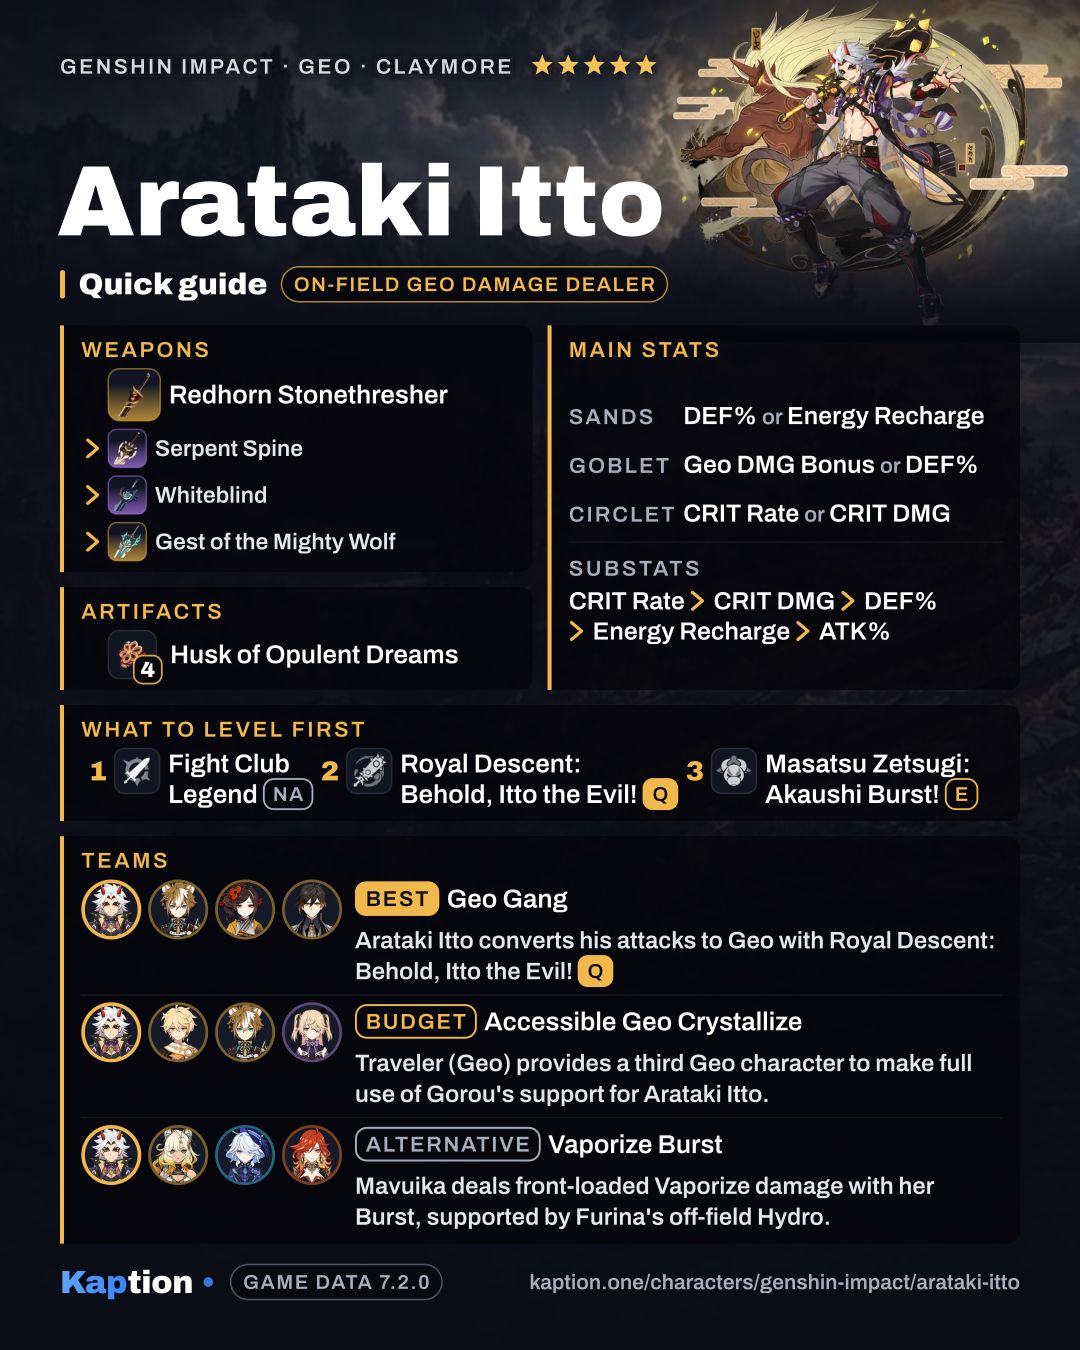
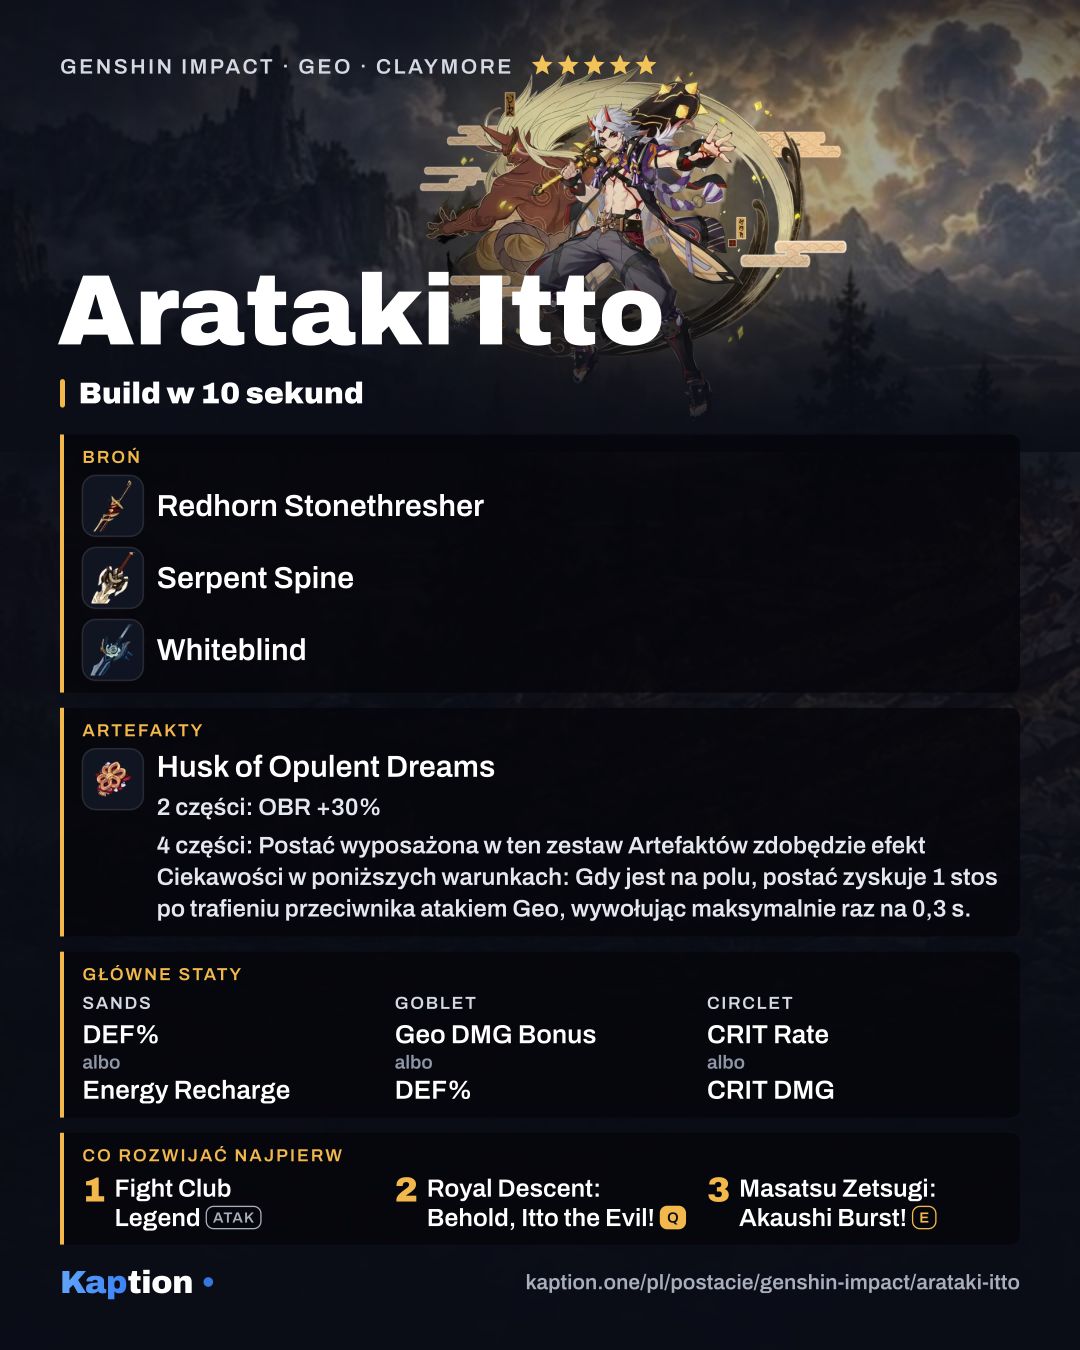
Use four pieces of Husk of Opulent Dreams. Its two-piece bonus gives 30% DEF. The four-piece effect builds up to four Curiosity stacks, each granting 6% DEF and 6% Geo DMG Bonus. Itto can gain stacks by hitting with Geo attacks on field or by spending time off field.
Retracing Bolide is an alternative if Itto has a shield: four pieces increase Normal and Charged Attack damage by 40% while shielded. Until you have a four-piece set, try two pieces of Husk of Opulent Dreams with two of Marechaussee Hunter for Normal and Charged Attack damage, or with two of Archaic Petra for Geo DMG Bonus.
For main stats, use DEF Percentage on the sands, Geo DMG Bonus on the goblet and CRIT Rate or CRIT DMG on the circlet. Energy Recharge is an alternative sands stat, and DEF Percentage can also go on the goblet. For substats, look for CRIT Rate, CRIT DMG, DEF Percentage and Energy Recharge; ATK Percentage is useful too. DEF helps both the Burst's ATK increase and Arataki Kesagiri damage.
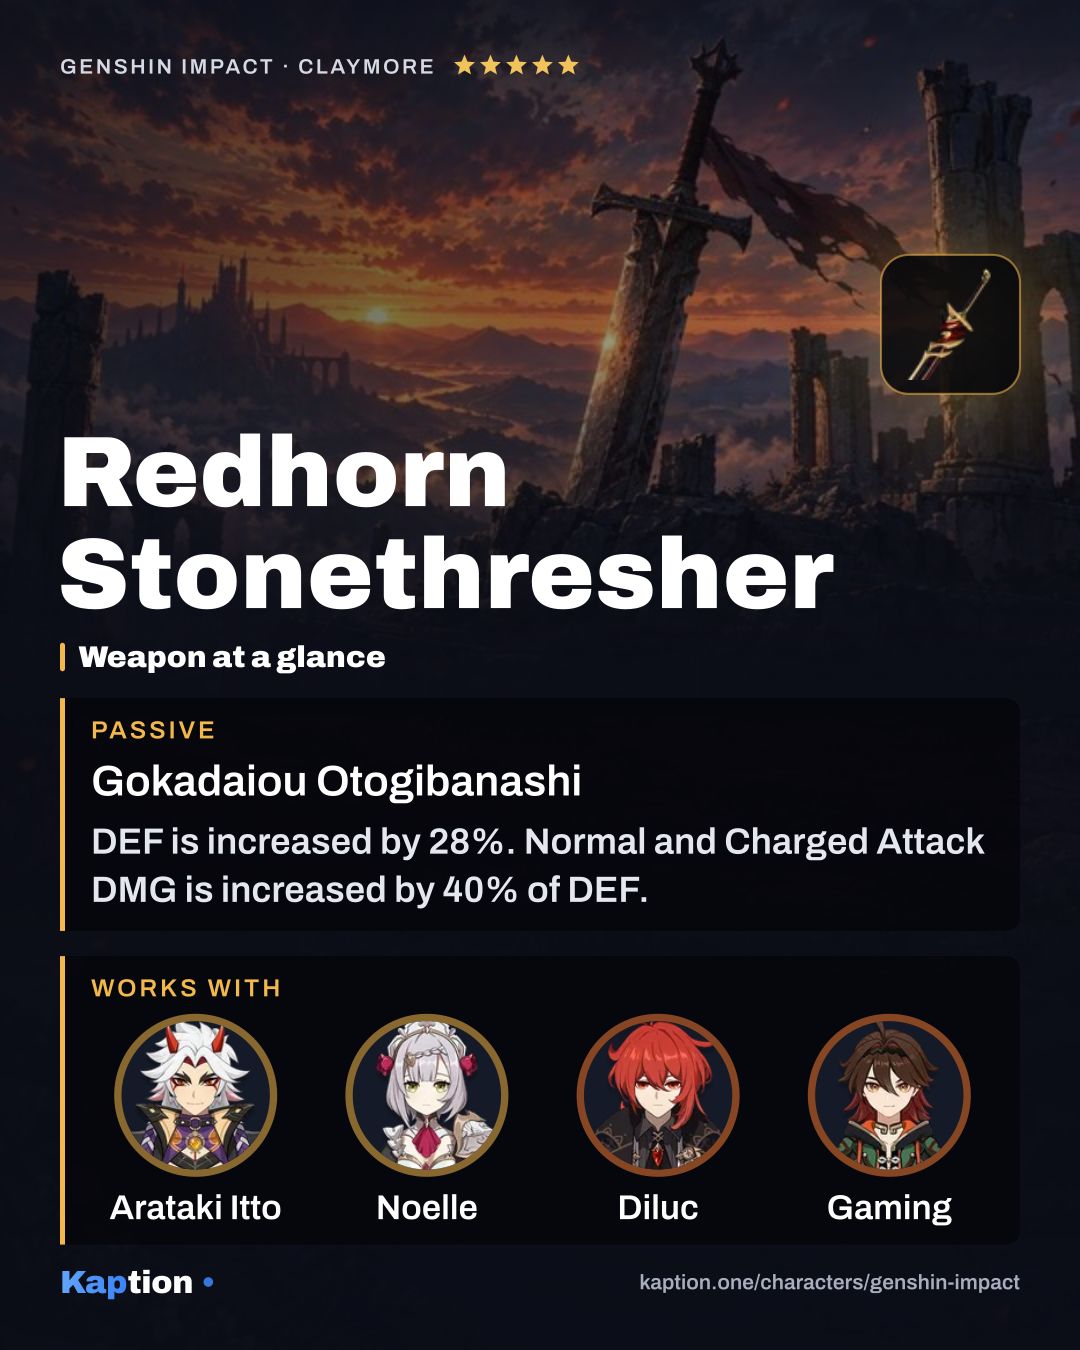
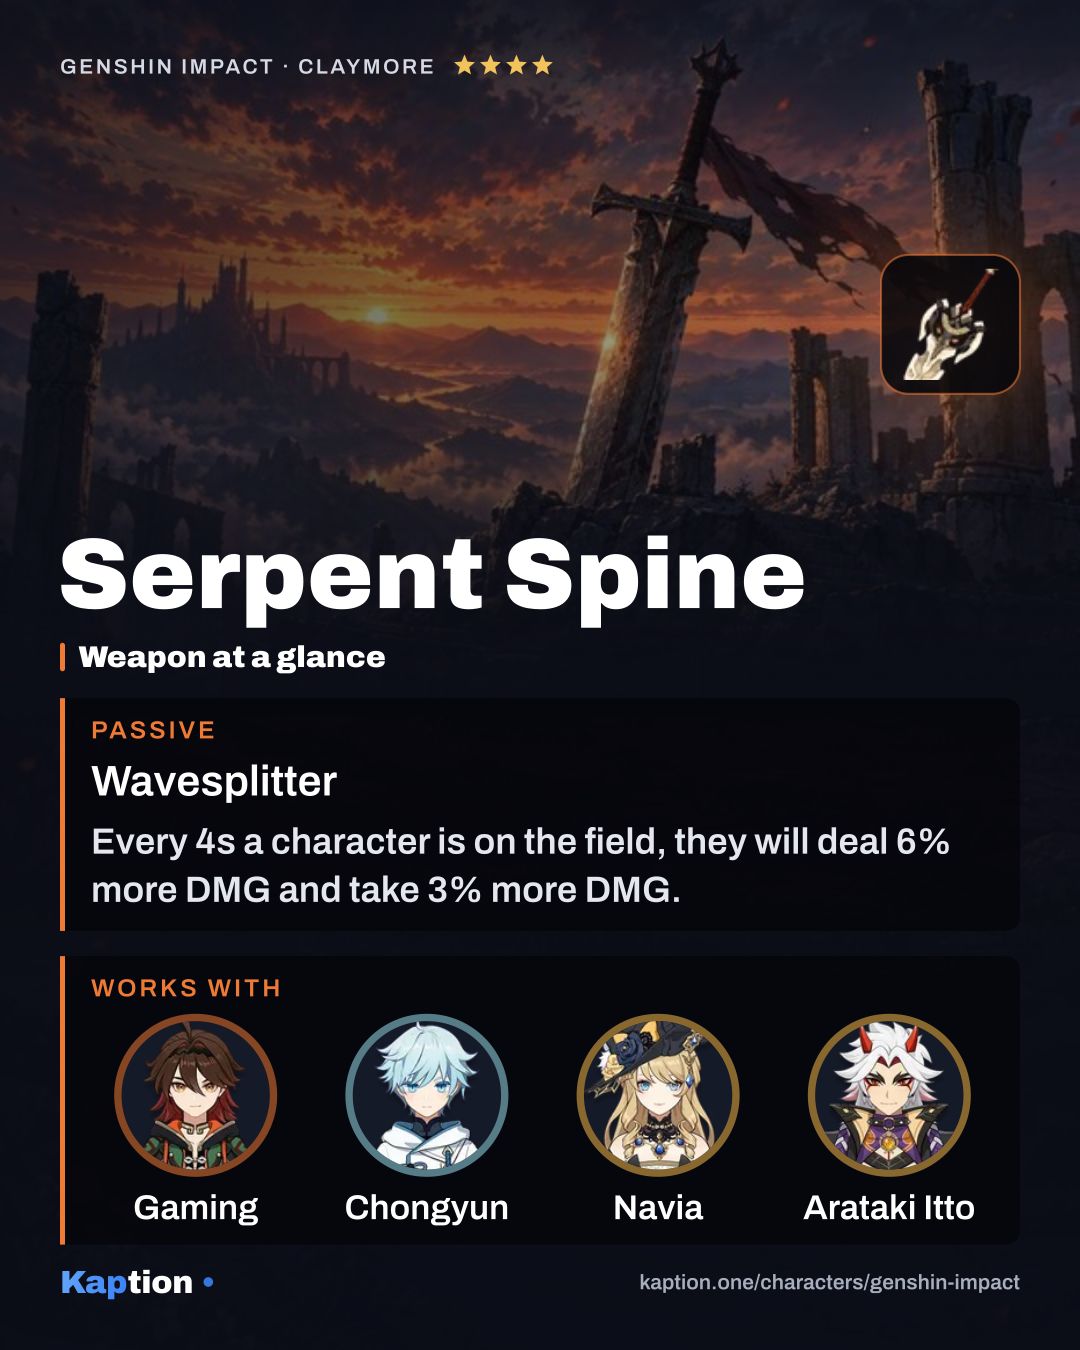
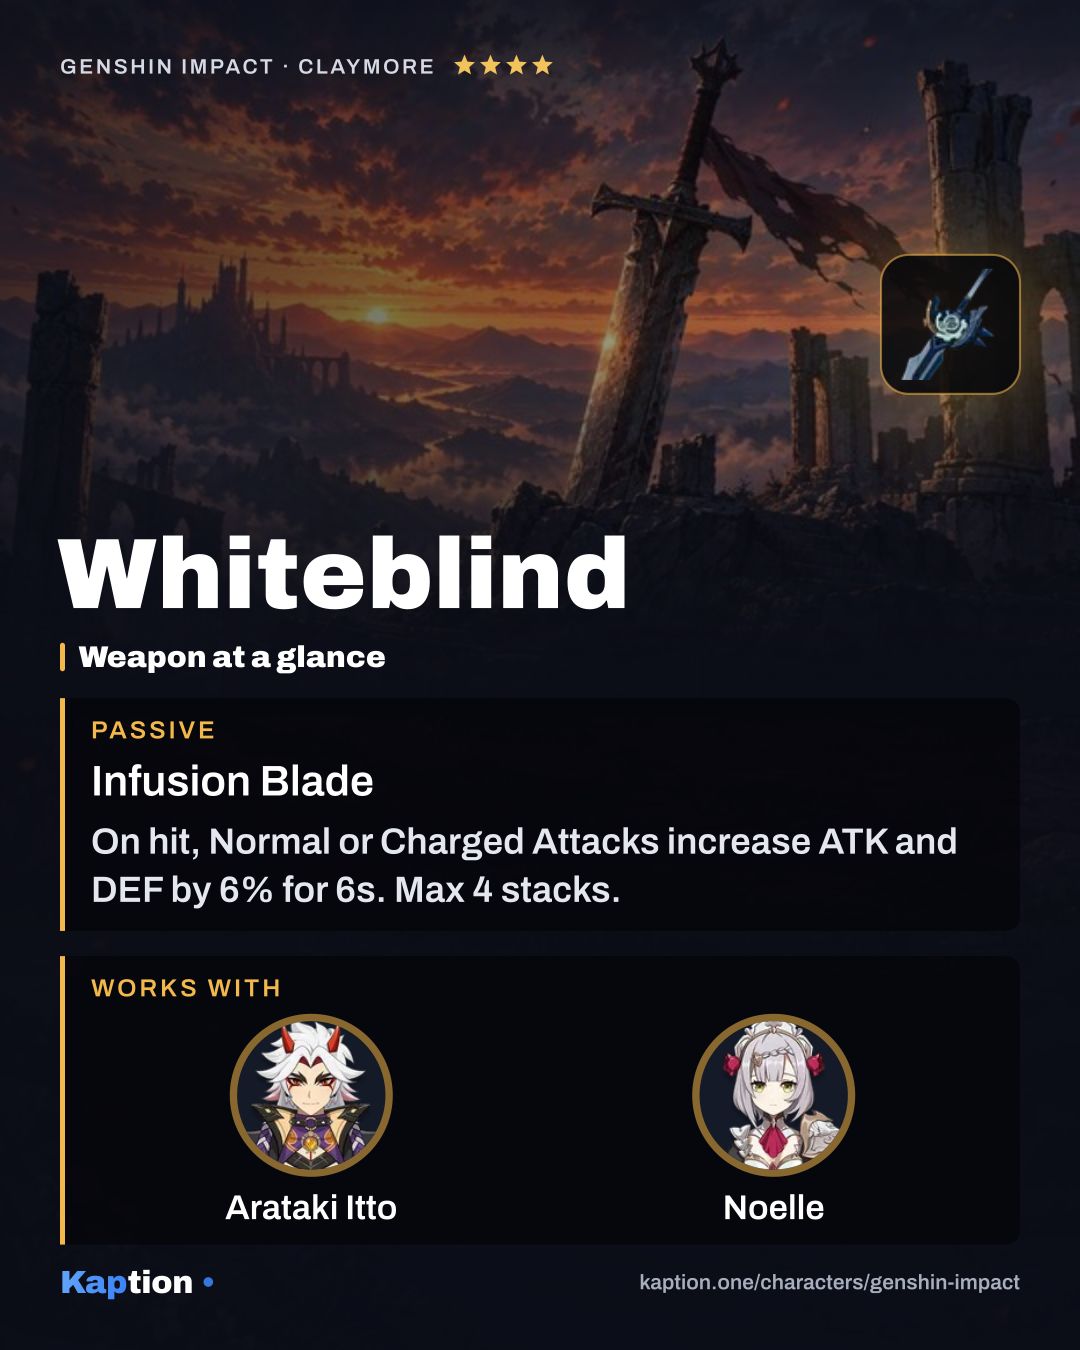
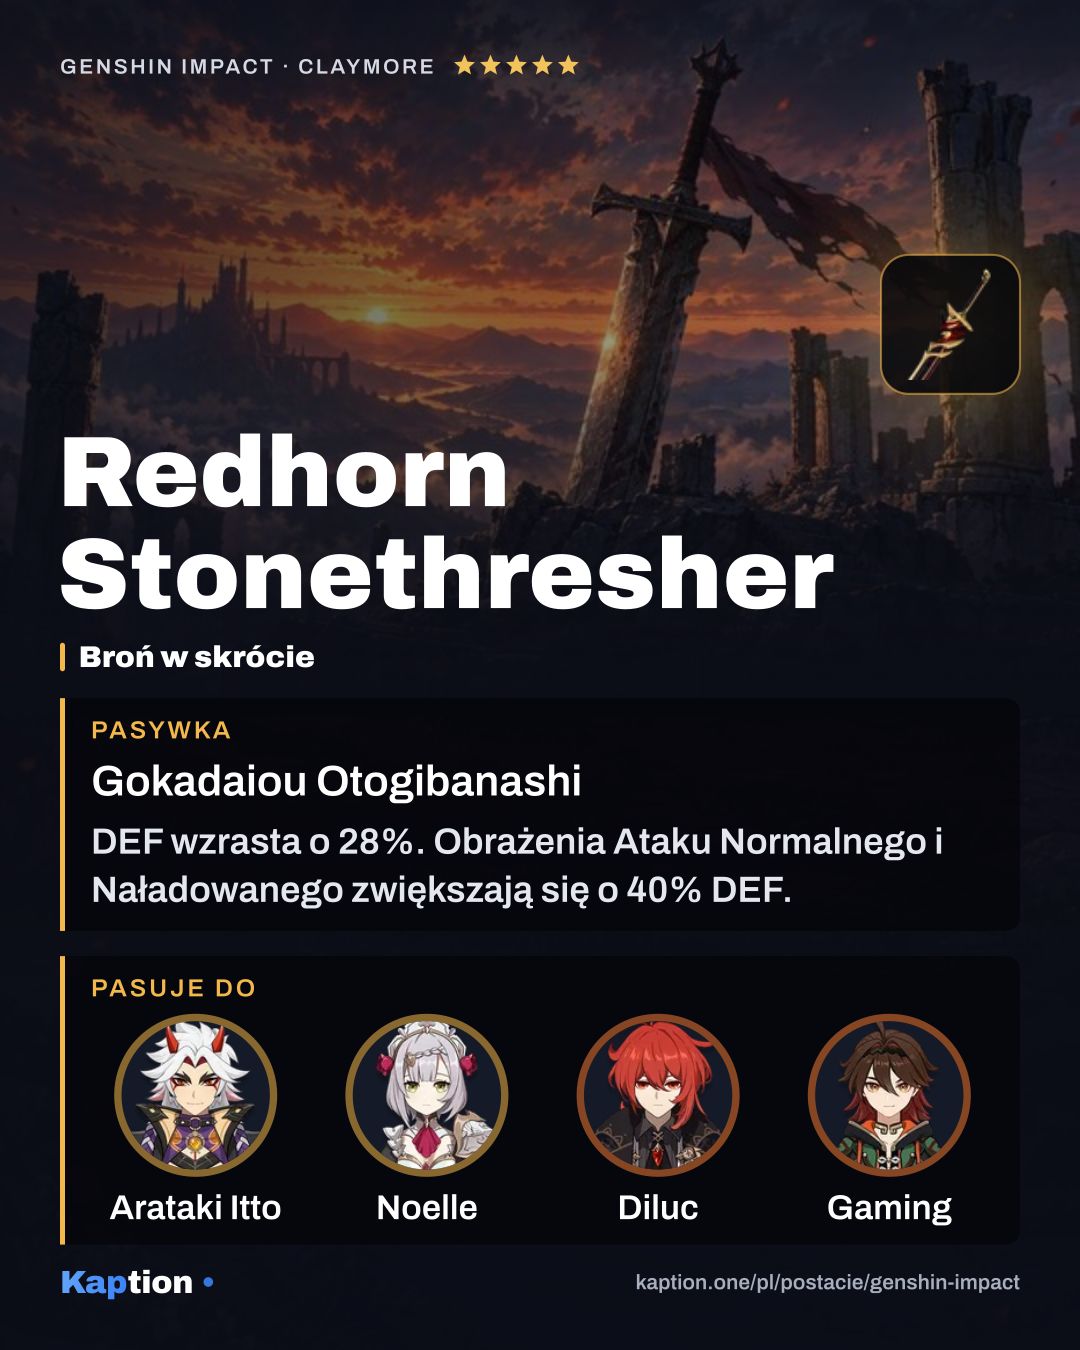
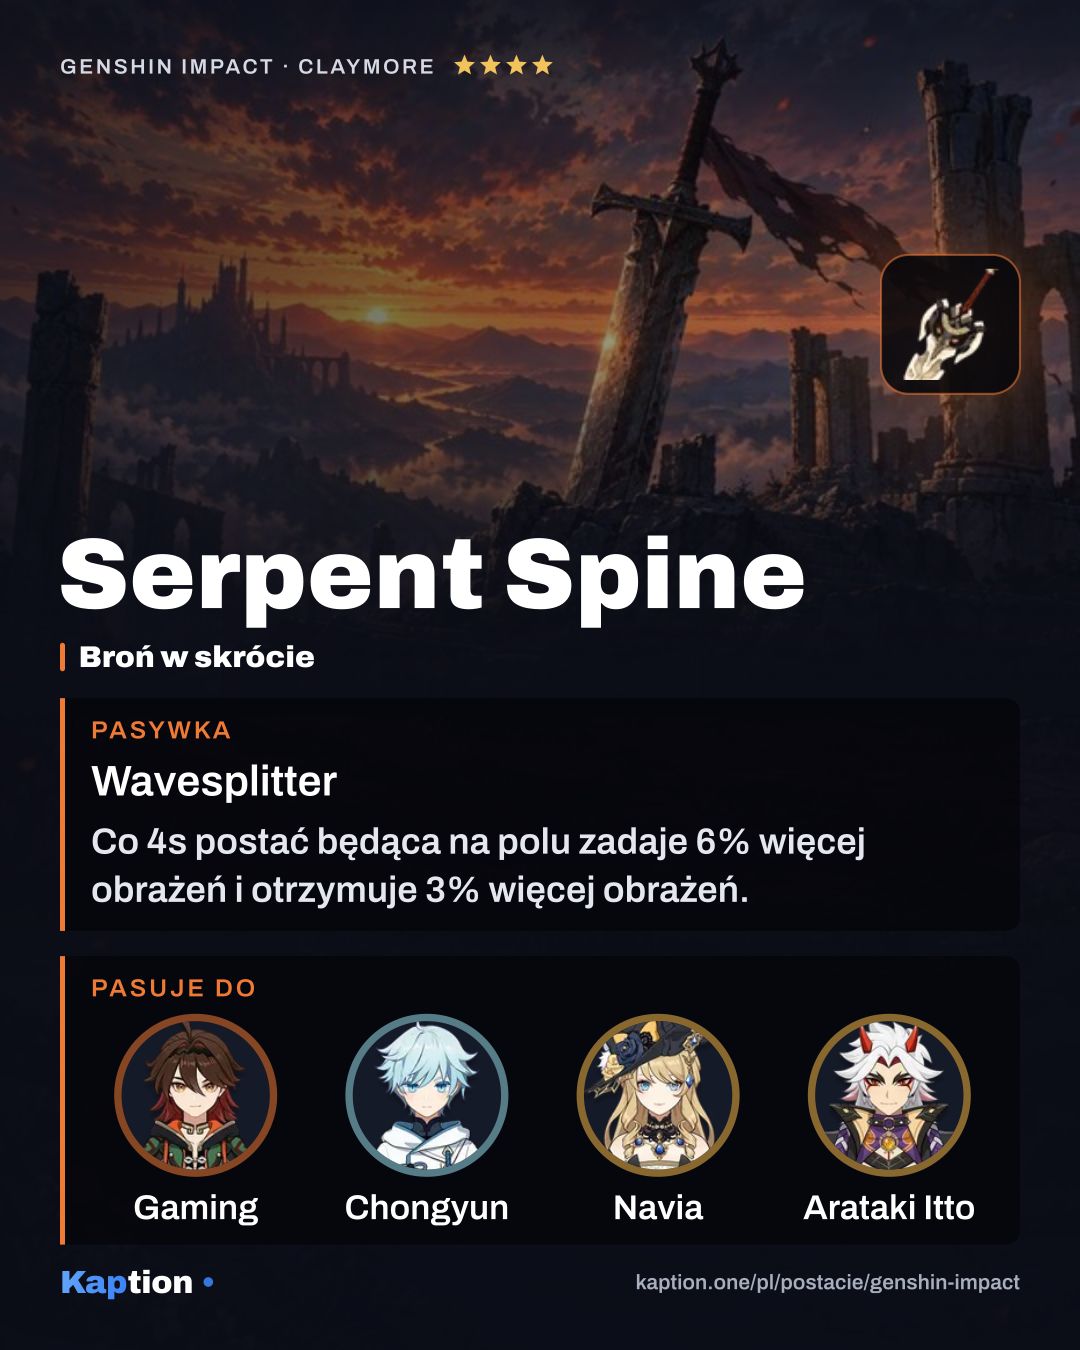
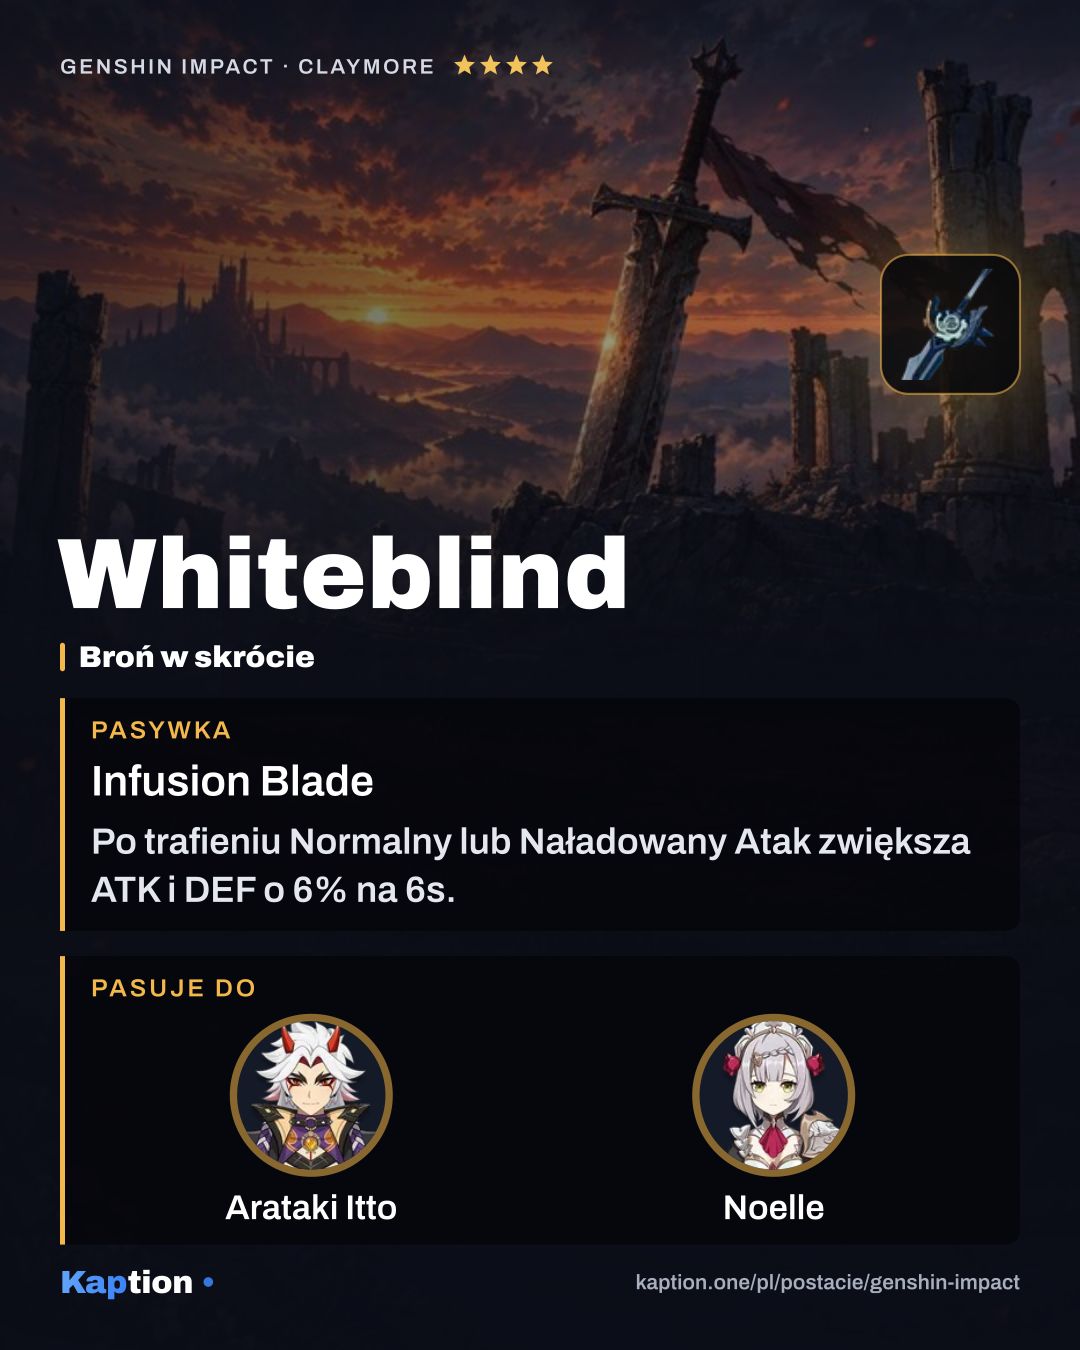
Redhorn Stonethresher is the first weapon choice: it increases DEF and adds Normal and Charged Attack damage based on DEF. Serpent Spine is next; it builds damage while Itto is on field, but also makes him take more damage and loses a stack when he takes damage. Whiteblind is another option, gaining ATK and DEF stacks from Normal or Charged Attack hits.
Leveling priority
I'd level Normal Attack first because it contains the Charged Attack sequence Itto spends his stacks on. Level Burst next for his on-field state, then Skill for Ushi's Geo damage. This order is a suggestion rather than a fixed requirement.
For maximum ascension, gather 420,000 Mora, 168 Onikabuto, 1 Prithiva Topaz Sliver, 9 Prithiva Topaz Fragment, 9 Prithiva Topaz Chunk, 6 Prithiva Topaz Gemstone and 46 Riftborn Regalia. You also need 18 Slime Condensate, 30 Slime Secretions and 36 Slime Concentrate.
For all skills to their maximum levels, the separate total is 4,957,500 Mora, 3 Crown of Insight, 9 Teachings of Elegance, 63 Guide to Elegance, 114 Philosophies of Elegance and 18 Ashen Heart. That also requires 18 Slime Condensate, 66 Slime Secretions and 93 Slime Concentrate.
Constellations worth it
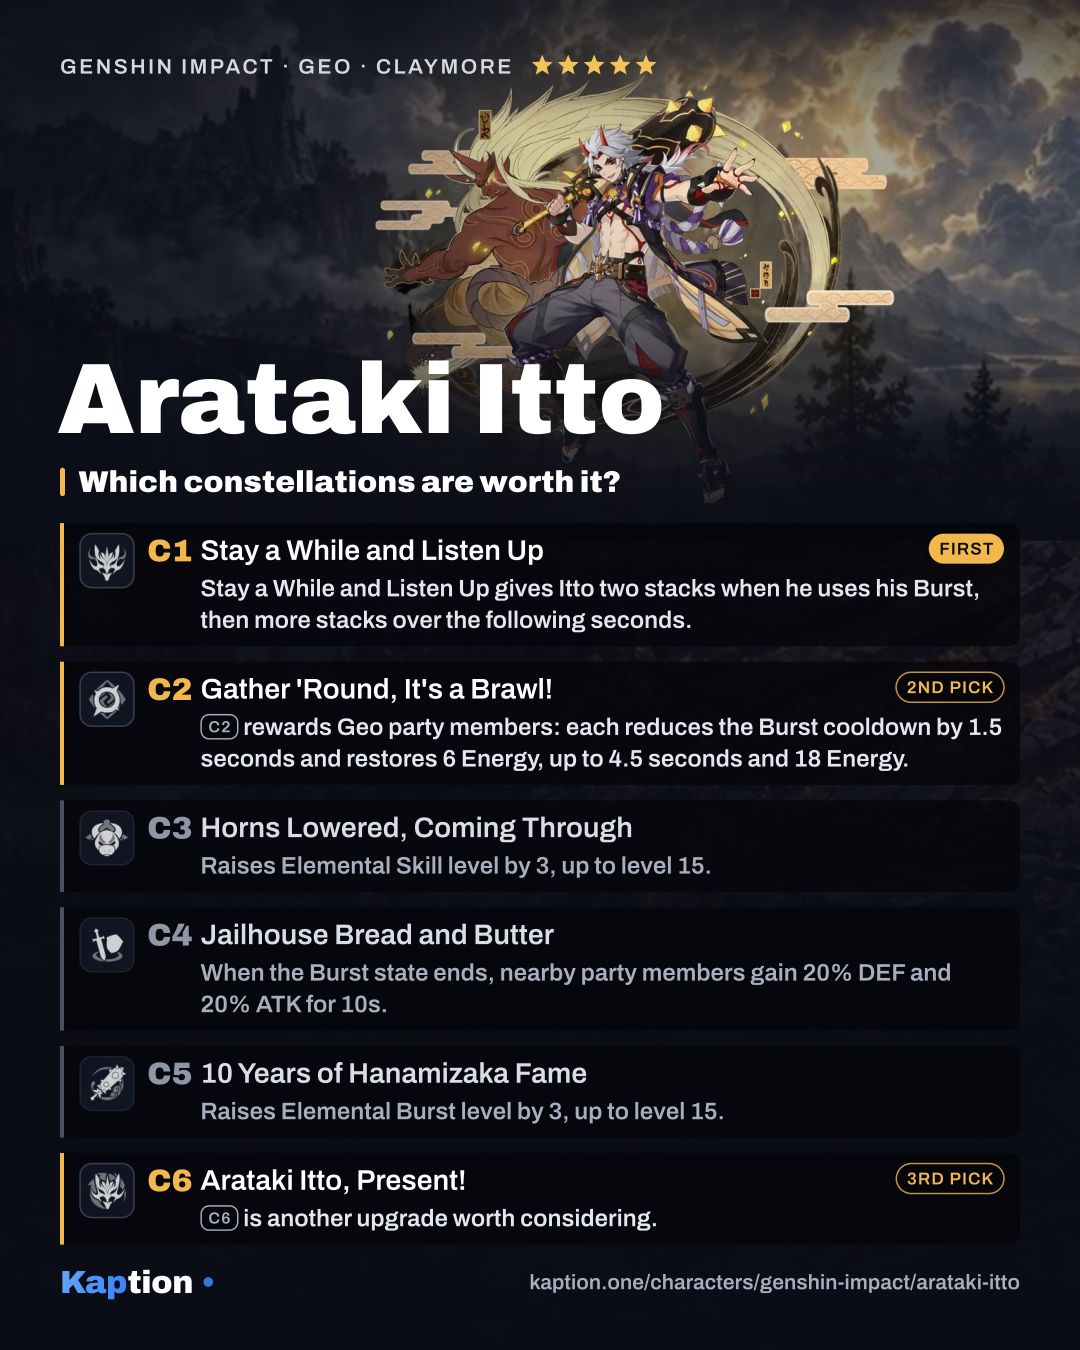
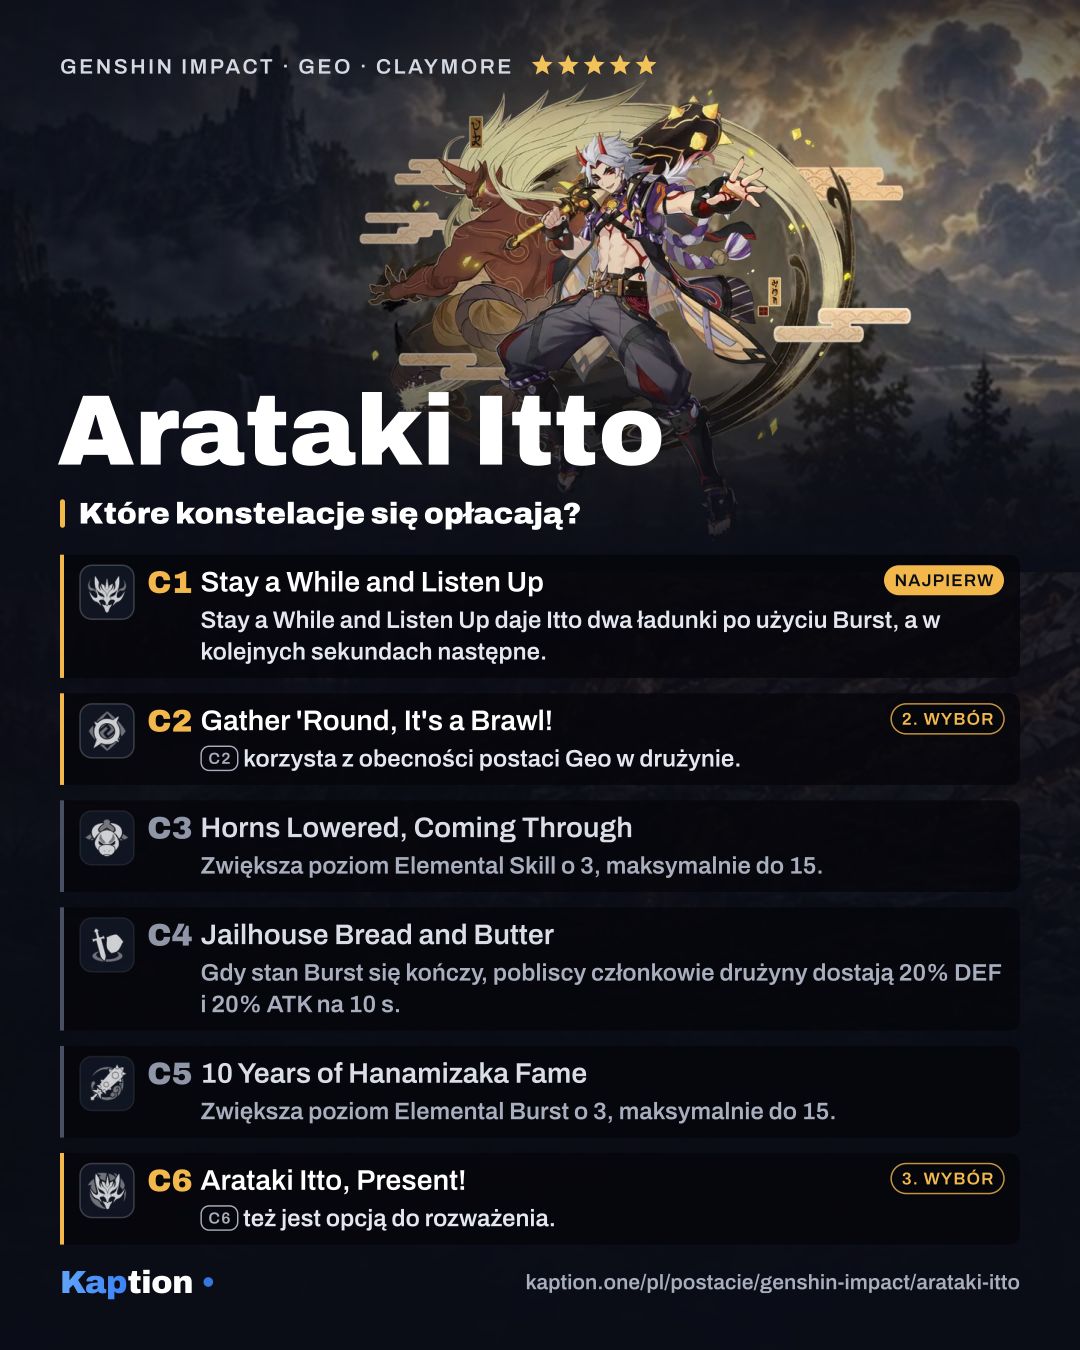
Stay a While and Listen Up gives Itto two stacks when he uses his Burst, then more stacks over the following seconds. It makes it easier to start spending stacks during his field time.
Gather 'Round, It's a Brawl! rewards Geo party members: each reduces the Burst cooldown by 1.5 seconds and restores 6 Energy, up to 4.5 seconds and 18 Energy. It is especially useful to consider when building around Geo teammates.
Arataki Itto, Present! is another upgrade worth considering. It adds 70% CRIT DMG to Charged Attacks, and each Arataki Kesagiri has a 50% chance not to consume a stack. C3 and C5 raise Skill and Burst levels, while C4 gives nearby party members 20% DEF and 20% ATK for 10 seconds after the Burst state ends. You can stop before those upgrades if they are not your goal, though you must unlock them on the way to C6.
Common mistakes
Do not switch Itto out early during his Burst: the state ends when he leaves the field. Set up the rest of the team before giving him his turn, and watch his health because the state lowers his resistances.
Do not hold Charged Attack expecting an Arataki Kesagiri sequence when you have no stacks. Use Normal Attack hits and Ushi to refill them, and remember the five-stack cap. You can sprint without immediately losing your Normal Attack combo.
Do not ignore Energy Recharge if getting the Burst back is a problem. Also, do not count on the four-piece Retracing Bolide damage bonus without a shield, or on Serpent Spine stacks staying intact after Itto takes damage.