

Guide
How the kit works
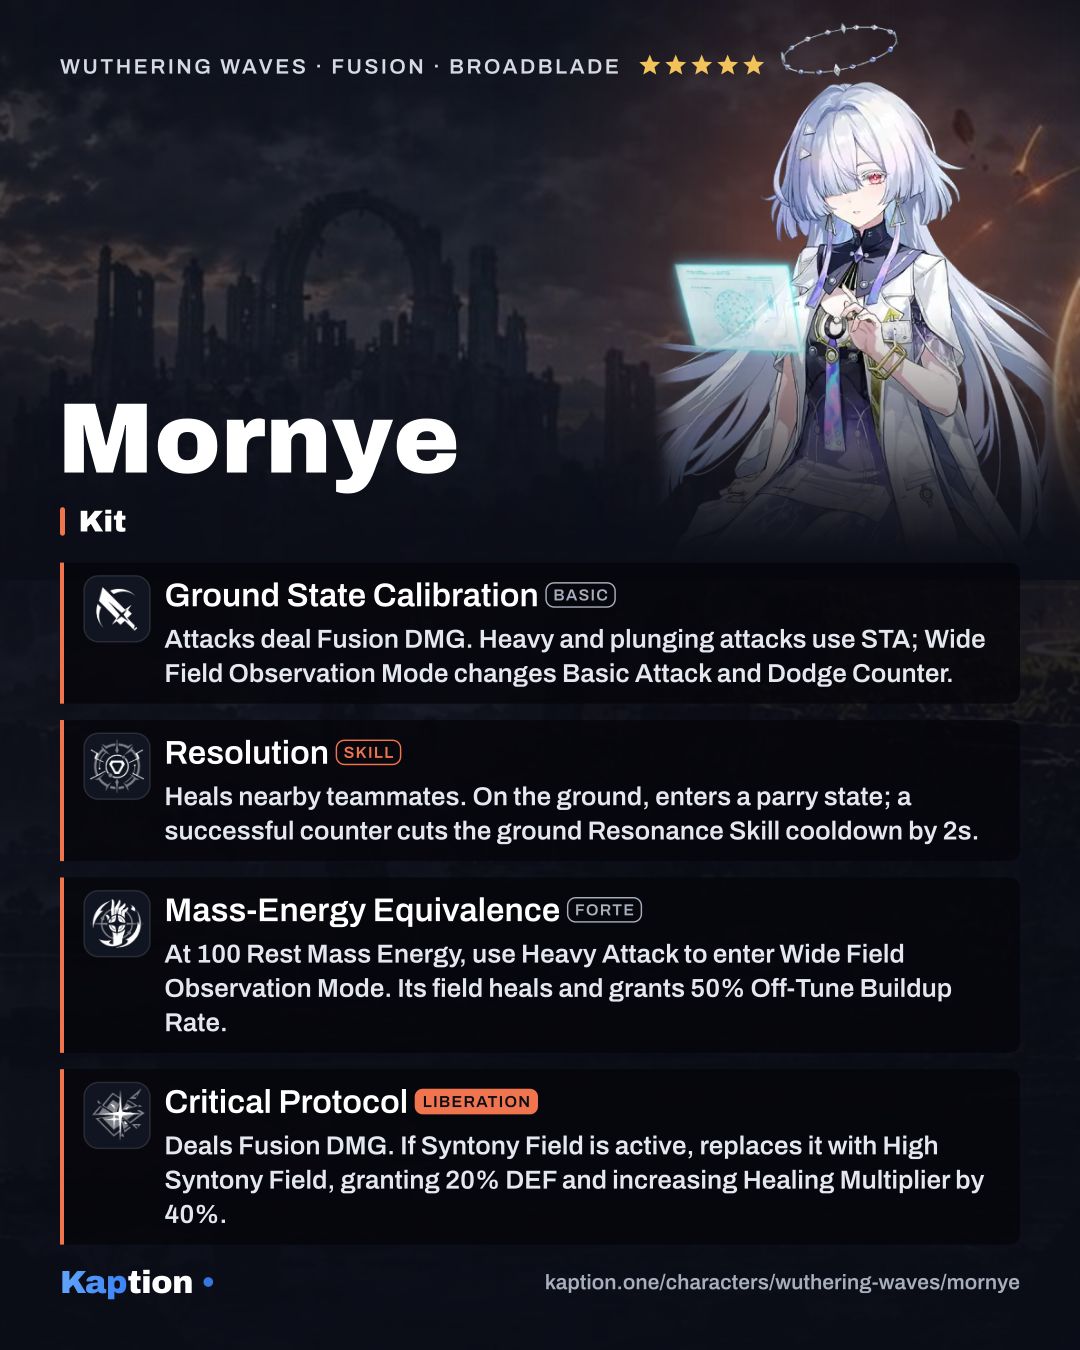
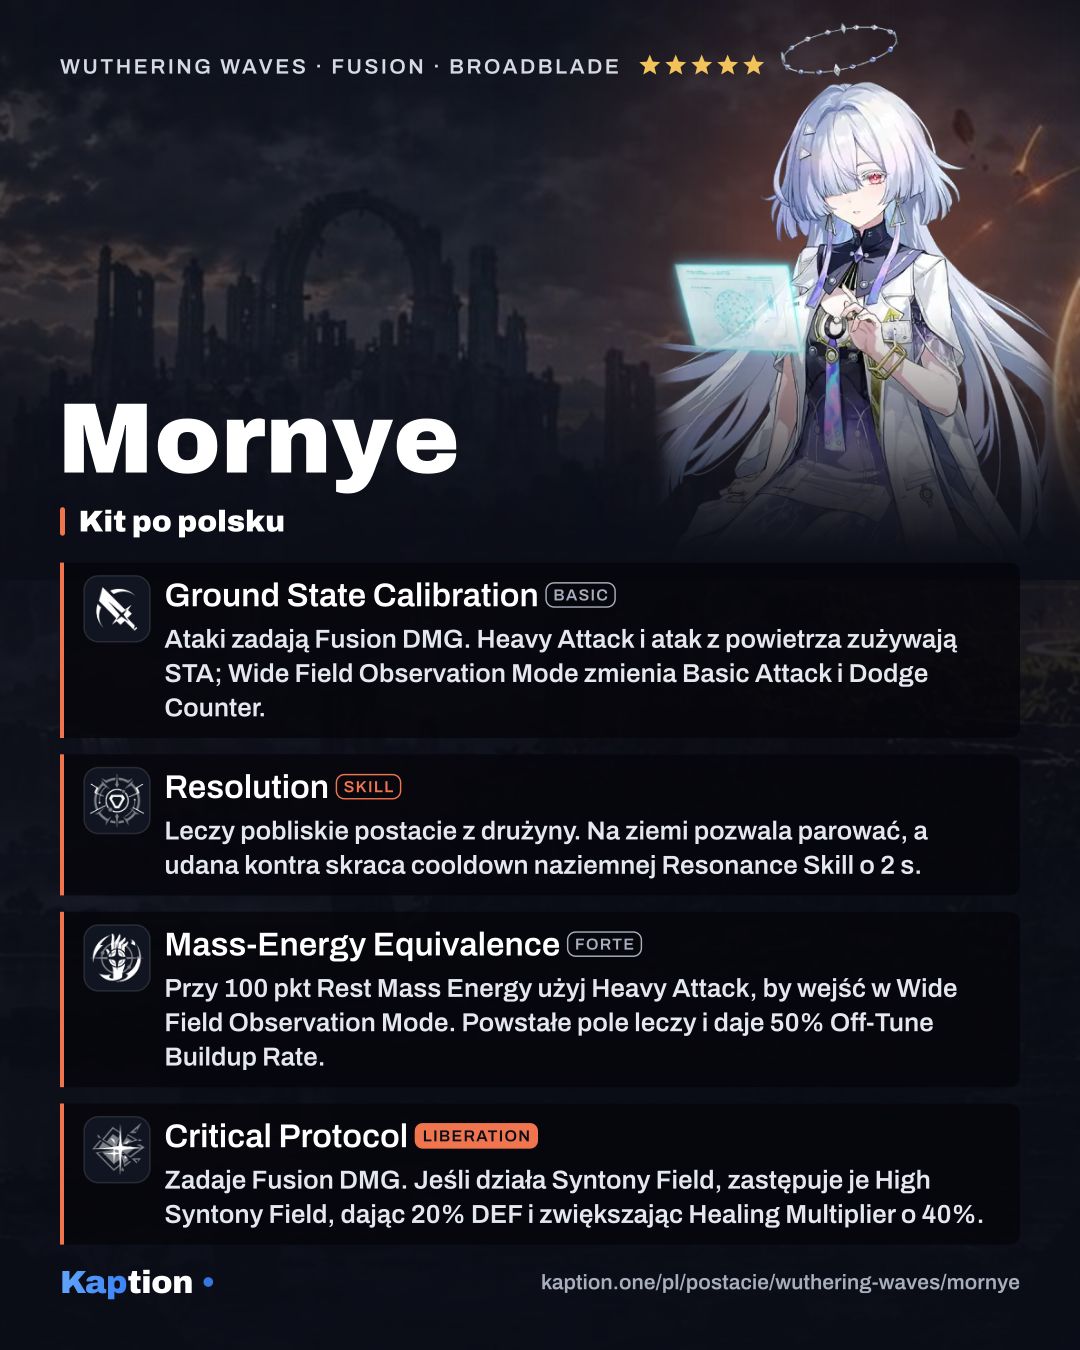
On the ground, use attacks to build Rest Mass Energy. Resonance Skill - Expectation Error (Skill) heals nearby teammates and puts Mornye in a parry state with 100% damage reduction for a time. If hit, she counters with Resonance Skill - Optimal Solution (Skill); switching characters ends the parry.
At 100 Rest Mass Energy, use Heavy Attack - Geopotential Shift (Forte) to enter Wide Field Observation Mode. Intro Skill - Convergence (Intro) also enters that mode. Either route creates a Syntony Field for 25 seconds: it heals the nearby active ally every 3 seconds, raises nearby allies' Off-Tune Buildup Rate by 50% and improves the active ally's interruption resistance.
In the air, attacks and Resonance Skill - Distributed Array (Skill) build Relative Momentum. At 100, use Heavy Attack - Inversion (Forte) to apply Observation Marker for 30 seconds. When a teammate deals Tune Break DMG to that target, it gains Interfered Marker for 8 seconds. It then takes increased team damage while affected by Tune Rupture - Interfered or Tune Strain - Interfered.
Cast Critical Protocol while Syntony Field is present to replace it with High Syntony Field. The new field keeps its effects, raises nearby allies' DEF by 20% and increases its Healing Multiplier by 40%. Finish by switching with Recursion, which gives the team 25% All DMG Amplification for 30 seconds.
Build and why
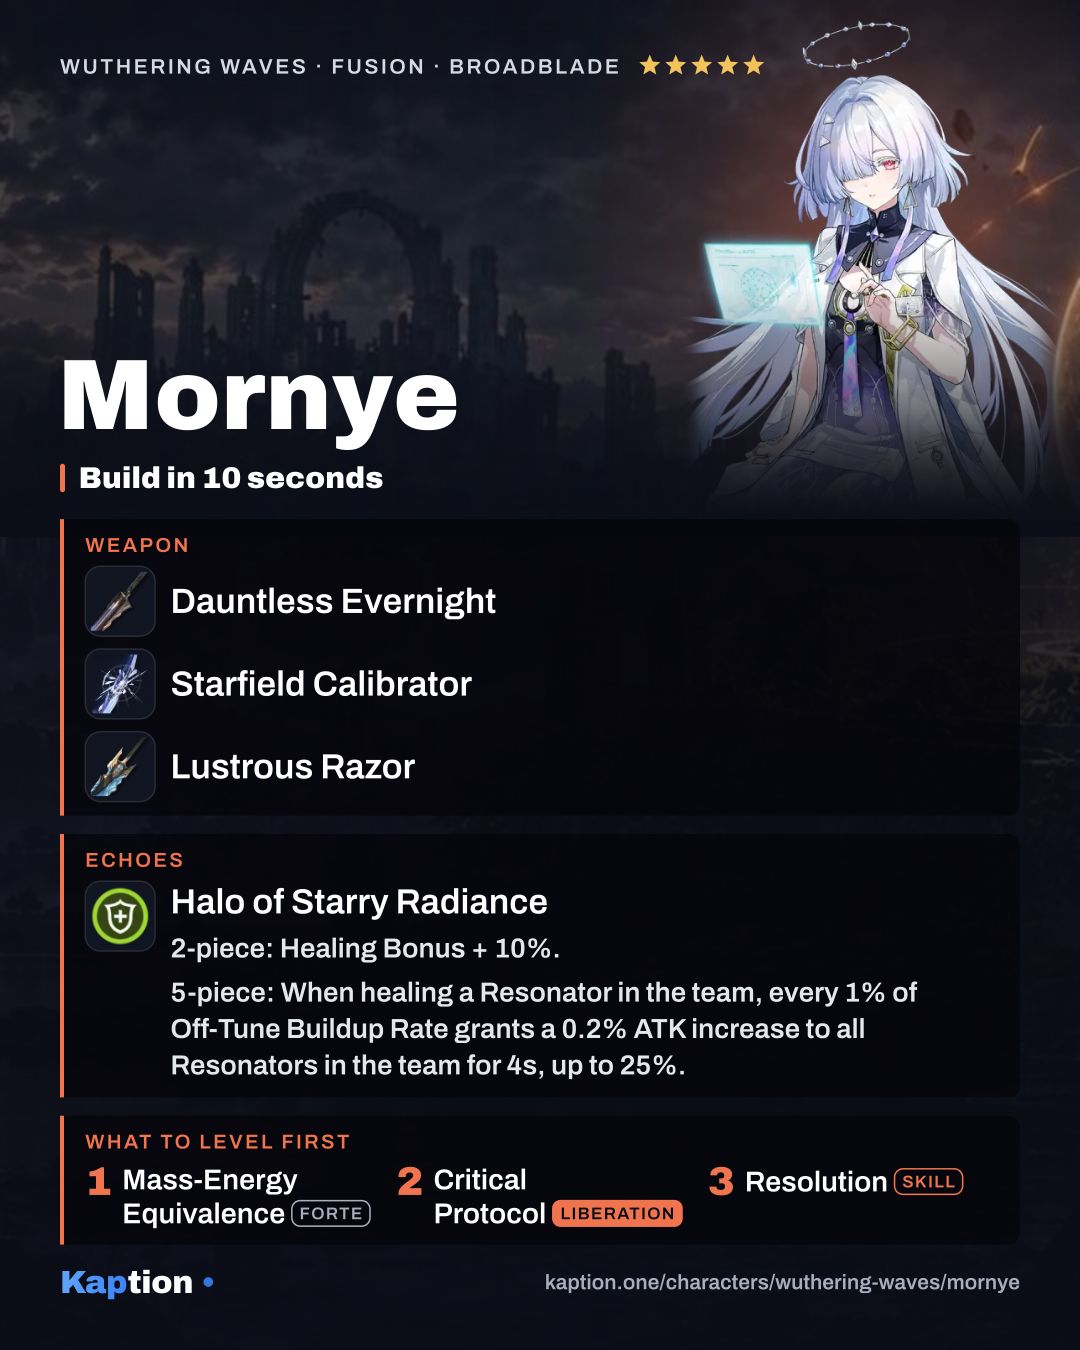
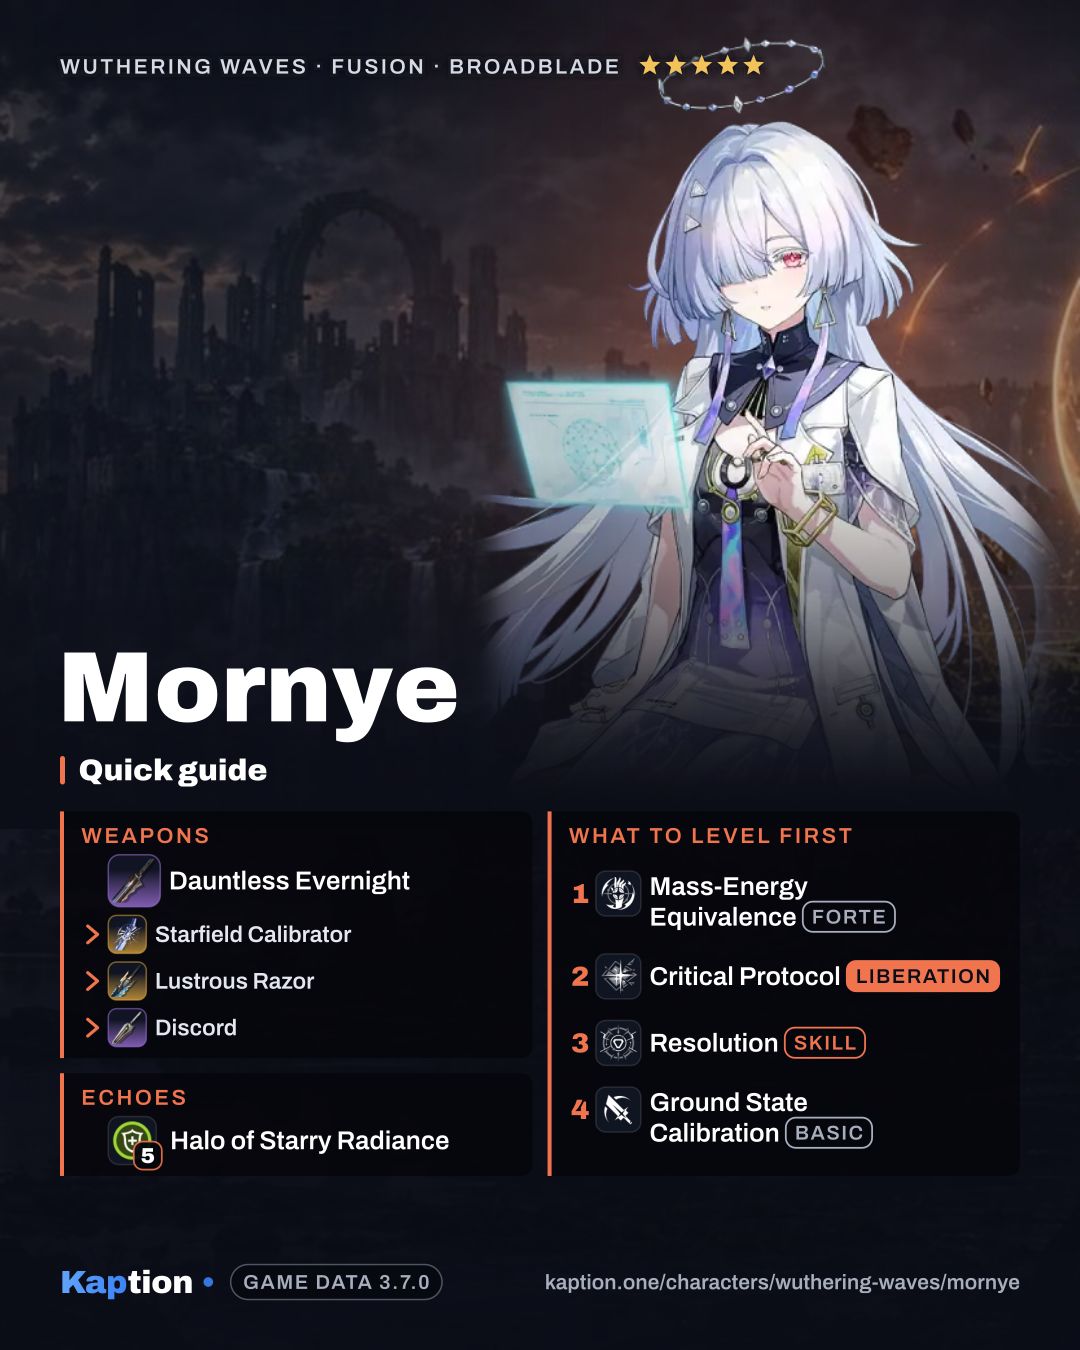
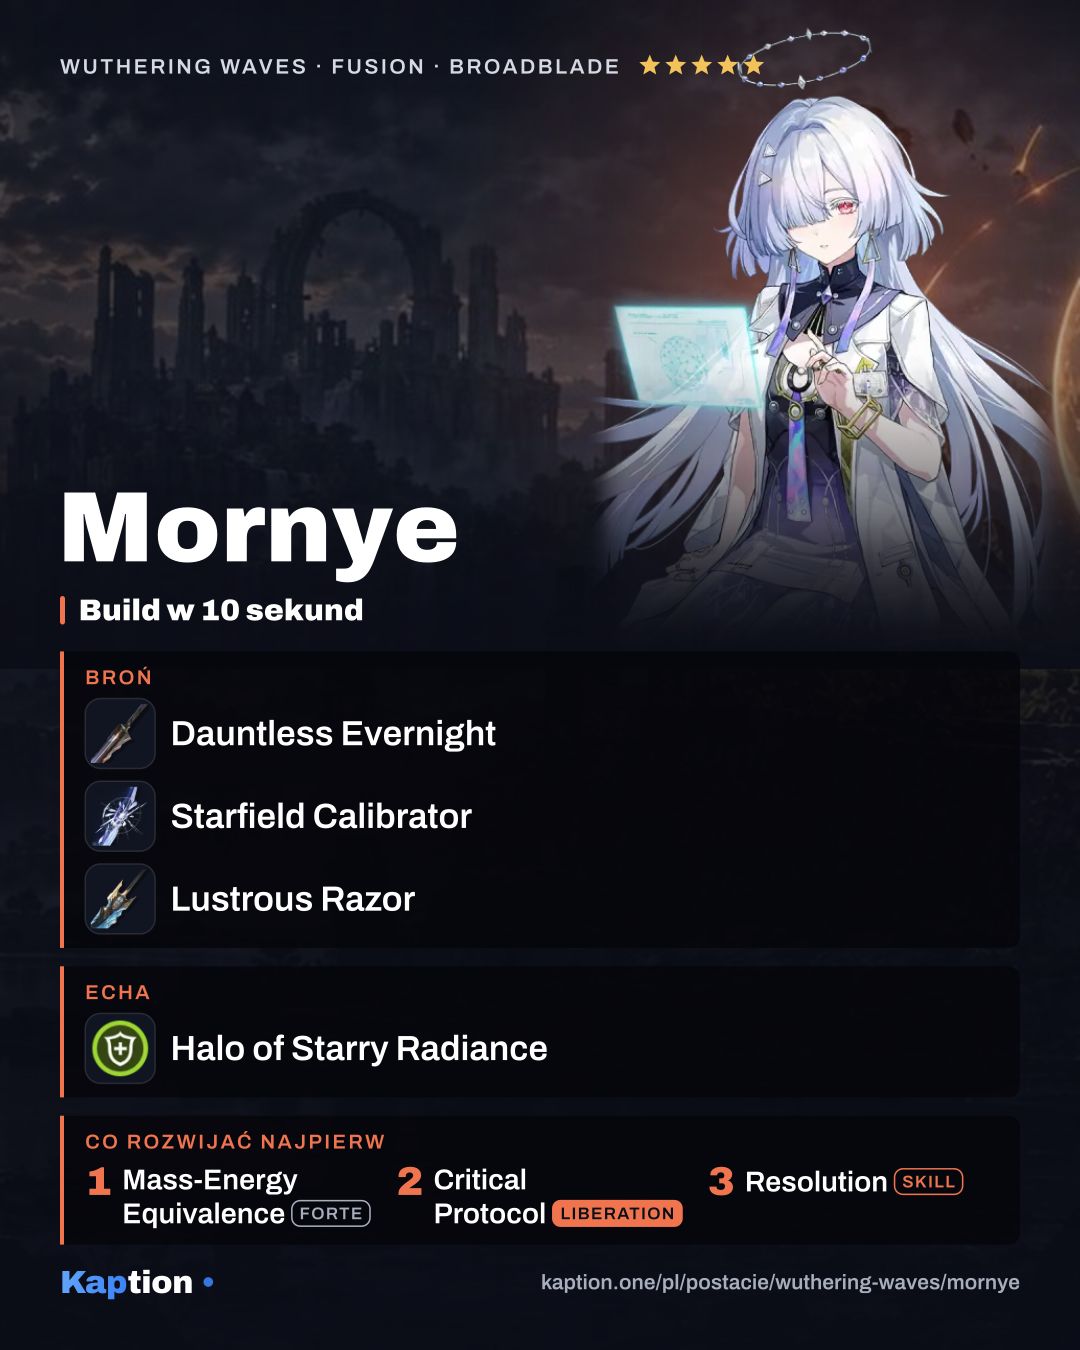
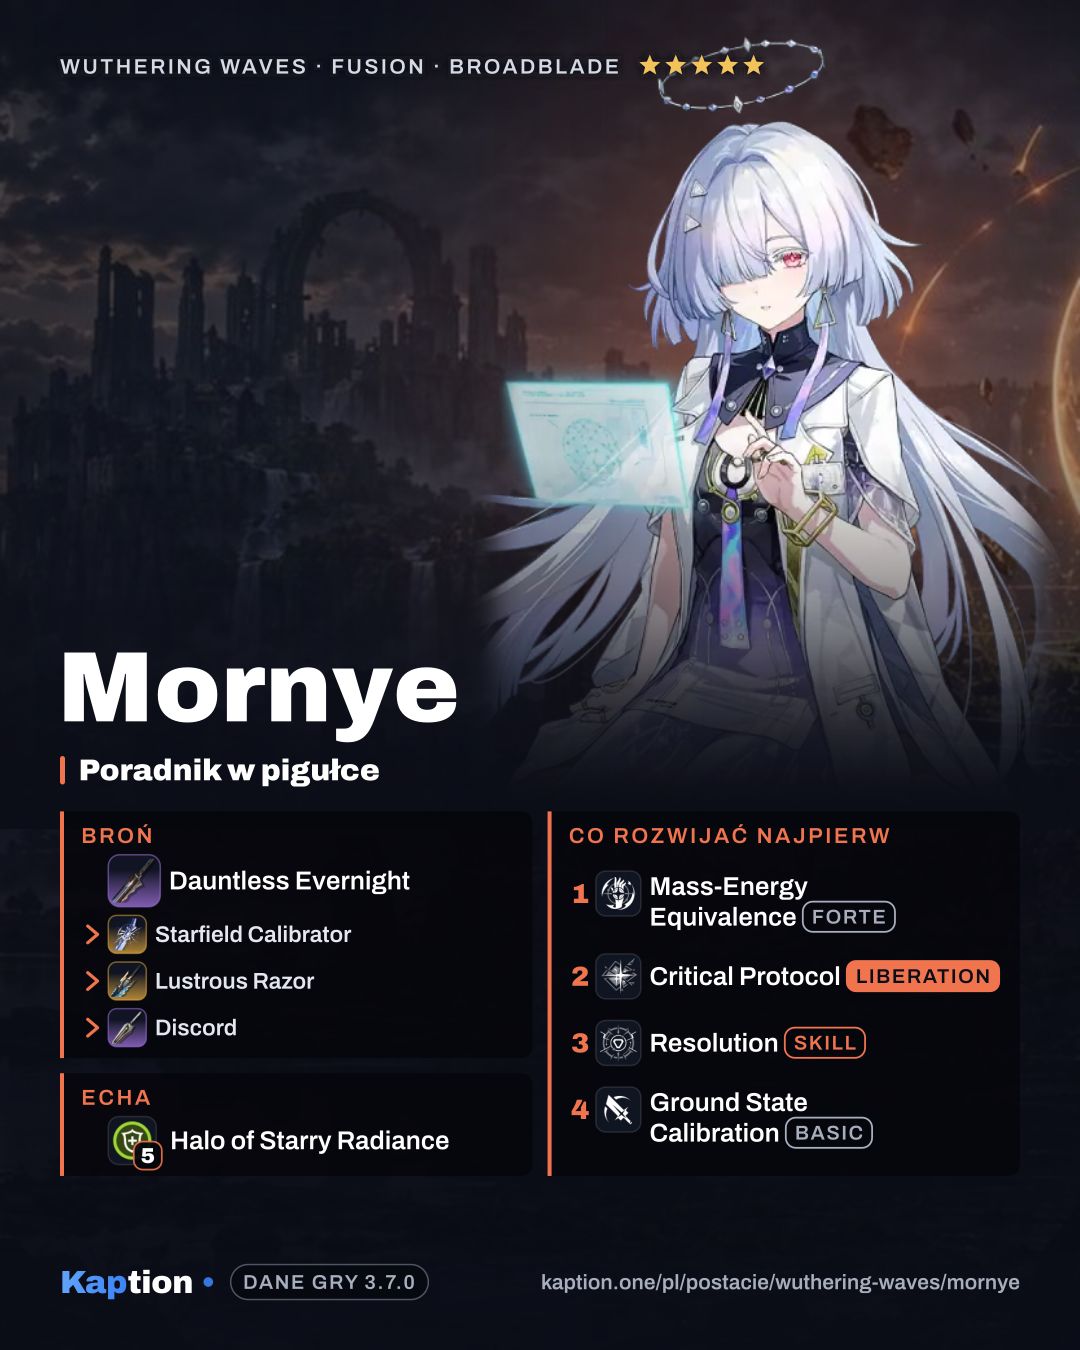
Use five pieces of Halo of Starry Radiance. Its listed two-piece effect gives 10% Healing Bonus, which suits Mornye's healing. Rejuvenating Glow is another option with the same listed two-piece bonus. The data does not describe either five-piece effect, so check it in game before choosing between them.
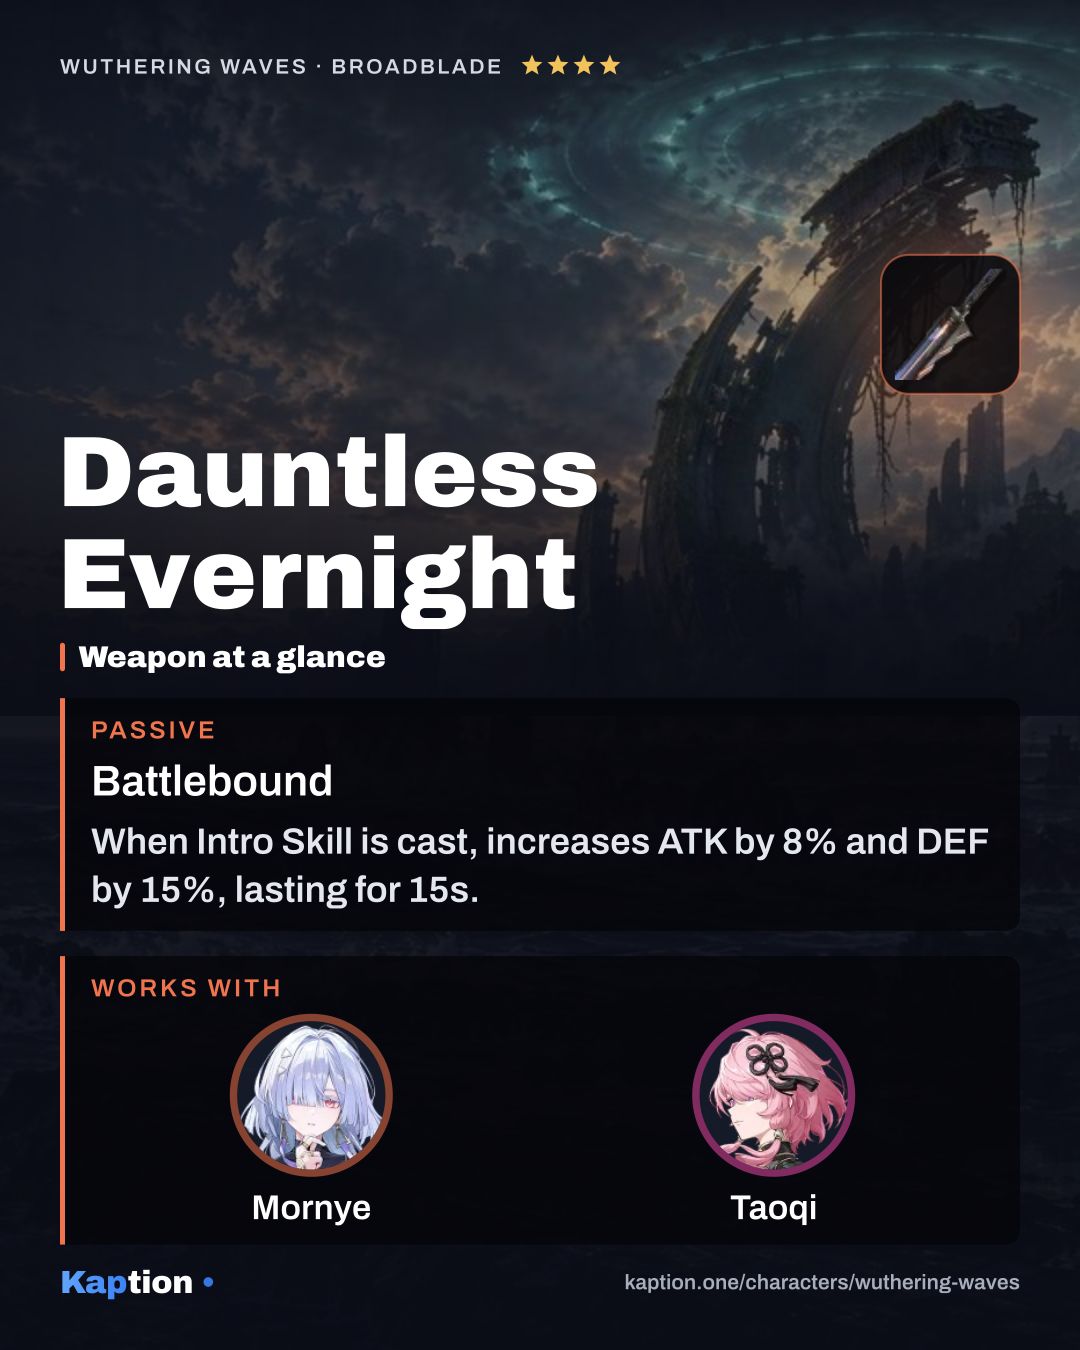
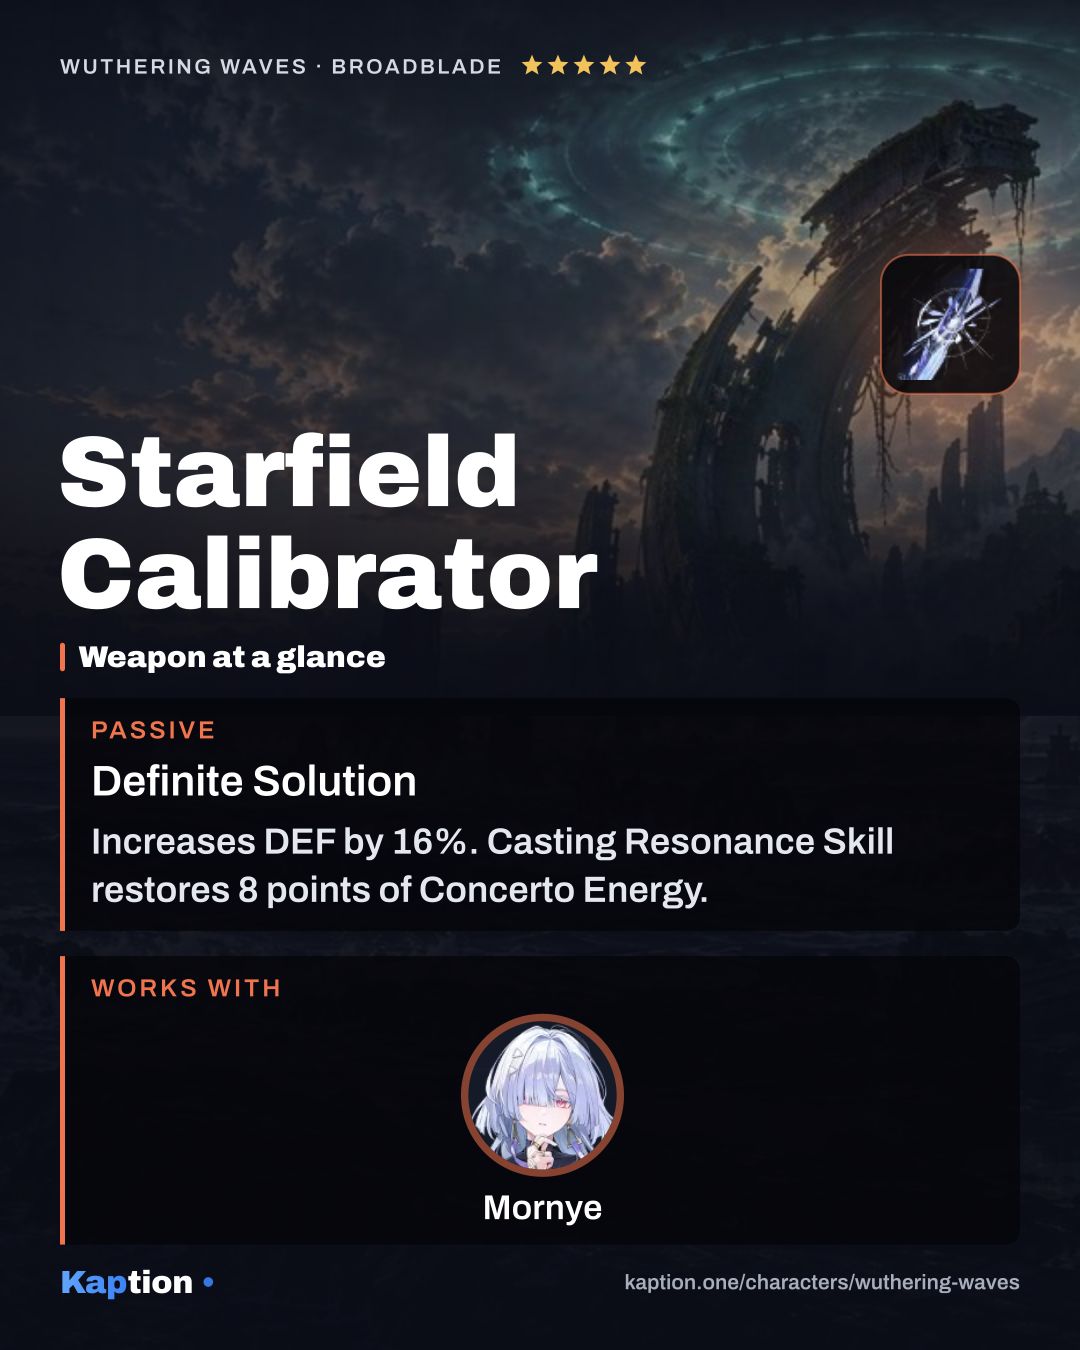
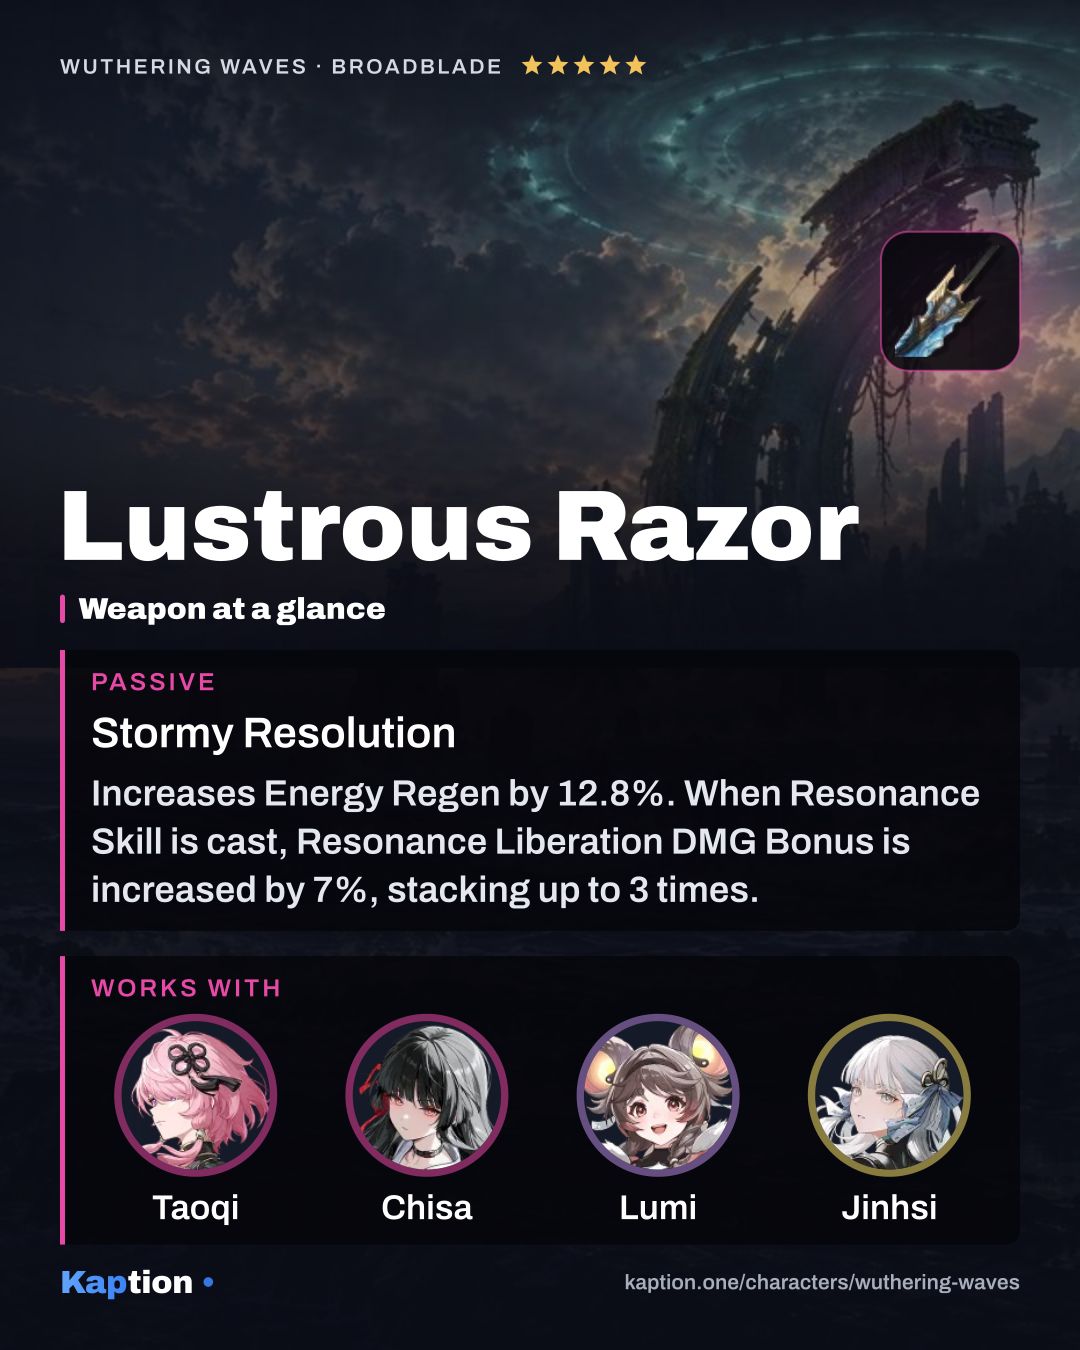
Starfield Calibrator is the first weapon choice. It gives 16% DEF, restores 8 Concerto Energy when a Resonance Skill is cast, once every 20 seconds, and gives nearby teammates 20% Crit. DMG for 4 seconds when its wielder heals. Discord is a four-star option that restores the same amount of Concerto Energy on a Skill with the same cooldown. Dauntless Evernight is another option: its DEF increase lasts 15 seconds after an Intro.
Look for Energy Regen. Every 1% above 100% adds 0.25% to the Interfered Marker damage increase, up to 40%. DEF is also worth considering because the healing when Proof of Boundedness is removed scales with it.
Leveling priority
A suggested order is Mass-Energy Equivalence, Critical Protocol, Resolution, Ground State Calibration, then Convergence. The Forte contains the field and marker mechanics you build the rotation around. Liberation upgrades the field, while the Skill supplies healing and helps build momentum.
Treat that order as a starting point rather than a fixed rule. Ground attacks help reach the air, but Mornye's support rotation does not need her to stay on the ground for long. Her Intro is useful for entering the air directly.
For maximum ascension, gather 170,000 Shell Credit, 4 LF Mech Core, 12 MF Mech Core, 12 HF Mech Core, 4 FF Mech Core, 46 Burning Judgment and 60 Gemini Spore.
For all skills, gather 2,030,000 Shell Credit, 25 LF Mech Core, 28 MF Mech Core, 40 HF Mech Core, 57 FF Mech Core, 26 The Netherworld's Stare, 25 LF Carved Crystal, 28 MF Carved Crystal, 55 HF Carved Crystal and 67 FF Carved Crystal.
Resonance Chain nodes worth it
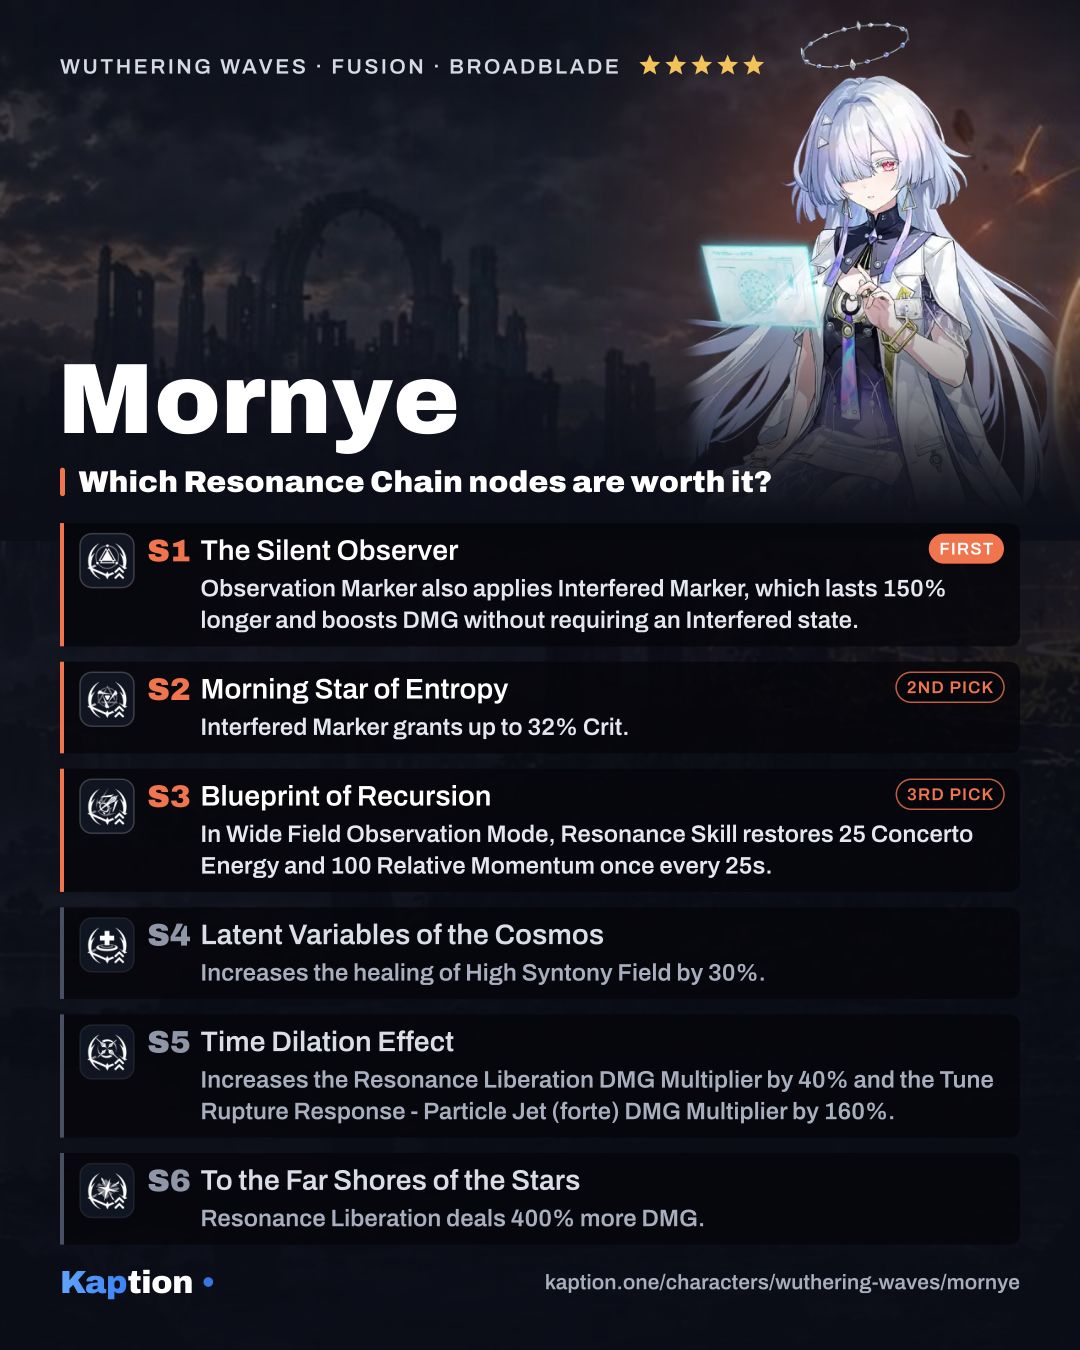
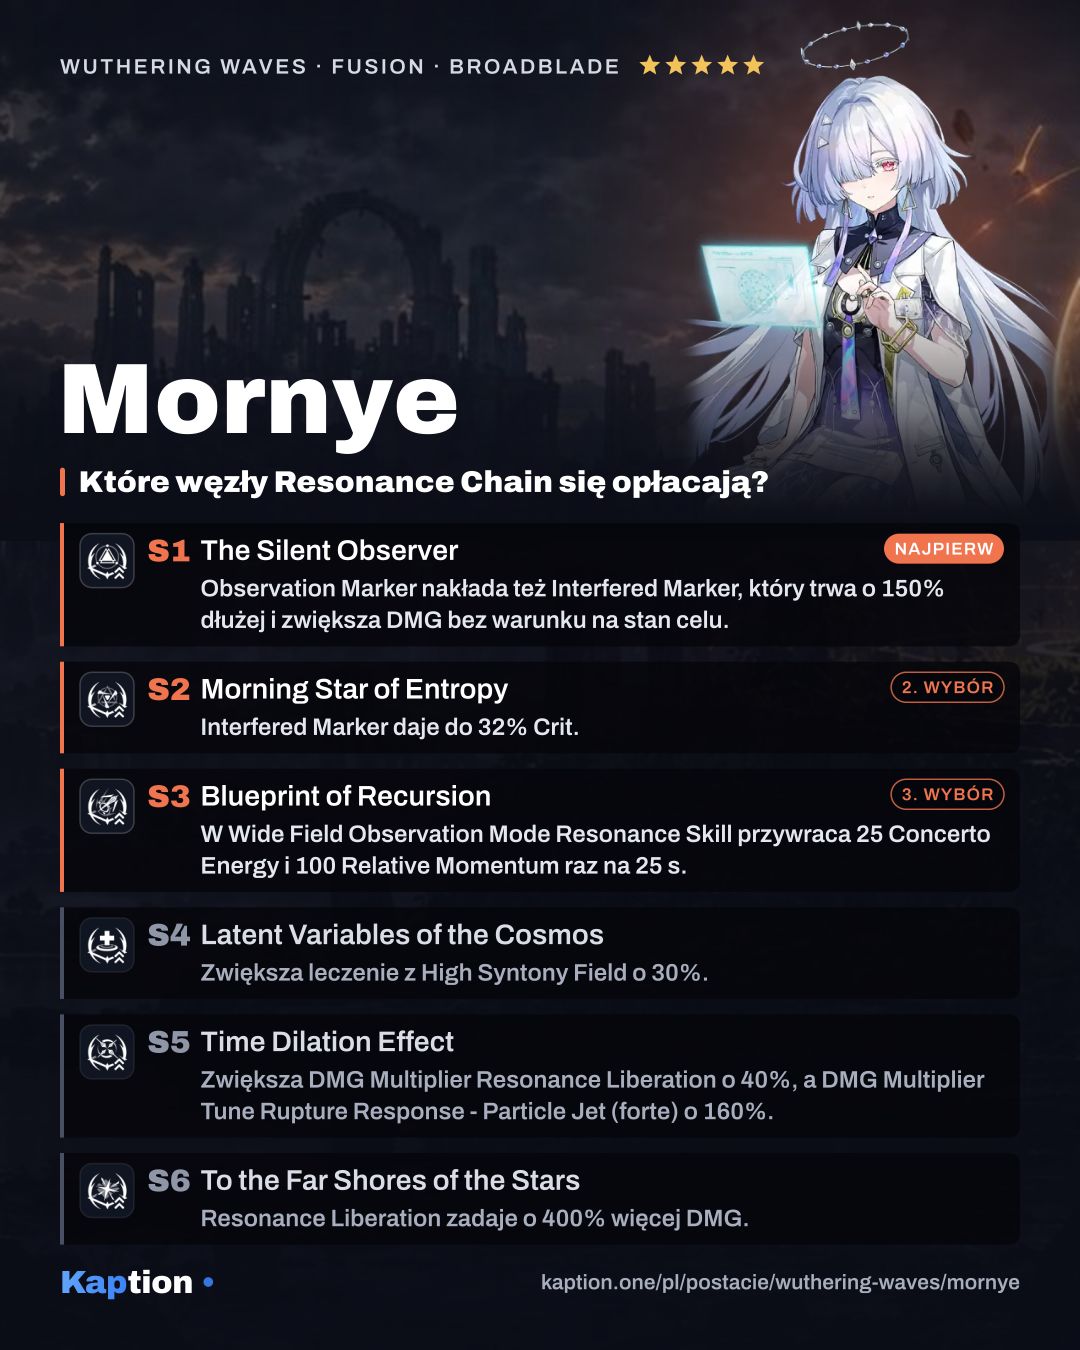
For a support build, The Silent Observer (RC1) is worth considering first. It applies Interfered Marker together with Observation Marker, extends its duration by 150% and lets its damage increase work even without either Interfered state on the target. Her airborne Basic Attack also becomes immune to interruption.
Morning Star of Entropy (RC2) adds team Crit. DMG against marked targets based on Mornye's Energy Regen and raises the fields' Off-Tune Buildup Rate. Blueprint of Recursion (RC3) gives Distributed Array 25 Concerto Energy and 100 Relative Momentum once every 25 seconds, making the aerial part of the rotation easier to set up.
Latent Variables of the Cosmos (RC4) is optional if you do not need more High Syntony Field healing. Time Dilation Effect (RC5) and To the Far Shores of the Stars (RC6) focus more on Mornye's damage, so you can leave them out when building mainly for team support.
Teams
Pair Mornye with damage dealers who can build Off-Tune and make use of Tune Break. Her field speeds up Off-Tune buildup, while her marker rewards Tune Break DMG against marked targets. She can also perform Tune Break against a target with a full Off-Tune Level.
Common mistakes
Do not switch out during the ground parry if you are waiting for a counter: switching ends it. In the air, keep an eye on STA. Moving consumes it, and it cannot recover in Wide Field Observation Mode.
Do not leave the air before applying the marker if your team needs its damage increase. Switching characters ends Wide Field Observation Mode, as do several movement and interaction actions. Use Inversion at full Relative Momentum first.
Do not cast Critical Protocol expecting a High Syntony Field when no Syntony Field is present. Also, do not assume the base Interfered Marker boosts damage against every enemy: without the first Resonance Chain node, the target needs one of the specified Interfered states.