







































Guide
How the kit works
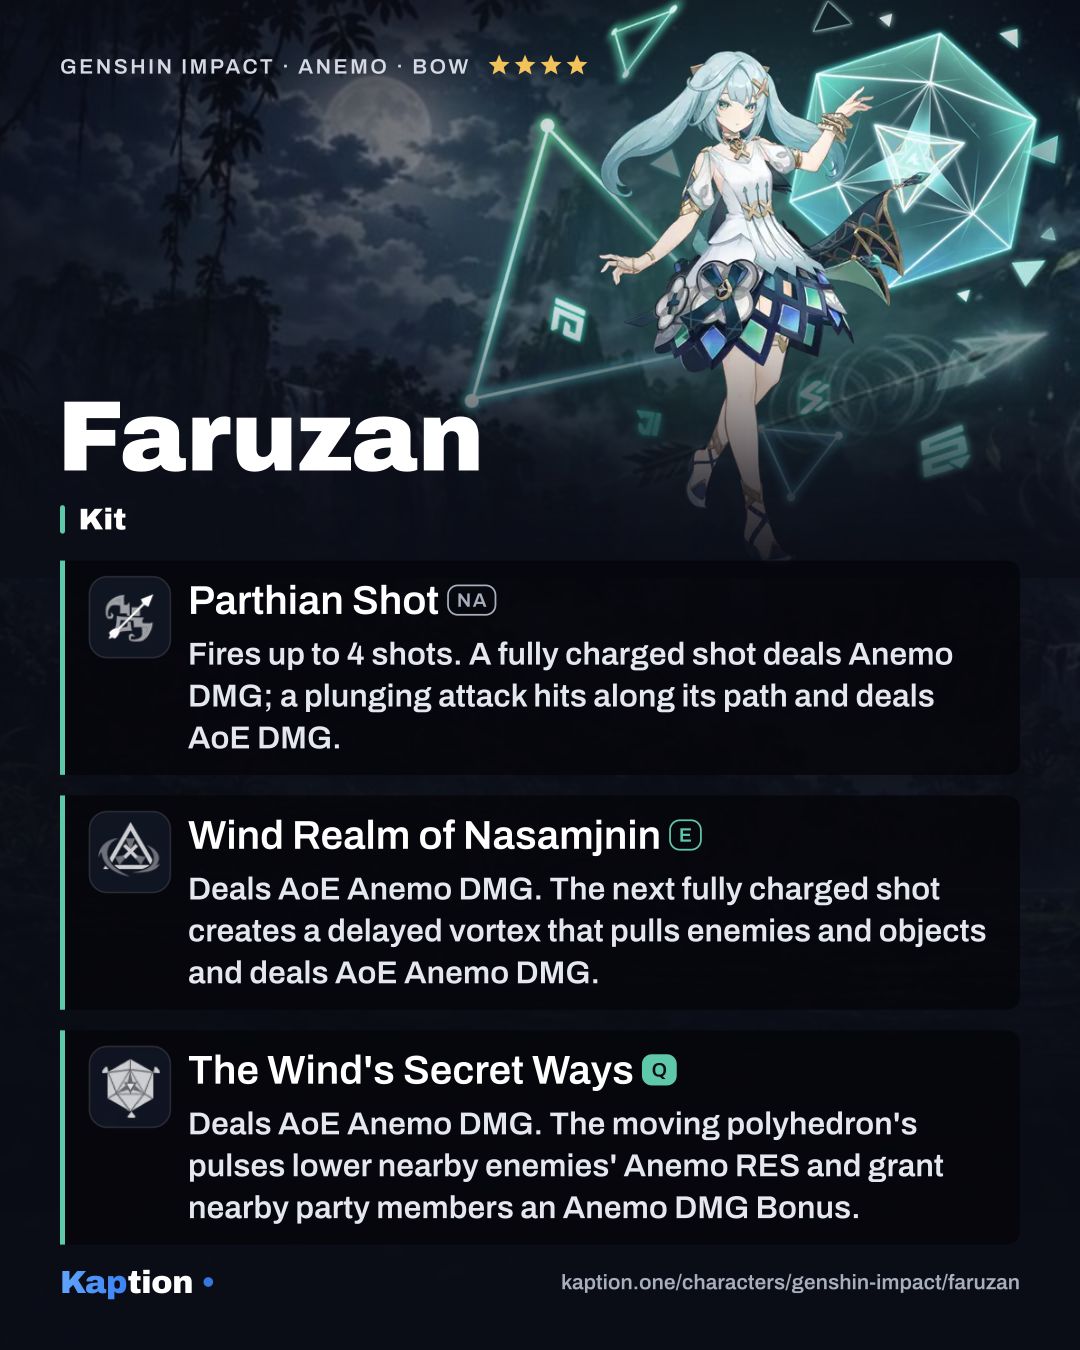
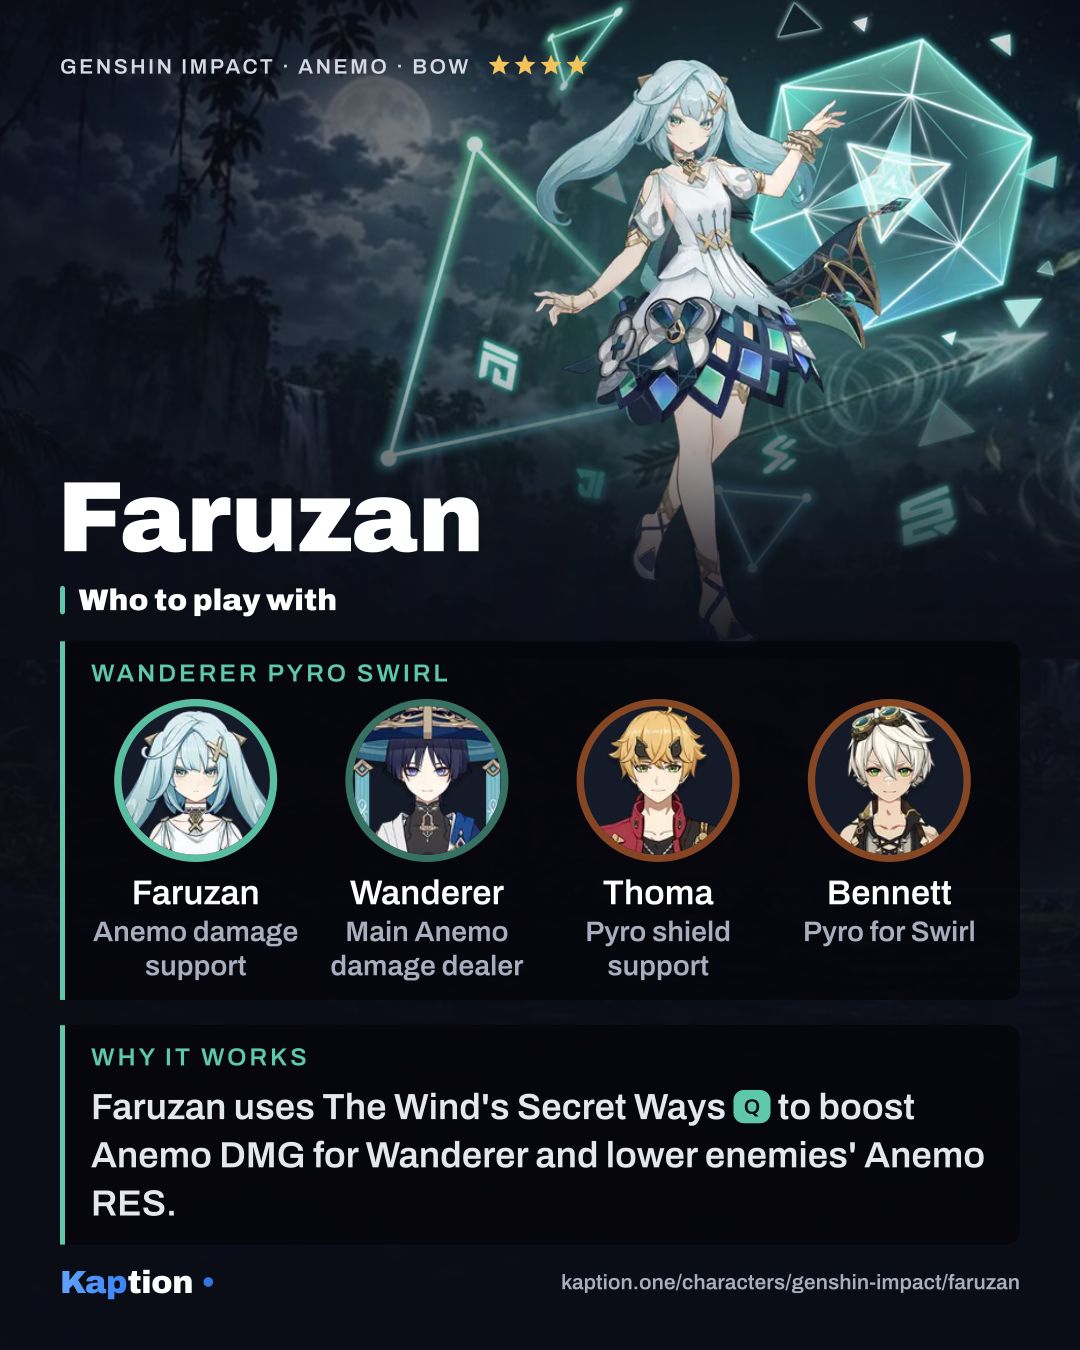
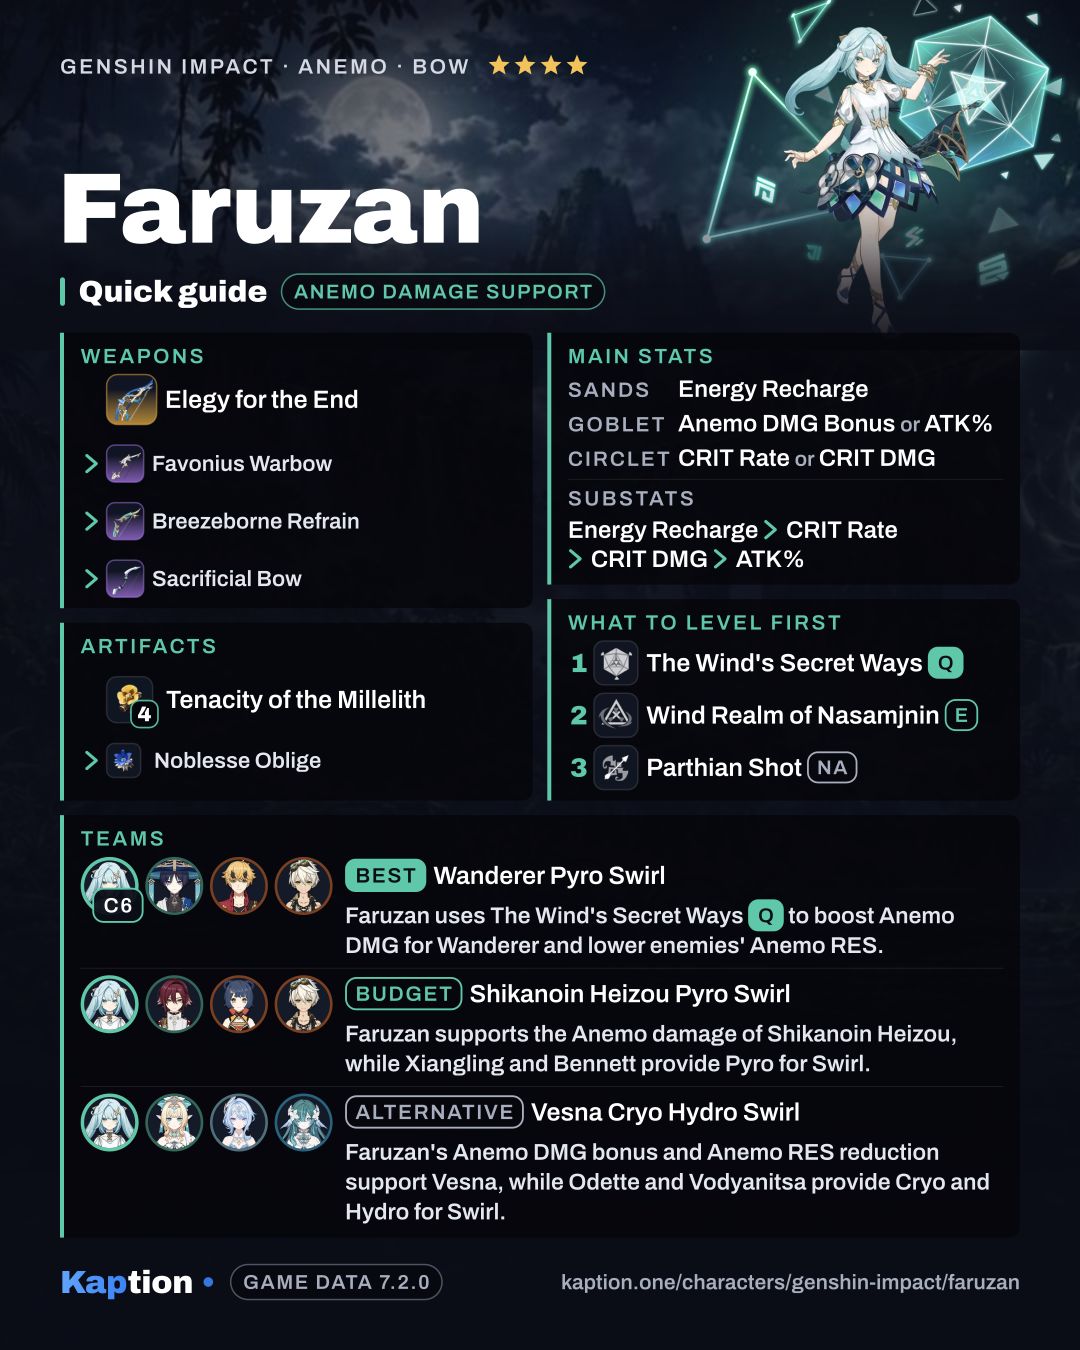
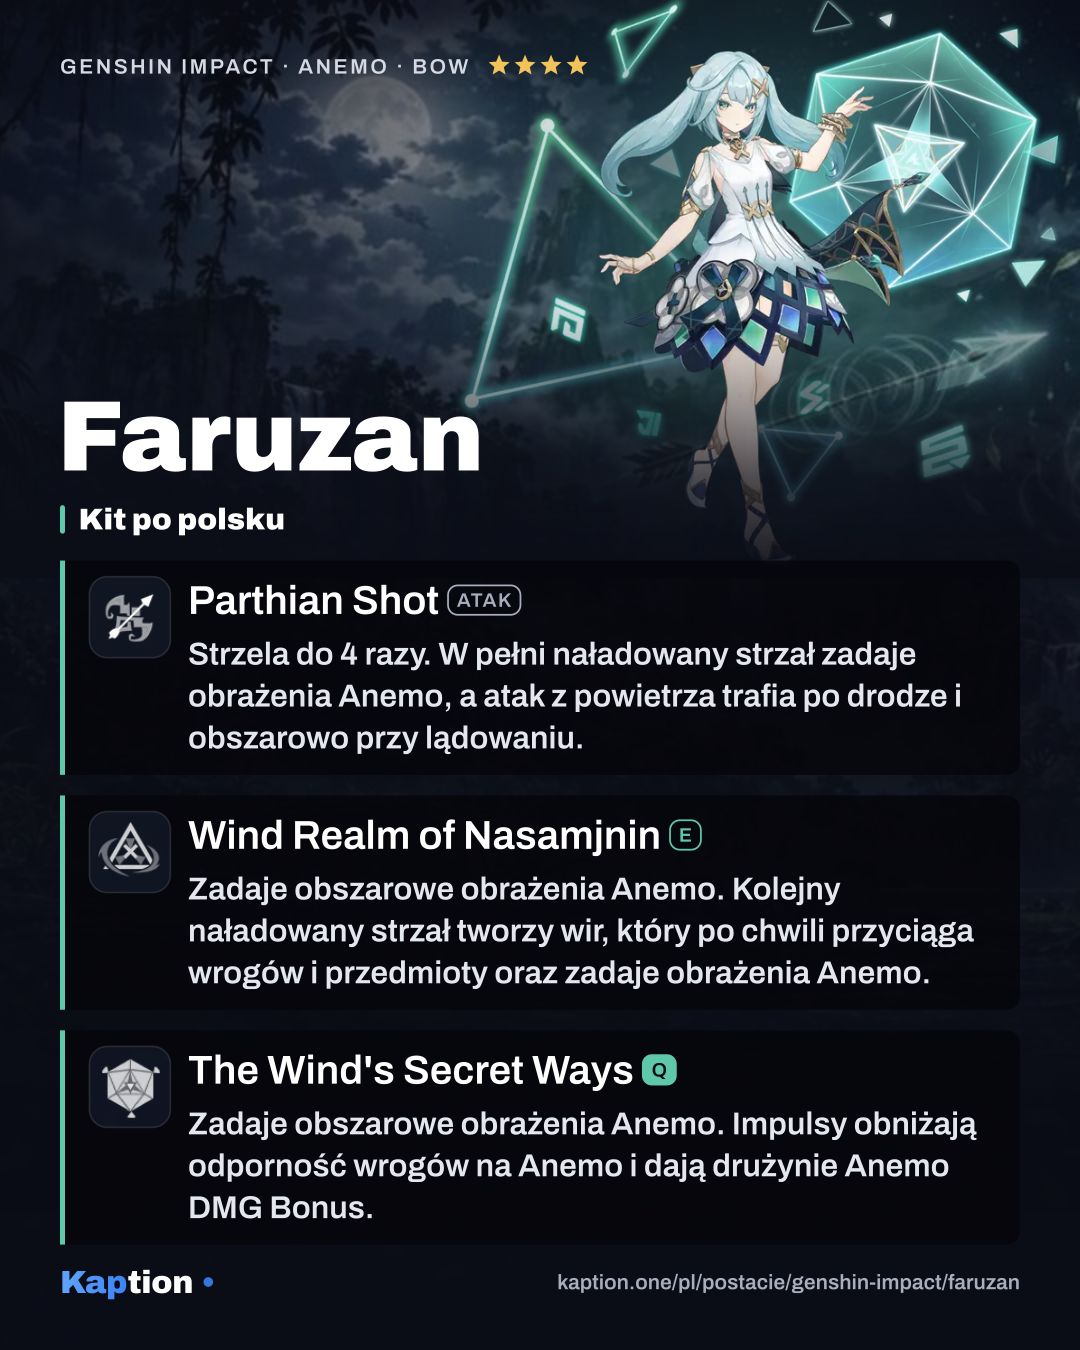
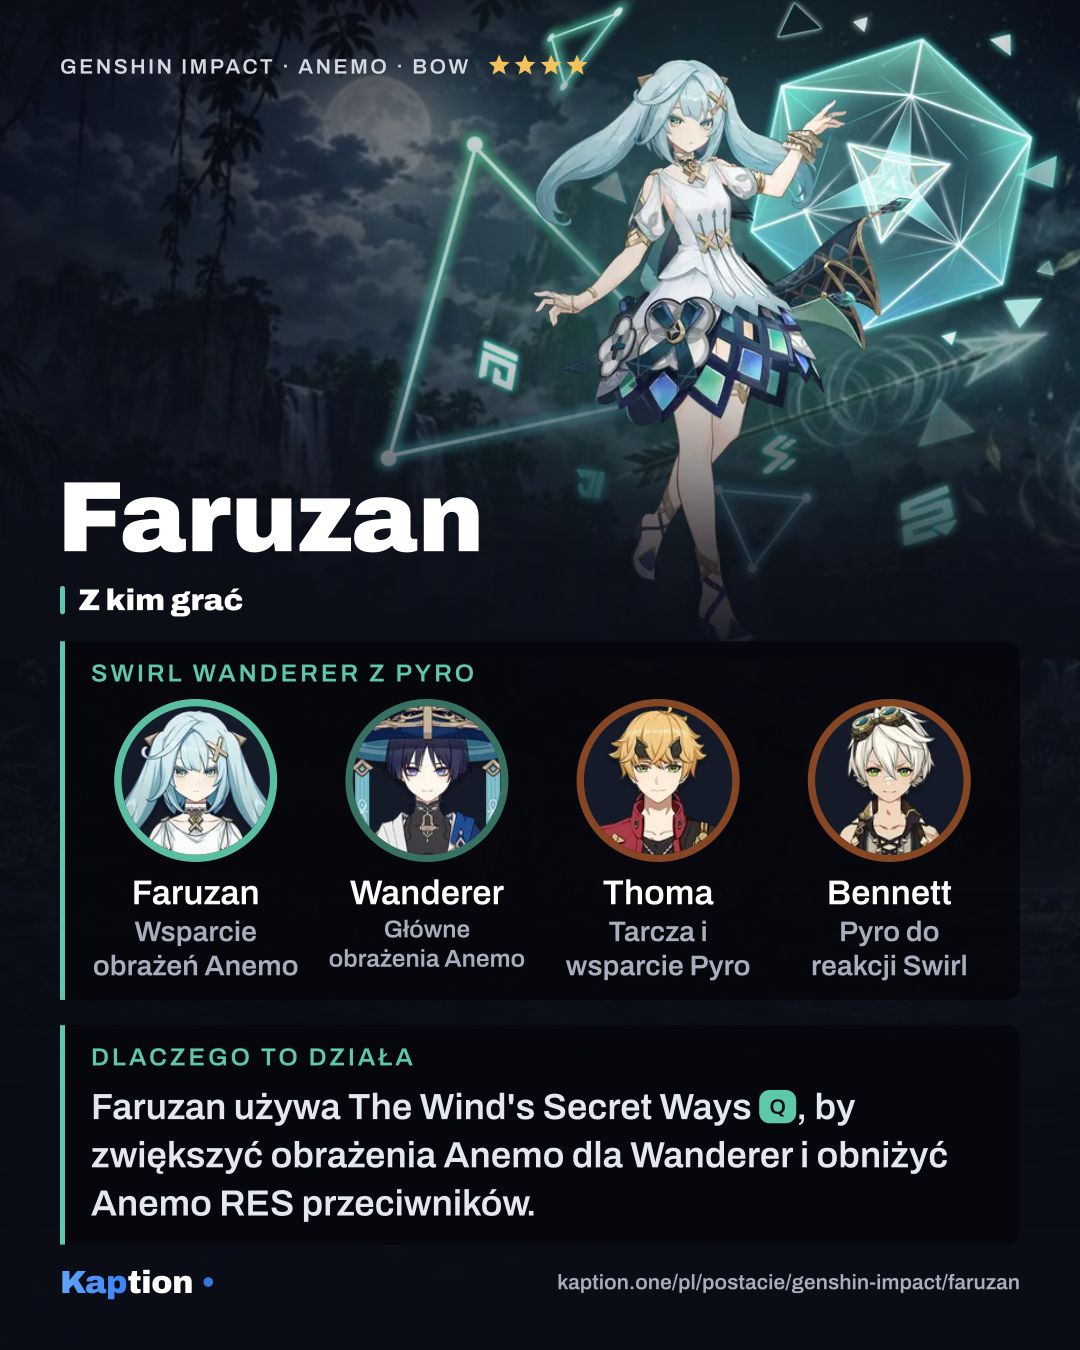
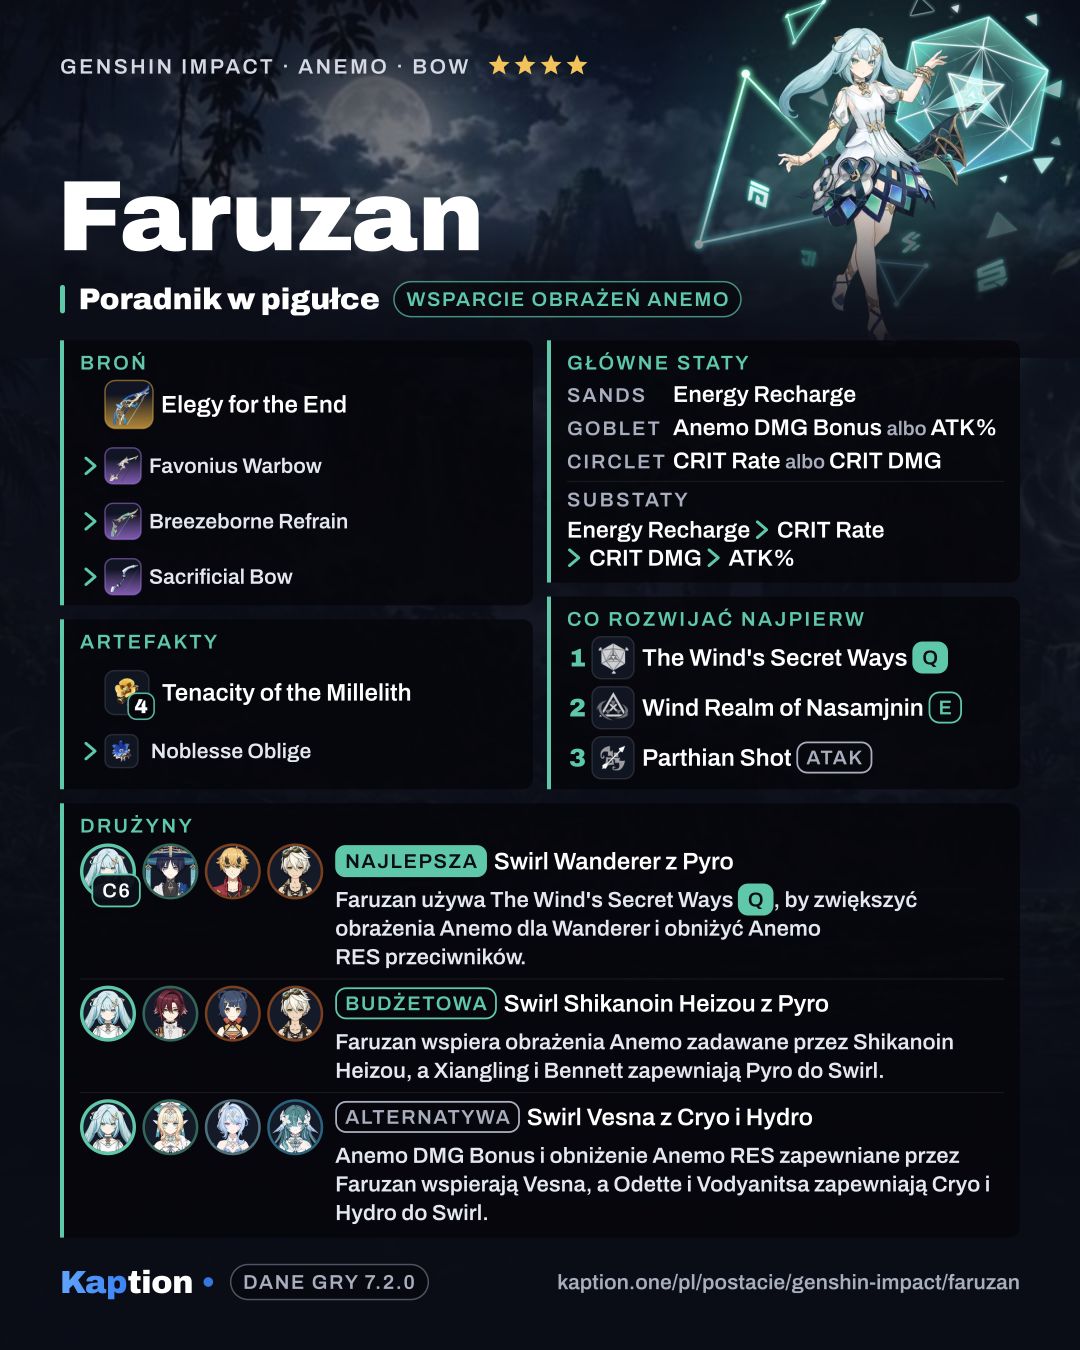
Start with The Wind's Secret Ways when it is ready. Its polyhedron deals AoE Anemo DMG and moves along a triangular path, releasing pulses at the corners. Each pulse reduces nearby opponents' Anemo RES and gives nearby party members an Anemo DMG Bonus.
Use Wind Realm of Nasamjnin, then fire a fully charged Aimed Shot. The Skill deals AoE Anemo DMG and puts Faruzan in Manifest Gale, turning that shot into a Hurricane Arrow. The arrow deals Anemo DMG based on the fully charged shot from Parthian Shot (NA).
The arrow applies Pressurized Collapse where it hits. After a short delay, a vortex deals AoE Anemo DMG and pulls nearby opponents and objects; its damage counts as Elemental Skill DMG. Even if the arrow misses a target, the effect appears at its point of impact.
Impetuous Flow cuts the shot's charge time by 60% during Manifest Gale. It also lets the vortex apply the Burst's Anemo RES reduction. Lost Wisdom of the Seven Caverns adds damage to qualifying Anemo hits by characters with the Burst's benefit, based on 32% of Faruzan's Base ATK. An instance can occur once every 0.8s and is cleared after it triggers.
Build and why
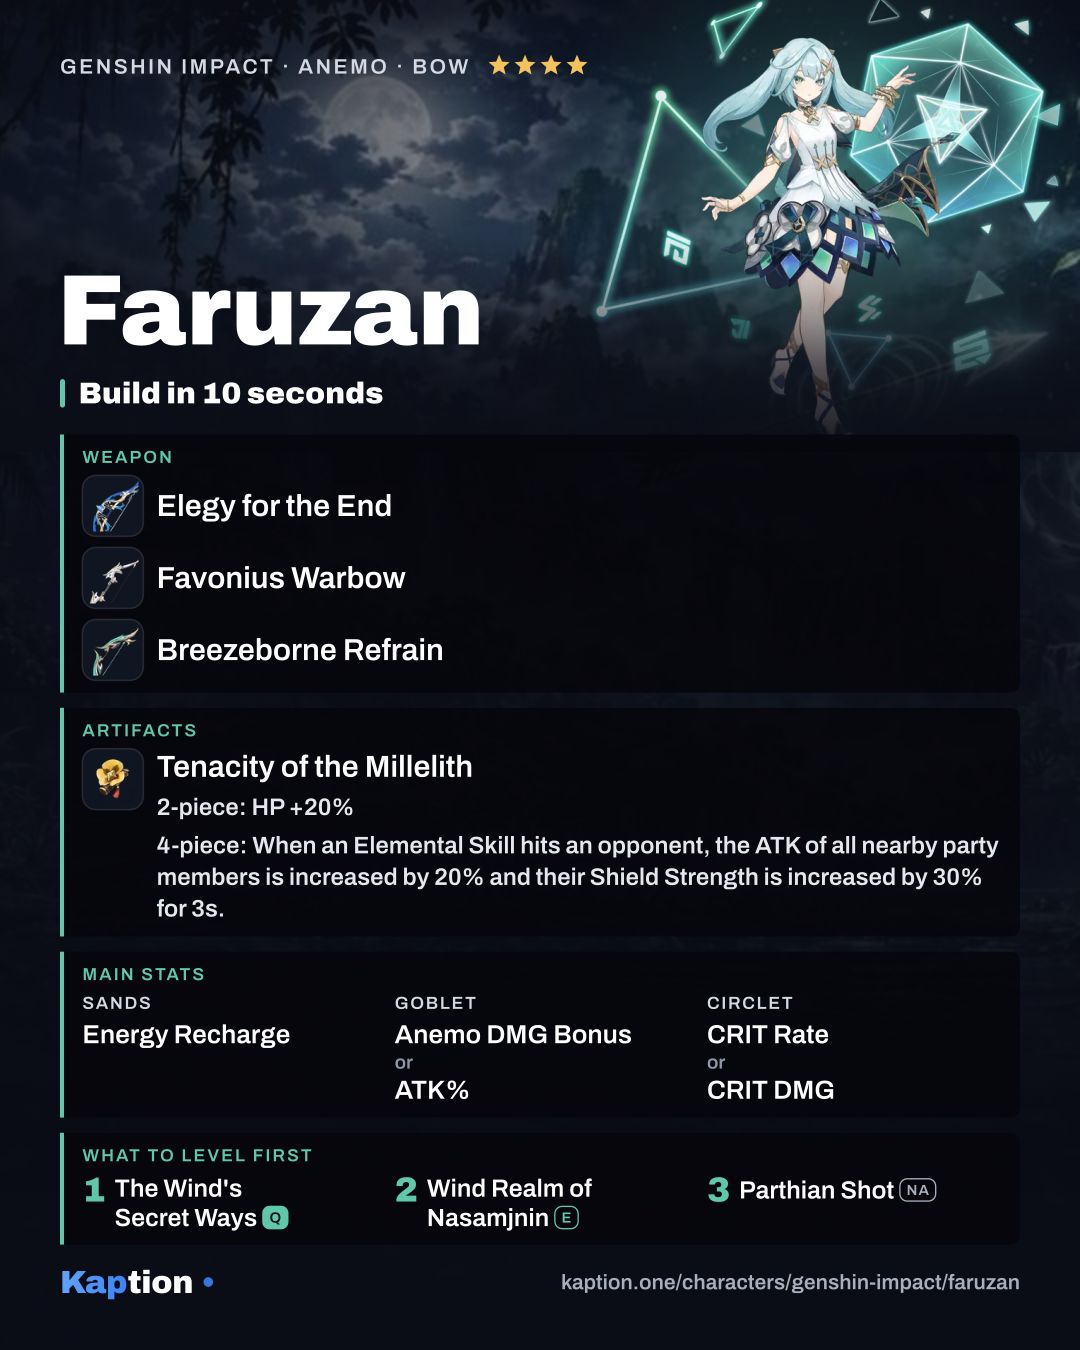
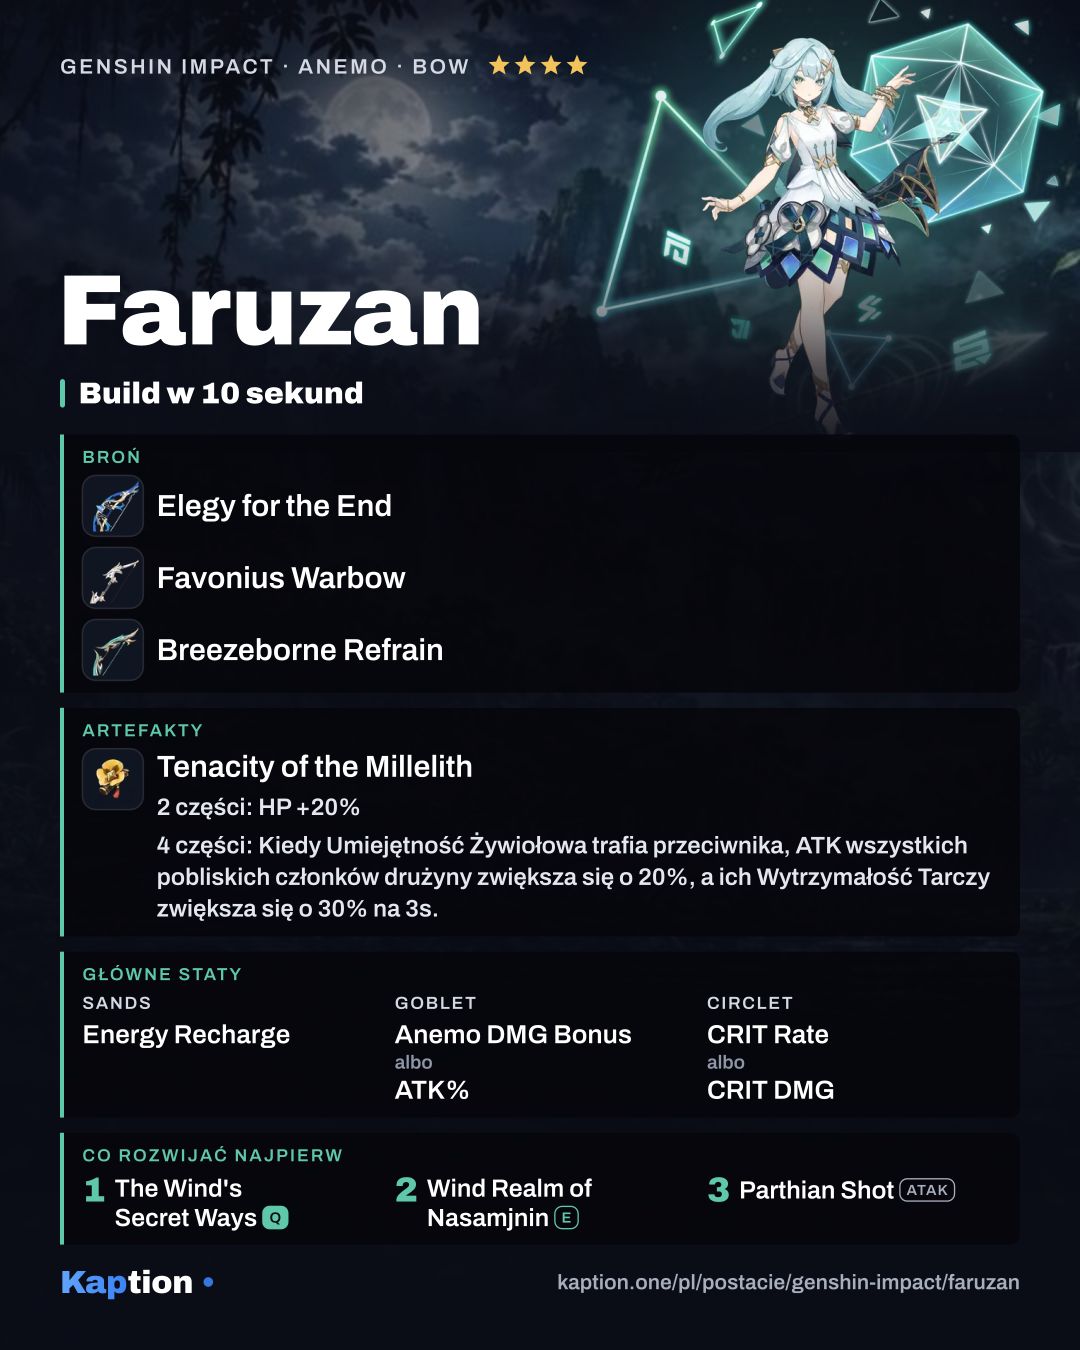
Try four pieces of Tenacity of the Millelith, especially at C6. An Elemental Skill hit gives nearby party members 20% ATK and 30% Shield Strength for 3s, and the effect can trigger off field. C6 can produce Pressurized Collapse while another character is active, giving Faruzan more chances to trigger the set.
Four pieces of Noblesse Oblige are another team option: using the Burst gives the party 20% ATK for 12s. The effect does not stack with another copy. Viridescent Venerer is worth considering when the team also deals damage with elements Faruzan can Swirl; its four-piece effect lowers the infused element's RES, not Anemo RES.
For a simpler Energy Recharge setup, combine two pieces of Emblem of Severed Fate with two pieces of The Exile. Each two-piece bonus gives 20% Energy Recharge. Use Energy Recharge on the sands, Anemo DMG Bonus or ATK Percentage on the goblet, and CRIT Rate or CRIT DMG on the circlet. Prioritize Energy Recharge in substats, followed by CRIT Rate, CRIT DMG and ATK Percentage.
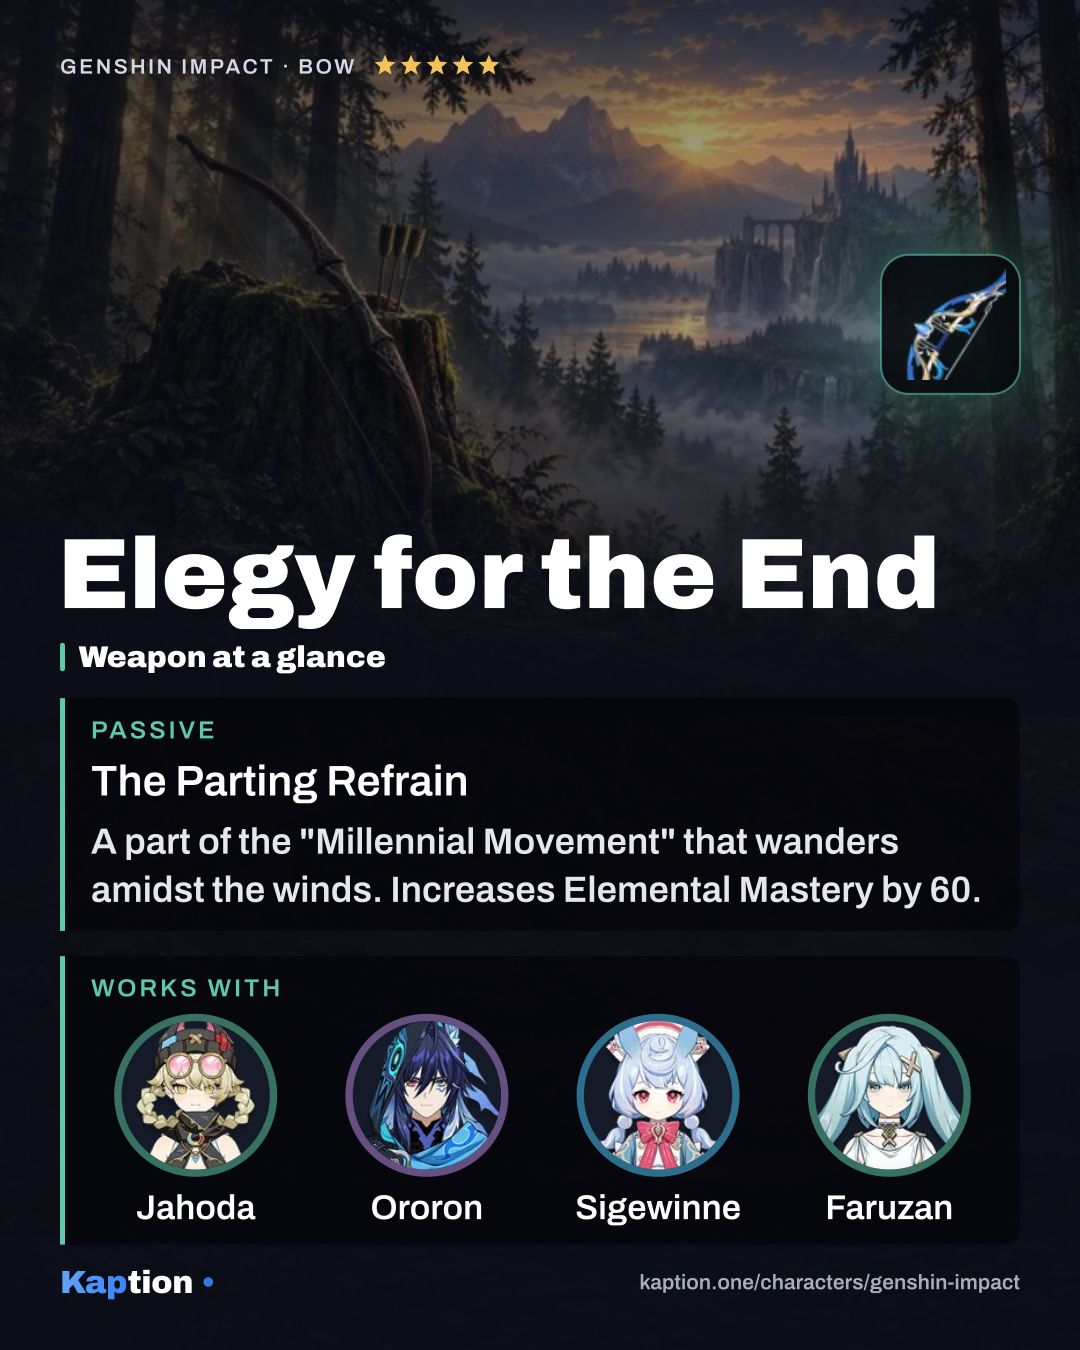
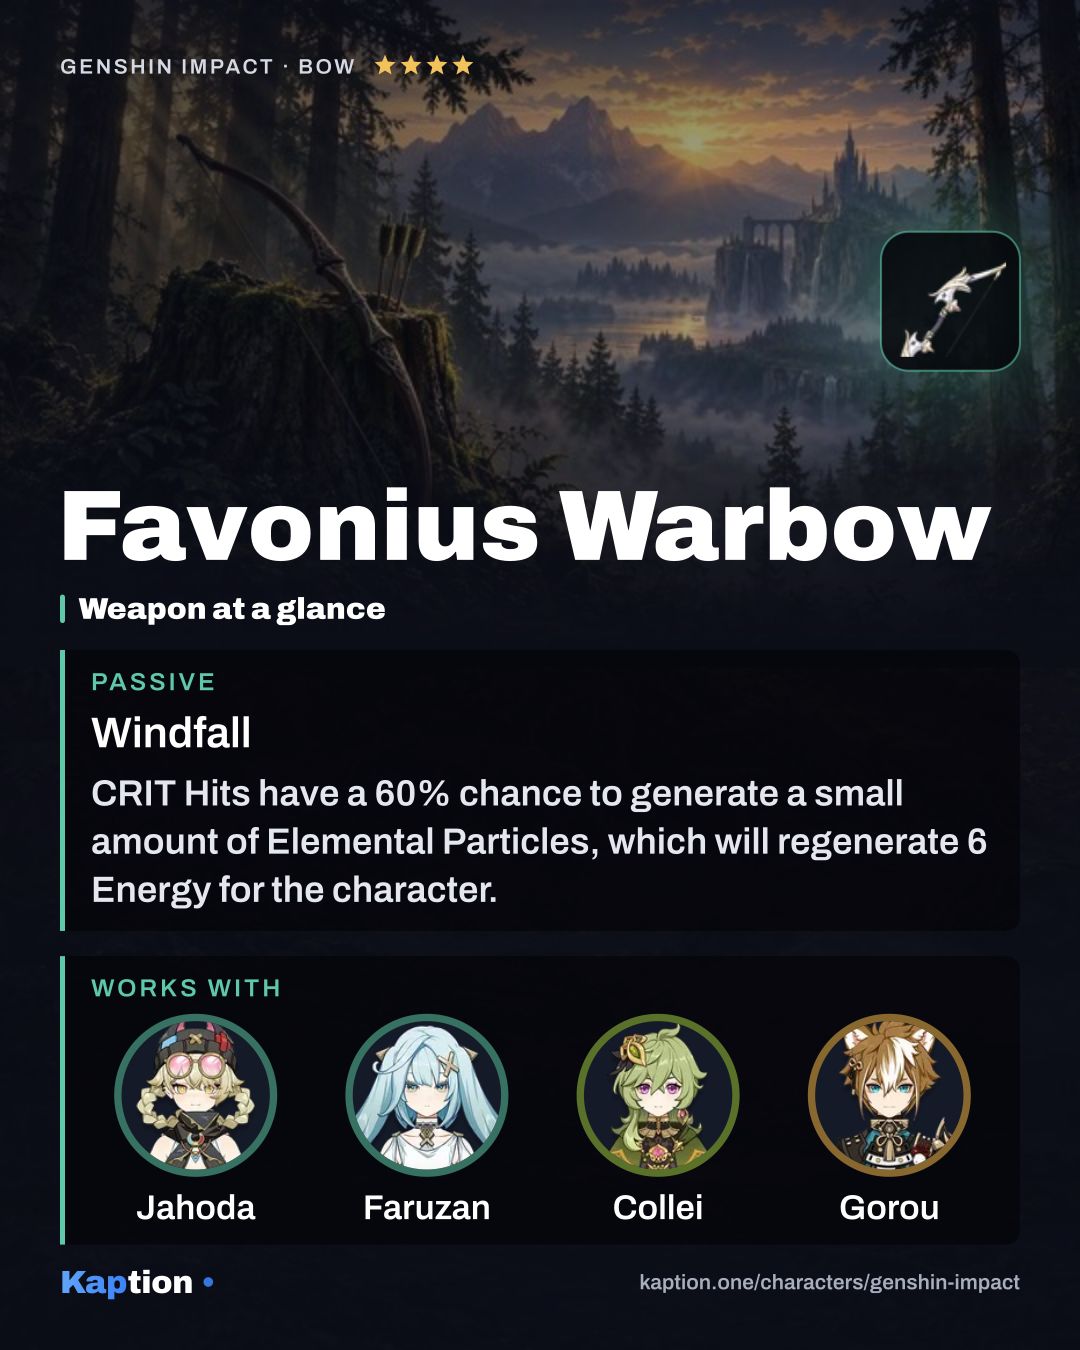
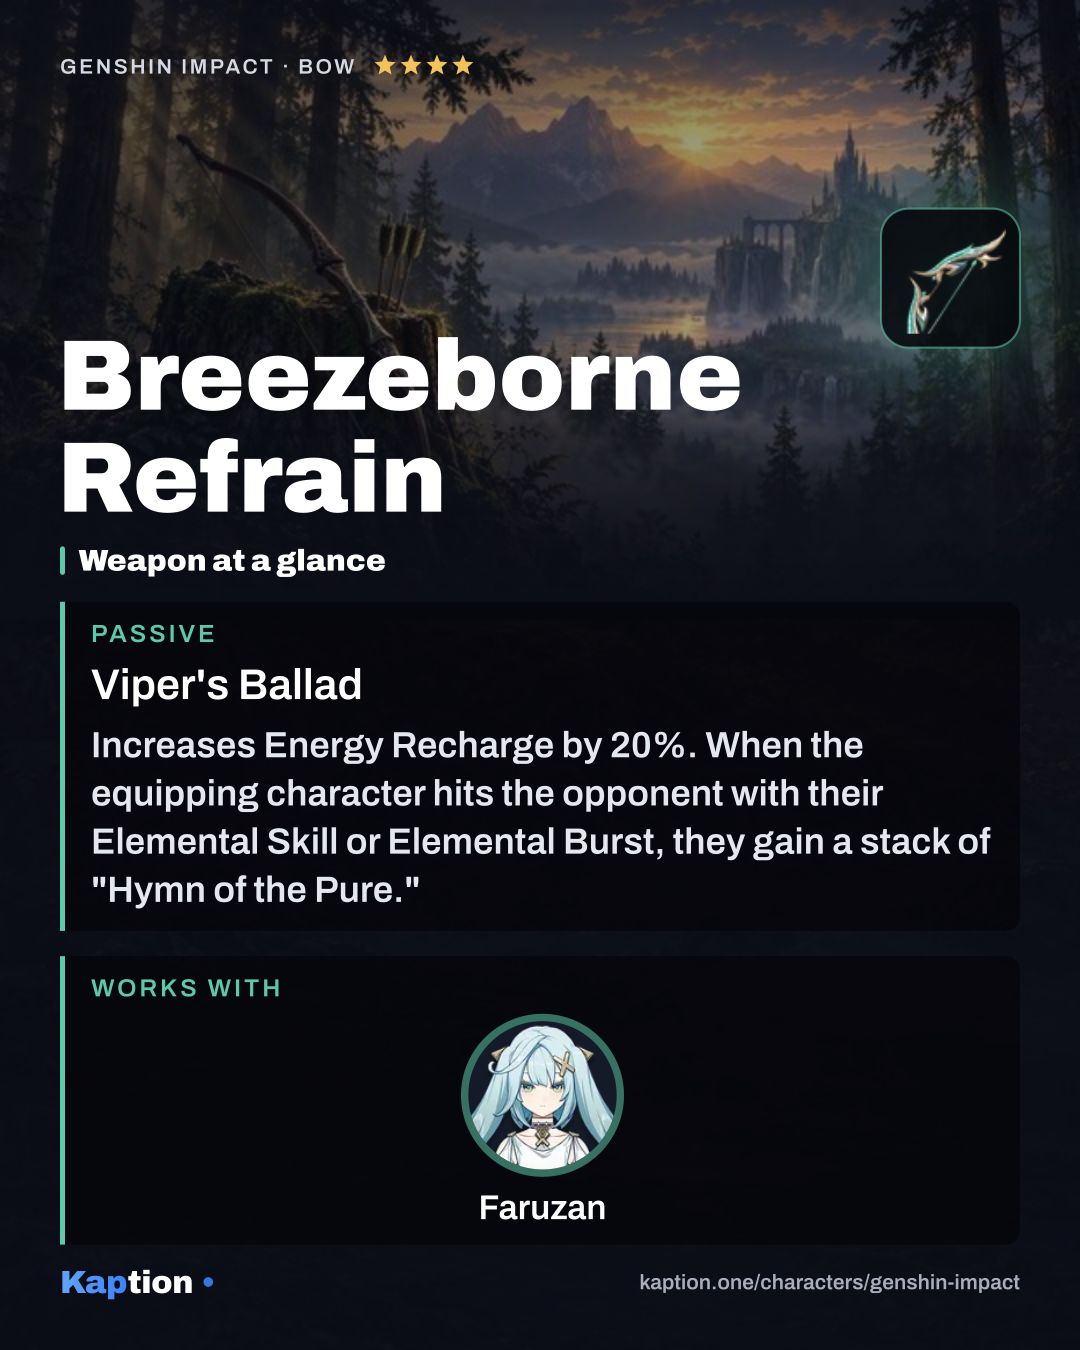
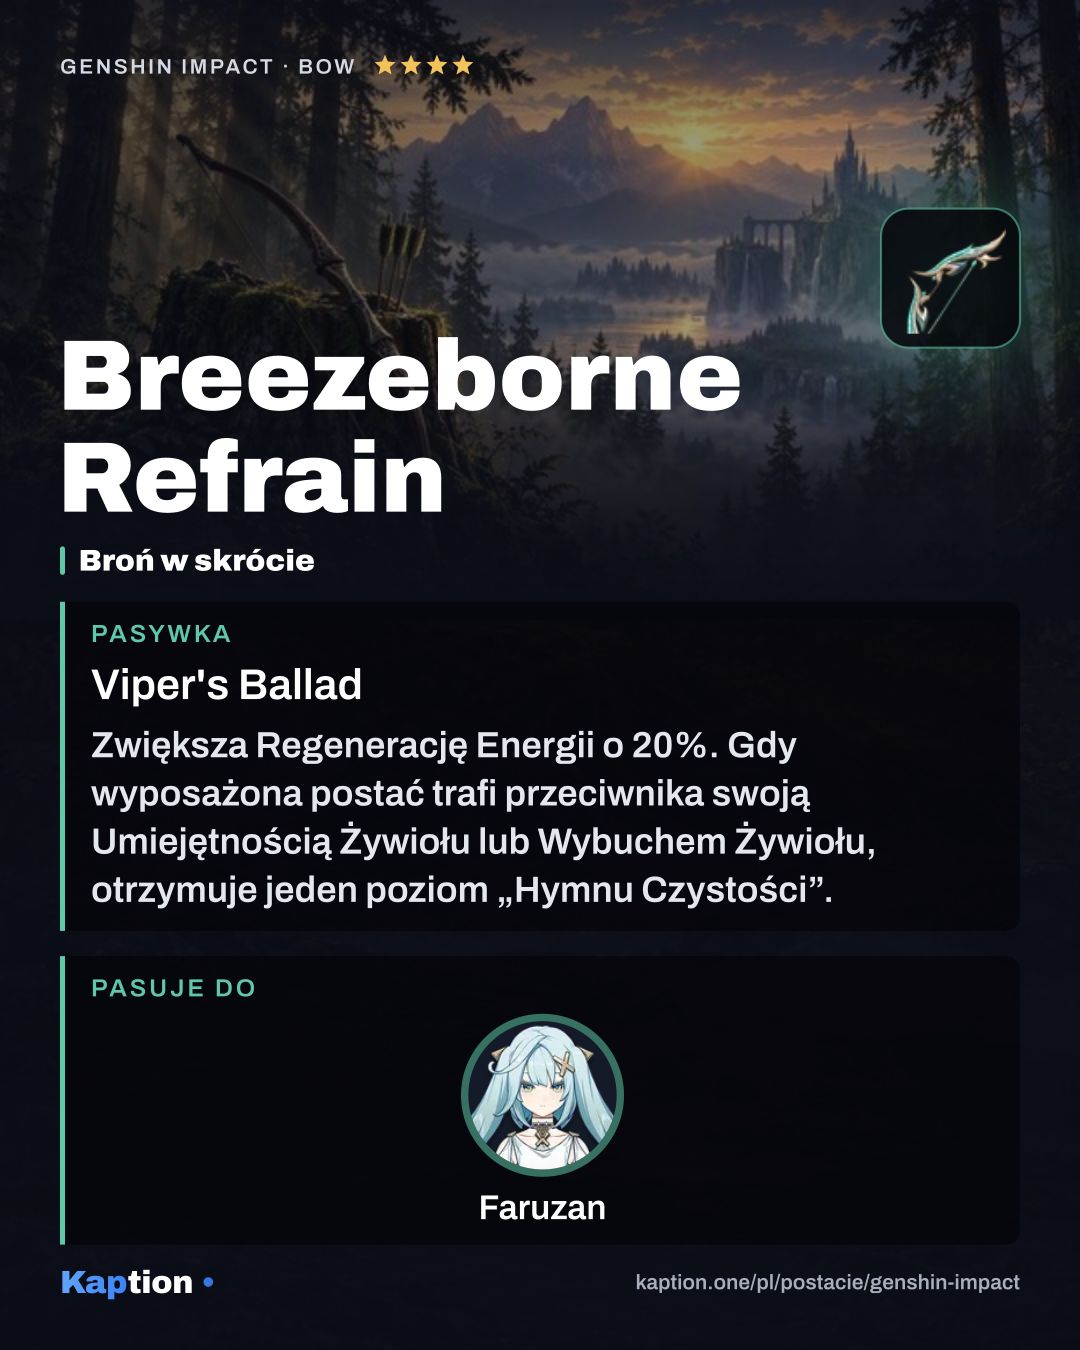
Favonius Warbow is the first weapon choice. Its CRIT hits can generate particles, so CRIT Rate helps activate it. Elegy for the End is another option: its Skill and Burst hits can collect sigils even off field, and it gives 60 Elemental Mastery. Breezeborne Refrain gives 20% Energy Recharge and, after collecting three stacks from Skill or Burst hits, gives nearby teammates 24% Stellar Glimmer reaction DMG for 12s. That reaction bonus needs a team that can use it.
Leveling priority
A sensible leveling order is The Wind's Secret Ways, then Wind Realm of Nasamjnin, then Parthian Shot (NA). The Burst is the center of her Anemo support, while the Skill also contributes damage through its vortex. The normal attack talent is a lower priority for a support build, though the Hurricane Arrow's damage is based on the fully charged Aimed Shot.
For ascension, collect Henna Berry, Light Guiding Tetrahedron, Vayuda Turquoise Sliver, Vayuda Turquoise Fragment, Vayuda Turquoise Chunk and Vayuda Turquoise Gemstone. You also need Faded Red Satin, Trimmed Red Silk, Rich Red Brocade and Mora.
For talents, gather Teachings of Admonition, Guide to Admonition, Philosophies of Admonition and Puppet Strings, along with more of the three red cloth materials and Mora. Crown of Insight is needed for the final talent levels.
Constellations worth it
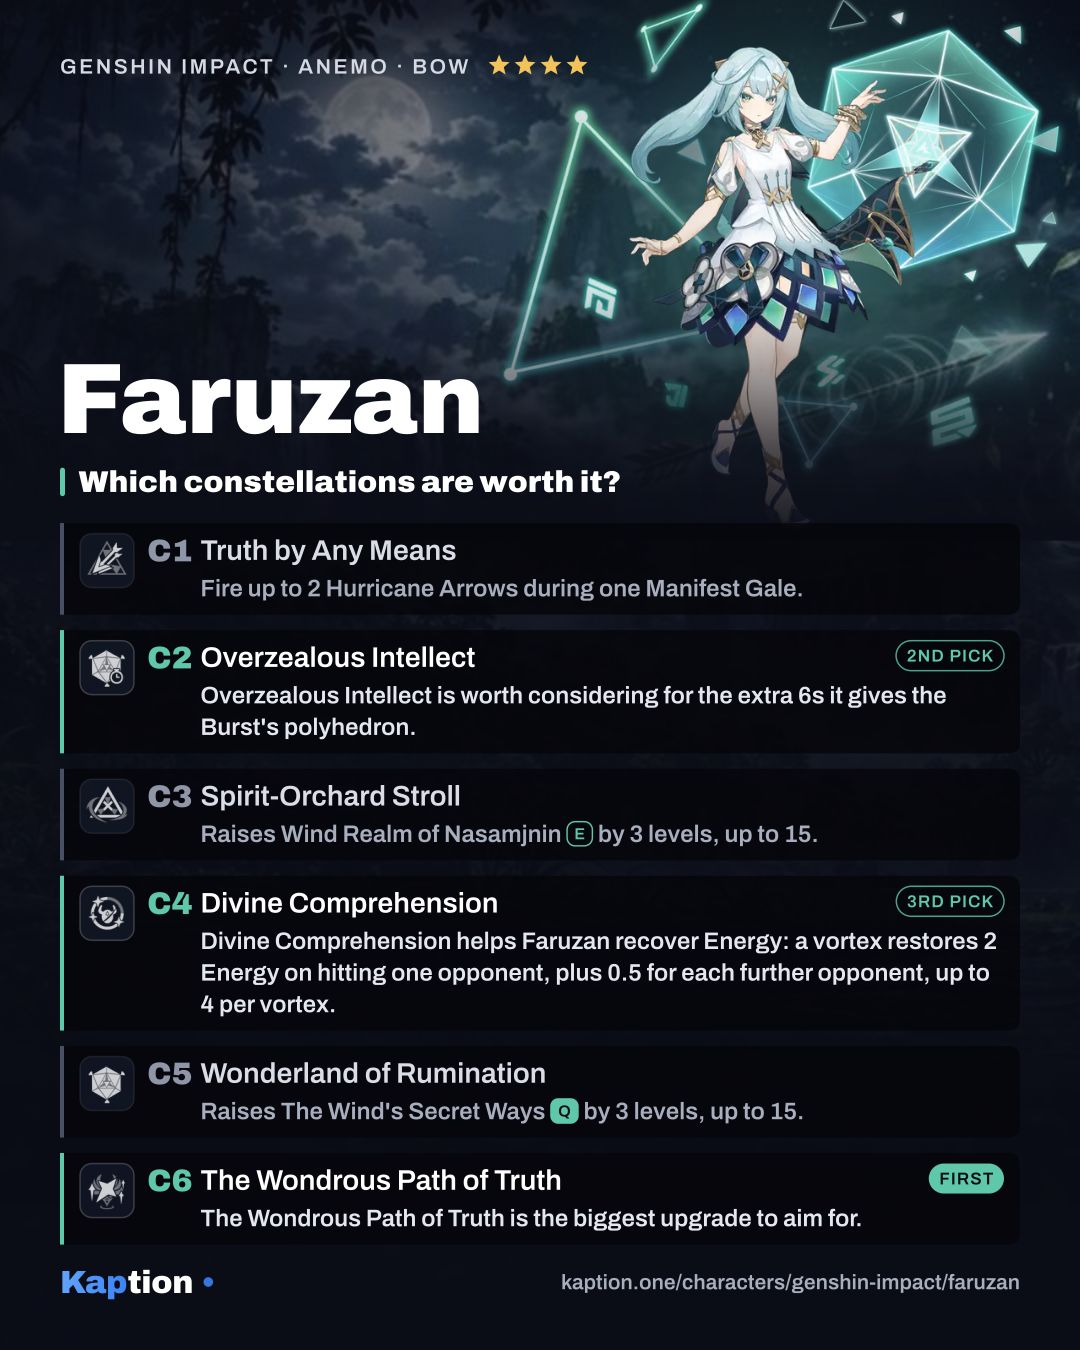
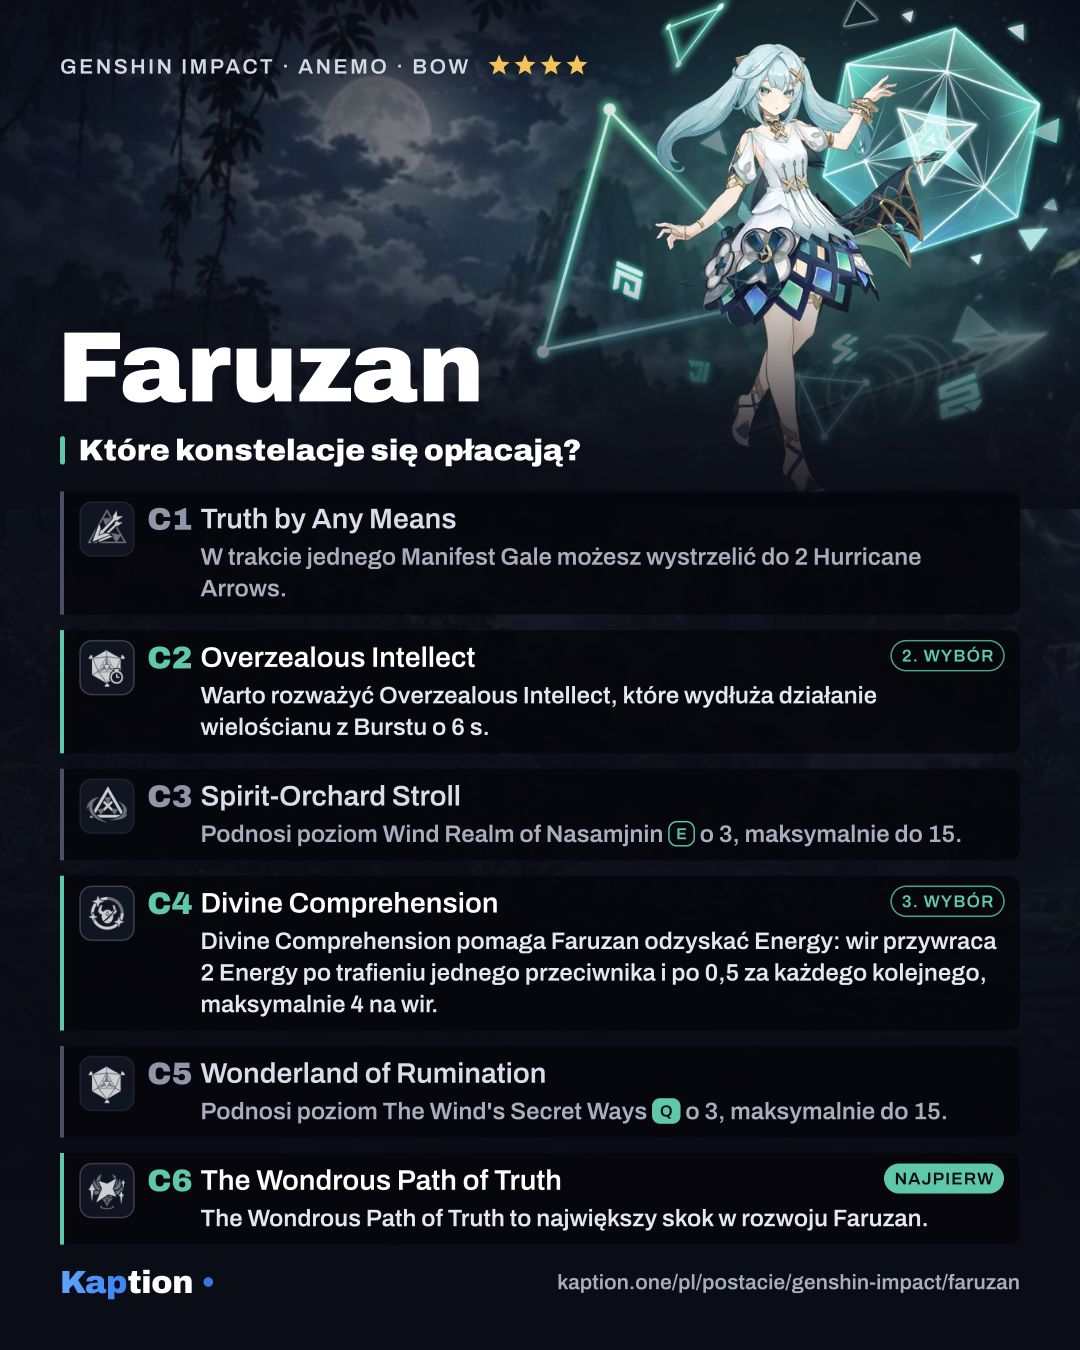
The Wondrous Path of Truth is the biggest upgrade to aim for. Characters with the Burst's benefit gain 40% CRIT DMG when dealing Anemo DMG. When the active character deals damage with that benefit, they also apply Pressurized Collapse, up to once every 3s with a cooldown shared by the party.
Overzealous Intellect is worth considering for the extra 6s it gives the Burst's polyhedron. Divine Comprehension helps Faruzan recover Energy: a vortex restores 2 Energy on hitting one opponent, plus 0.5 for each further opponent, up to 4 per vortex.
C1 allows a second Hurricane Arrow during one Manifest Gale, while C3 raises the Skill level and C5 raises the Burst level. You can leave those aside as individual stopping points if their effects do not interest you, but you cannot skip them on the way to C6.
Common mistakes
Do not use Wind Realm of Nasamjnin and immediately switch out if you want the Hurricane Arrow and its vortex. Take the fully charged shot while Manifest Gale is active. At C6, the active character can also apply Pressurized Collapse, but that effect has its own 3s cooldown.
Do not build only for Faruzan's personal damage and neglect Energy Recharge. Her team support depends on having The Wind's Secret Ways available. With Favonius Warbow, give her enough CRIT Rate to make its particle effect useful too.
Do not expect Viridescent Venerer to replace her Anemo RES reduction: the set lowers the RES of the element infused in Swirl. Also avoid putting Noblesse Oblige on two teammates for the same ATK effect, since it cannot stack.