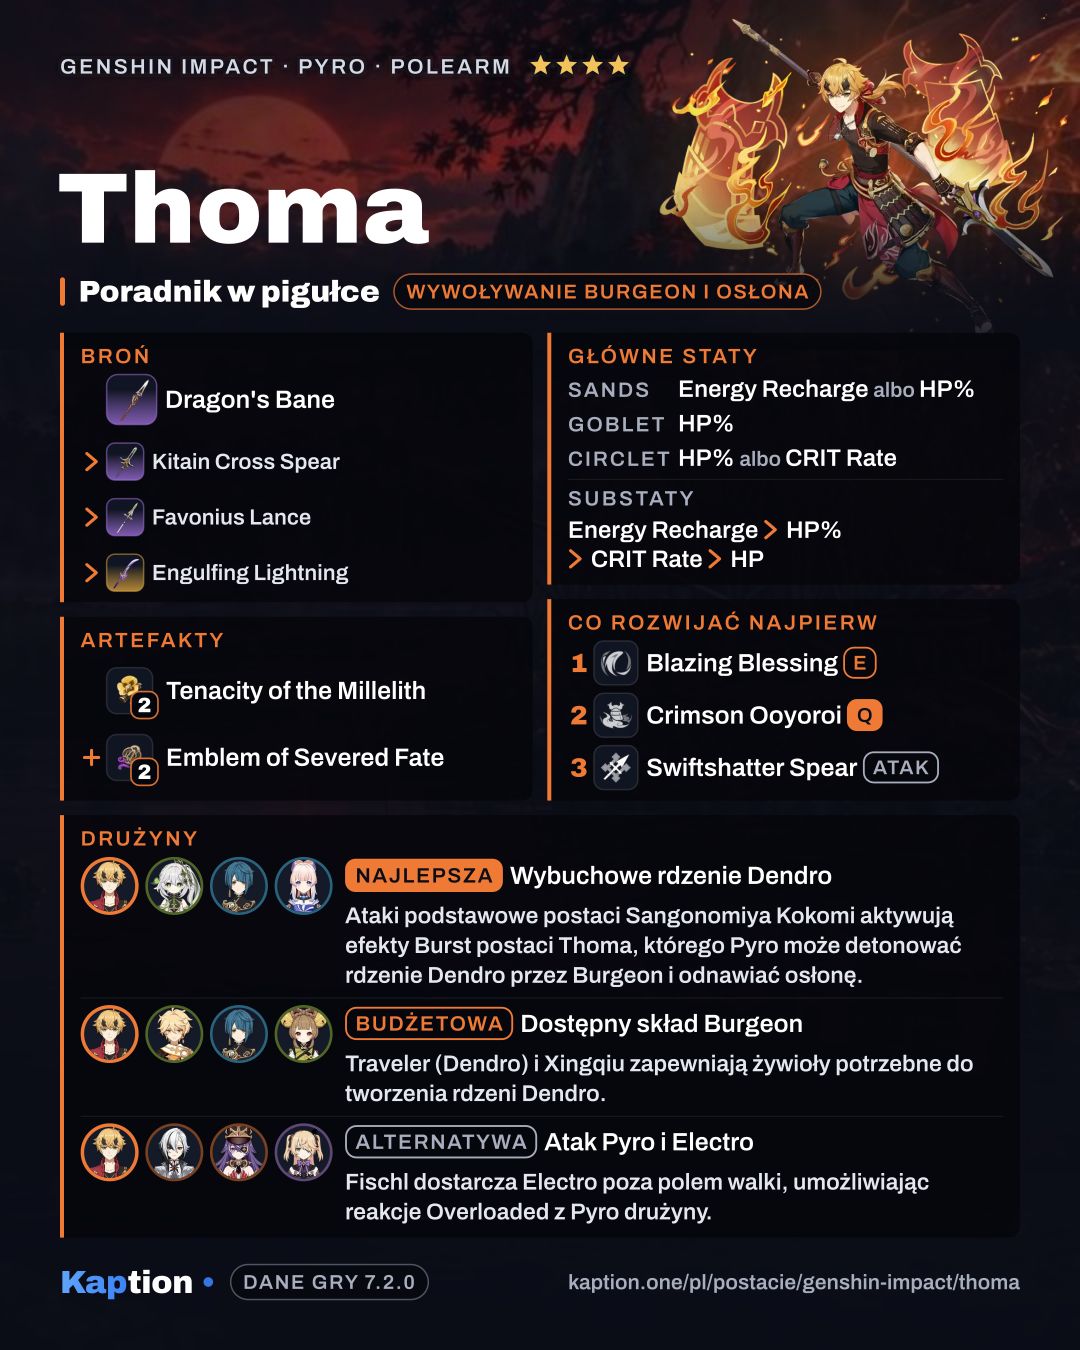





































Guide
How the kit works
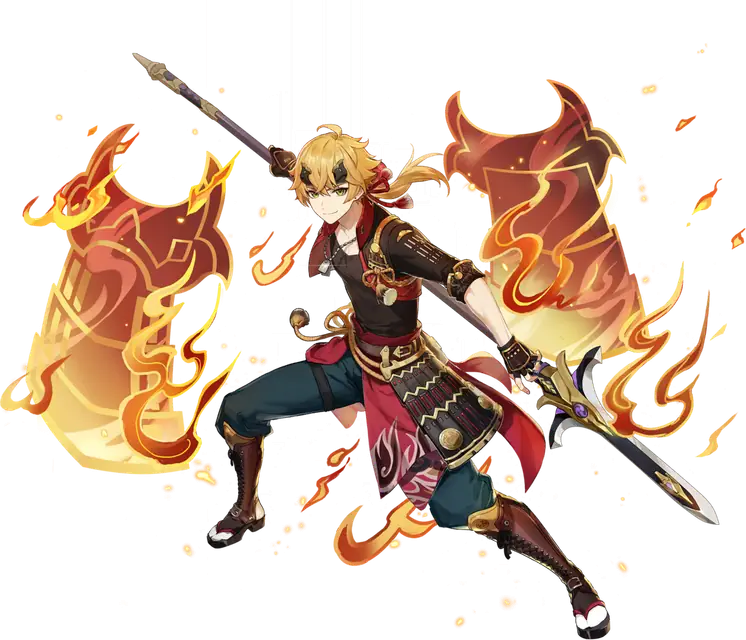
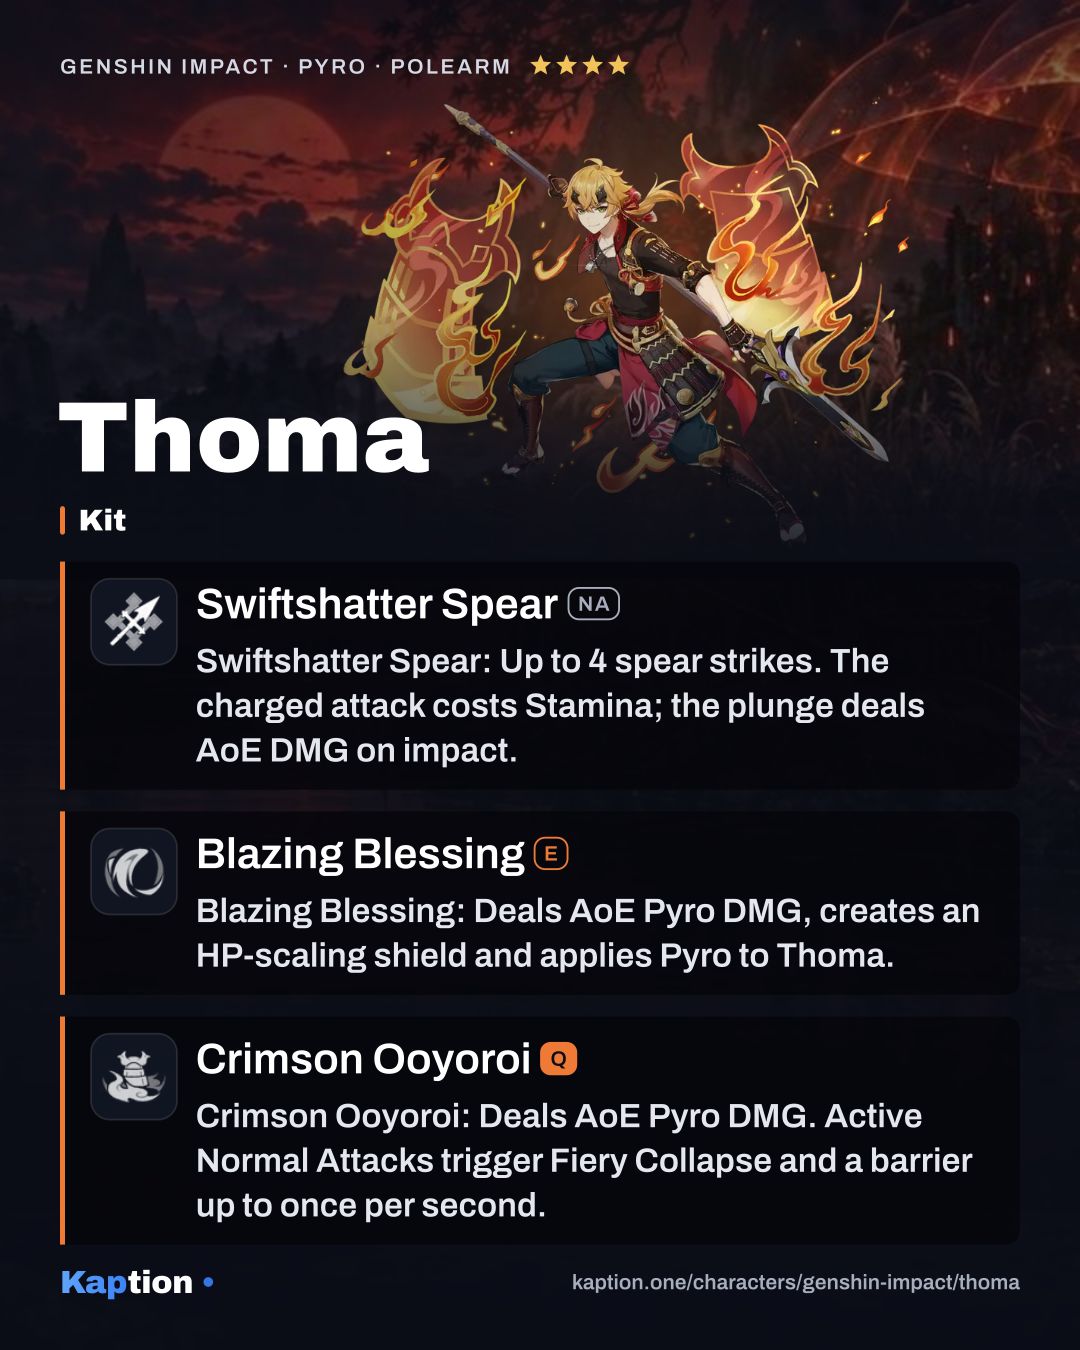
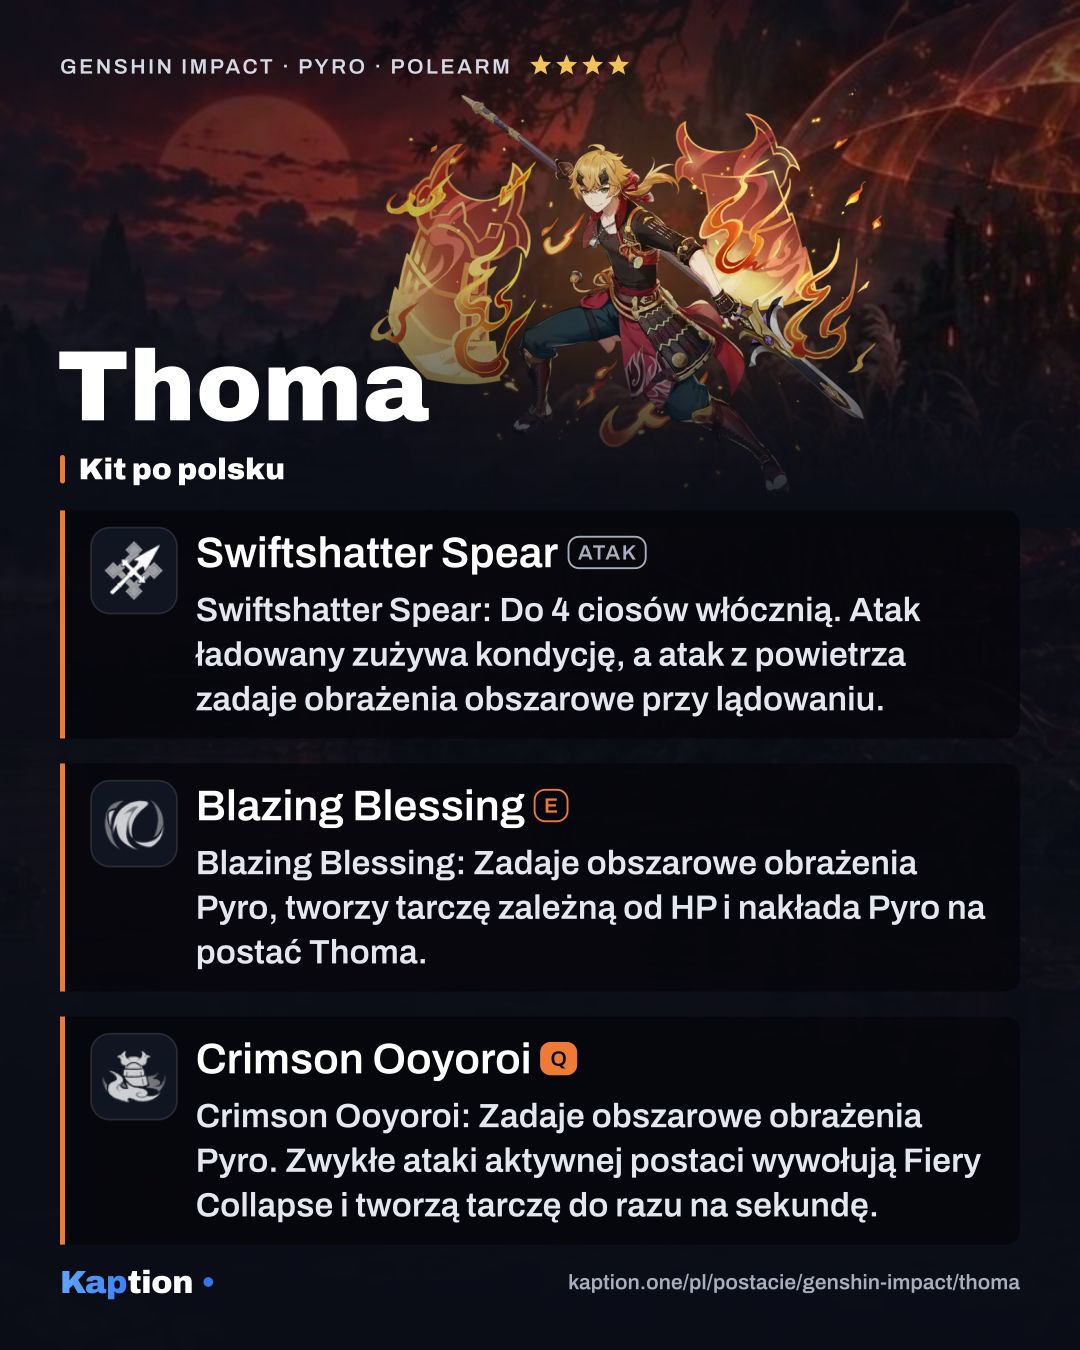
Start with Blazing Blessing. Thoma kicks forward, deals AoE Pyro DMG and creates a Blazing Barrier. Its absorption scales with his Max HP, and it absorbs Pyro DMG 250% more effectively. The cast also applies Pyro to Thoma.
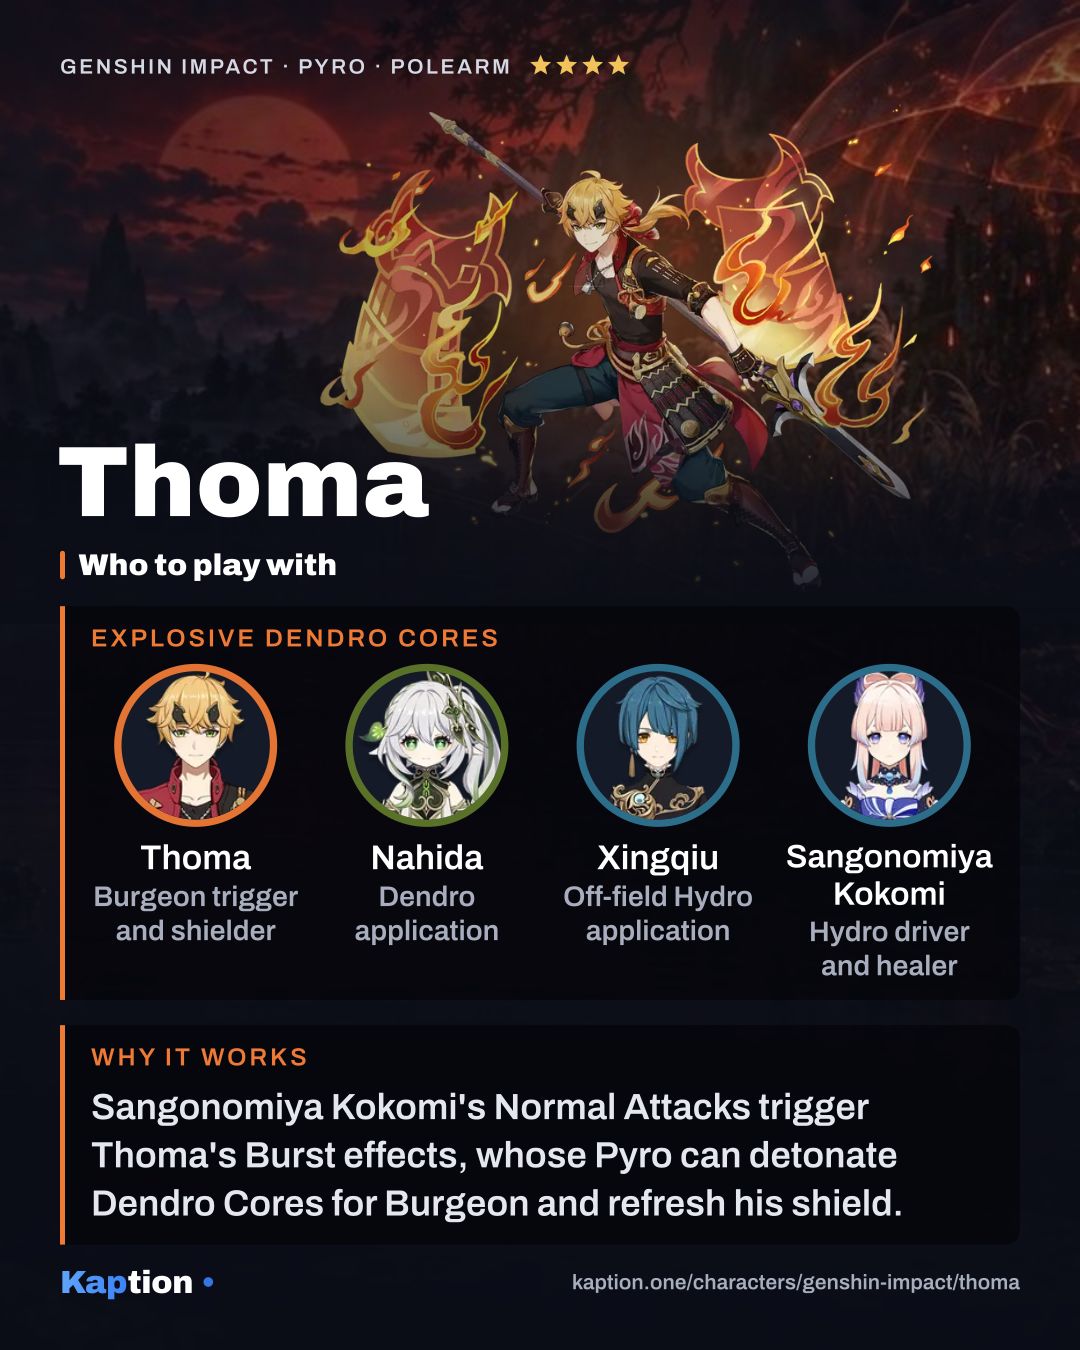
Use Crimson Ooyoroi next, then switch to your active attacker. While Scorching Ooyoroi is active, that character's Normal Attacks trigger Fiery Collapse at most once per second. It deals AoE Pyro DMG and creates another Blazing Barrier.
A new barrier adds its absorption to what remains of the old one and refreshes its duration, up to a limit based on Thoma's Max HP. Imbricated Armor gives the active character 5% Shield Strength for 6 seconds when a barrier is obtained or refreshed, up to five stacks. Flaming Assault also increases Fiery Collapse DMG by 2.2% of Thoma's Max HP.
If Thoma falls, Scorching Ooyoroi ends. Swiftshatter Spear (NA) has up to four Normal Attack strikes, plus Charged and Plunging Attacks, but Thoma can leave the field after setting up his Burst.
Build and why
For Burgeon, four pieces of Flower of Paradise Lost are the first set to consider. They increase Burgeon DMG by 40%, and triggering the listed reactions increases the set's bonuses further. Gilded Dreams is another option: its two-piece bonus gives 80 Elemental Mastery, while its four-piece effect grants buffs based on teammates' elements. Two pieces of Wanderer's Troupe also give 80 Elemental Mastery; its four-piece Charged Attack bonus does not work for a Polearm user.
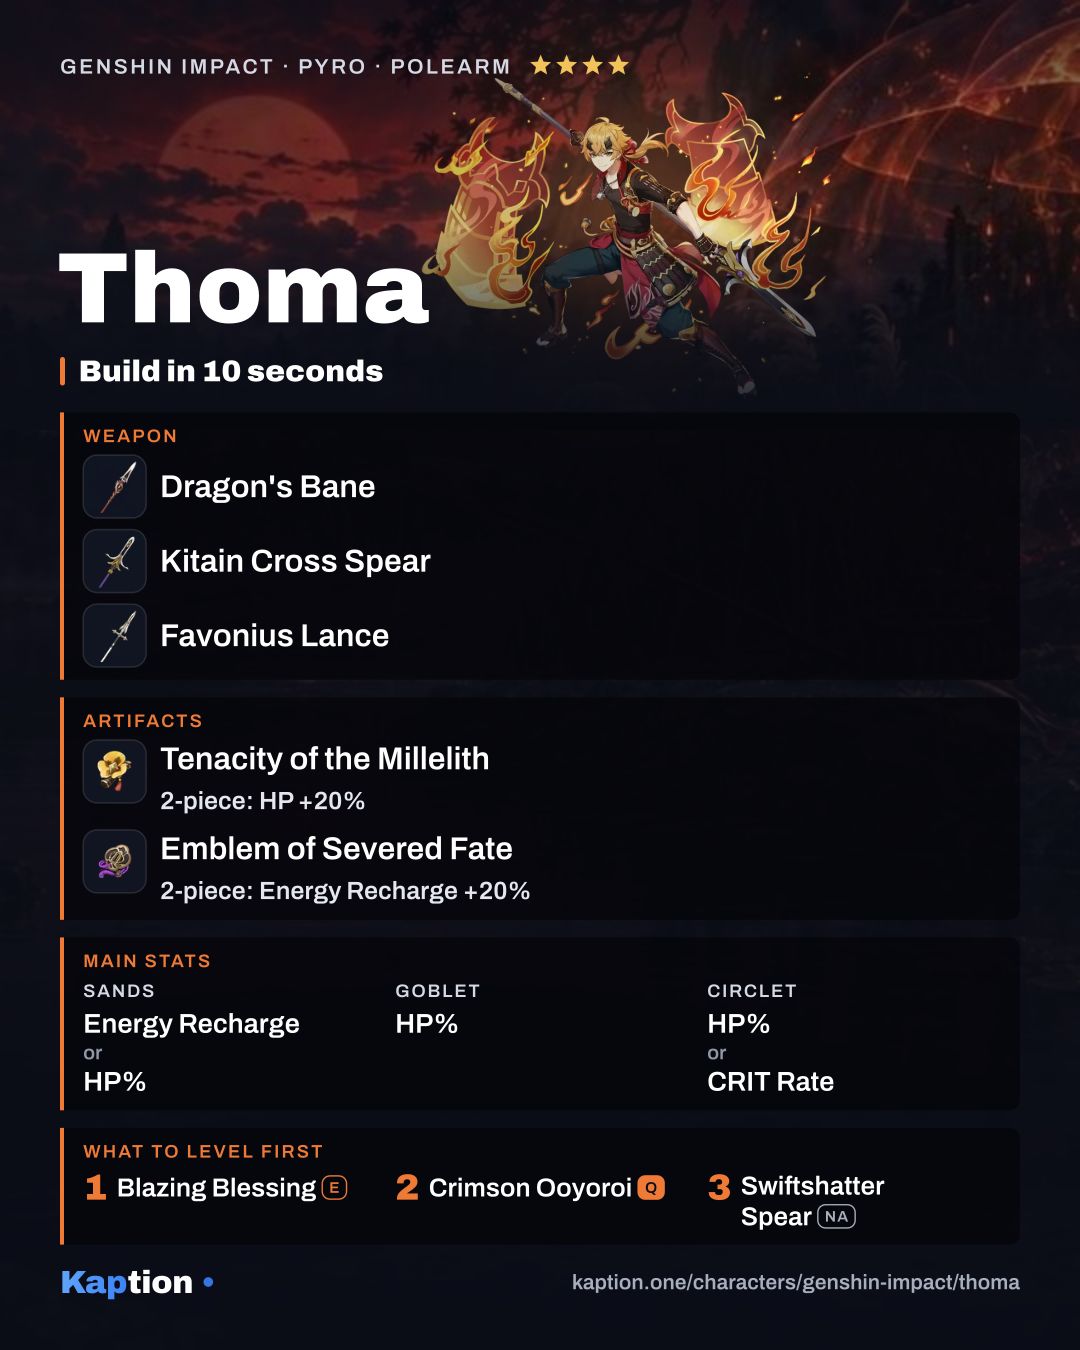
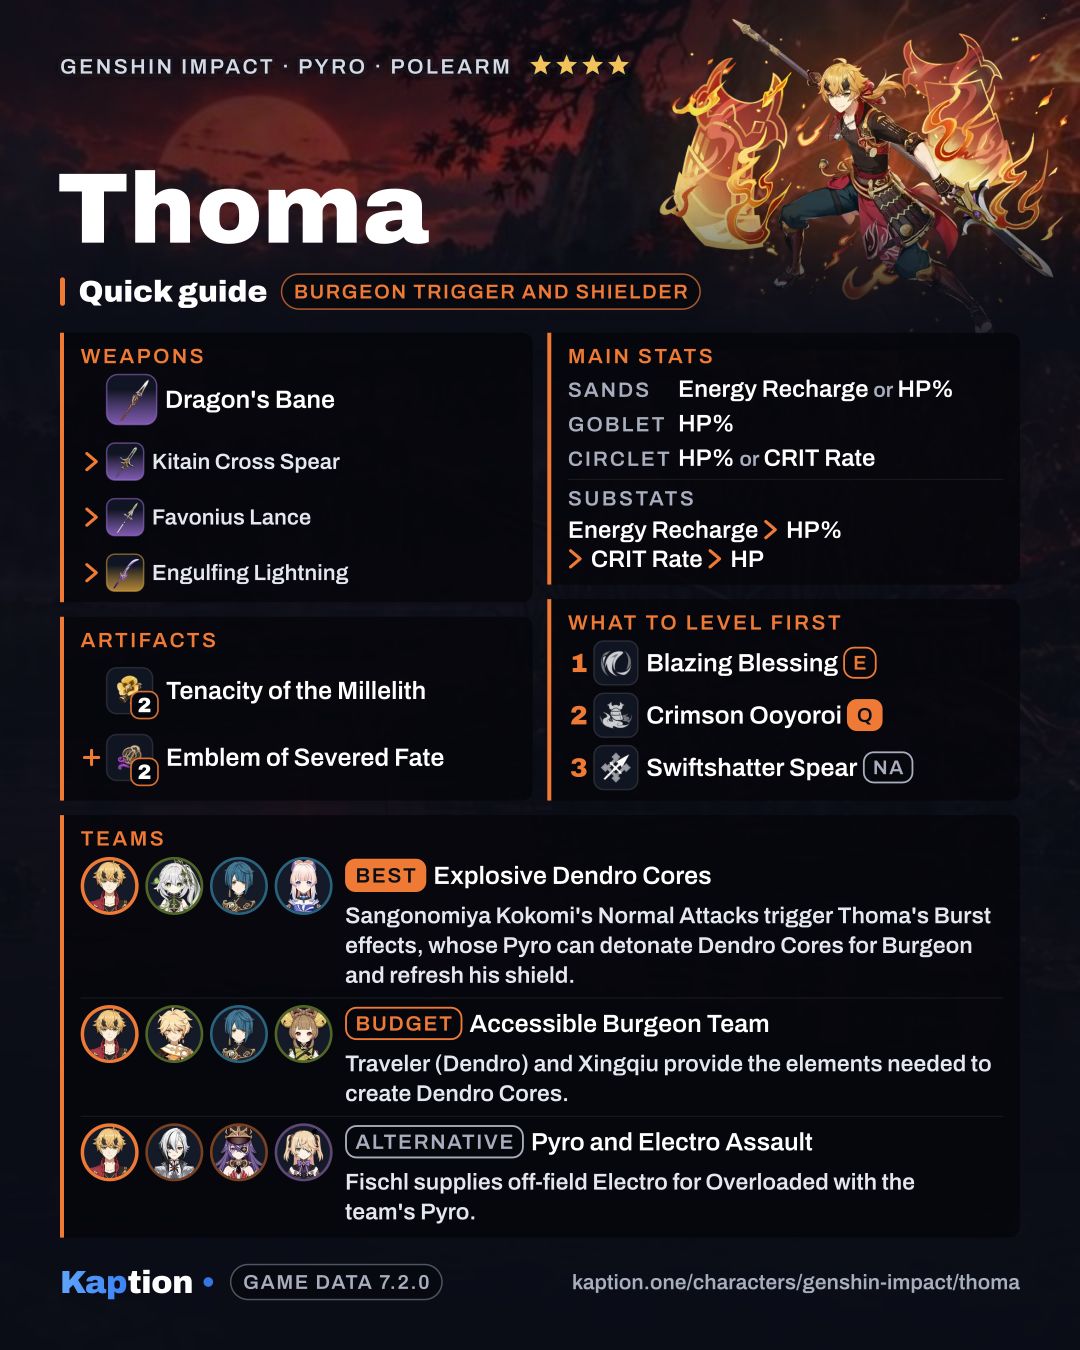
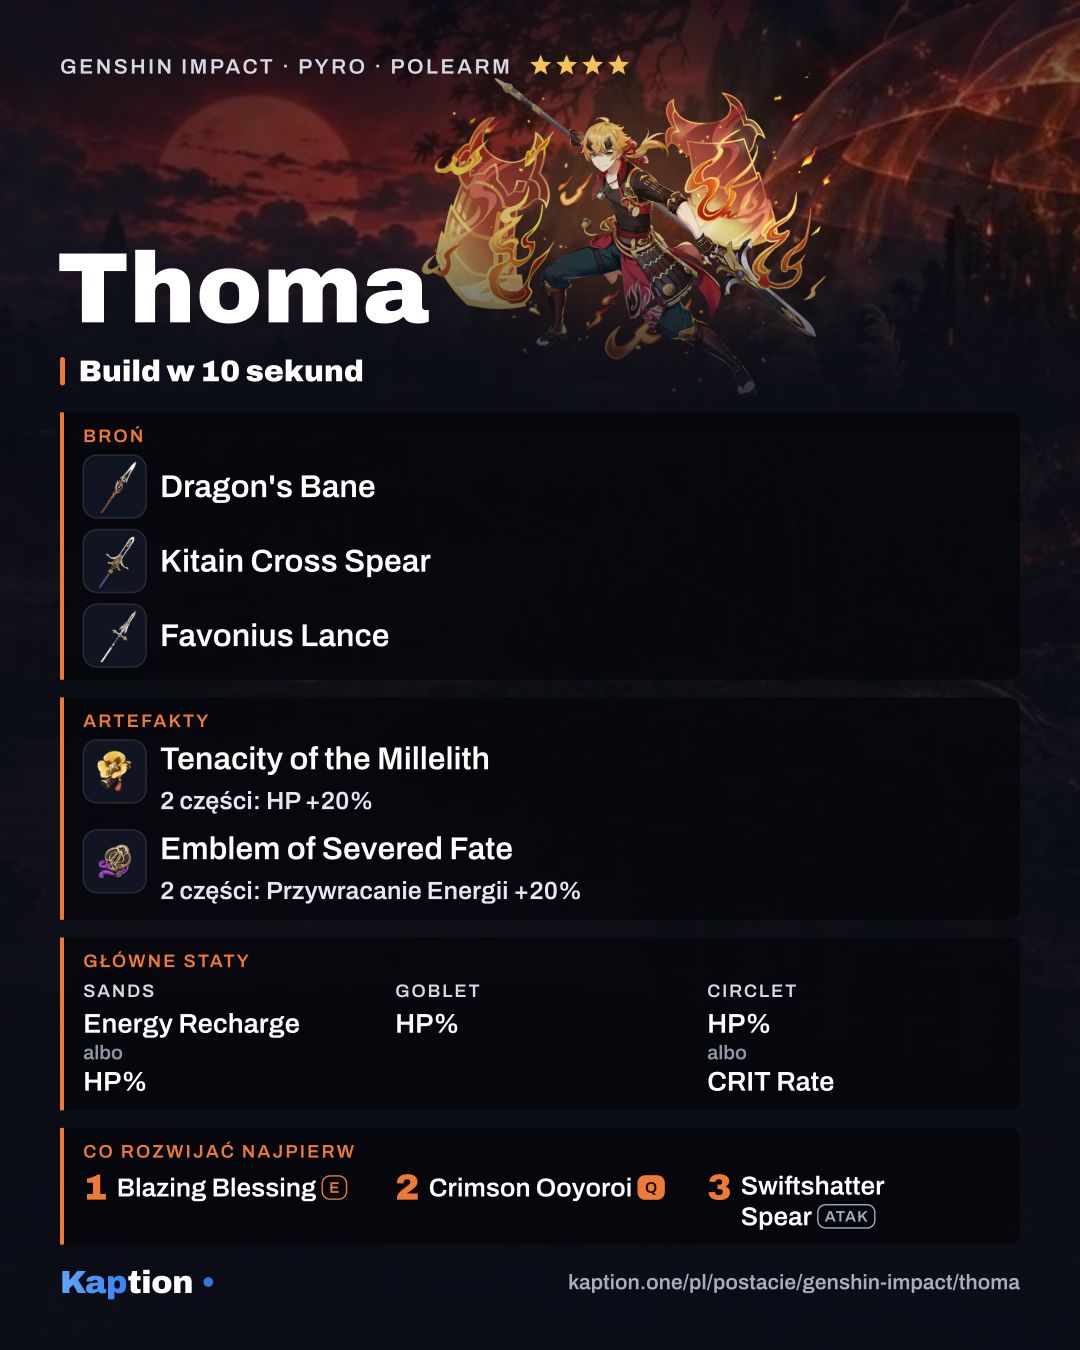
For a shield build, try two pieces of Tenacity of the Millelith with two pieces of Emblem of Severed Fate. They give 20% HP and 20% Energy Recharge. You can replace Emblem with two pieces of Vourukasha's Glow for another 20% HP. Four pieces of Noblesse Oblige are an alternative if you want the Burst to give the party 20% ATK for 12 seconds.
Use Energy Recharge or HP Percentage on the sands, HP Percentage on the goblet, and HP Percentage or CRIT Rate on the circlet. Among substats, look for Energy Recharge first, then HP Percentage, CRIT Rate and HP. Energy Recharge helps bring the Burst back; Max HP supports the barrier and Fiery Collapse.
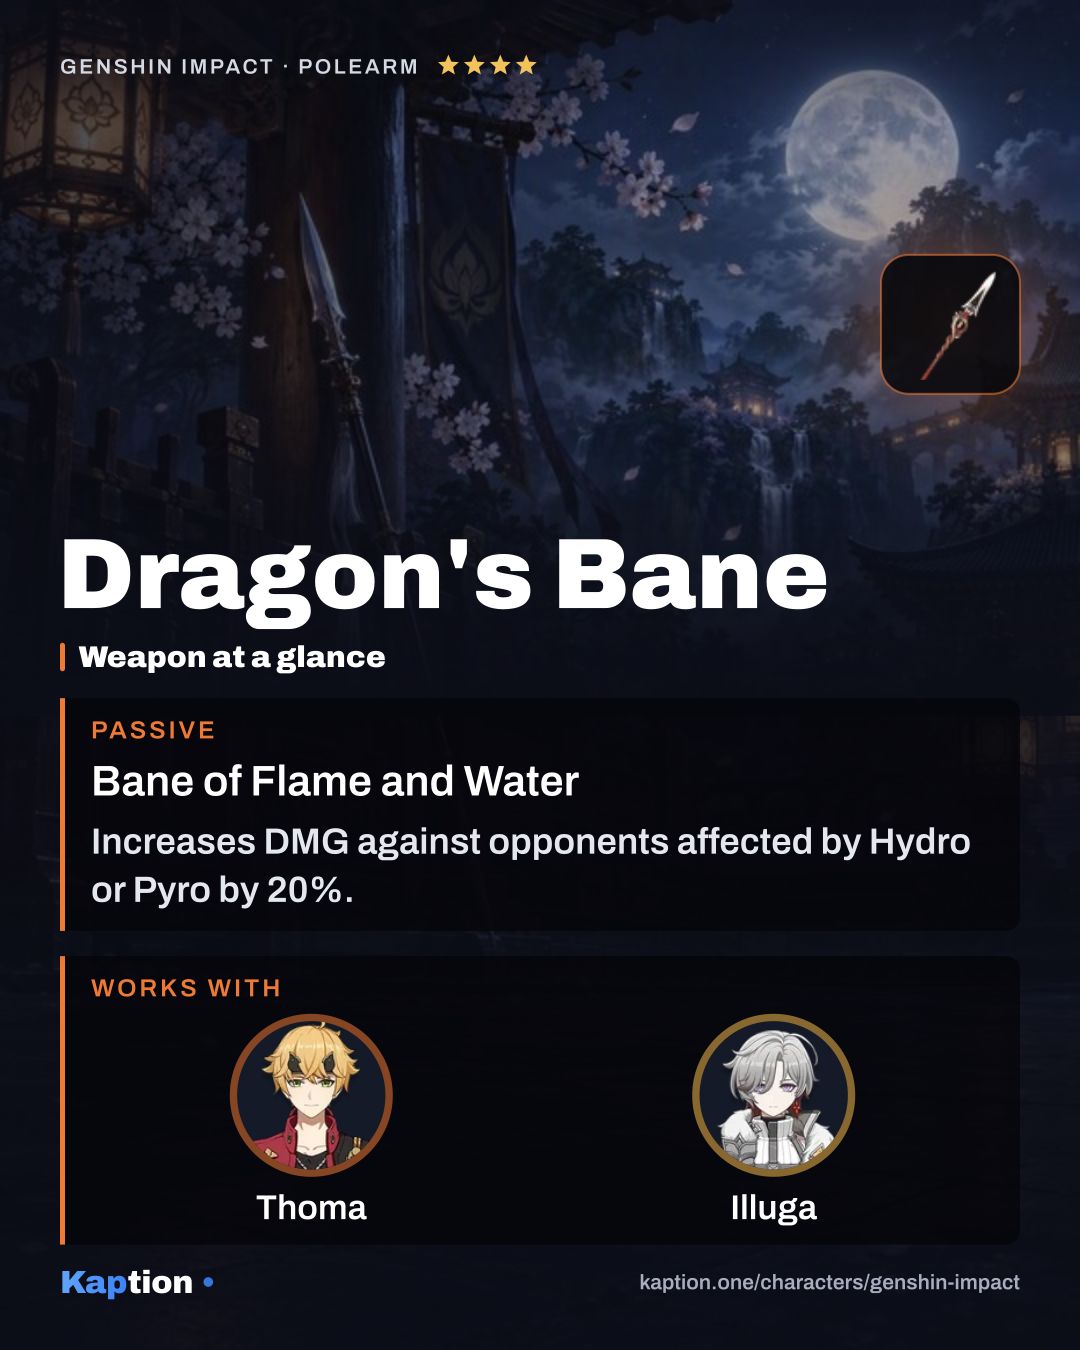
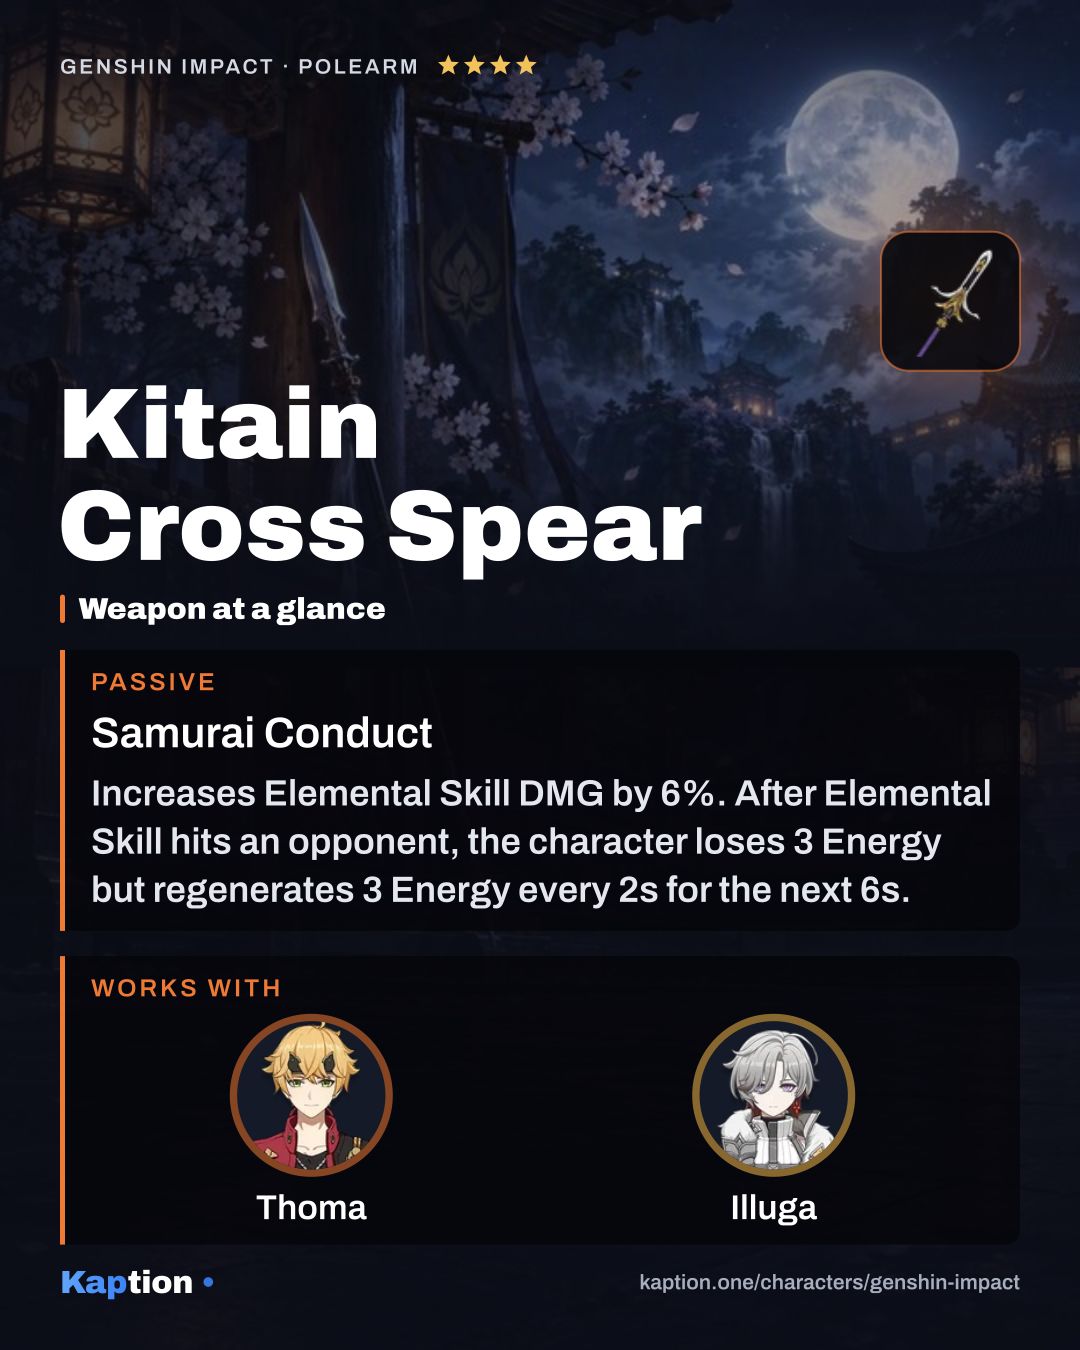
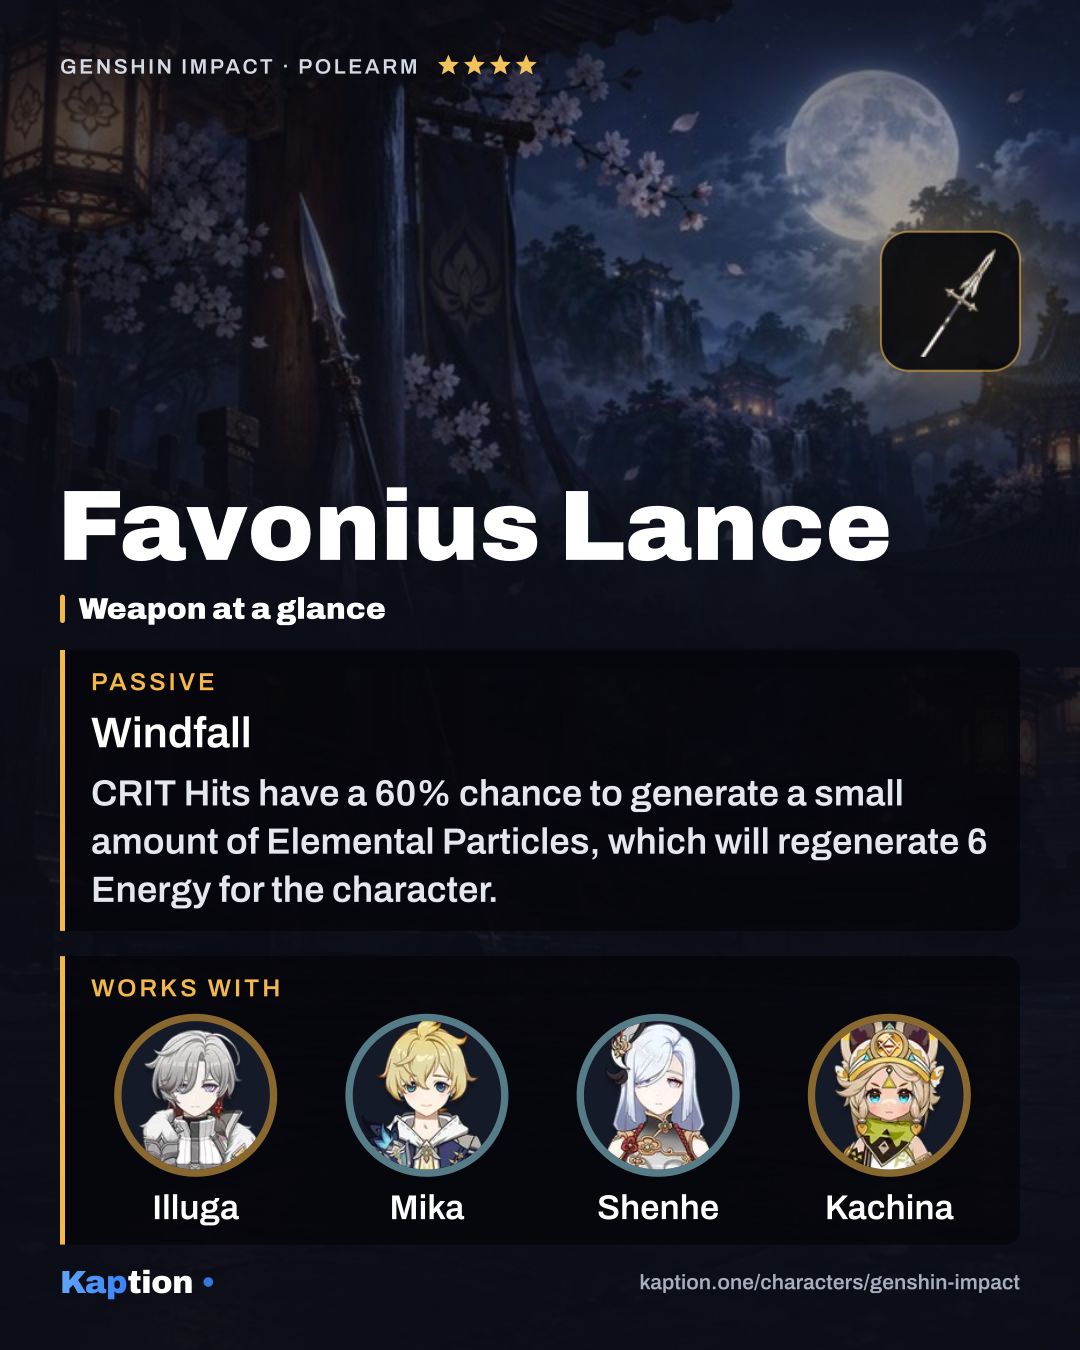
Kitain Cross Spear is the first weapon to consider: after the Skill hits, it costs Thoma 3 Energy but restores 3 Energy every 2 seconds for 6 seconds. Dragon's Bane increases damage against enemies affected by Hydro or Pyro by 20%. Favonius Lance is another option; its CRIT Hits have a 60% chance to generate particles, so CRIT Rate helps with its effect.
Leveling priority
For a protection build, a good order is Blazing Blessing first, then Crimson Ooyoroi. The Skill creates the initial shield, while the Burst supplies the refreshes. Leave Swiftshatter Spear (NA) until last if Thoma spends most of the fight off the field.
To ascend Thoma fully, you need 420,000 Mora, 168 Fluorescent Fungus, 46 Smoldering Pearl, one Agnidus Agate Sliver, nine Agnidus Agate Fragment, nine Agnidus Agate Chunk and six Agnidus Agate Gemstone. You also need 18 Treasure Hoarder Insignia, 30 Silver Raven Insignia and 36 Golden Raven Insignia.
For all skills at their maximum, the separate total is 4,957,500 Mora, three Crown of Insight, nine Teachings of Transience, 63 Guide to Transience, 114 Philosophies of Transience and 18 Hellfire Butterfly. It also takes 18 Treasure Hoarder Insignia, 66 Silver Raven Insignia and 93 Golden Raven Insignia.
Constellations worth it
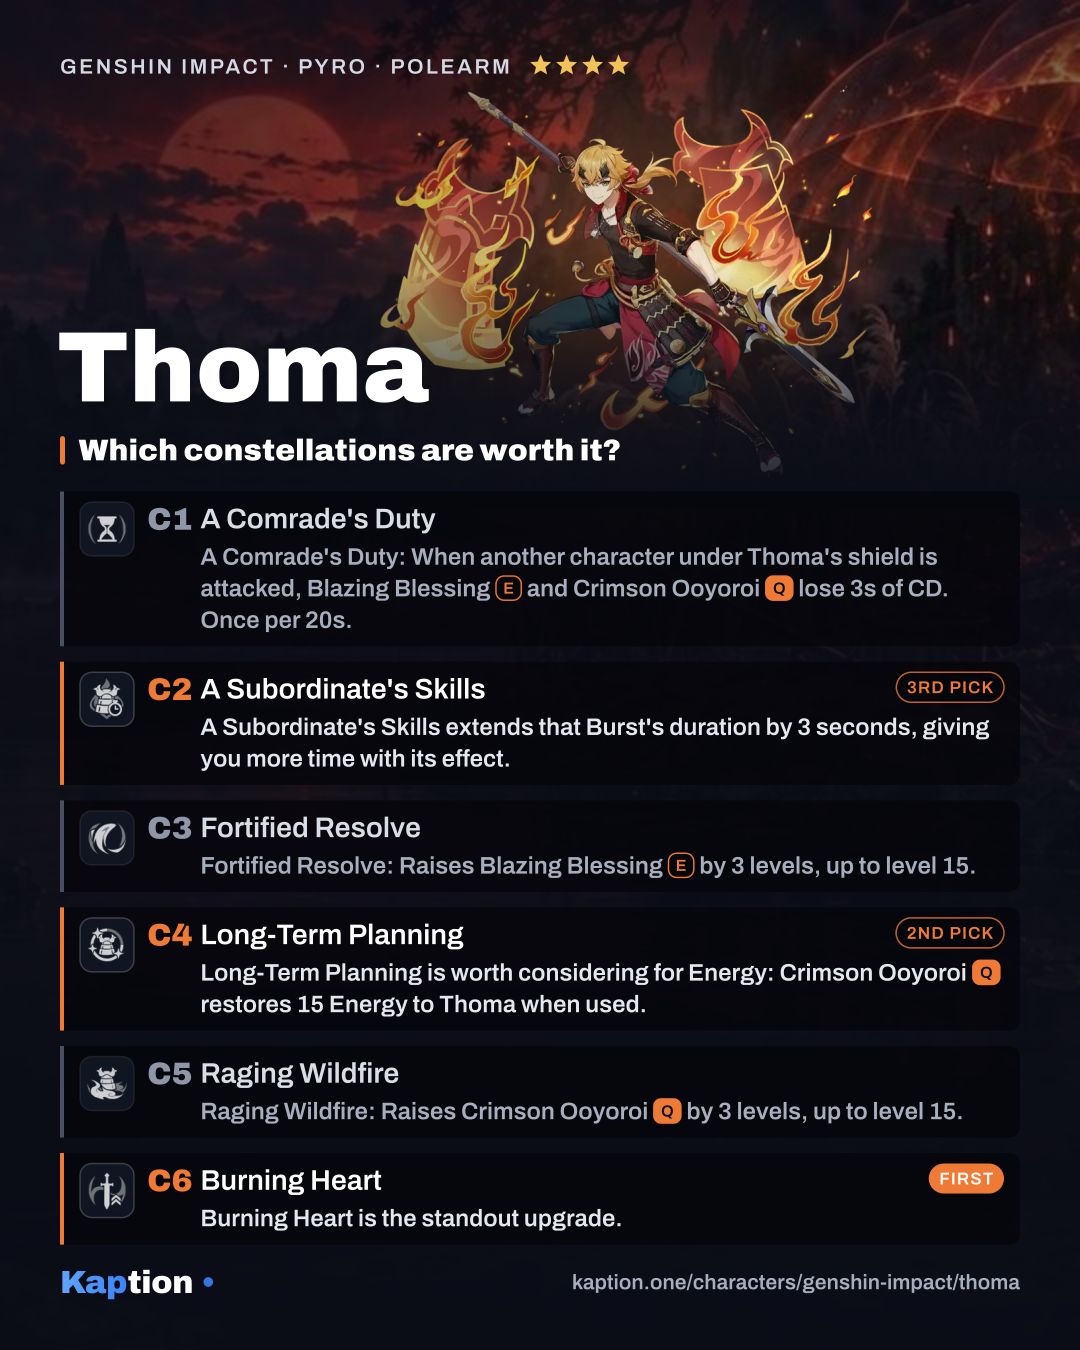
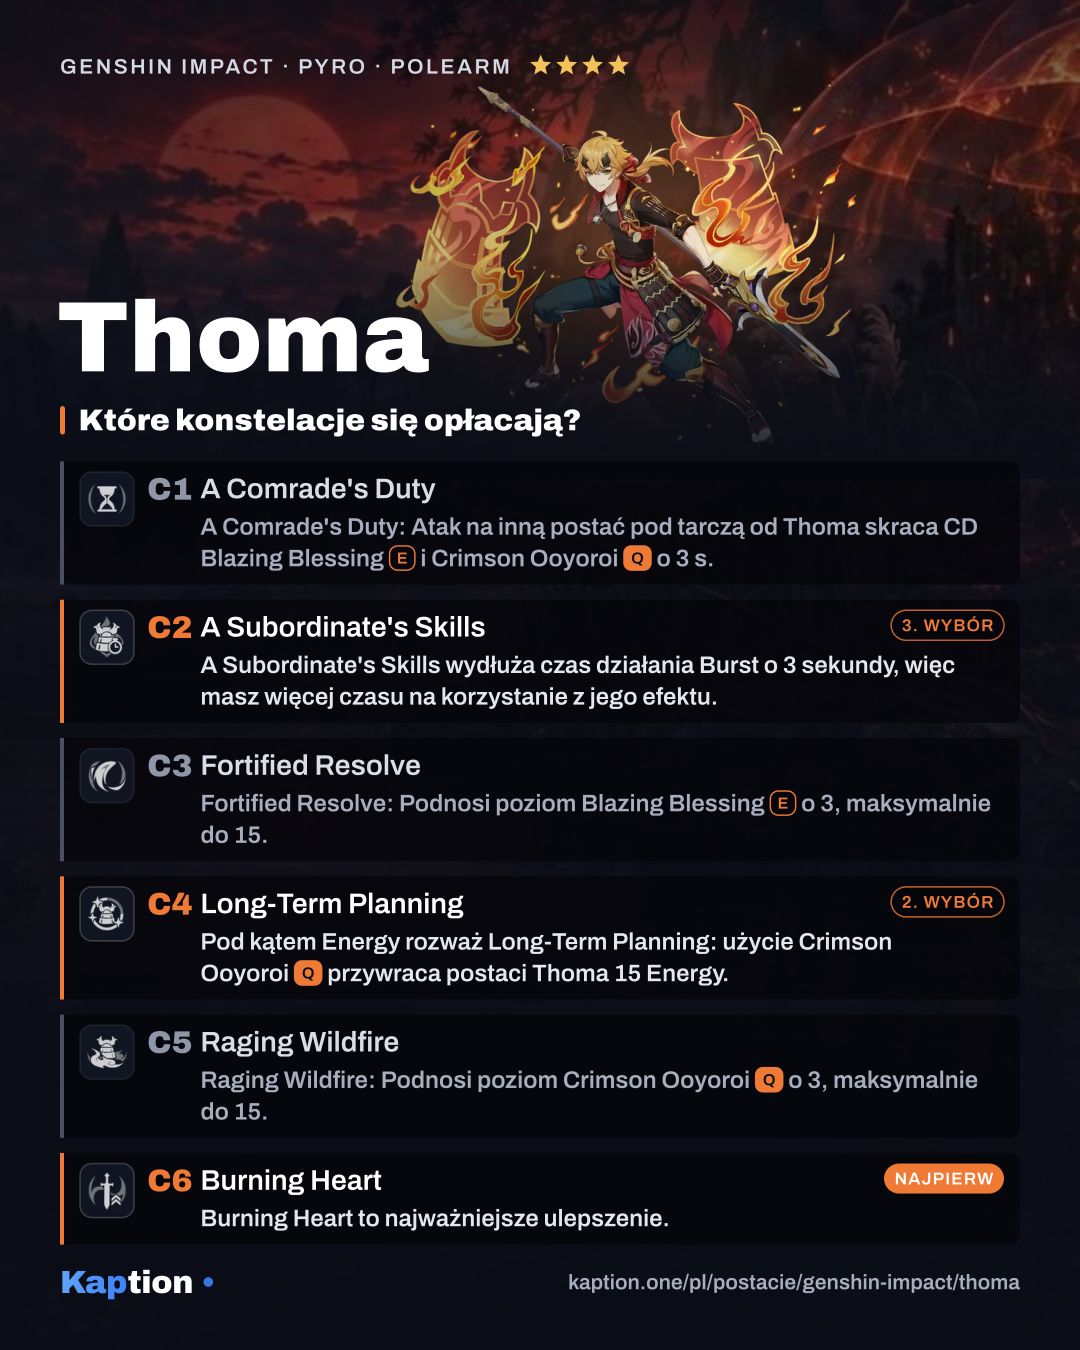
Burning Heart is the standout upgrade. Obtaining or refreshing a Blazing Barrier increases the whole party's Normal, Charged and Plunging Attack DMG by 15% for 6 seconds.
Long-Term Planning is worth considering for Energy: Crimson Ooyoroi restores 15 Energy to Thoma when used. A Subordinate's Skills extends that Burst's duration by 3 seconds, giving you more time with its effect.
The others are less necessary for the protection setup. A Comrade's Duty can reduce both skill cooldowns by 3 seconds when a protected teammate is attacked, once every 20 seconds. Fortified Resolve adds three levels to Blazing Blessing, while Raging Wildfire adds three to the Burst. You can play the build without those upgrades.
Teams
Pick an active attacker who uses Normal Attacks so they can trigger Fiery Collapse and refresh the shield. Yoimiya or Wanderer are options named for Thoma. He gives them protection and off-field Pyro damage; at C6 he also increases their attack damage when the barrier is refreshed.
Common mistakes
Do not switch to an attacker and forget Normal Attacks after Crimson Ooyoroi. Charged or Plunging Attacks alone do not trigger its Fiery Collapse. Use Normal Attacks during the Burst effect to create and refresh barriers.
Do not ignore Energy Recharge just to stack HP: the Burst needs to be available for its refreshes. With Favonius Lance, do not neglect CRIT Rate either. In a Burgeon build, check the set bonuses rather than assuming every four-piece effect works for Thoma; Wanderer's Troupe requires a Catalyst or Bow for its Charged Attack bonus.
Finally, remember that the shield has an absorption cap and that the Skill applies Pyro to Thoma. Keep an eye on his survival too, since his Burst effect ends if he falls.