

















































































Guide
How the kit works
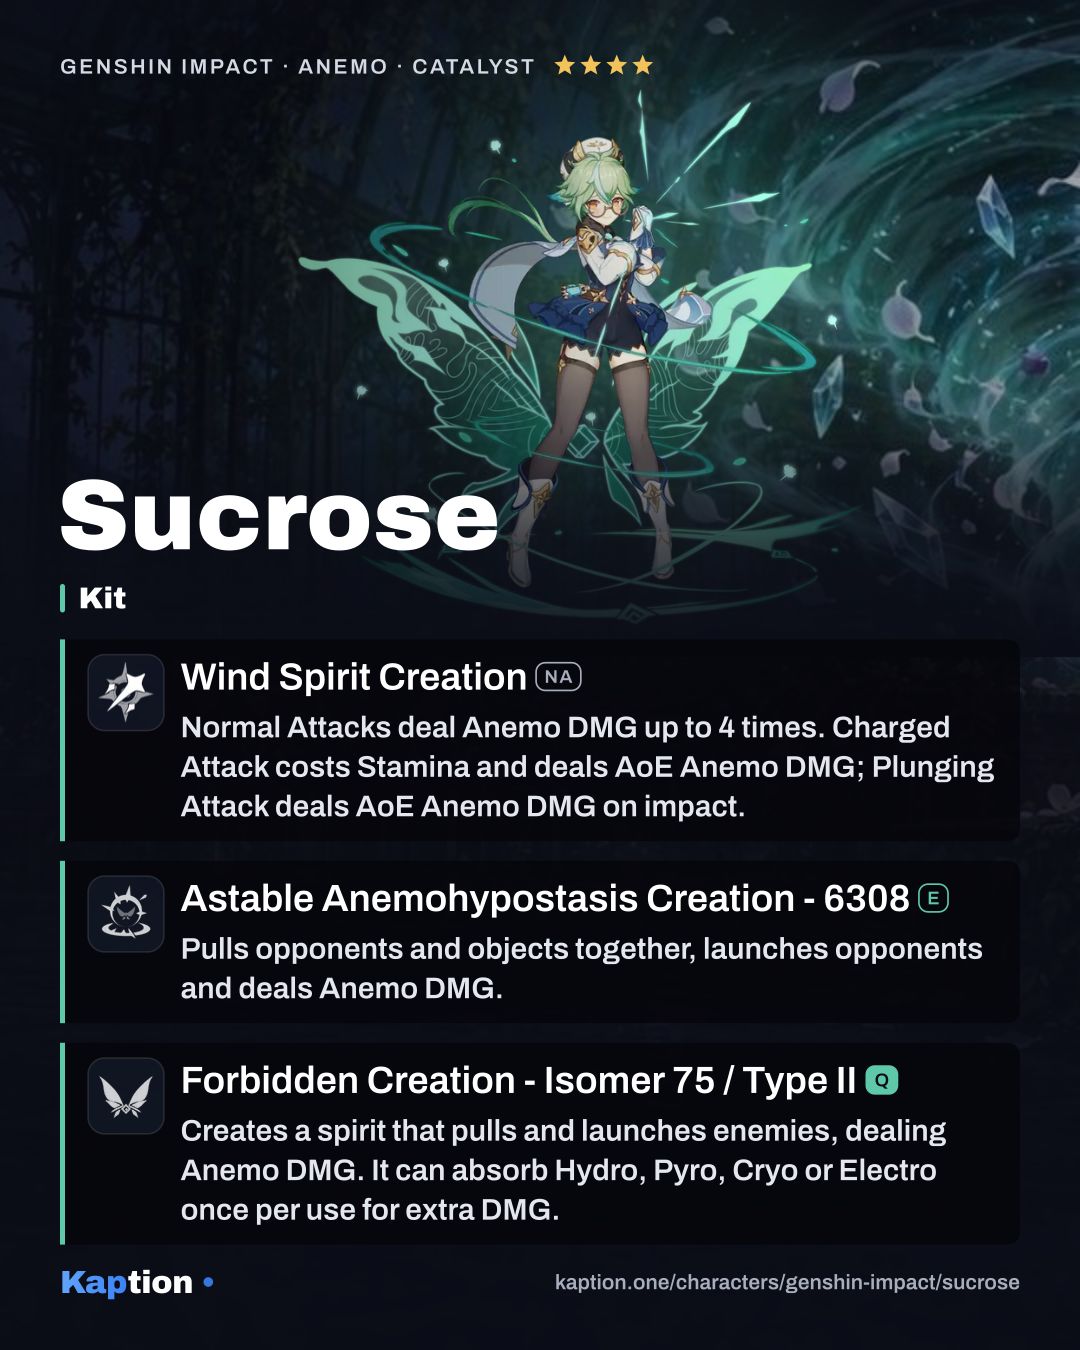
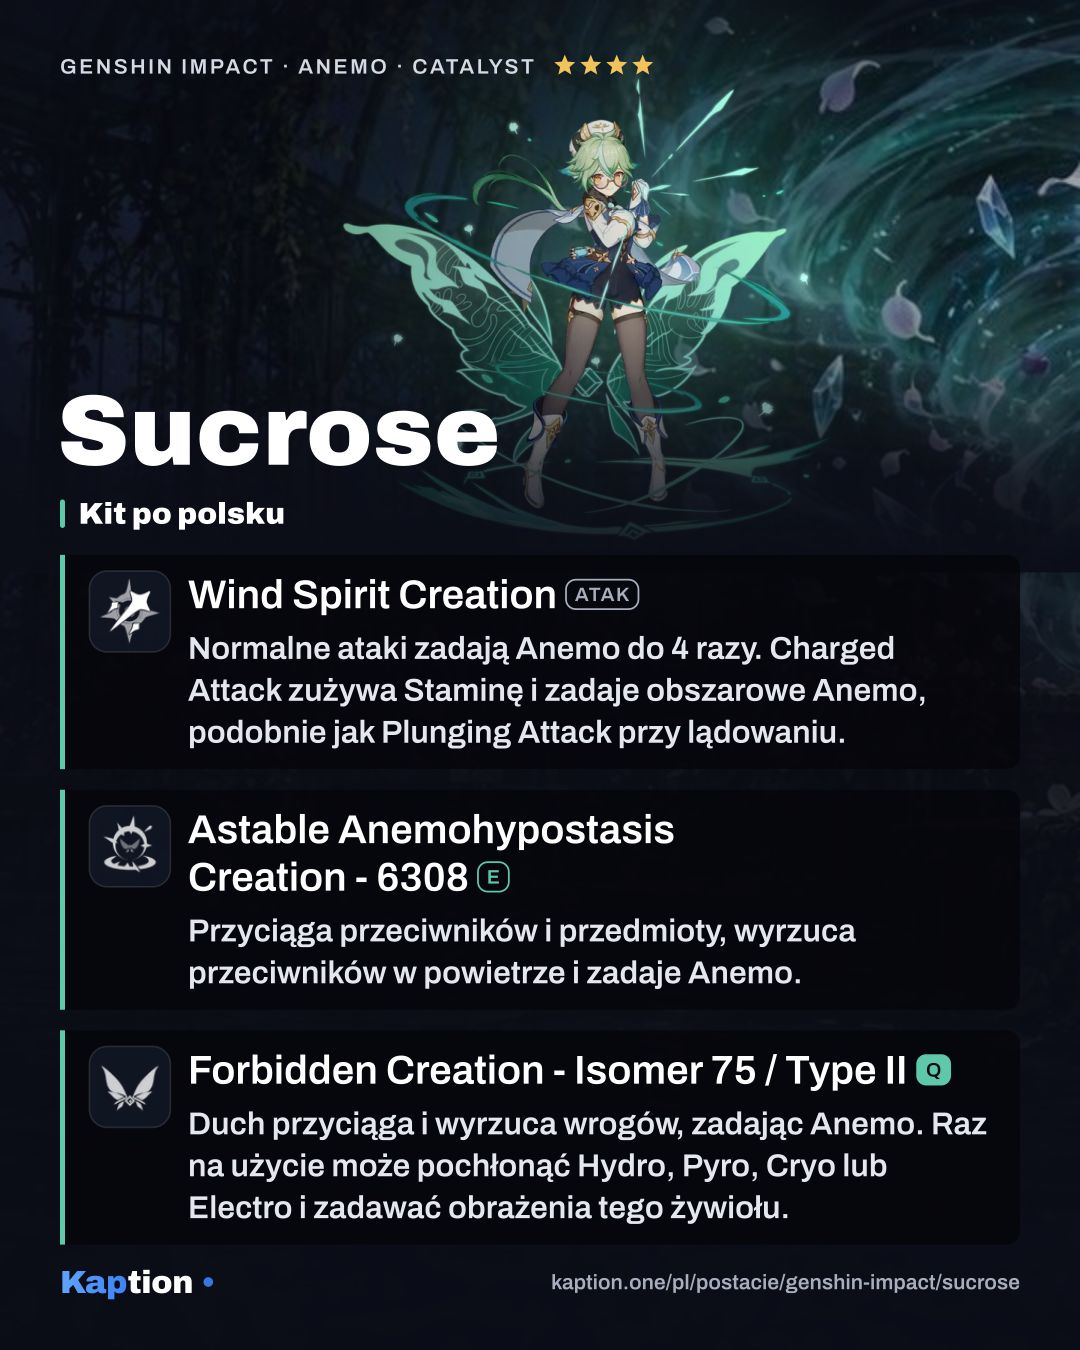
Start by applying an element with a teammate. Bring in Sucrose and use Astable Anemohypostasis Creation - 6308 near the opponents: it pulls enemies and objects toward the small Wind Spirit, launches opponents in its area and deals Anemo damage.
A Swirl or Stellar Swirl triggers Catalyst Conversion. Party members with the matching element, excluding Sucrose, gain 50 Elemental Mastery for 8 seconds. A Skill or Burst hit also triggers Mollis Favonius, giving the other party members Elemental Mastery equal to 20% of Sucrose's for 8 seconds.
Use Forbidden Creation - Isomer 75 / Type II when you want its continuing pull and Anemo damage. Its Large Wind Spirit can absorb Hydro, Pyro, Cryo or Electro and deal extra damage of that type. It can absorb only once per use, so consider which element is nearby before casting.
Wind Spirit Creation (NA) deals Anemo damage with up to four Normal Attacks. Its Charged Attack consumes Stamina and deals area Anemo damage after a short cast. Use these attacks if you want Sucrose to stay on the field and trigger more Swirls.
After completing Witch's Homework: Of Wonderland Flowers, Witch's Eve Rite: Sevenfold Transmutation makes Sucrose a Hexerei character. With at least two Hexerei characters in the party, her small Wind Spirit increases nearby party members' attack, Skill and Burst damage by 5.71428% for 15 seconds. Her Large Wind Spirit gives nearby Hexerei party members a 7.14285% increase to those damage types for 20 seconds.
Build and why
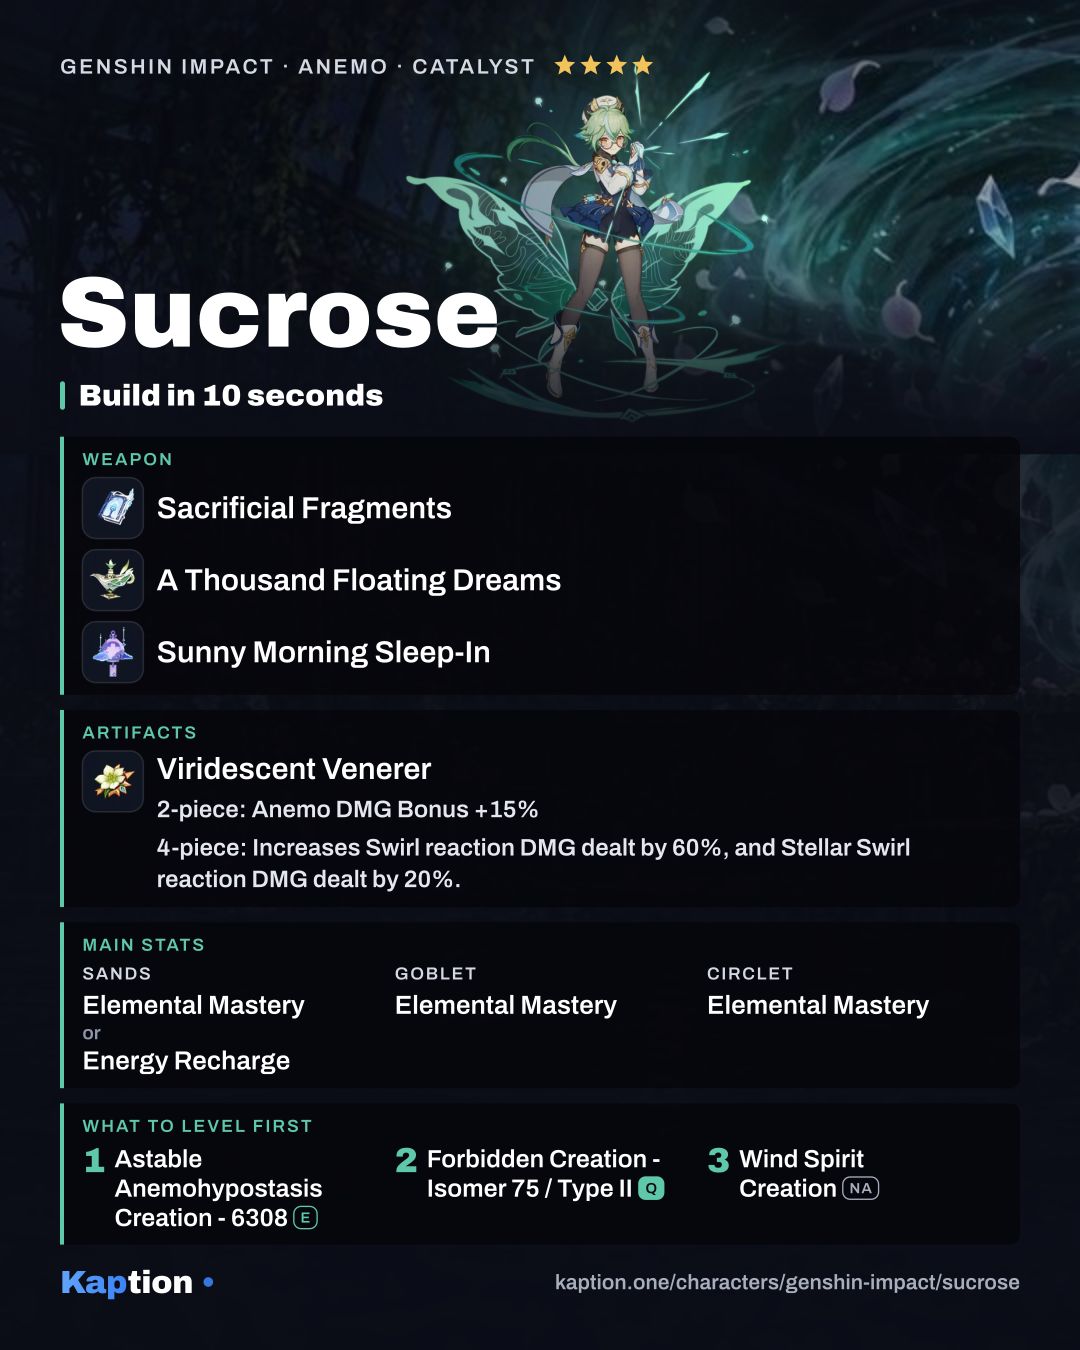
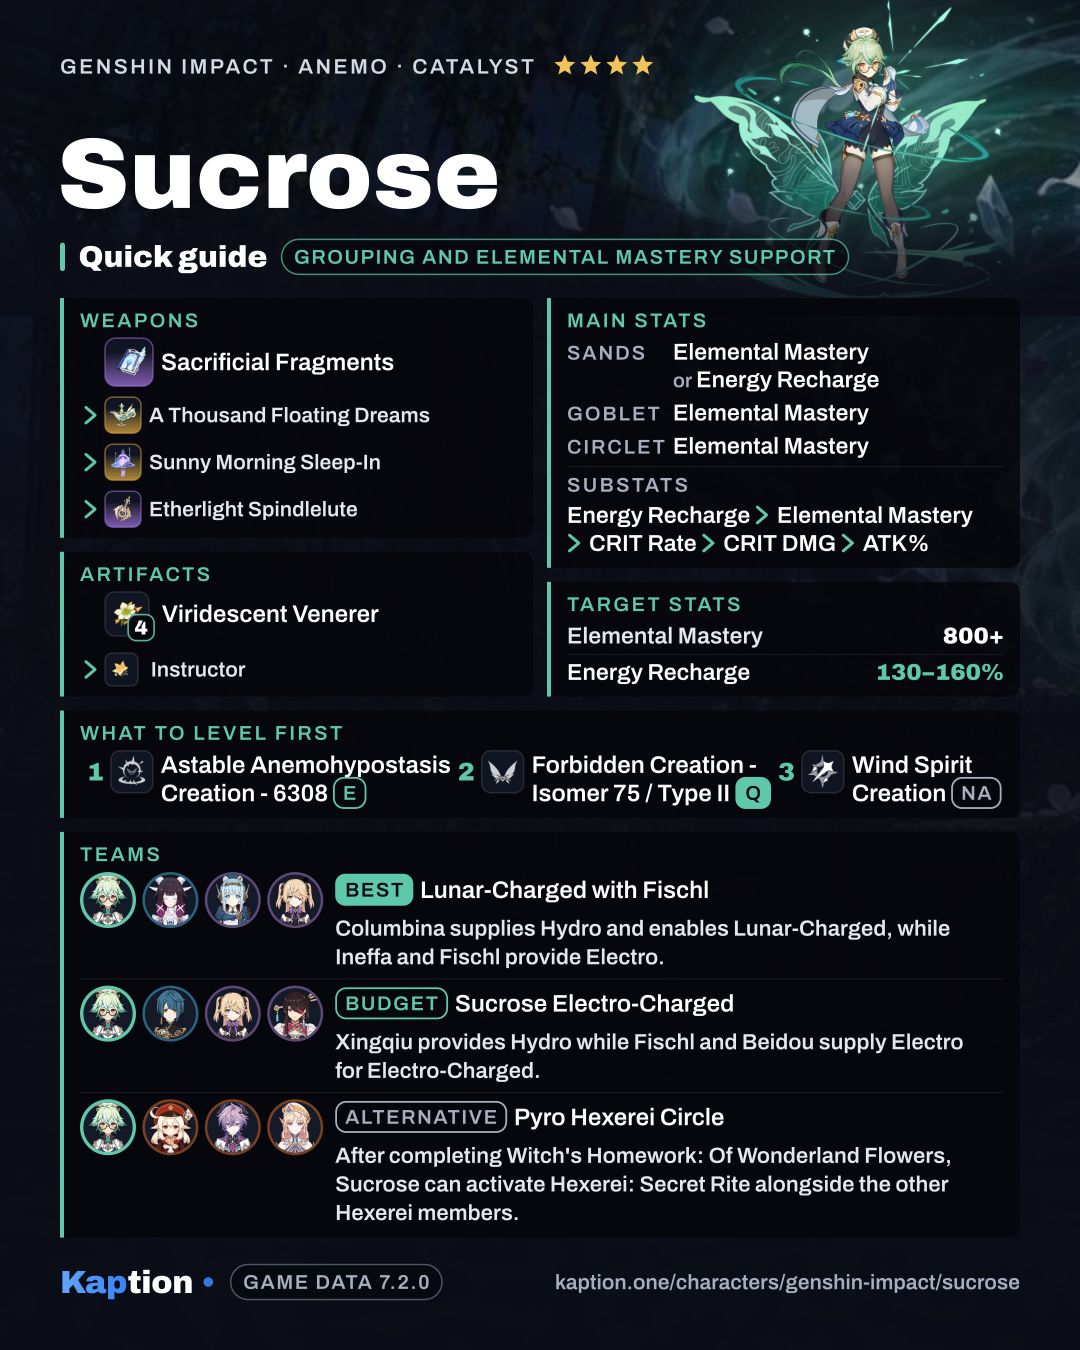
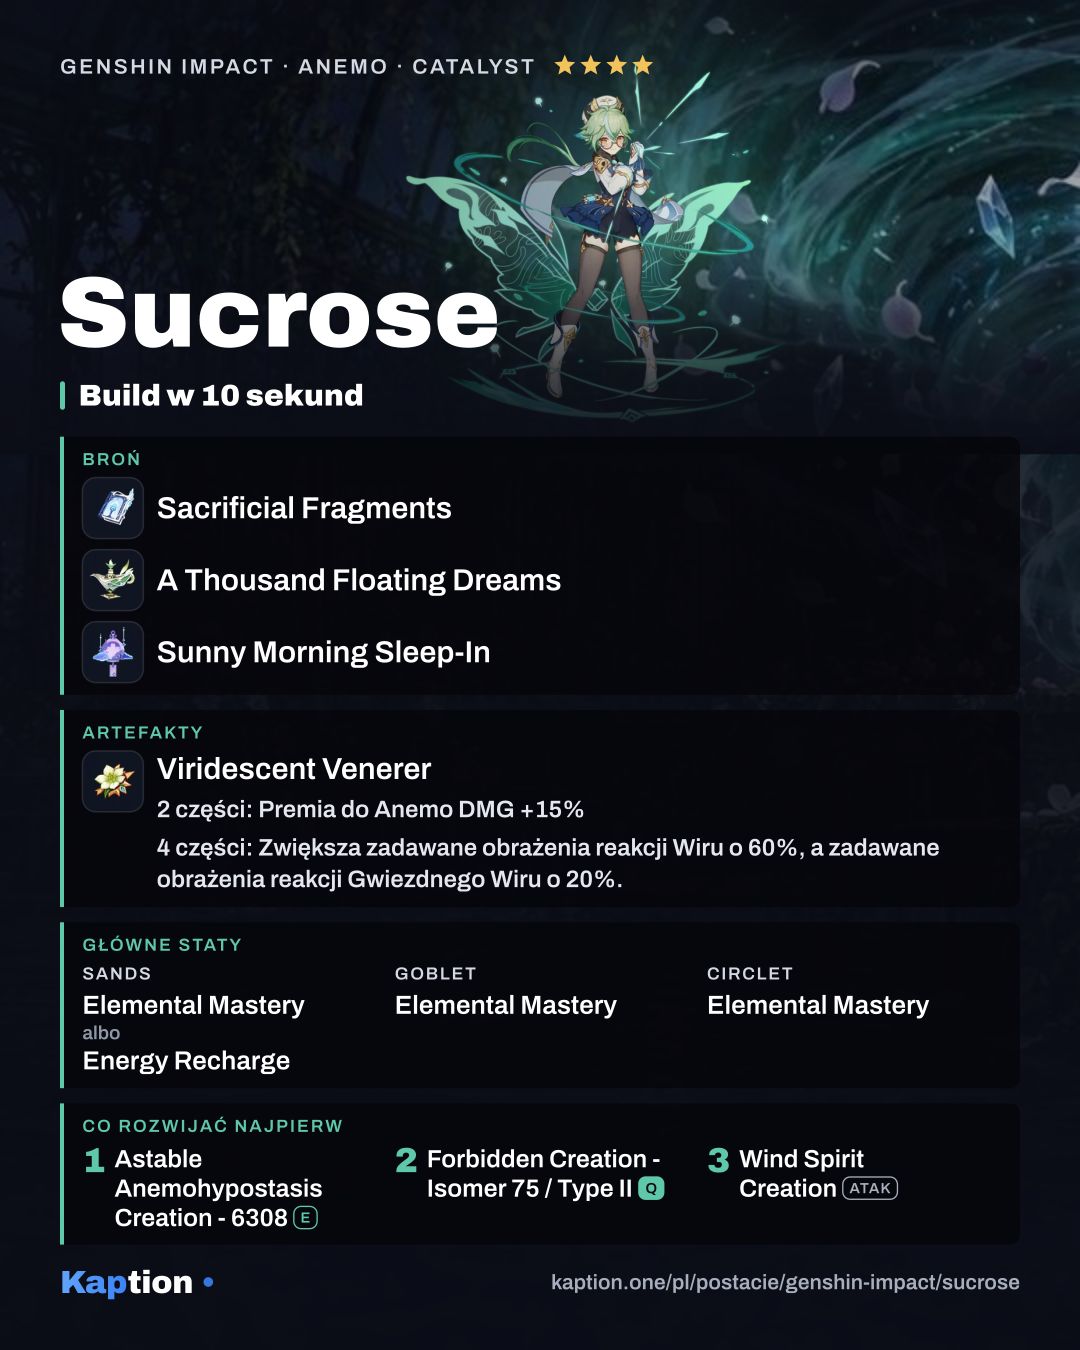
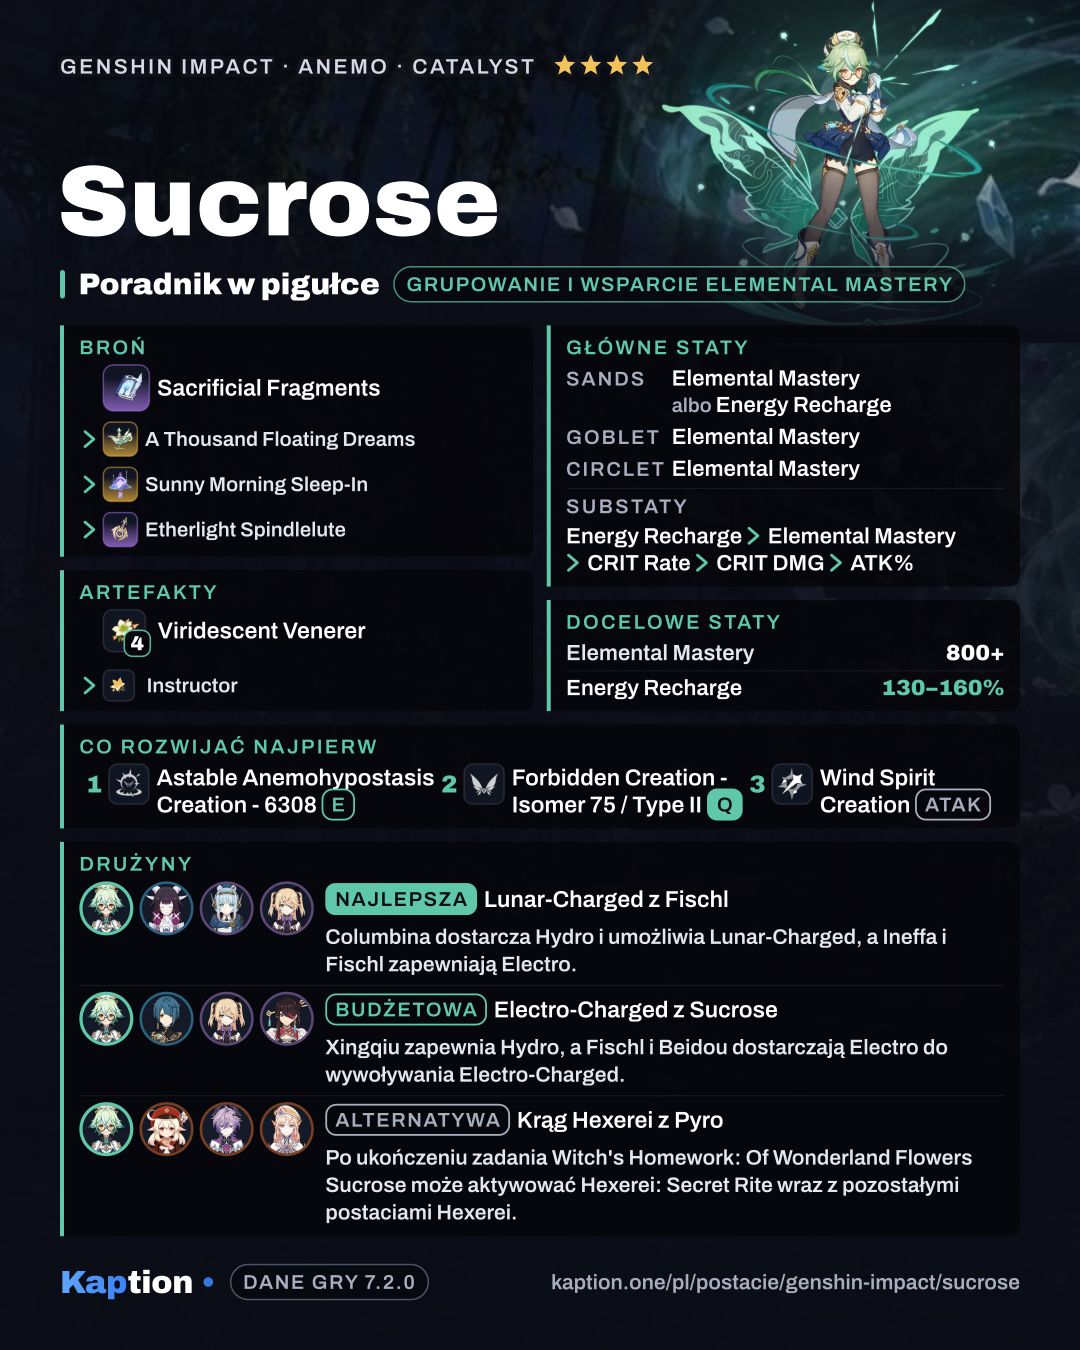
Use four pieces of Viridescent Venerer as the first choice. They increase Swirl damage by 60% and reduce the opponent's Elemental RES to the element infused in Swirl by 40% for 10 seconds. The set also increases Stellar Swirl damage by 20% and reduces Cryo RES by 40% when its Stellar Swirl condition is met.
Four pieces of Instructor are an alternative: triggering an Elemental Reaction gives the whole party 120 Elemental Mastery for 8 seconds. Scroll of the Hero of Cinder City is another option for its 12% Elemental DMG Bonus to the elements involved in the wearer's reaction. While assembling a set, two pieces each of Wanderer's Troupe and Gilded Dreams give 80 Elemental Mastery apiece.
Choose Elemental Mastery on the goblet and circlet. On the sands, use Elemental Mastery or Energy Recharge if you need more Burst availability. For substats, look for Energy Recharge first, then Elemental Mastery, CRIT Rate, CRIT DMG and ATK Percentage. Elemental Mastery raises the amount shared through Mollis Favonius.
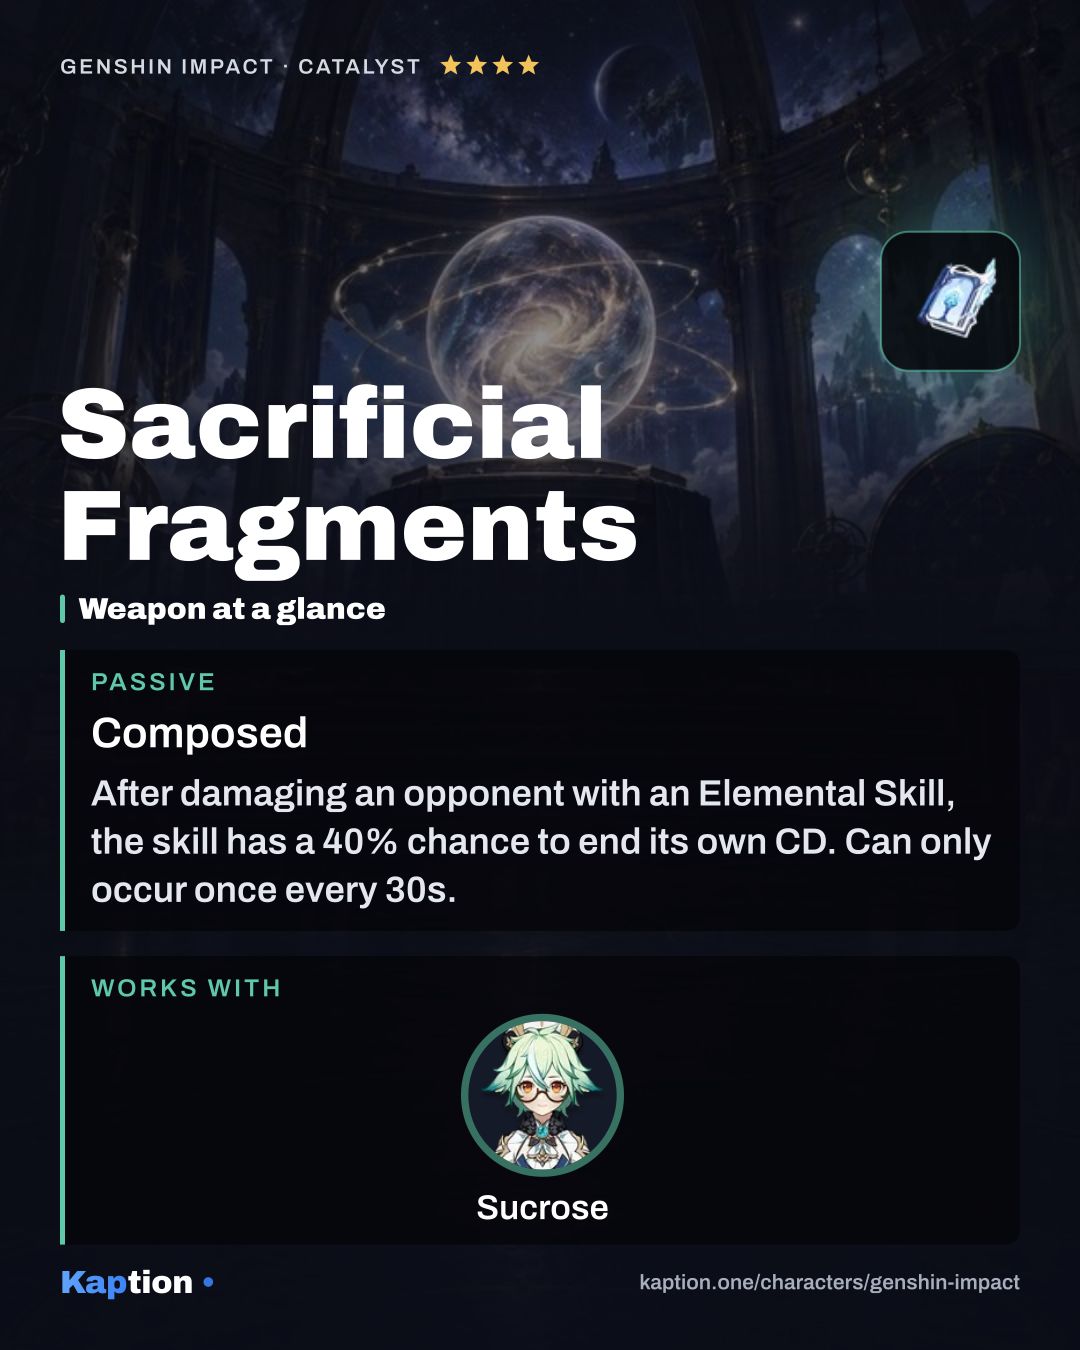
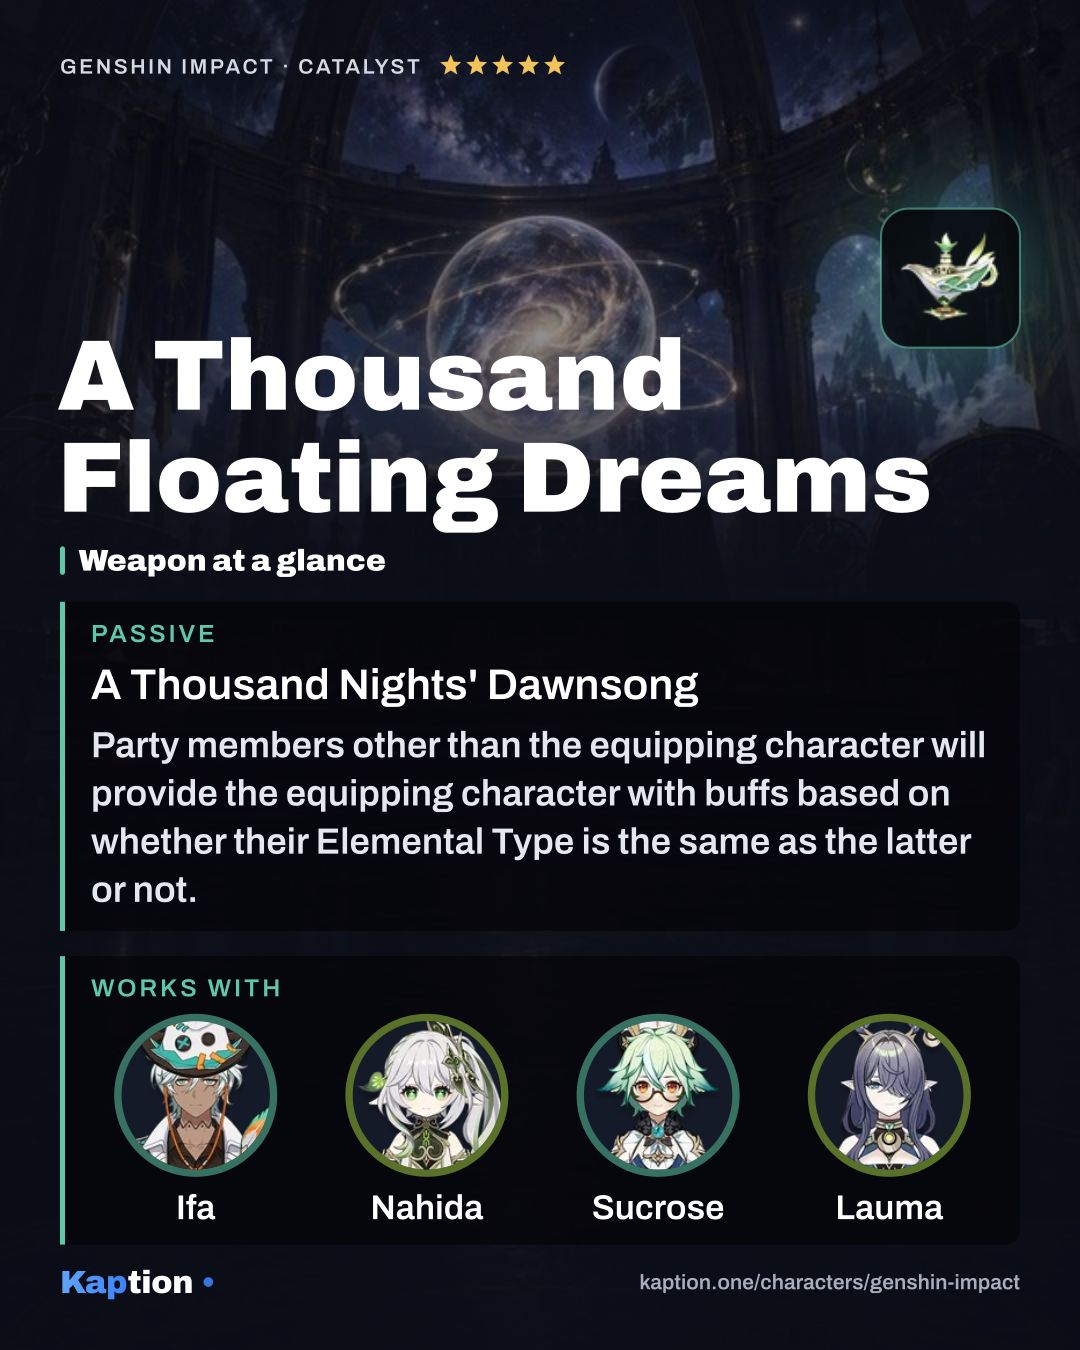
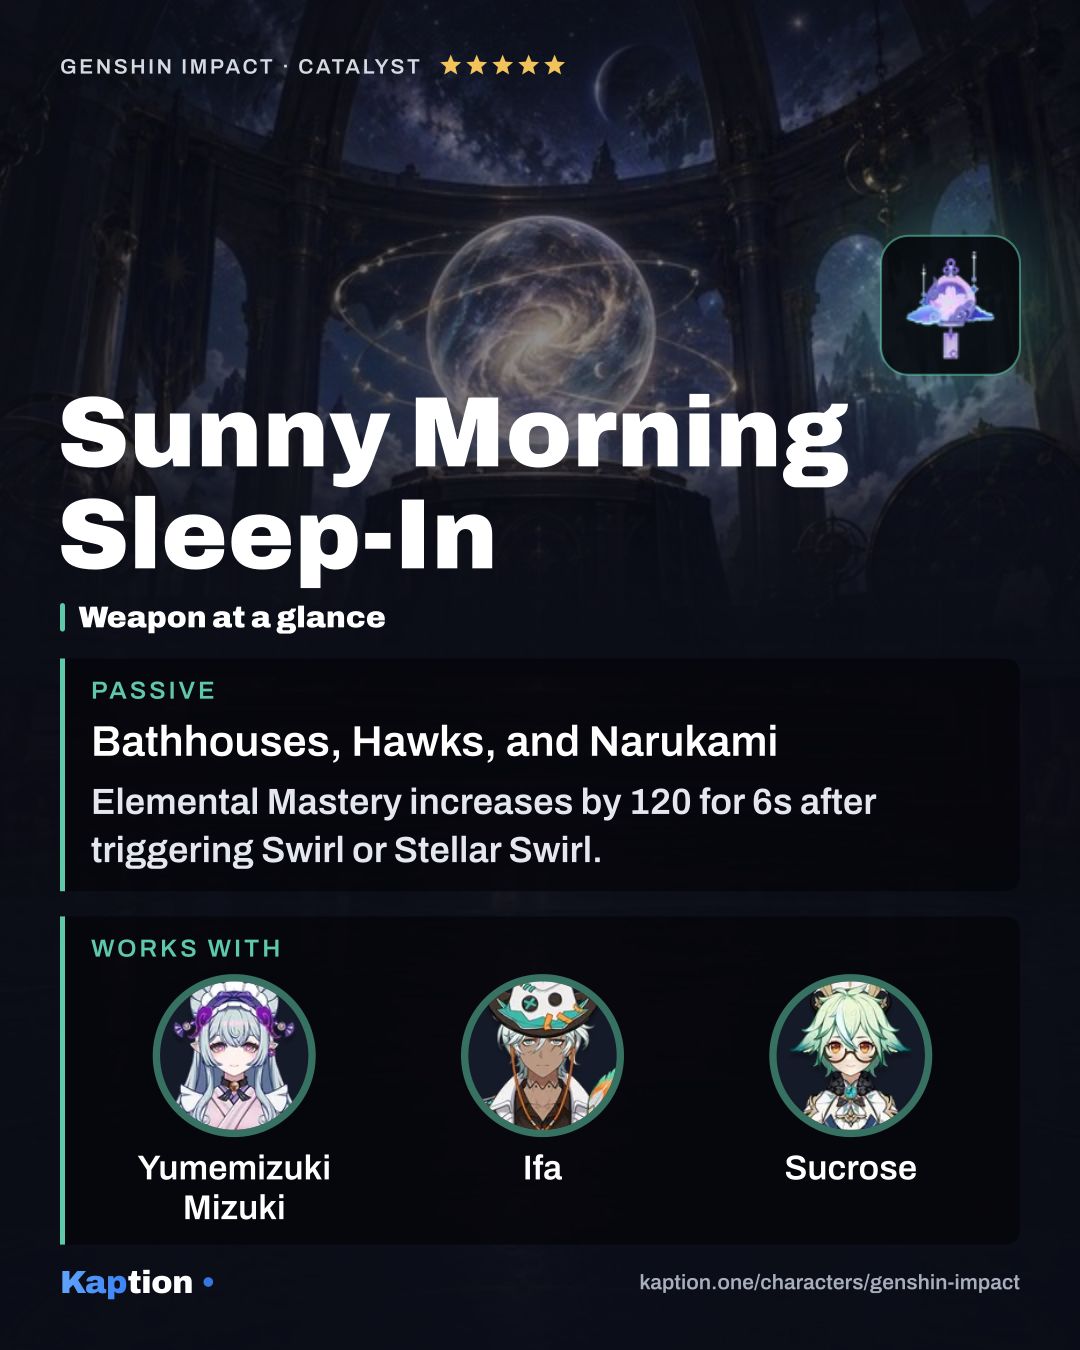
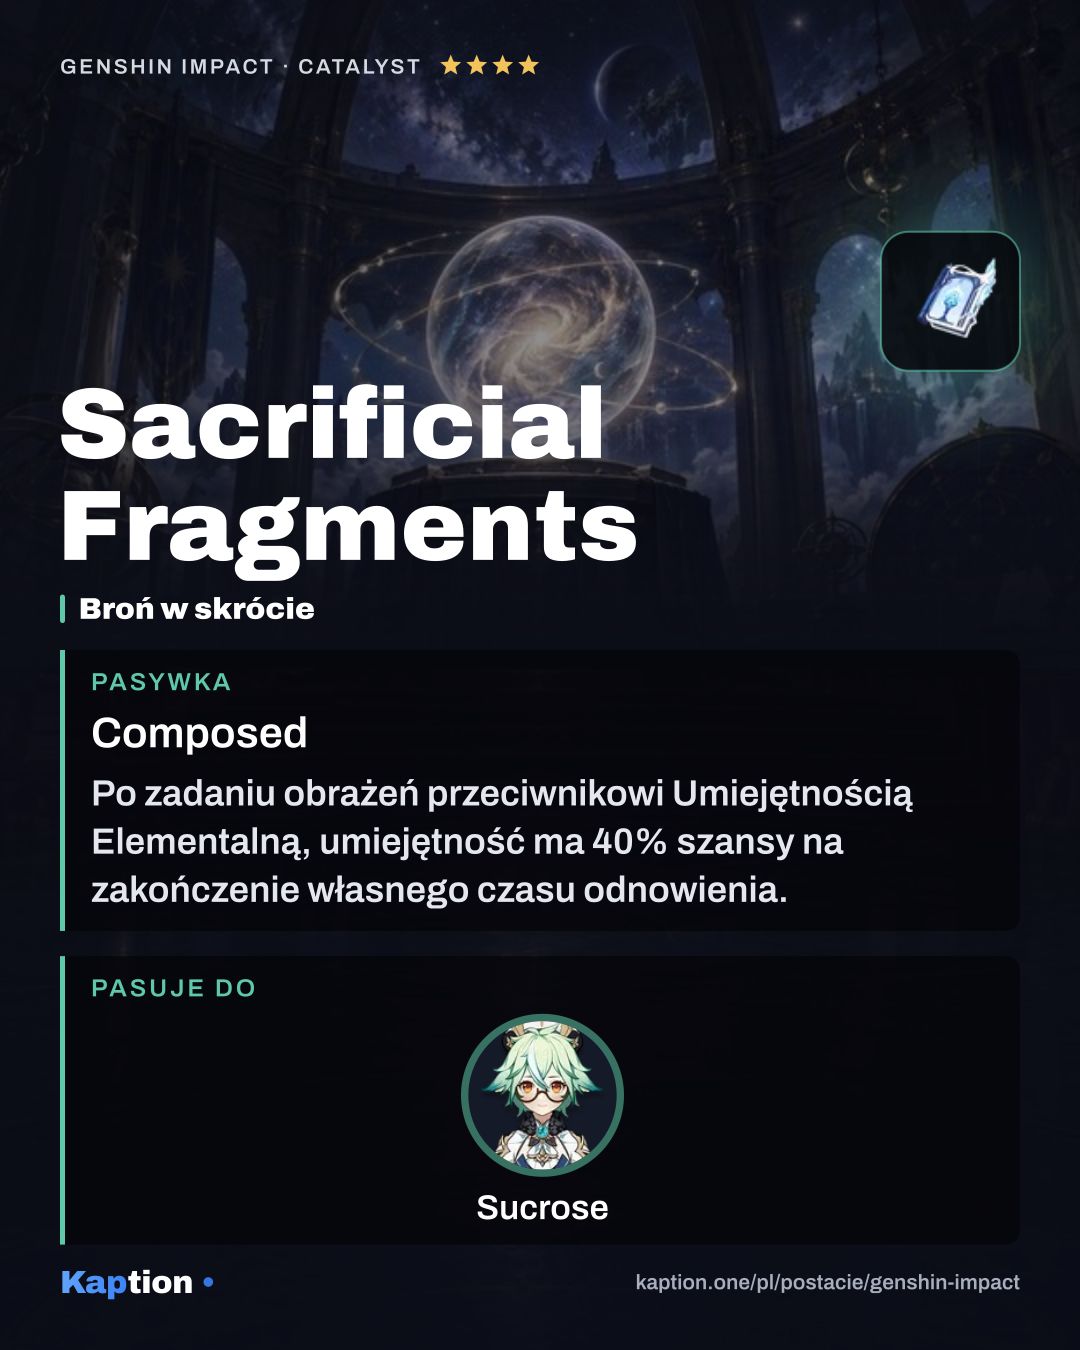
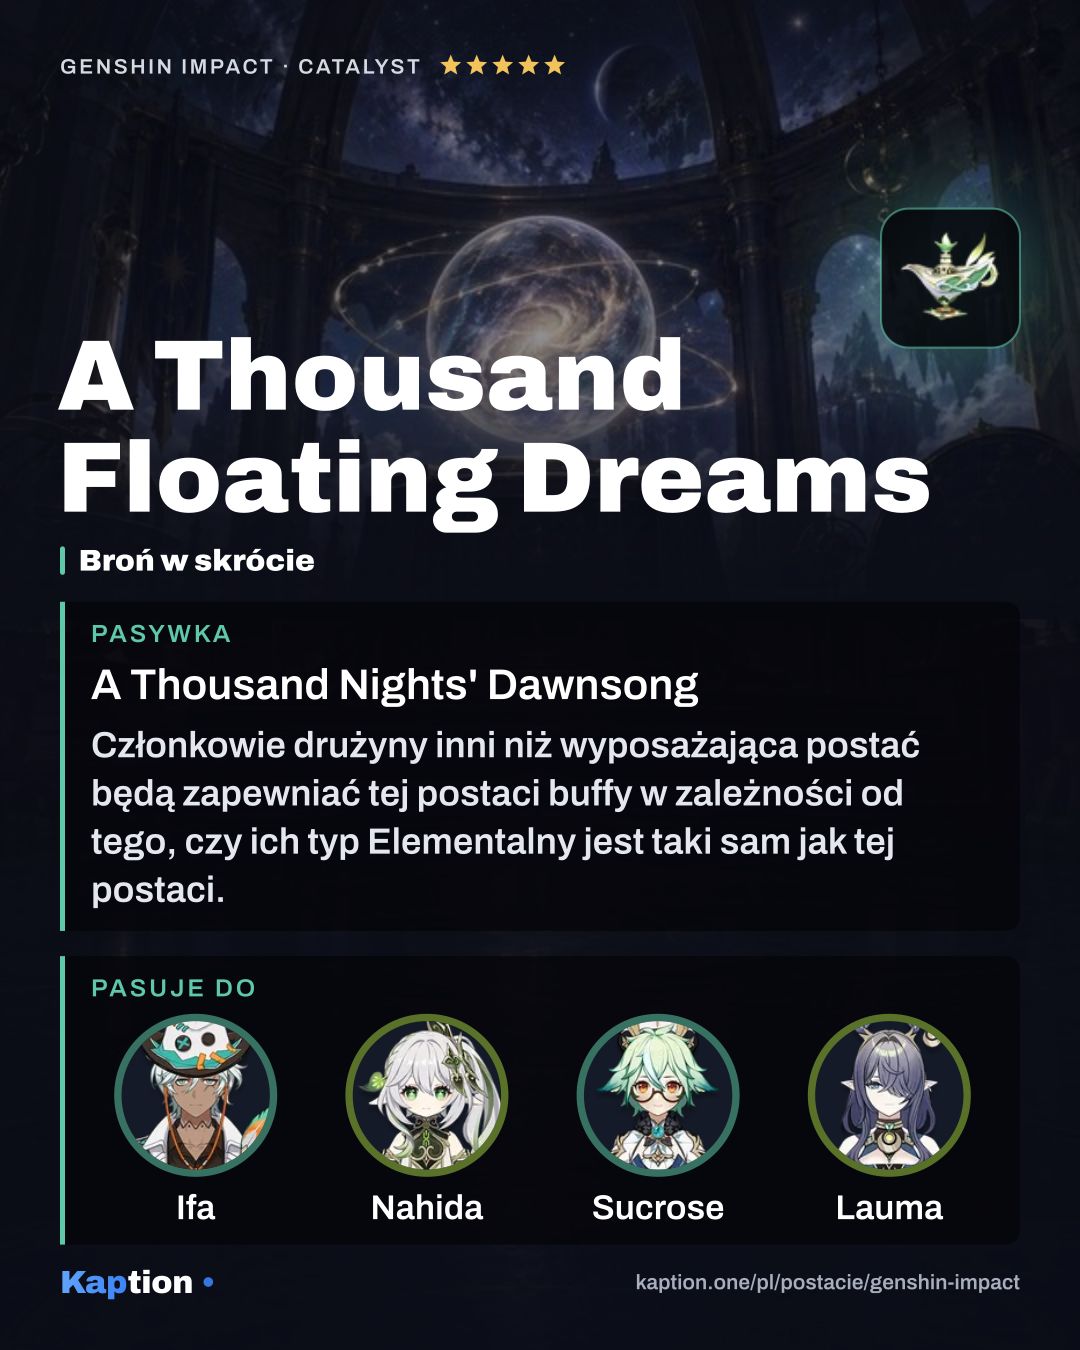
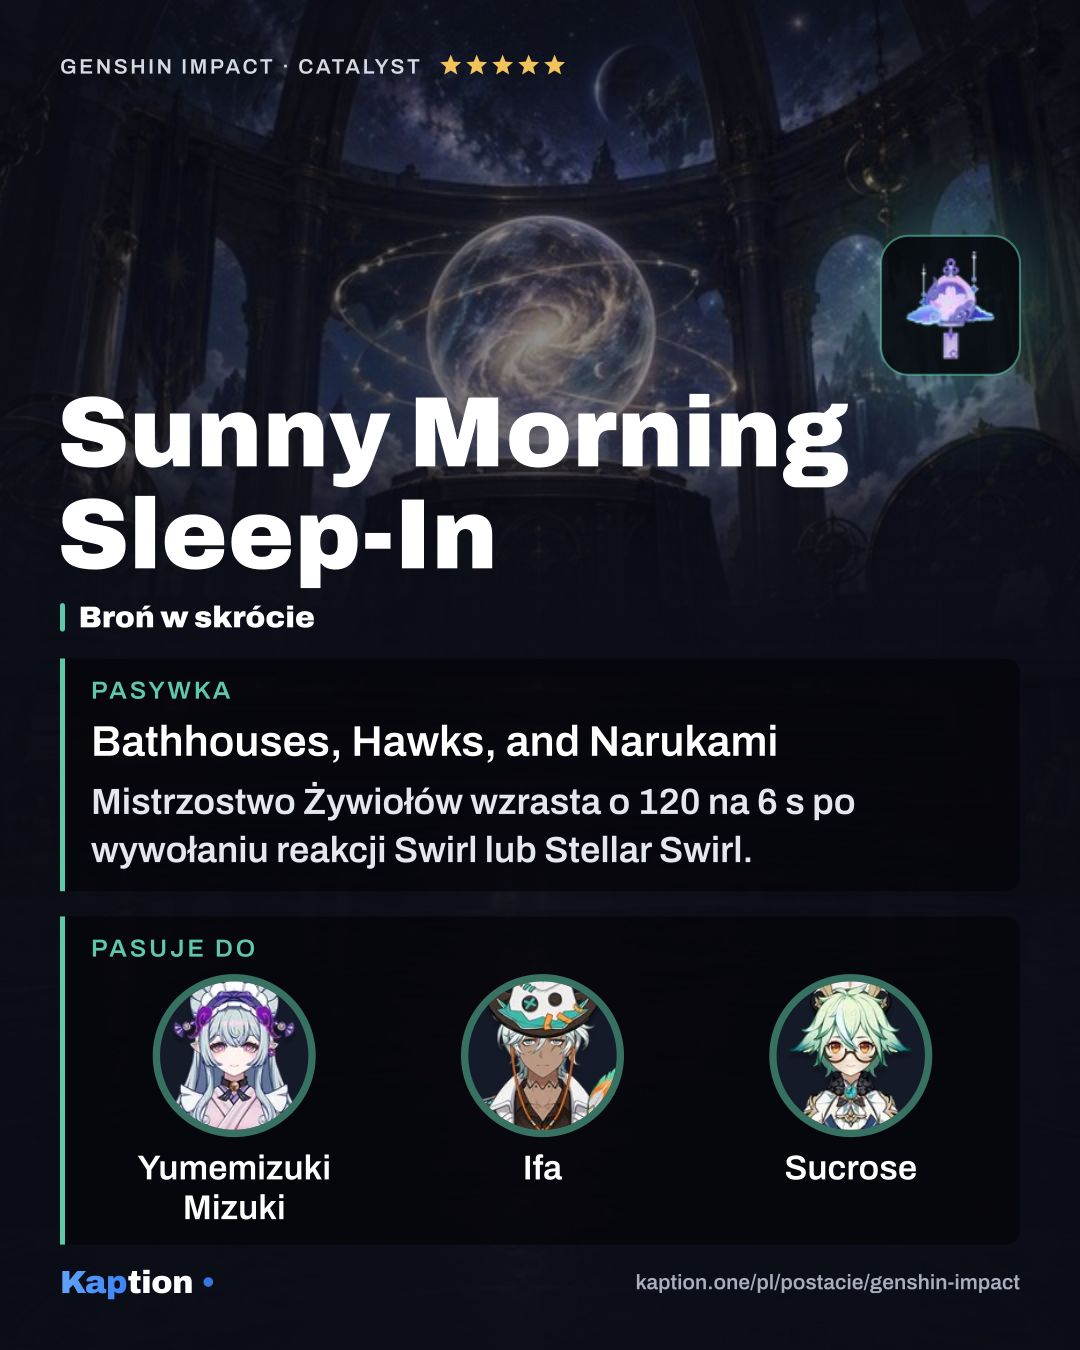
Sunny Morning Sleep-In is the first weapon choice: its Swirl, Skill and Burst conditions each grant Elemental Mastery. Sacrificial Fragments is next; its Skill hit has a 40% chance to end the Skill's cooldown, once every 30 seconds. A Thousand Floating Dreams is another option with bonuses based on teammates' elements. For a cheaper team buff, Thrilling Tales of Dragon Slayers grants the character you switch to 24% ATK for 10 seconds.
Leveling priority
A suggested talent order is Skill, Burst, then Normal Attack. Start with the Skill because you use it for its pull and Anemo hit; raise the Burst next for its continuing damage. Leave Normal Attacks until last unless you spend a lot of time attacking on Sucrose. This order is a suggestion, not a game-provided priority.
For maximum ascension, gather 420,000 Mora, 168 Windwheel Aster and 46 Hurricane Seed. You also need 1 Vayuda Turquoise Sliver, 9 Vayuda Turquoise Fragment, 9 Vayuda Turquoise Chunk and 6 Vayuda Turquoise Gemstone, plus 18 Whopperflower Nectar, 30 Shimmering Nectar and 36 Energy Nectar.
For all talents to maximum, gather 4,957,500 Mora, 9 Teachings of Freedom, 63 Guide to Freedom, 114 Philosophies of Freedom and 3 Crown of Insight. The talents also need 18 Whopperflower Nectar, 66 Shimmering Nectar, 93 Energy Nectar and 18 Spirit Locket of Boreas.
Astable Invention gives Sucrose a 10% chance to obtain double the product when crafting Character and Weapon Enhancement Materials.
Constellations worth it
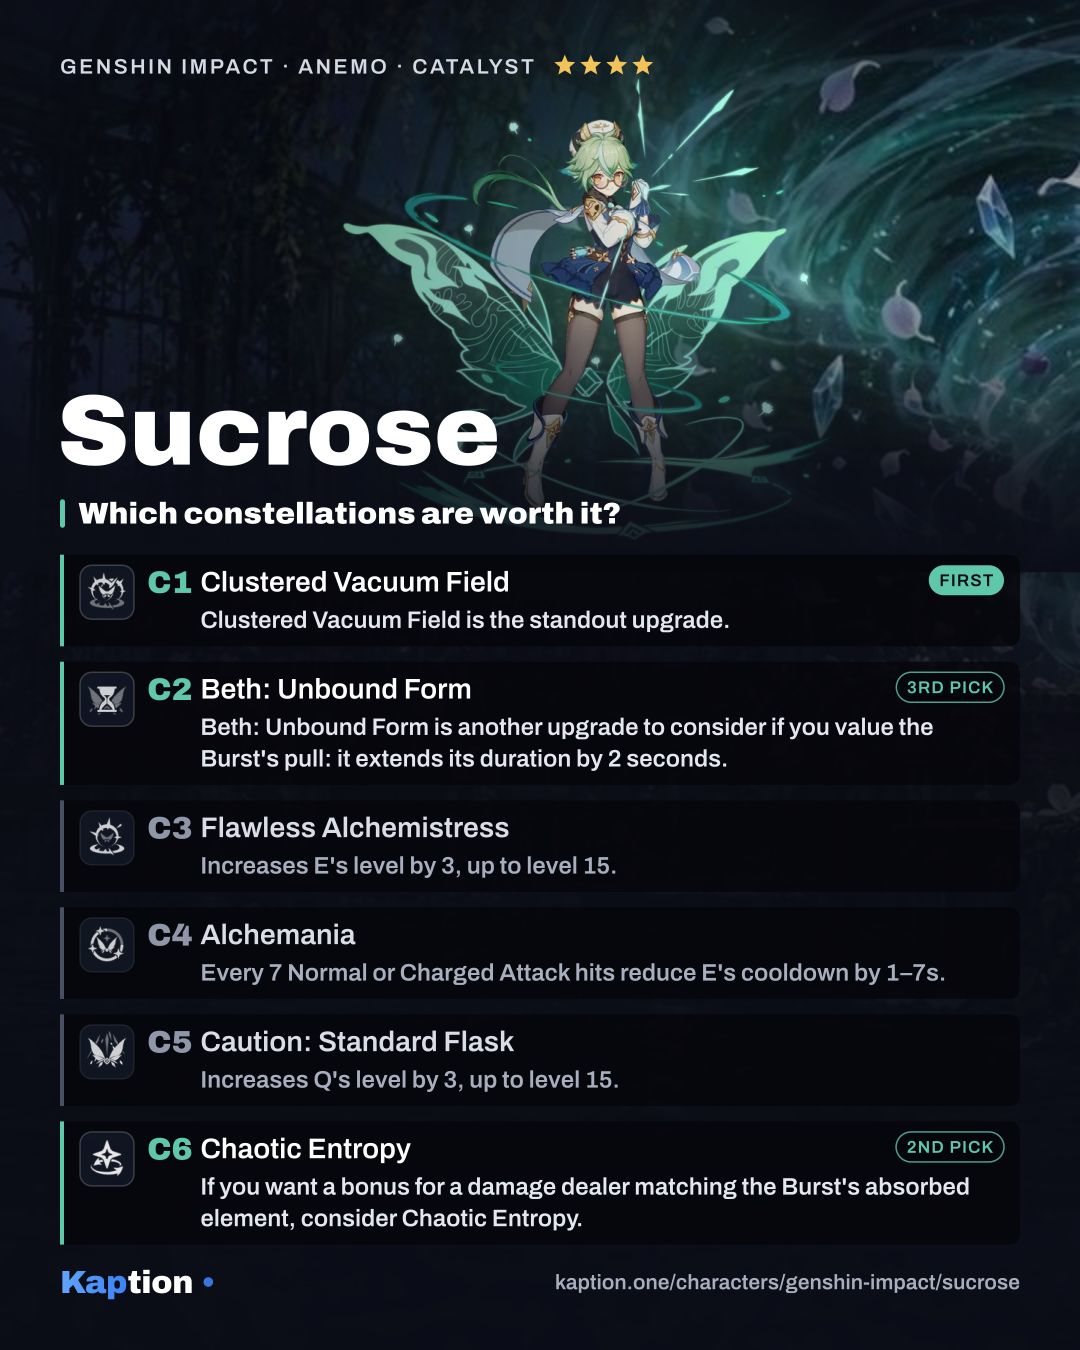
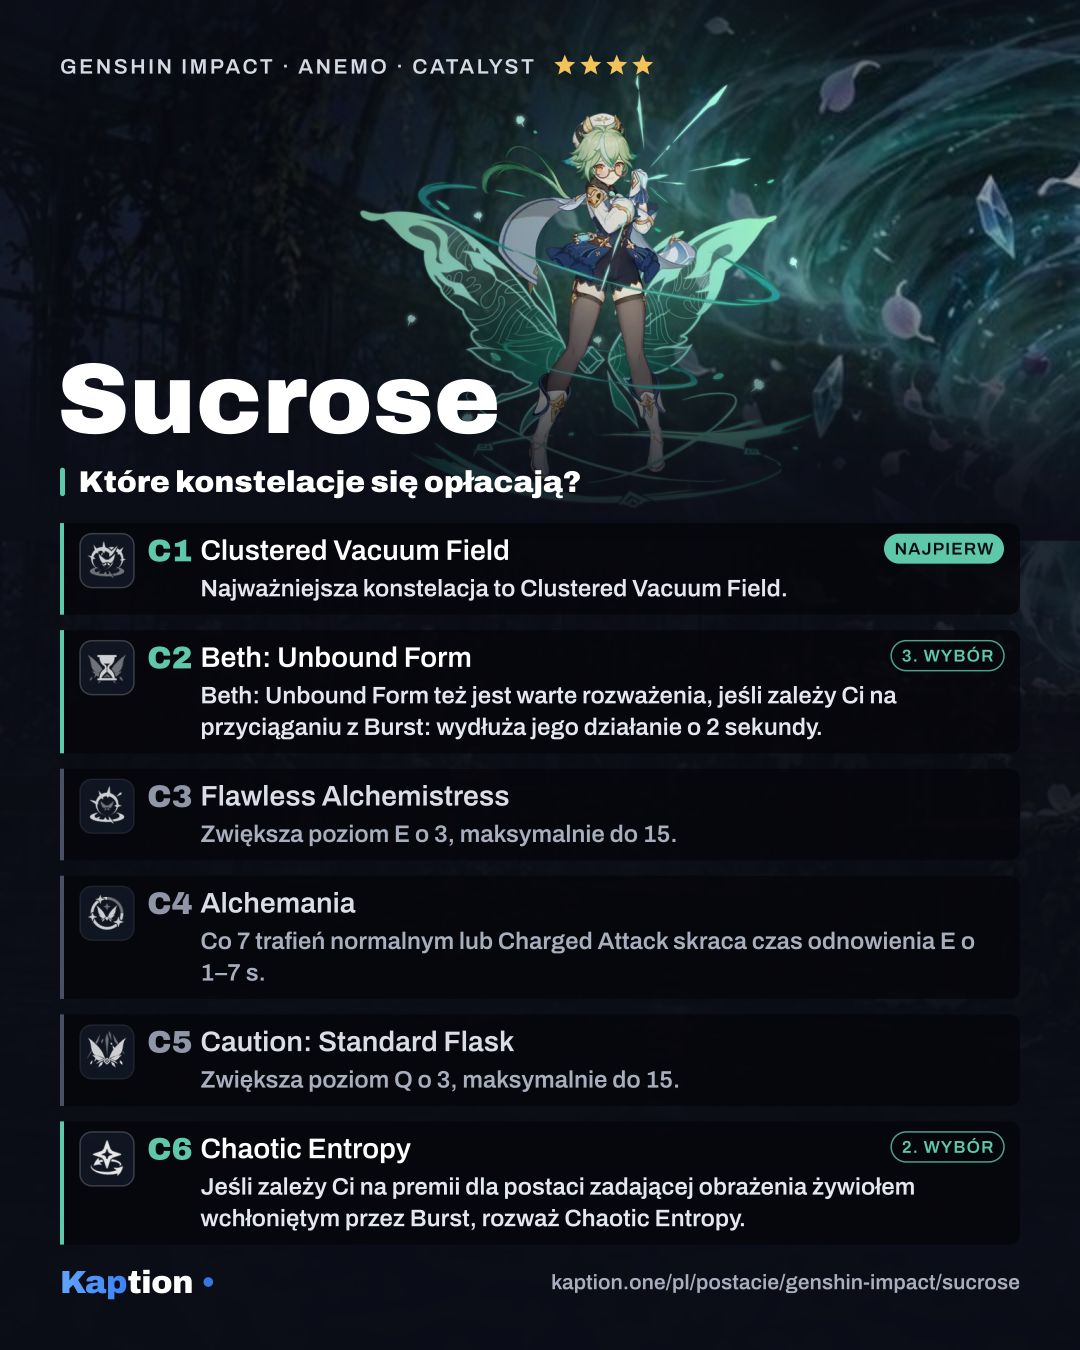
Clustered Vacuum Field is the standout upgrade. It gives the Skill one additional charge, making another pull and Anemo hit available before you have to wait for charges.
If you want a bonus for a damage dealer matching the Burst's absorbed element, consider Chaotic Entropy. It gives all party members 20% Elemental DMG Bonus for that element during the Burst. Beth: Unbound Form is another upgrade to consider if you value the Burst's pull: it extends its duration by 2 seconds.
Stopping at C1 is reasonable for a support focused on the extra Skill charge. Flawless Alchemistress and Caution: Standard Flask add three levels to the Skill and Burst respectively. Alchemania (C4) reduces Skill cooldown by 1 to 7 seconds for every seven Normal or Charged Attack hits, so its effect asks you to attack with Sucrose.
Teams
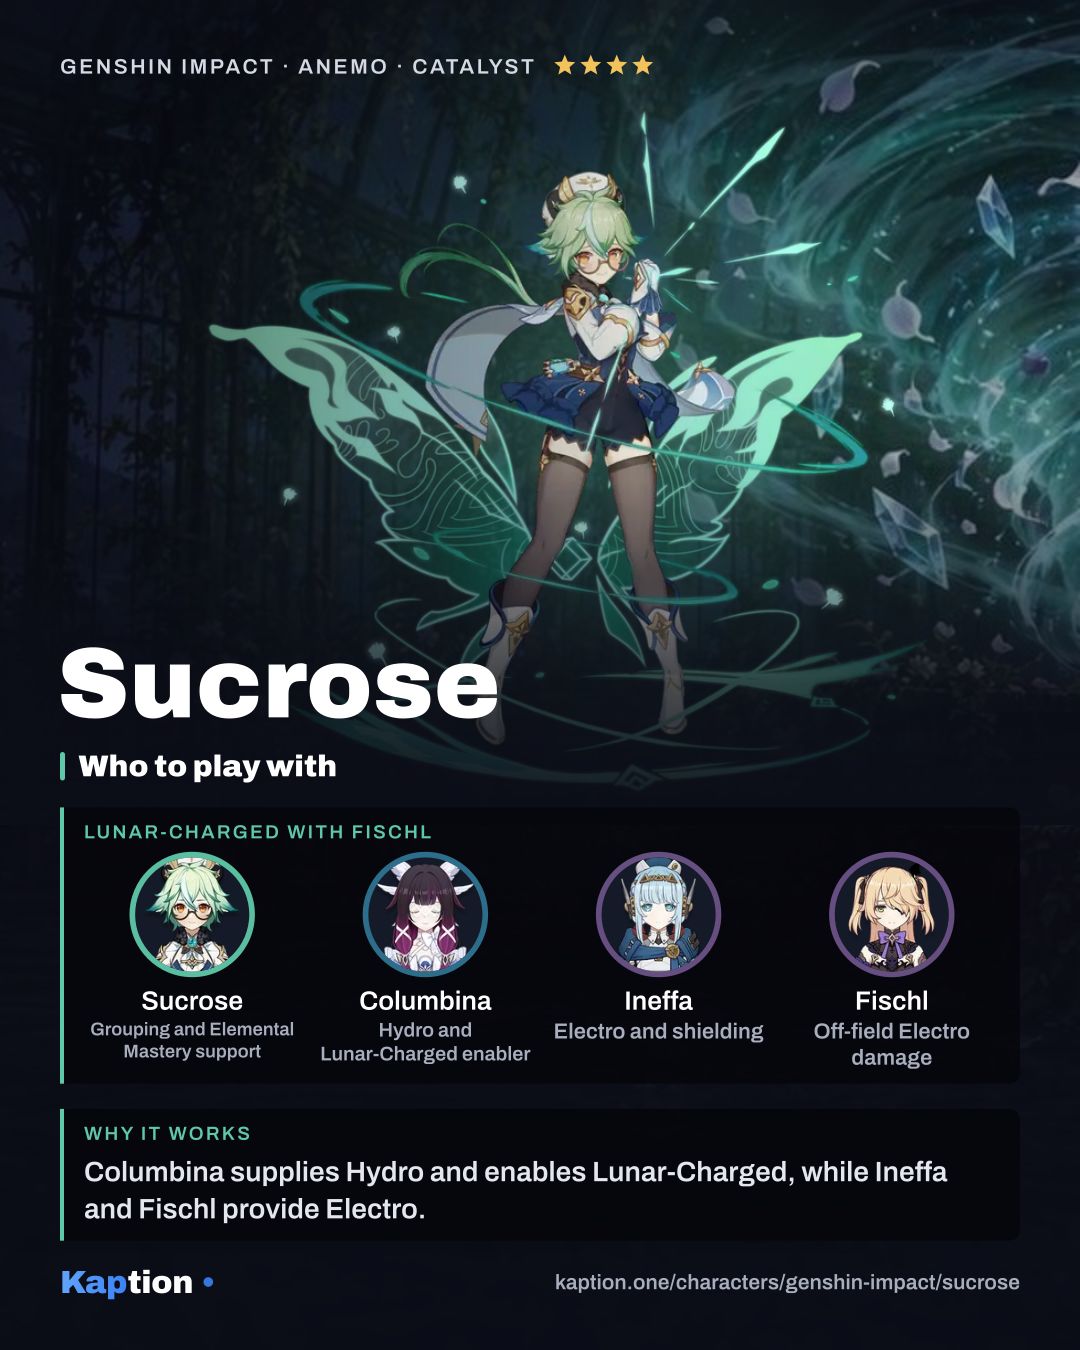
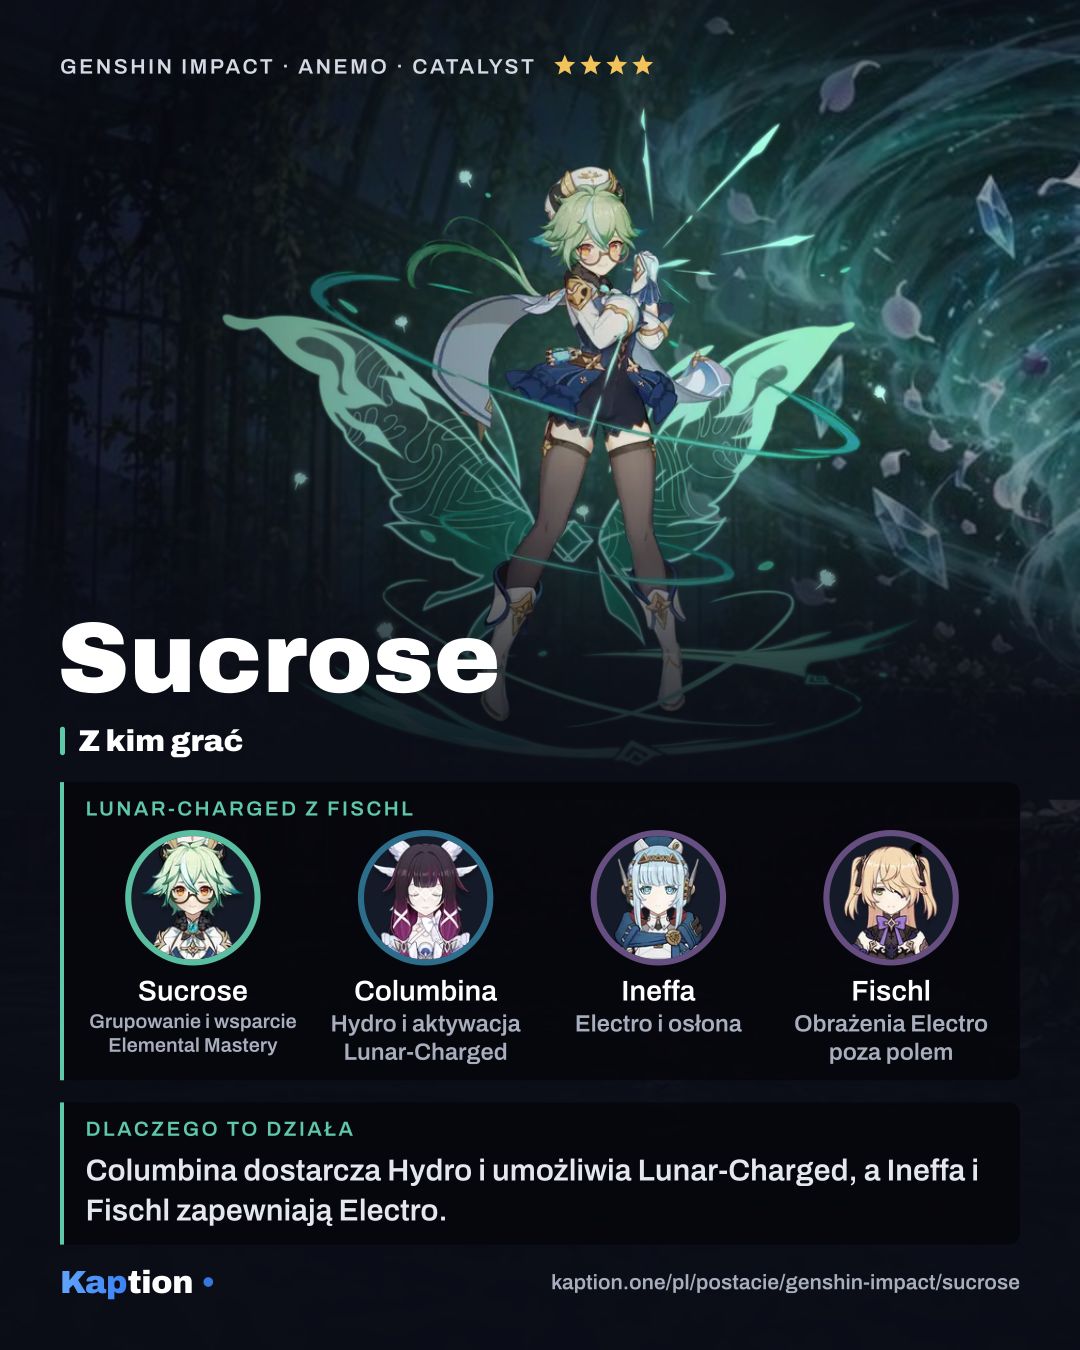
Pair Sucrose with characters whose Hydro, Pyro, Cryo or Electro attacks give her an element to Swirl. The matching character receives the 50 Elemental Mastery bonus from Catalyst Conversion, while the rest of the party can receive the bonus from Mollis Favonius when her Skill or Burst hits. Viridescent Venerer adds resistance reduction for the element in the Swirl.
Common mistakes
Do not cast the Burst without considering the elements around it. Its Wind Spirit absorbs only once per use, and C6 gives its damage bonus to the absorbed element, not to every element.
Do not expect Catalyst Conversion to give 50 Elemental Mastery to every teammate. It applies to party members with the matching element and excludes Sucrose. Mollis Favonius also excludes her, though its bonus goes to the other party members when the Skill or Burst hits.
Do not ignore Energy Recharge if you struggle to use the Burst when you want it. On the other hand, replacing too much Elemental Mastery reduces the amount Sucrose shares through Mollis Favonius.
Do not treat the Hexerei bonuses as unconditional. Sucrose must complete Witch's Homework: Of Wonderland Flowers, and the party needs at least two Hexerei characters. The Large Wind Spirit's bonus applies to nearby Hexerei party members, while the small one's bonus applies to nearby party members.