














































Guide
How the kit works
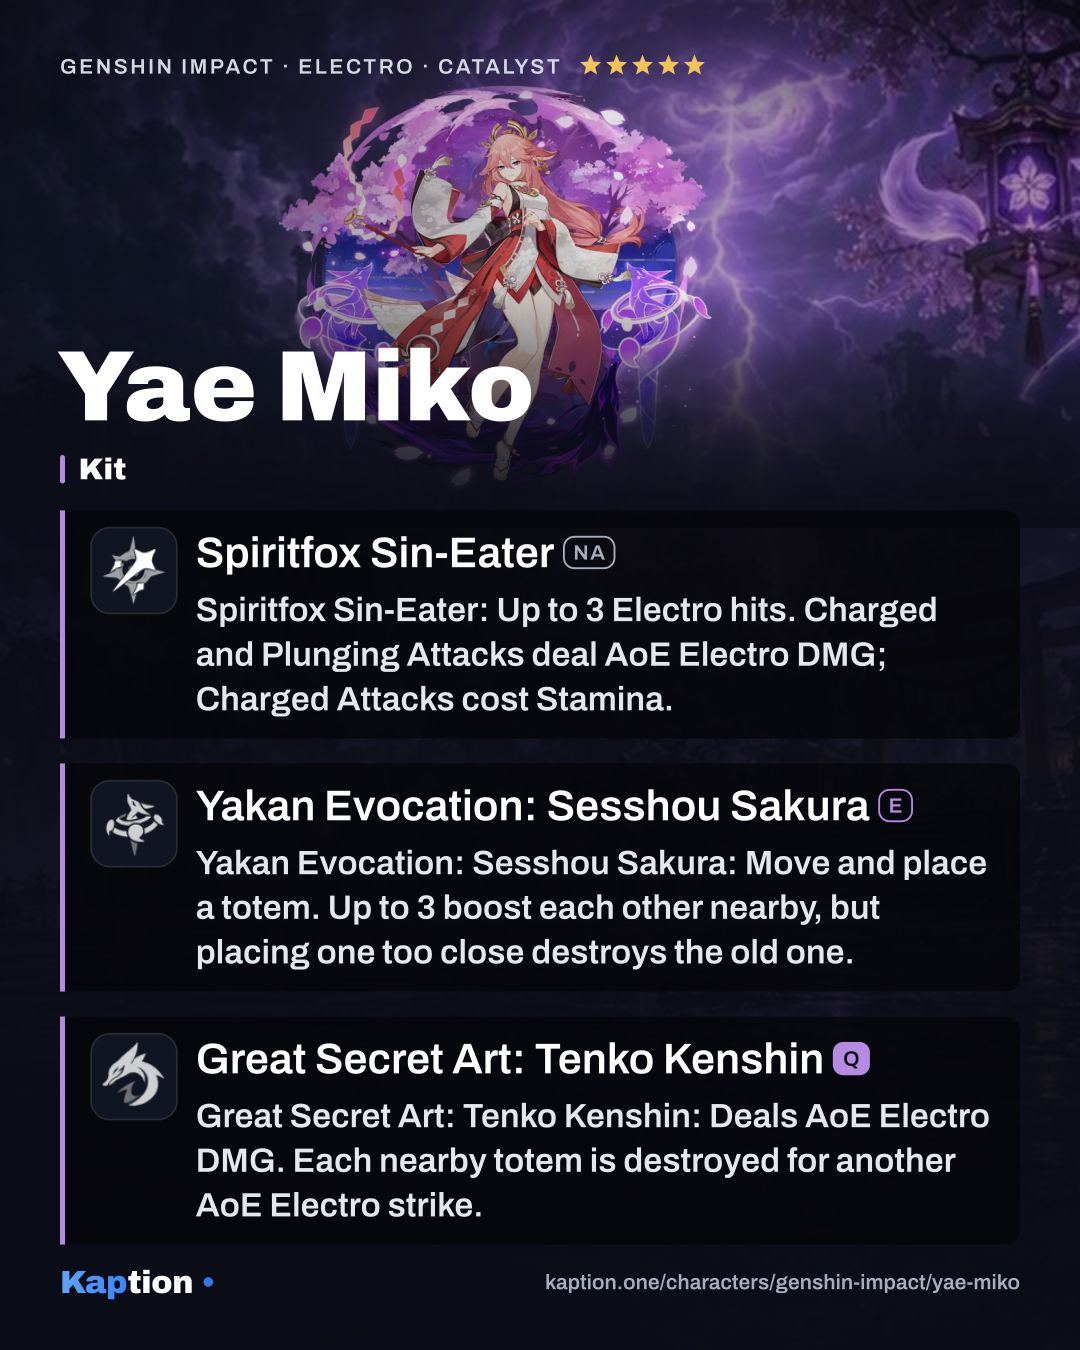
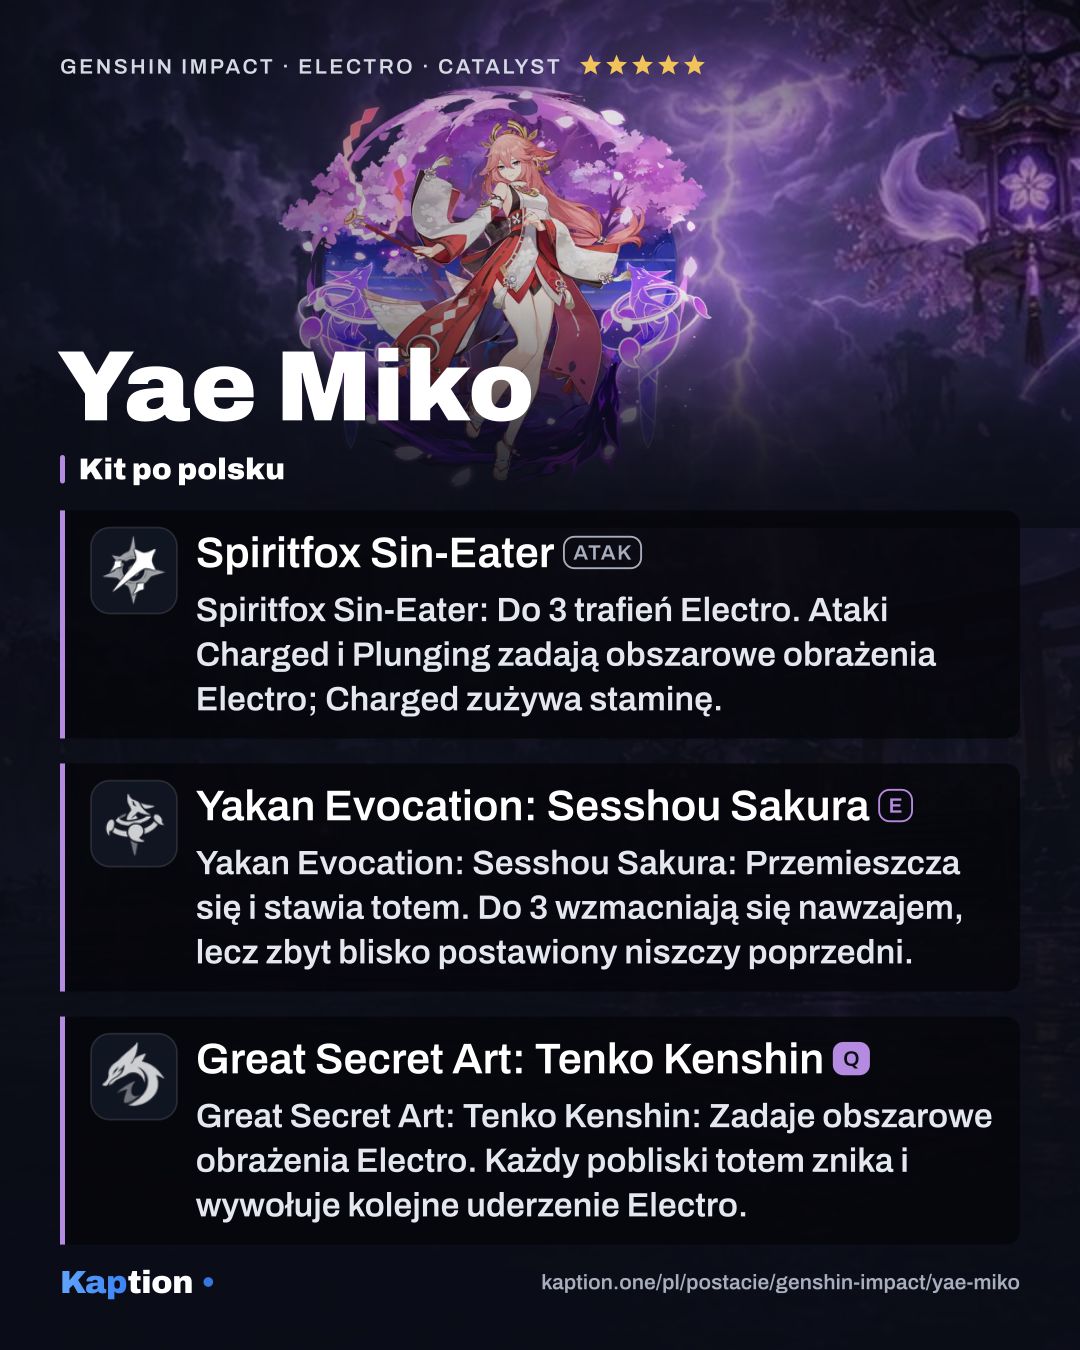
Start with Yakan Evocation: Sesshou Sakura. Each use moves Yae and leaves one Sakura behind; the Skill has three charges and up to three Sakura can exist at once. Nearby Sakura raise each other's level and lightning damage. Place them close enough to benefit from one another, but not so close that a new one destroys an existing one.
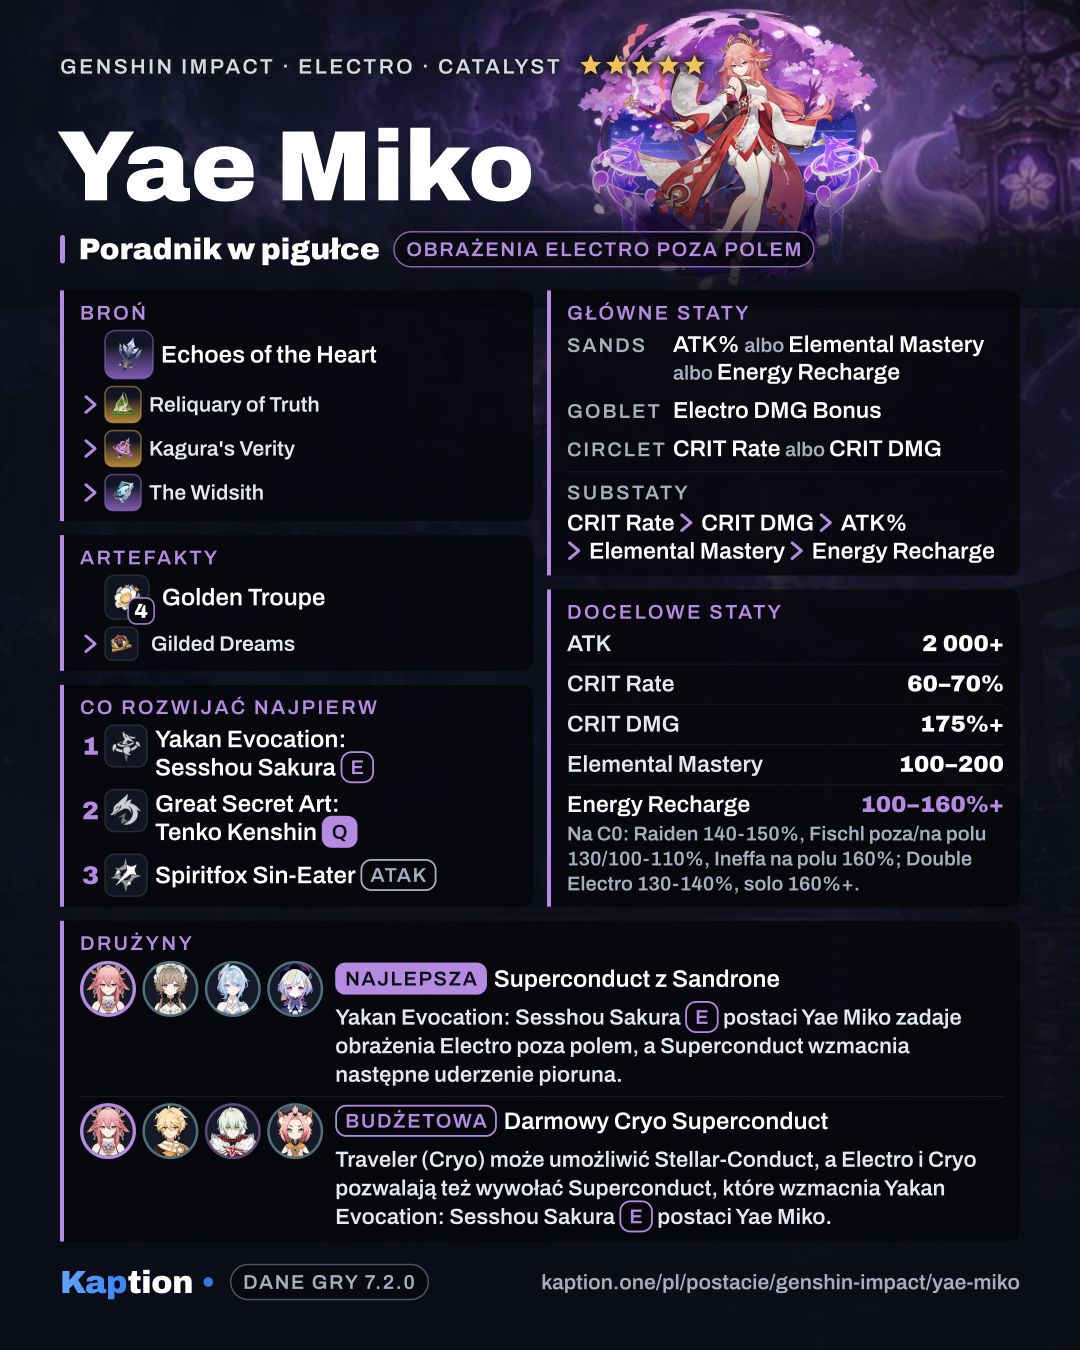
Use Great Secret Art: Tenko Kenshin with Sakura nearby. It deals AoE Electro DMG and destroys each nearby Sakura to create one more AoE Tenko Thunderbolt. The Shrine's Sacred Shade resets the cooldown of one Skill charge for each Sakura destroyed, so place them again after the Burst.
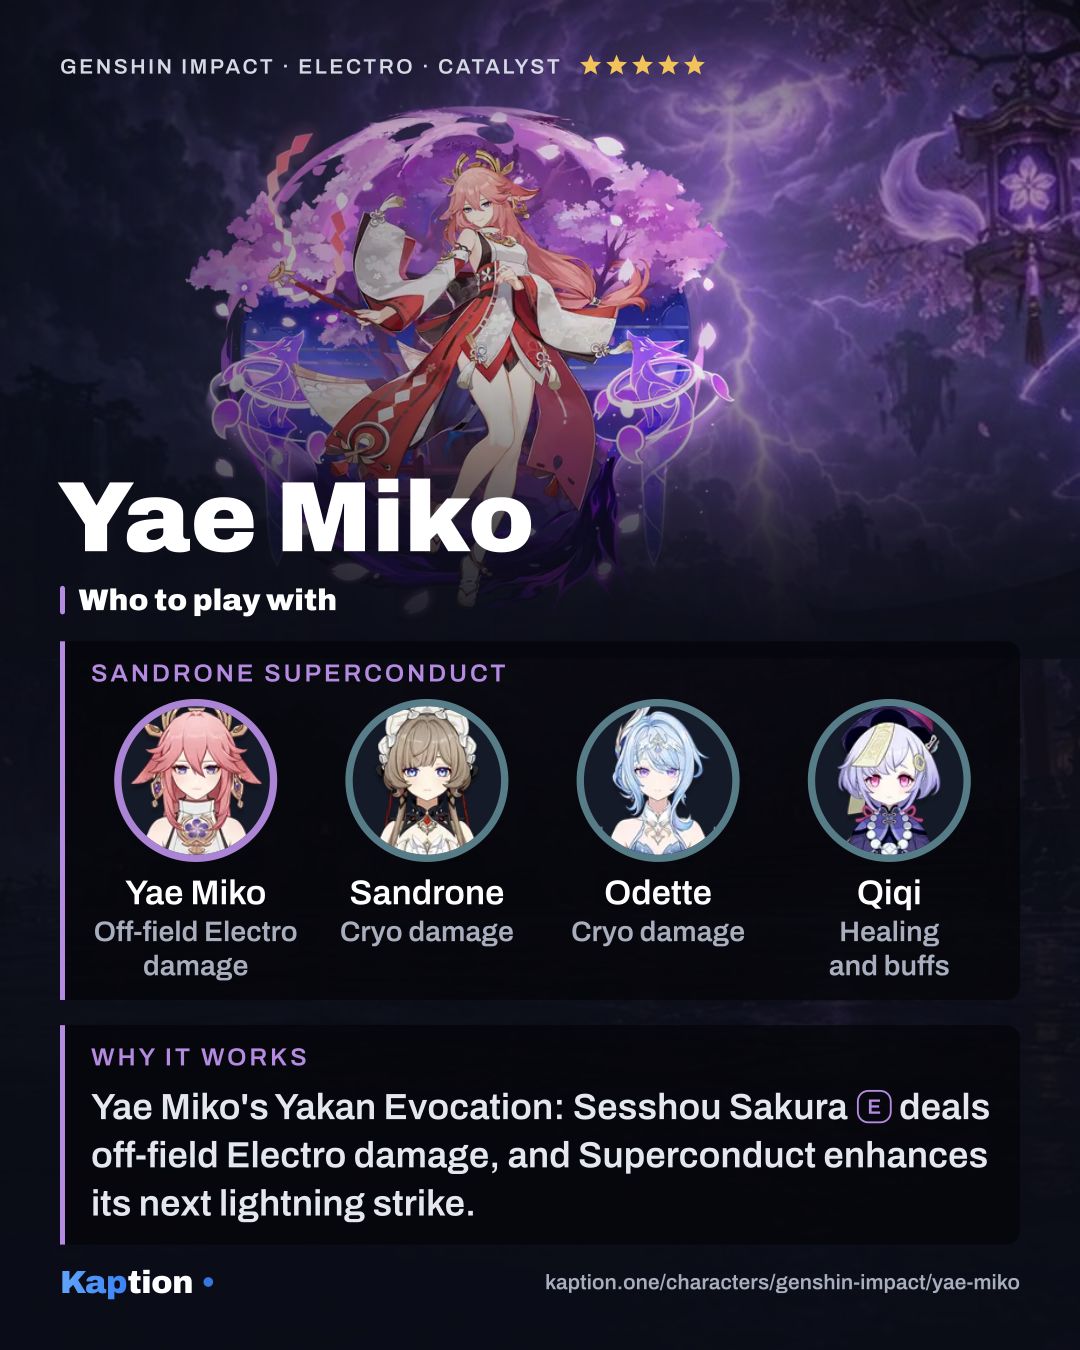
Edict of Cleansing extends Sakura duration by 10 seconds. When a nearby party member triggers Superconduct or Stellar-Conduct, the next Sakura lightning gains damage equal to 80% of Yae's ATK, once every 2.5 seconds. Inside a Polestar Field, Yae enters Radiance: Stellar-Conduct: an enhanced hit also deals Electro DMG equal to 200% of her ATK, counted as Stellar-Conduct DMG.
Enlightened Blessing increases Sakura damage by 0.15% per point of Elemental Mastery. Spiritfox Sin-Eater (NA) gives Yae Electro Normal and Charged Attacks when you want her on the field; her Charged Attack consumes Stamina.
Build and why
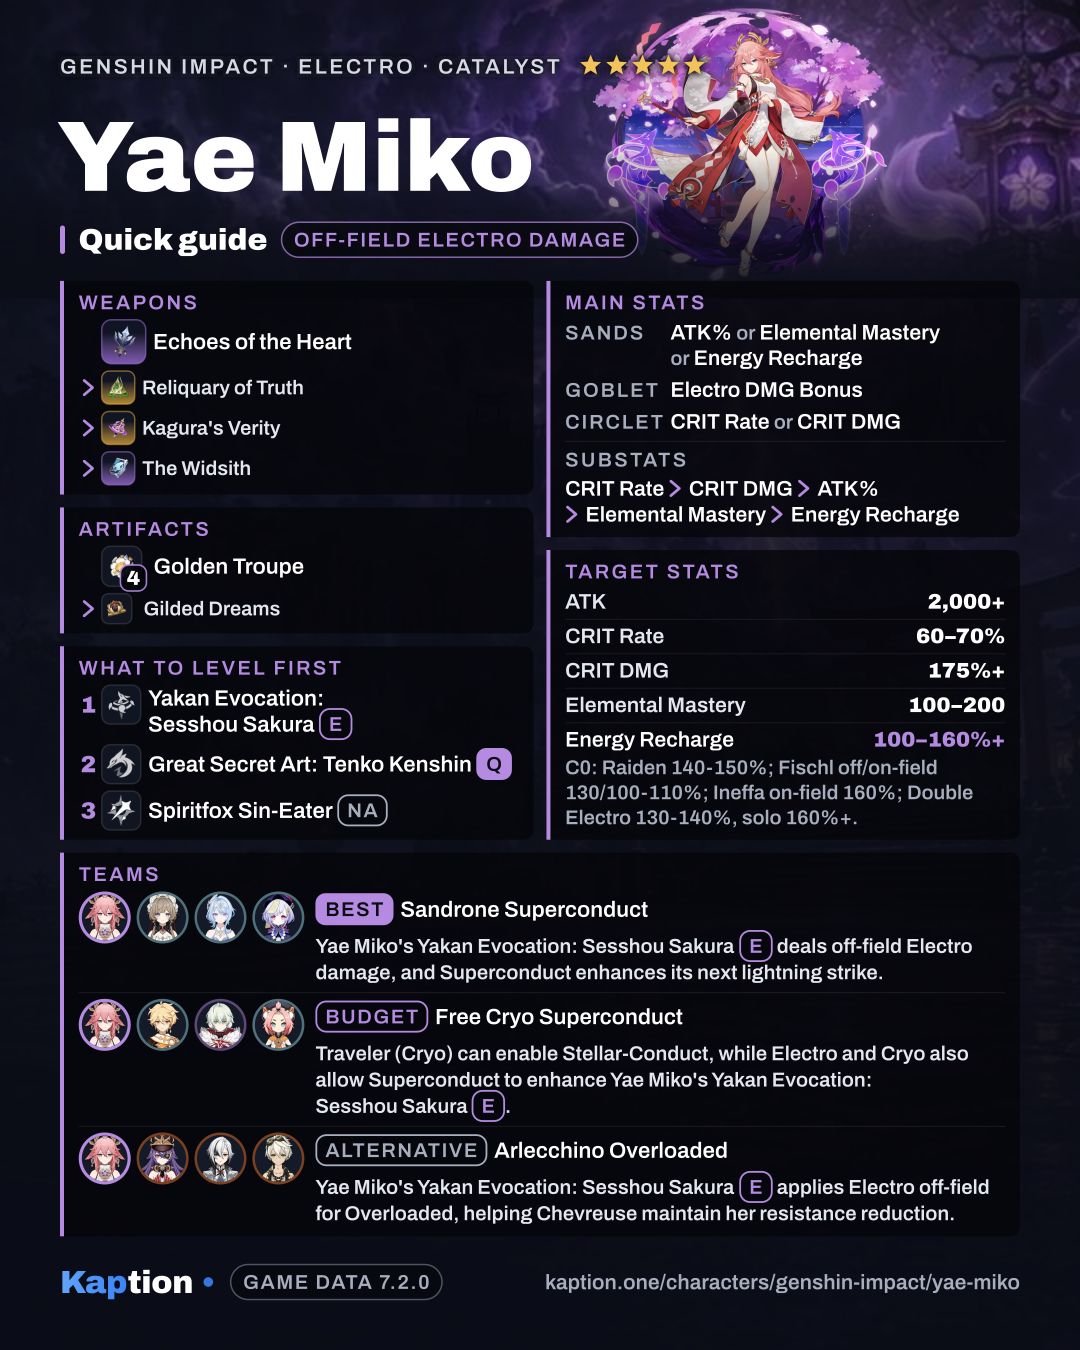
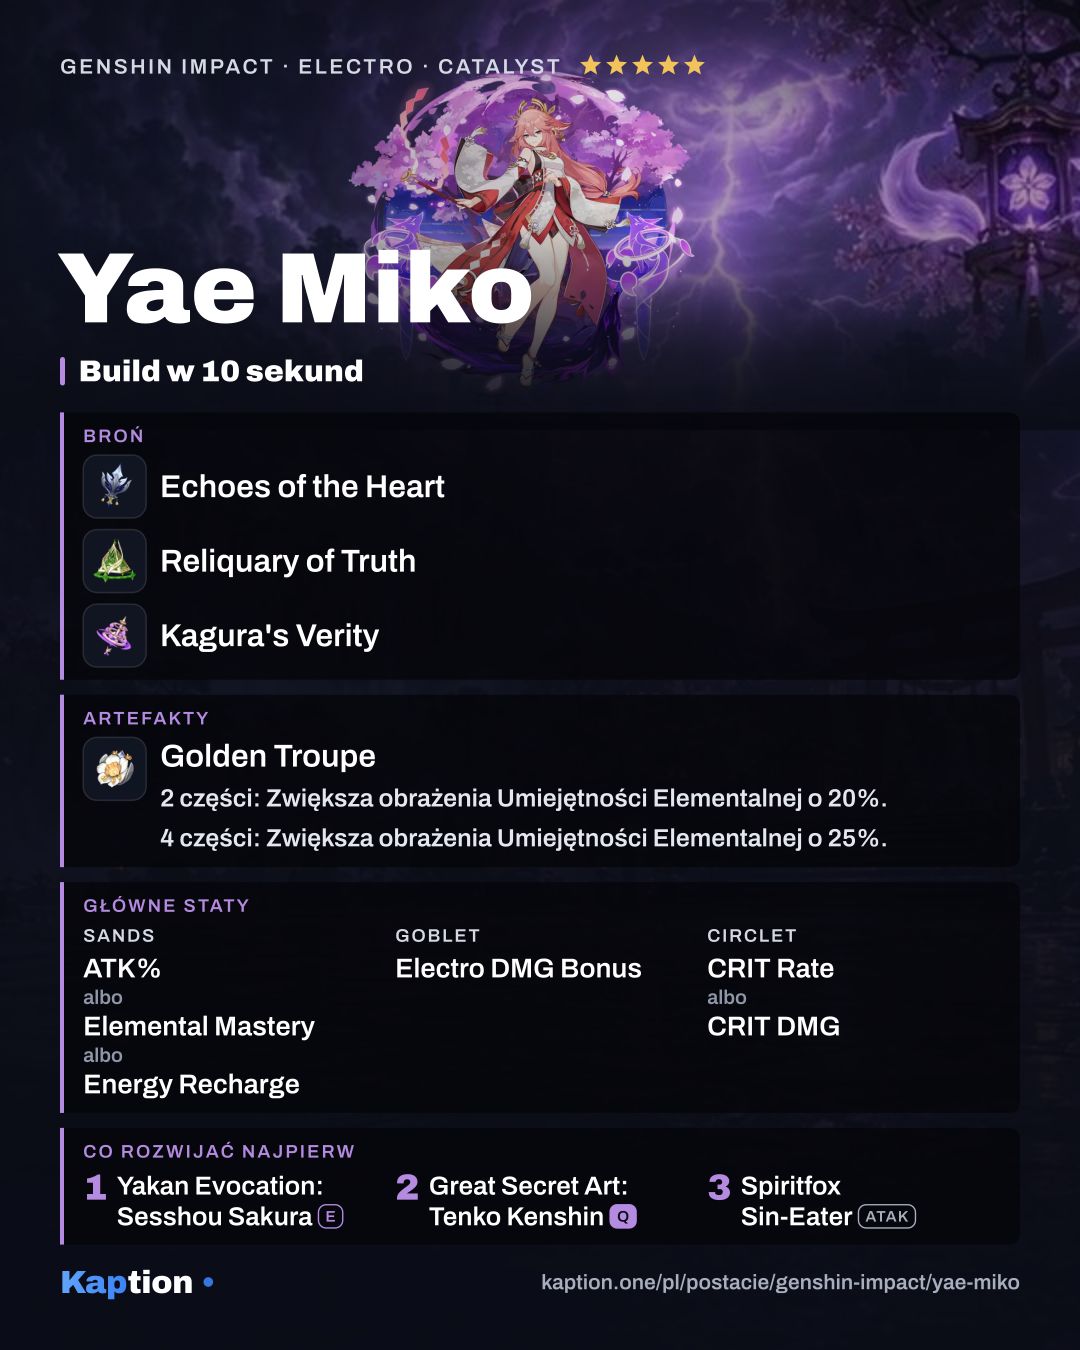
For a Superconduct or Stellar-Conduct team, start by considering four pieces of Disenchantment in Deep Shadow. It raises both reactions' damage and gives attacks 16% CRIT Rate against opponents affected by either reaction. For a more general off-field build, four pieces of Golden Troupe increase Skill damage, with another increase while Yae is off-field.
Four pieces of Gilded Dreams are another option: after a reaction, the set gives ATK for teammates of the same element and Elemental Mastery for teammates of different elements. As a mixed set, two pieces of Golden Troupe and two of Thundering Fury give Skill damage and Electro DMG Bonus.
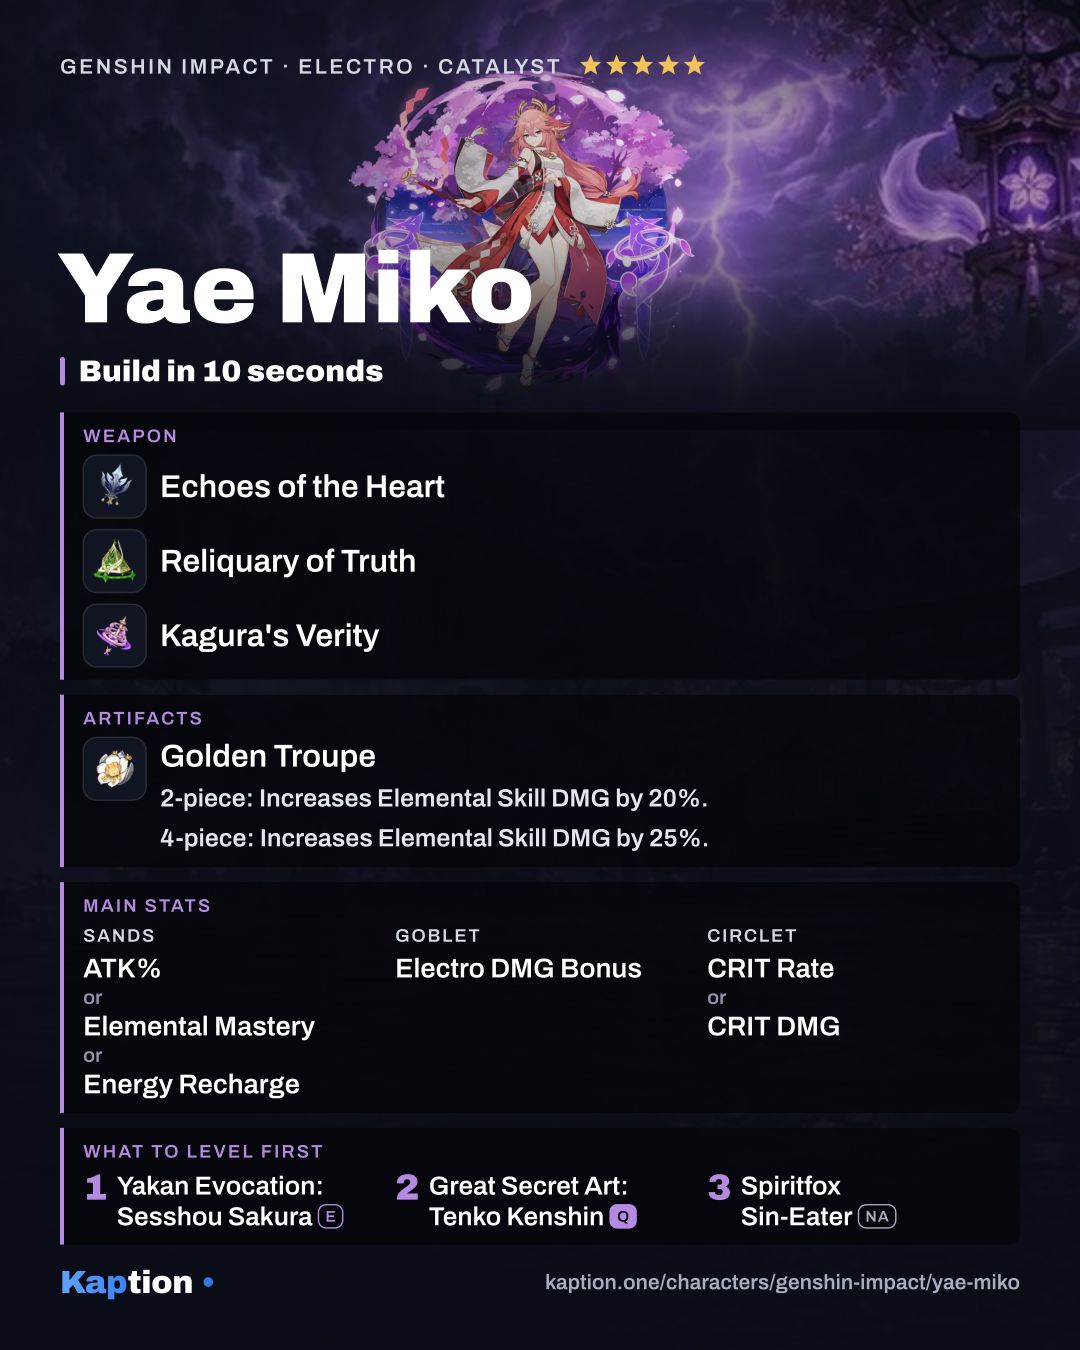
Use ATK Percentage, Elemental Mastery or Energy Recharge on the sands, Electro DMG Bonus on the goblet, and CRIT Rate or CRIT DMG on the circlet. In substats, look for CRIT Rate and CRIT DMG first, then ATK Percentage, Elemental Mastery and Energy Recharge. Pick enough Energy Recharge for the Burst timing you want rather than ignoring her other damage stats.
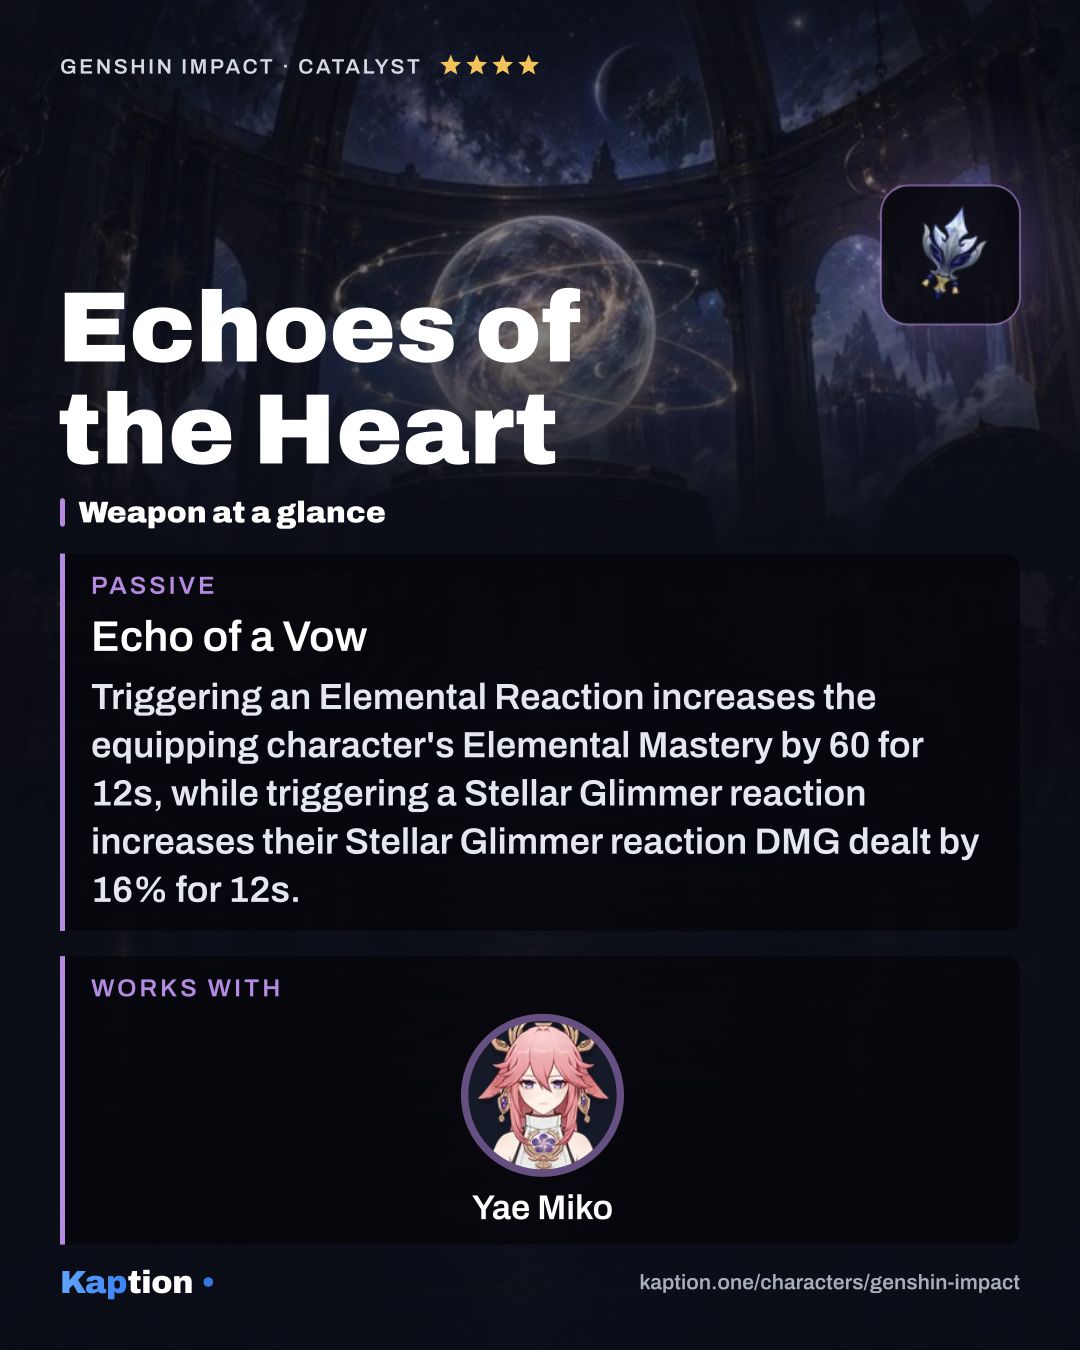
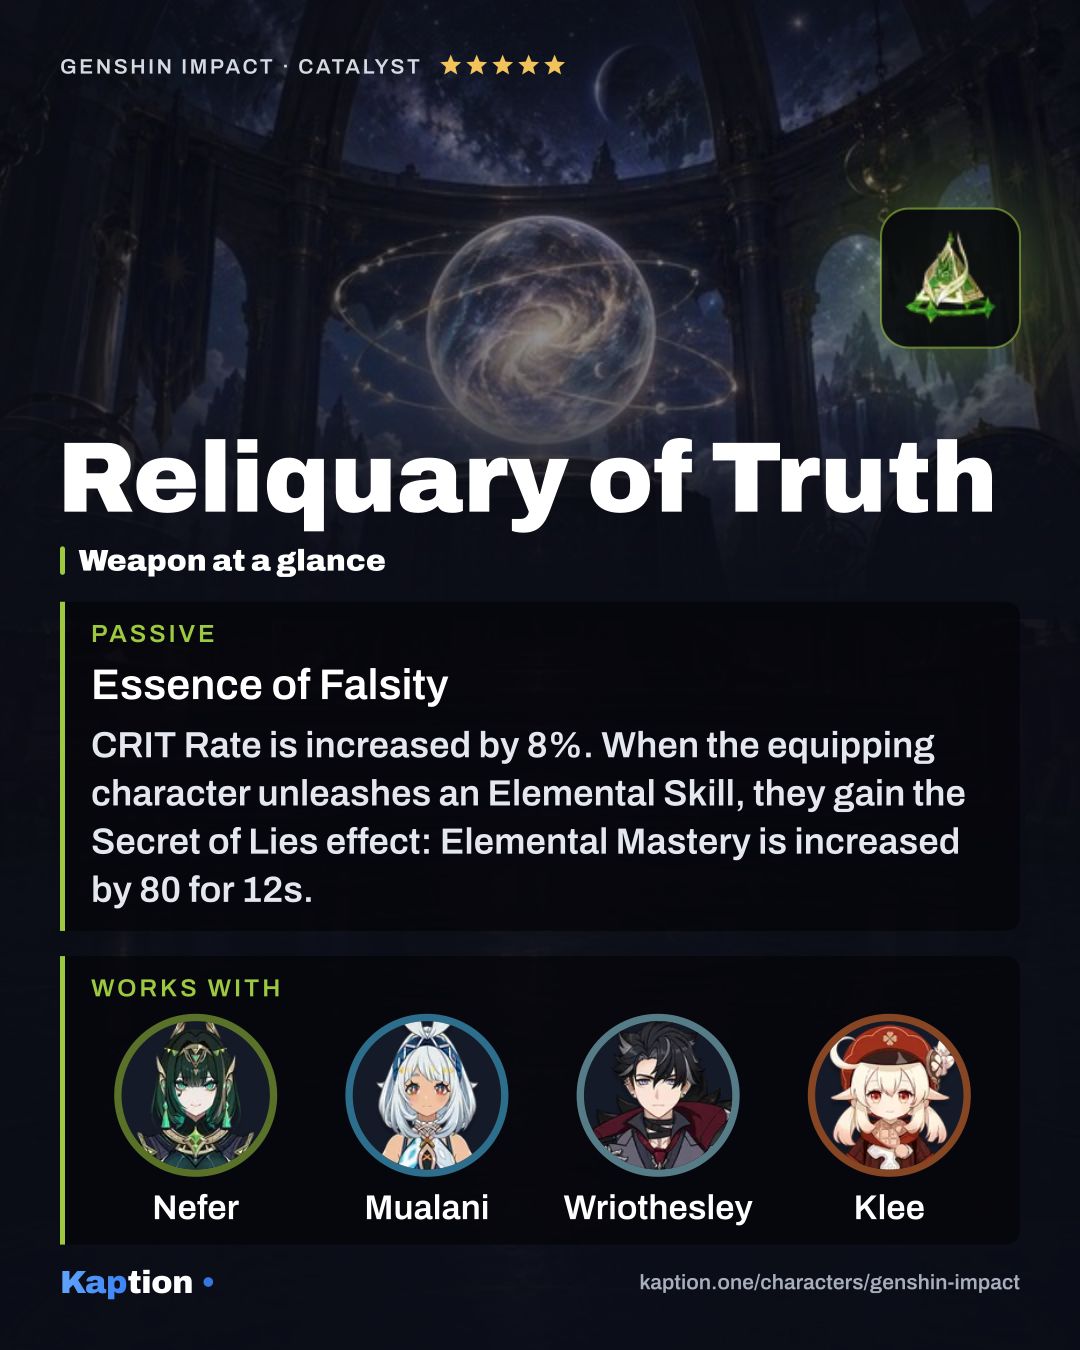
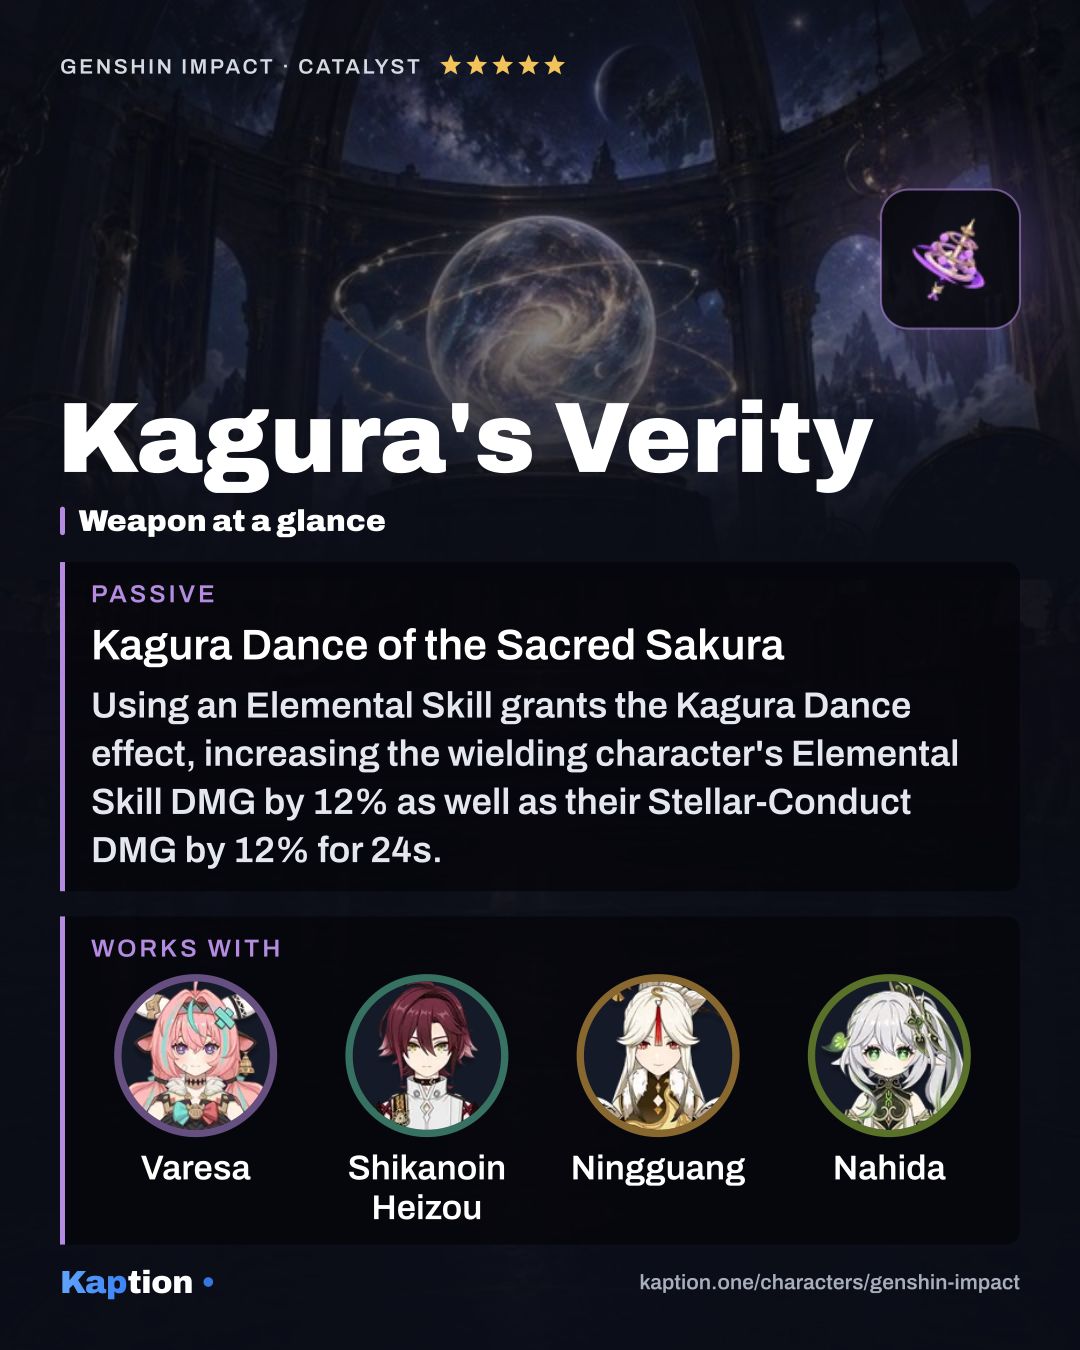
Kagura's Verity is the first weapon to consider: using the Skill builds stacks of Skill damage, and three stacks give All Elemental DMG Bonus. Echoes of the Heart gives Elemental Mastery after a reaction and Stellar Glimmer reaction damage after its stated trigger. Reliquary of Truth gives CRIT Rate and grants Elemental Mastery on Skill use. A Thousand Floating Dreams and The Widsith are other options; the latter's buff is random and lasts 10 seconds.
Leveling priority
A good leveling order is Yakan Evocation: Sesshou Sakura first, then Great Secret Art: Tenko Kenshin, and Spiritfox Sin-Eater (NA) last. The Skill supplies the recurring Sakura strikes, while the Burst adds its own hit and a Thunderbolt for each Sakura consumed. Raise Normal Attacks sooner if you use Yae on-field often.
For maximum ascension, gather 168 Sea Ganoderma, 46 Dragonheir's False Fin, 1 Vajrada Amethyst Sliver, 9 Vajrada Amethyst Fragment, 9 Vajrada Amethyst Chunk and 6 Vajrada Amethyst Gemstone. You also need 18 Old Handguard, 30 Kageuchi Handguard, 36 Famed Handguard and 420,000 Mora.
To max all three talents, you need 9 Teachings of Light, 63 Guide to Light, 114 Philosophies of Light, 18 The Meaning of Aeons and 3 Crown of Insight. The talent costs also include 18 Old Handguard, 66 Kageuchi Handguard, 93 Famed Handguard and 4,957,500 Mora.
Constellations worth it
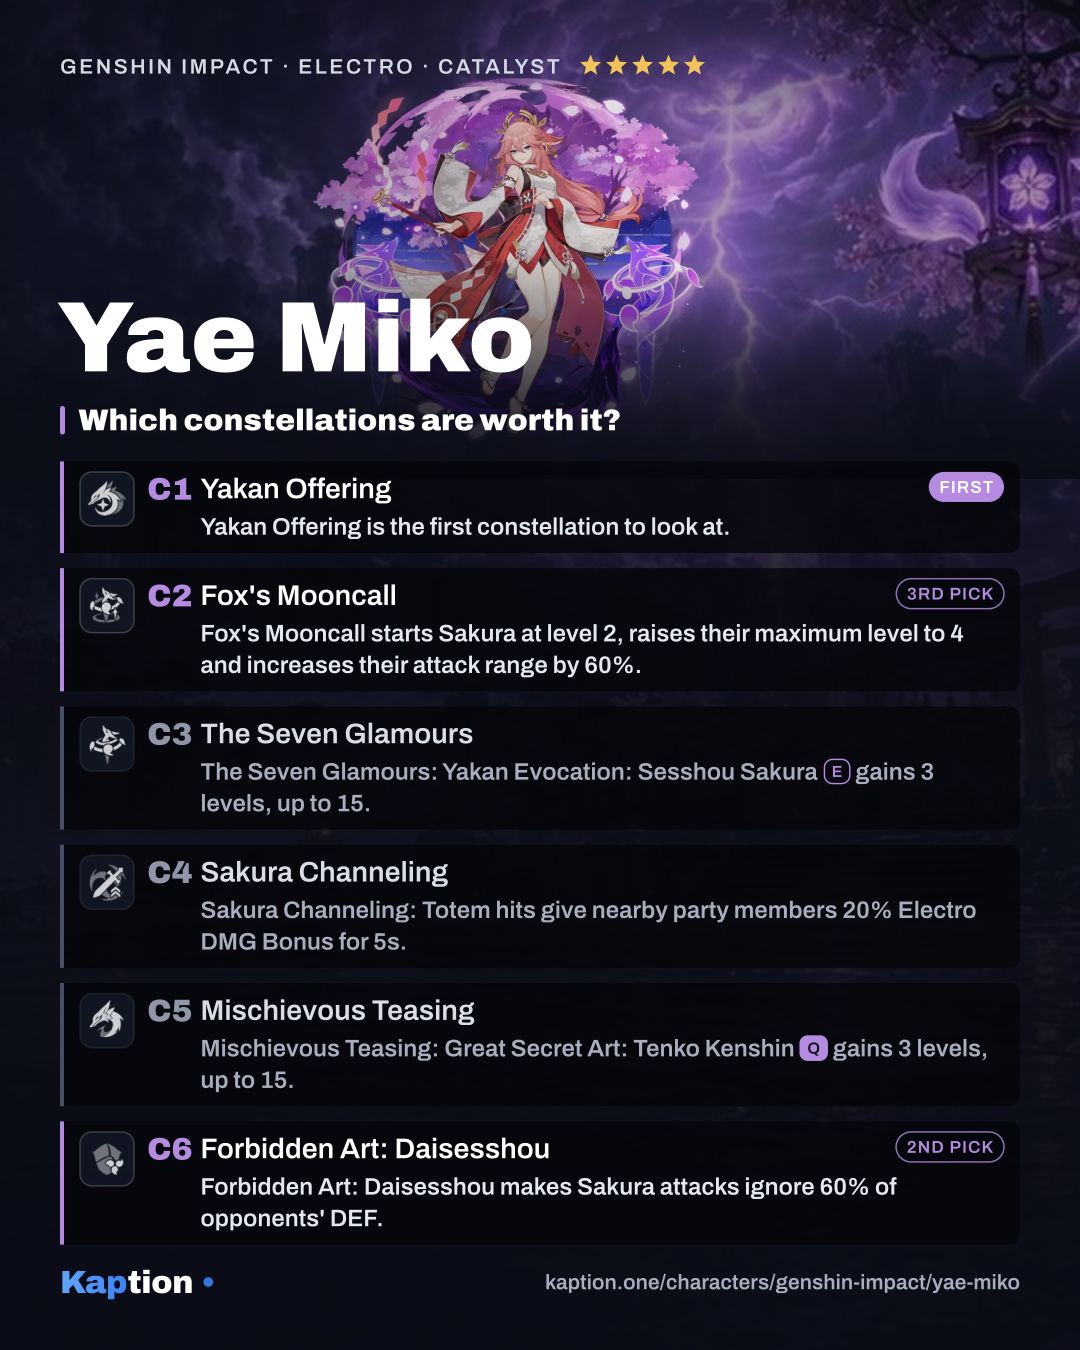
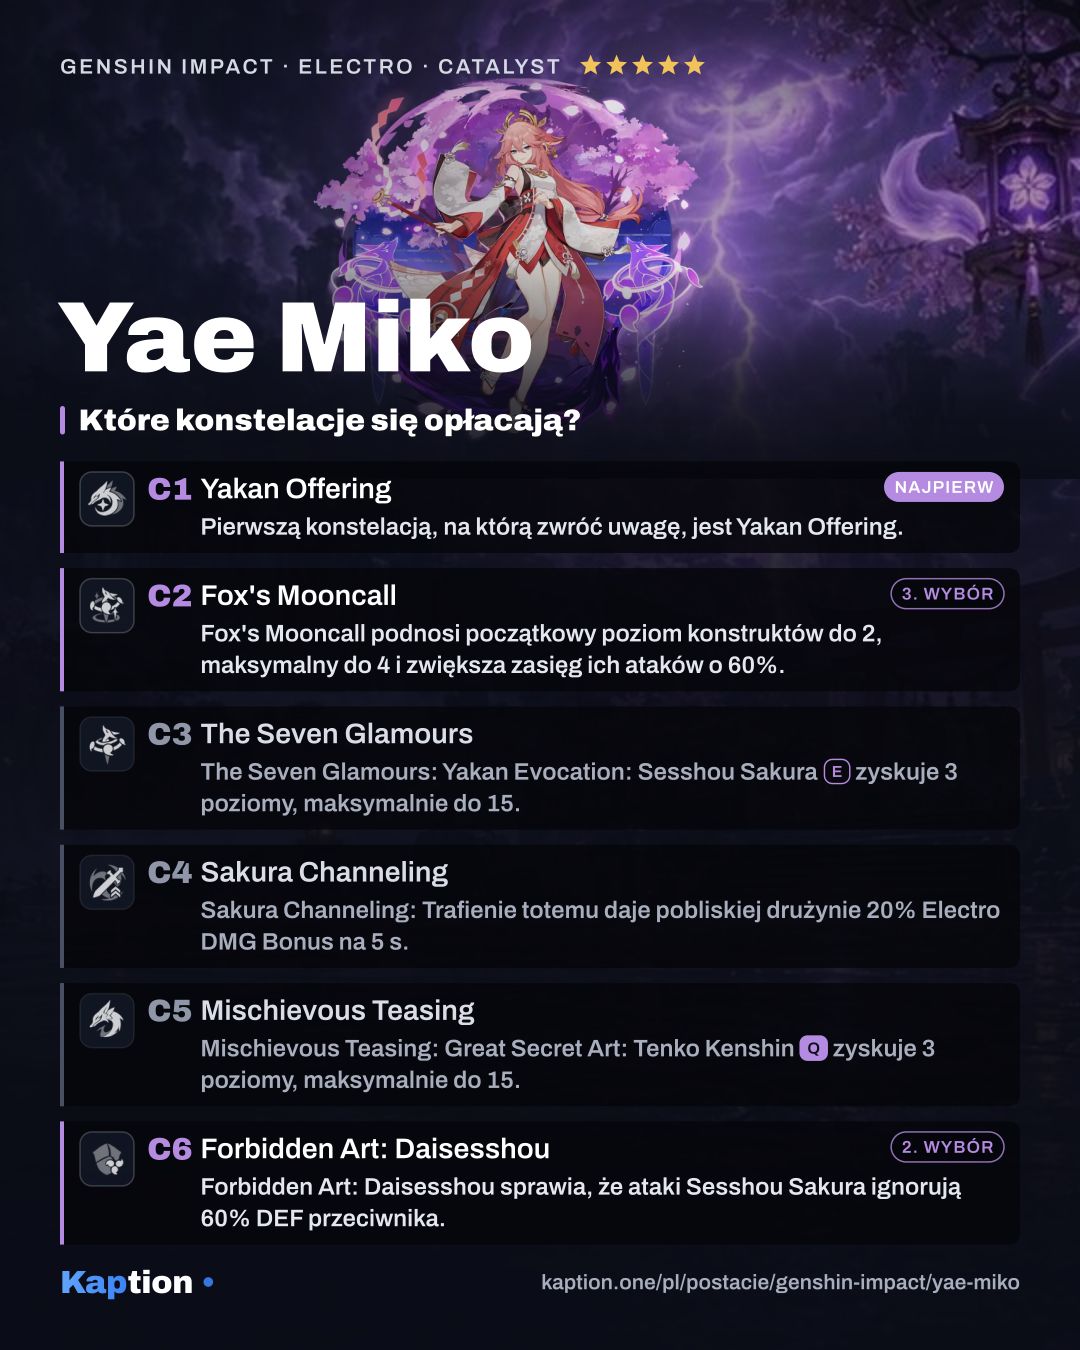
Yakan Offering is the first constellation to look at. Each Tenko Thunderbolt restores 8 Elemental Energy to Yae, so consuming three Sakura returns 24 Energy. That helps if you want to use her Burst regularly.
Forbidden Art: Daisesshou makes Sakura attacks ignore 60% of opponents' DEF. Fox's Mooncall starts Sakura at level 2, raises their maximum level to 4 and increases their attack range by 60%. Both strengthen the Skill, though C6 comes much later.
The Seven Glamours raises the Skill level by 3. Sakura Channeling gives nearby party members 20% Electro DMG Bonus for 5 seconds when Sakura lightning hits. Mischievous Teasing raises the Burst level by 3. These are optional stops rather than requirements for the basic rotation; you can leave Yae at C0 and still use the full Skill and Burst loop.
Teams
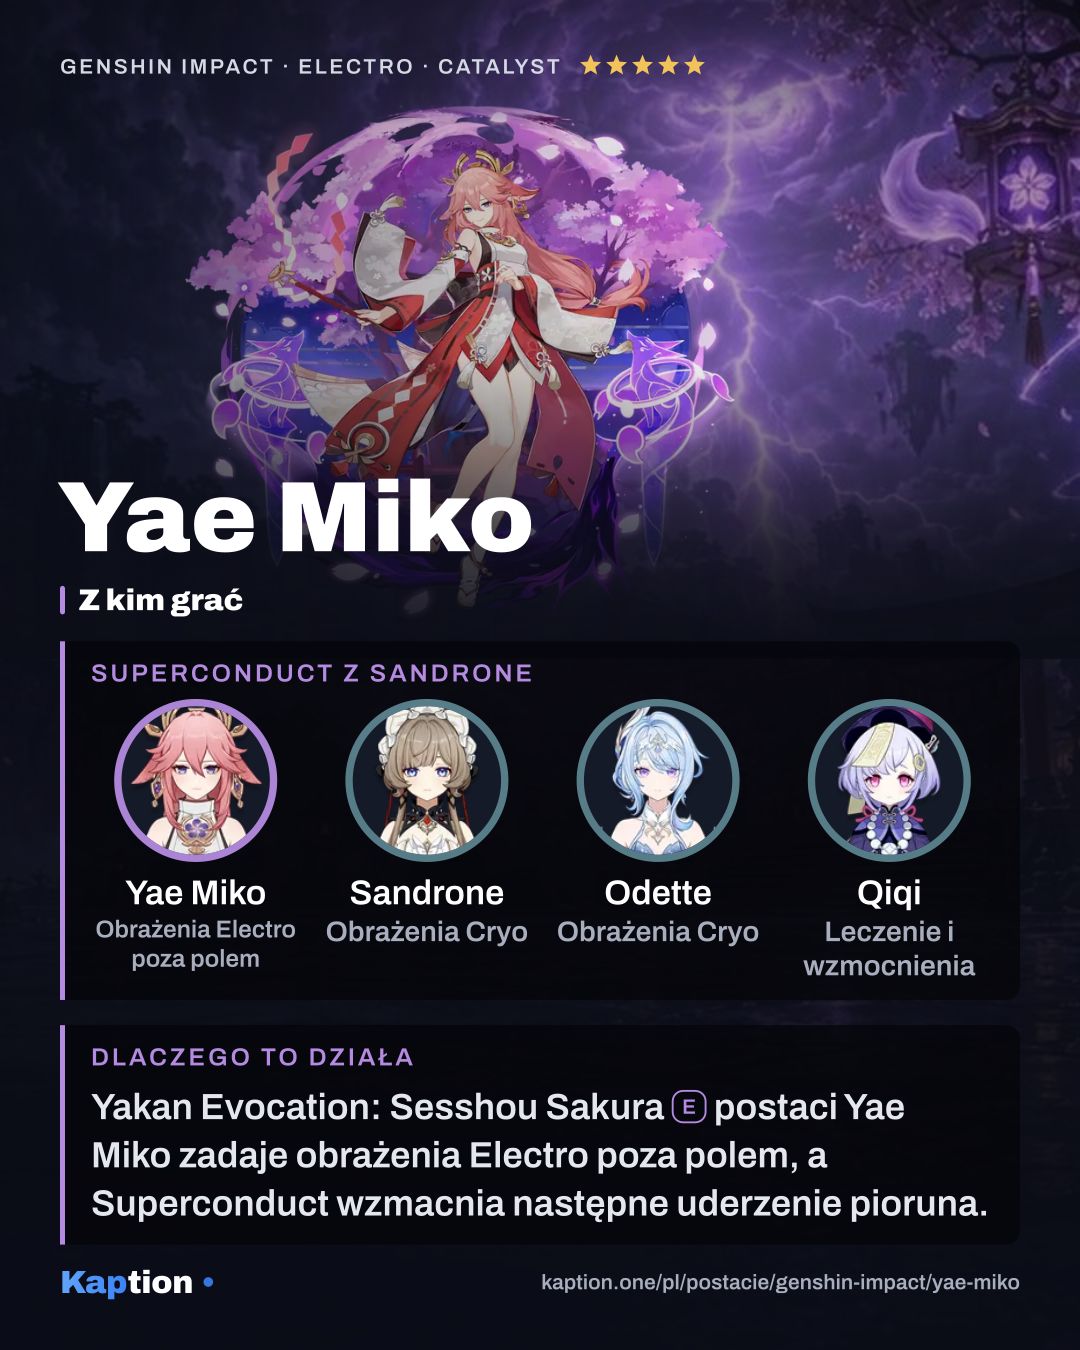
For Superconduct or Stellar-Conduct, pair Yae with a Cryo teammate. Sandrone, Qiqi and Traveler (Cryo) are options named for her; Qiqi can also cover healing. A nearby teammate needs to trigger the reaction to enhance the next Sakura lightning through Edict of Cleansing.
Alyosha is an Electro healer option, while Fischl is another Electro teammate with an off-field role. Sucrose offers Anemo and Swirl. In a Dendro team, Nahida is an option for playing around reactions such as Aggravate. Xilonen is another healer option.
Yae contributes recurring Electro strikes while another character is active. Build the rest of the team around the reaction you want and make room for healing or a shield; Yae's listed kit does not provide either.
Common mistakes
Do not put all three Sakura on top of each other. A new one created too close to an existing one destroys it, leaving you with fewer constructs. Check their spacing before switching away.
Do not assume the Sakura survive Great Secret Art: Tenko Kenshin. The Burst consumes nearby constructs for Thunderbolts; use the reset charges of Yakan Evocation: Sesshou Sakura to place them again.
Do not treat Elemental Mastery as the only useful stat. It increases Sakura damage through Enlightened Blessing, but CRIT, ATK and enough Energy Recharge still matter. Likewise, Disenchantment in Deep Shadow's reaction bonuses need the relevant reactions, while Golden Troupe directly rewards Skill damage and time off-field.
Do not expect every Superconduct or Stellar-Conduct trigger to add the Radiance hit. The enhanced lightning has a 2.5-second trigger limit, and Yae enters Radiance: Stellar-Conduct while inside a Polestar Field.