













































Guide
How the kit works
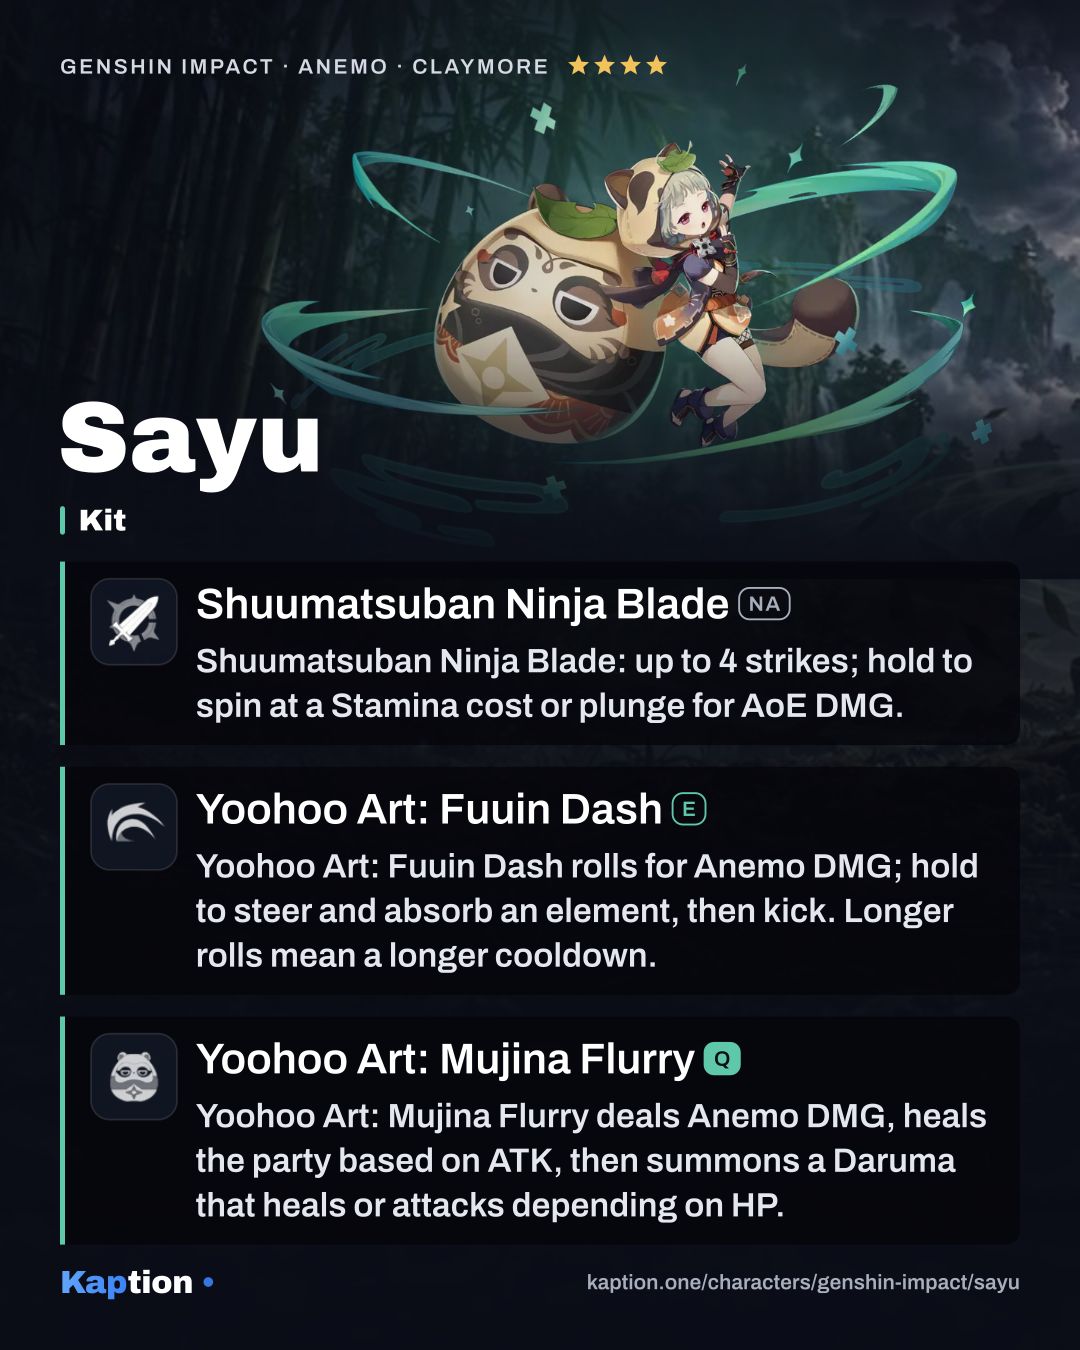
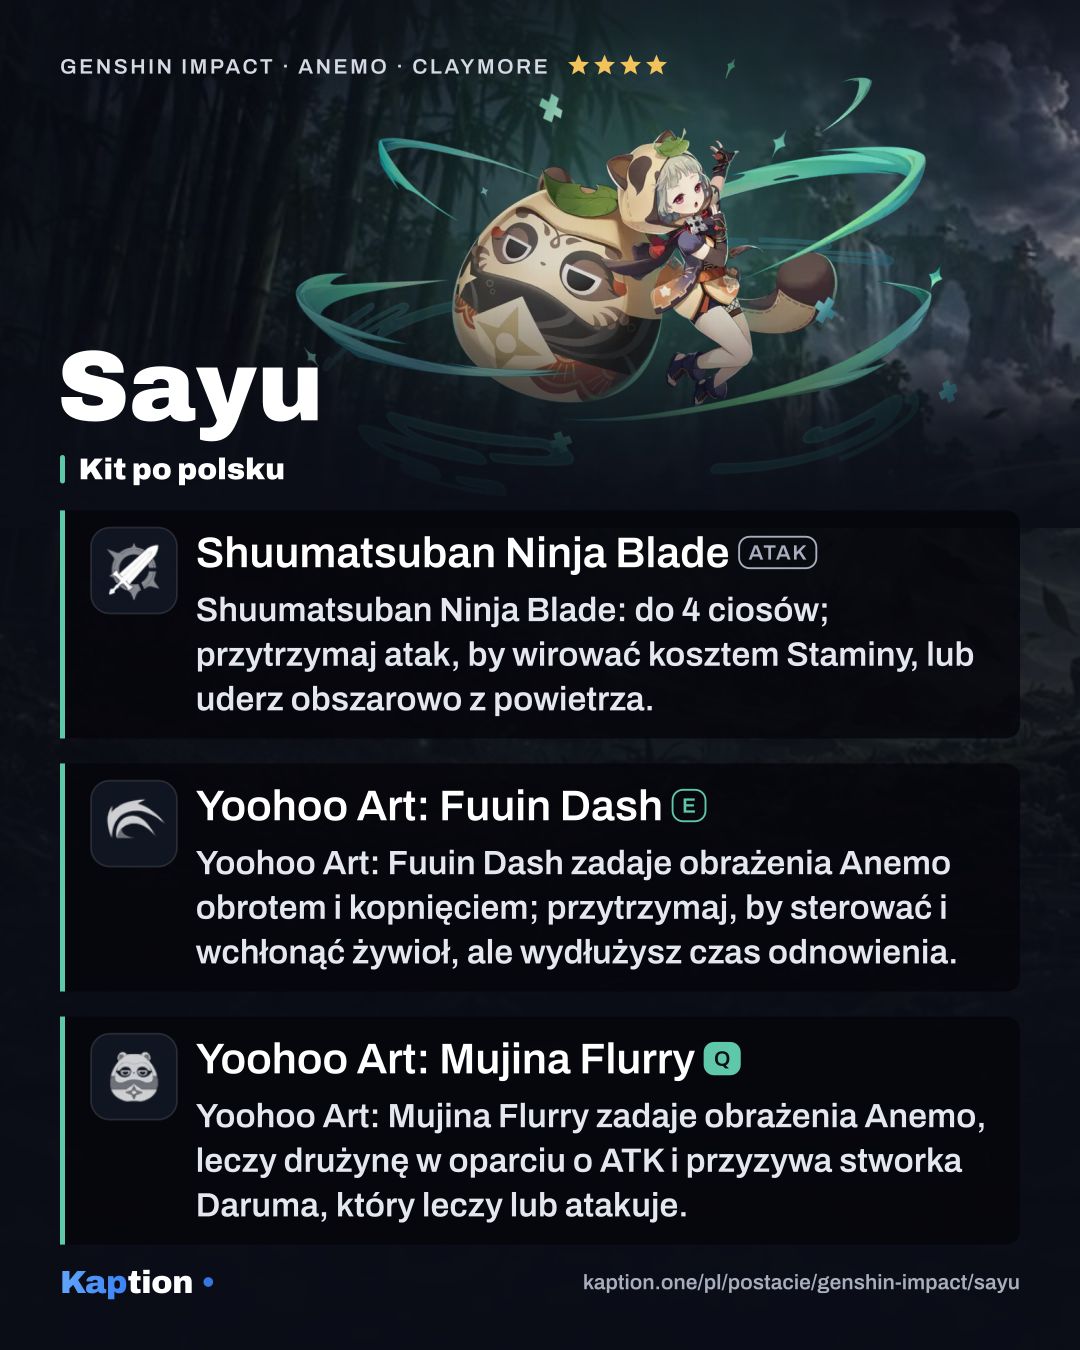
Start by giving Sayu an element to react with, then use Yoohoo Art: Fuuin Dash. A press rolls a short distance and ends with a kick. Holding it lets you steer for up to 10 seconds, with increased interruption resistance. Use the Skill again to finish early with the stronger kick.
During a held roll, contact with Hydro, Pyro, Cryo or Electro adds damage of that element. Absorption happens at most once per use. The cooldown begins when the Skill ends and gets longer the longer you roll, so you do not have to hold it for the full duration every time.
Use Yoohoo Art: Mujina Flurry when the team needs healing or you want the Daruma on the field. The initial cast deals Anemo damage and heals nearby party members based on Sayu's ATK. At intervals, the Daruma attacks if nearby characters are above 70% HP, or heals the active character with the lowest HP percentage when an active character nearby is at 70% or less. With no opponents nearby, it can heal even above that threshold.
Someone More Capable heals your characters and nearby allies when active Sayu triggers Swirl or Stellar Swirl: 300 HP plus 1.2 HP per point of Elemental Mastery, once every 2 seconds. No Work Today! lets the Daruma heal characters near its target for 20% of that heal and increases its attack area. Shuumatsuban Ninja Blade (NA) gives Sayu up to four normal strikes; its charged attack spins and drains Stamina.
Build and why
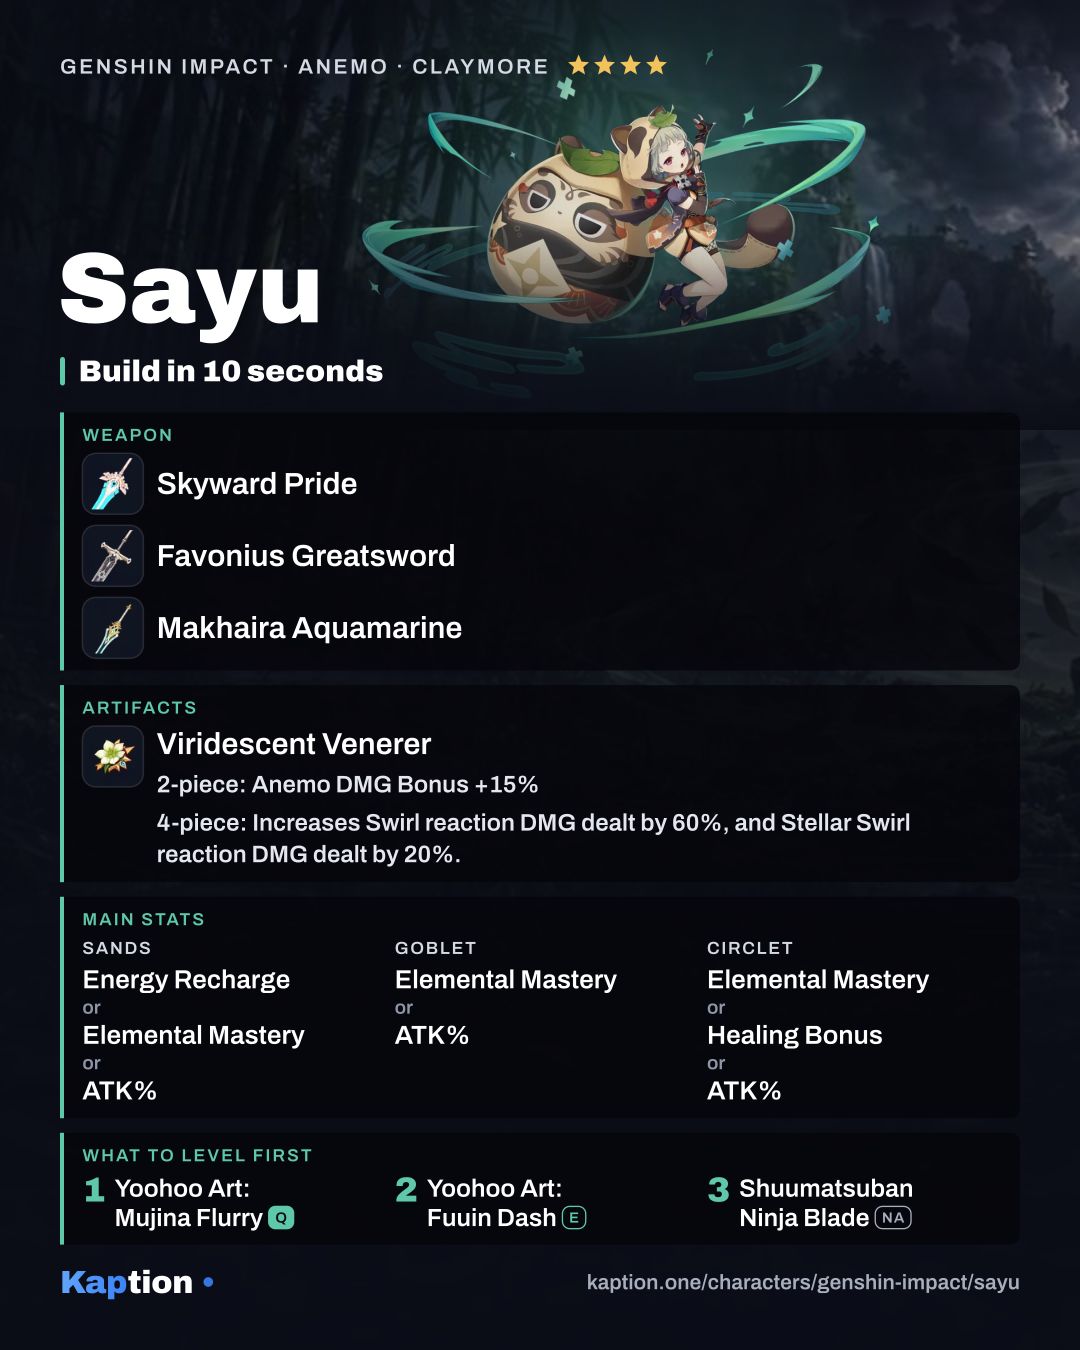
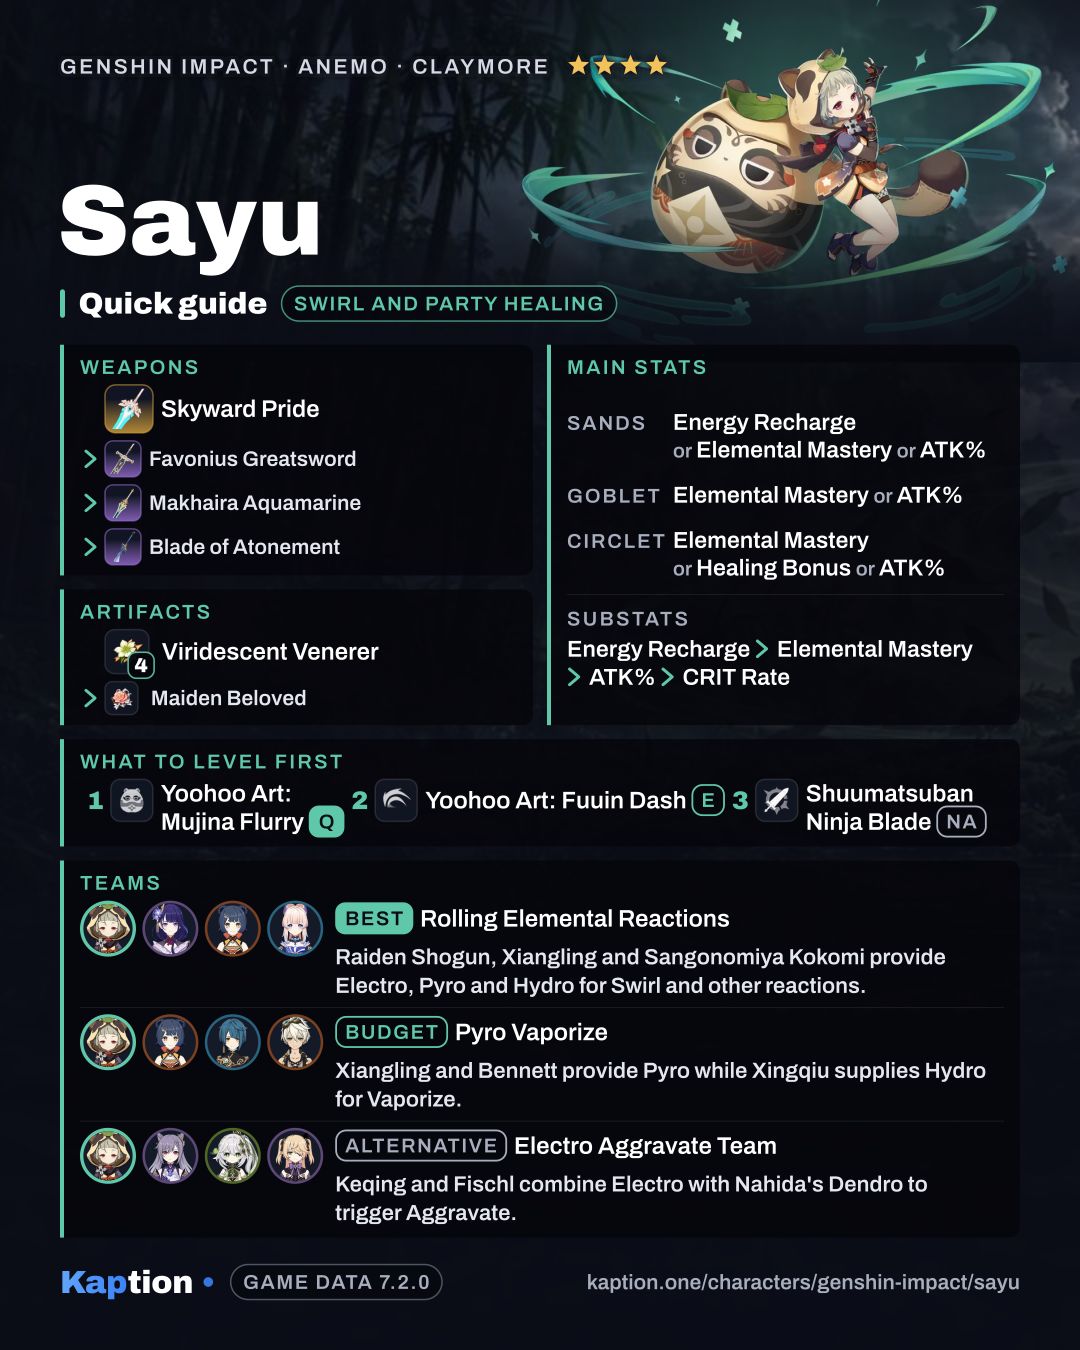
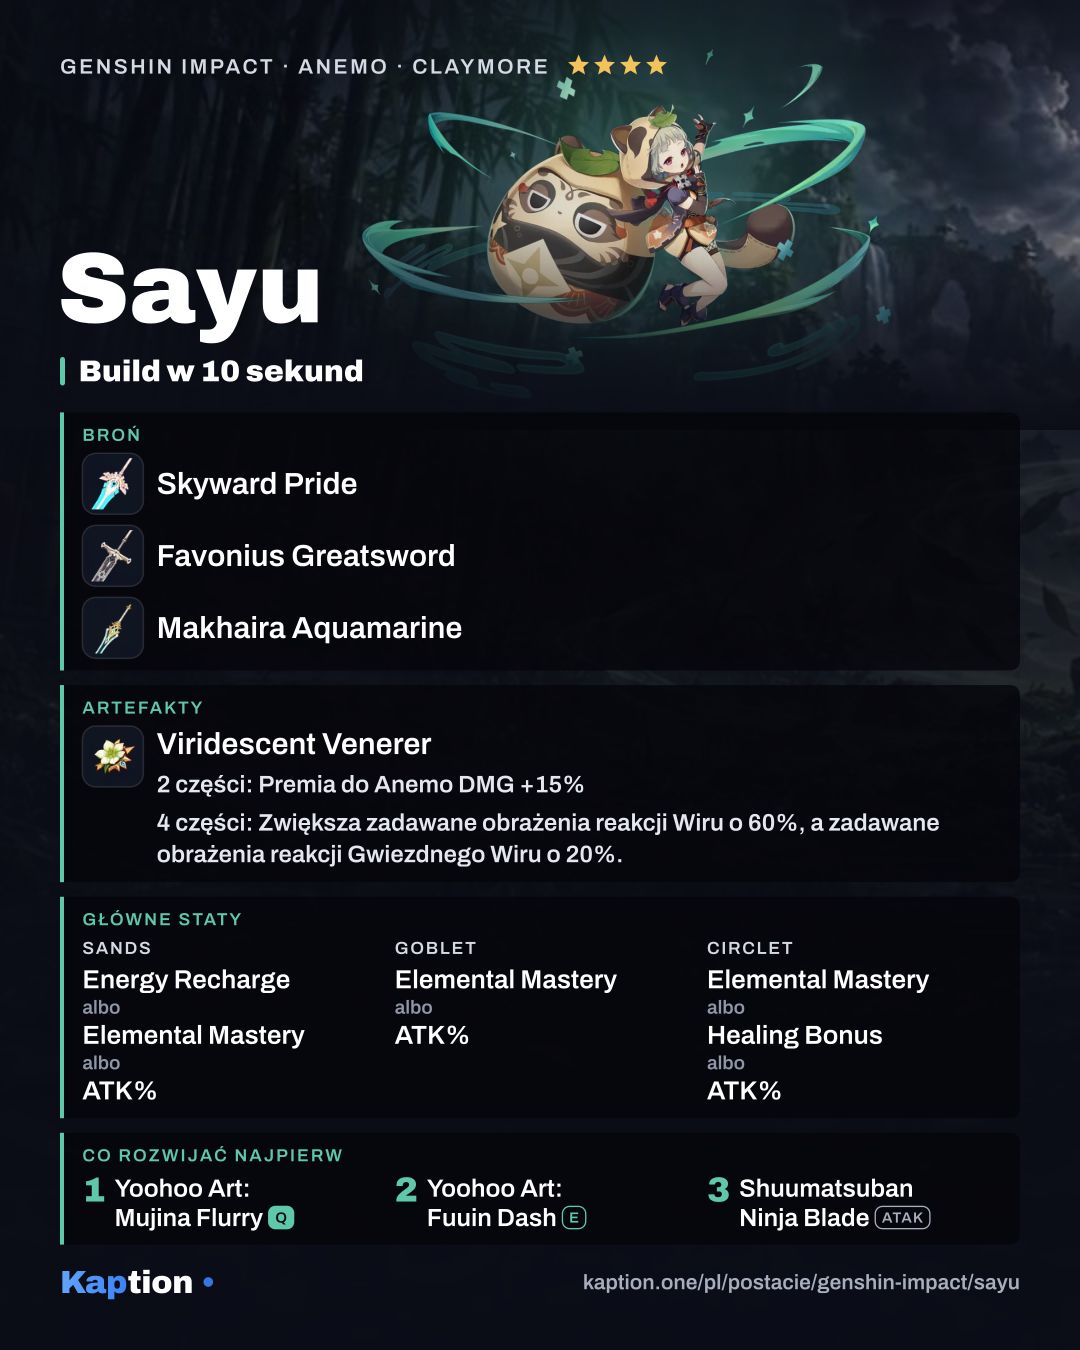
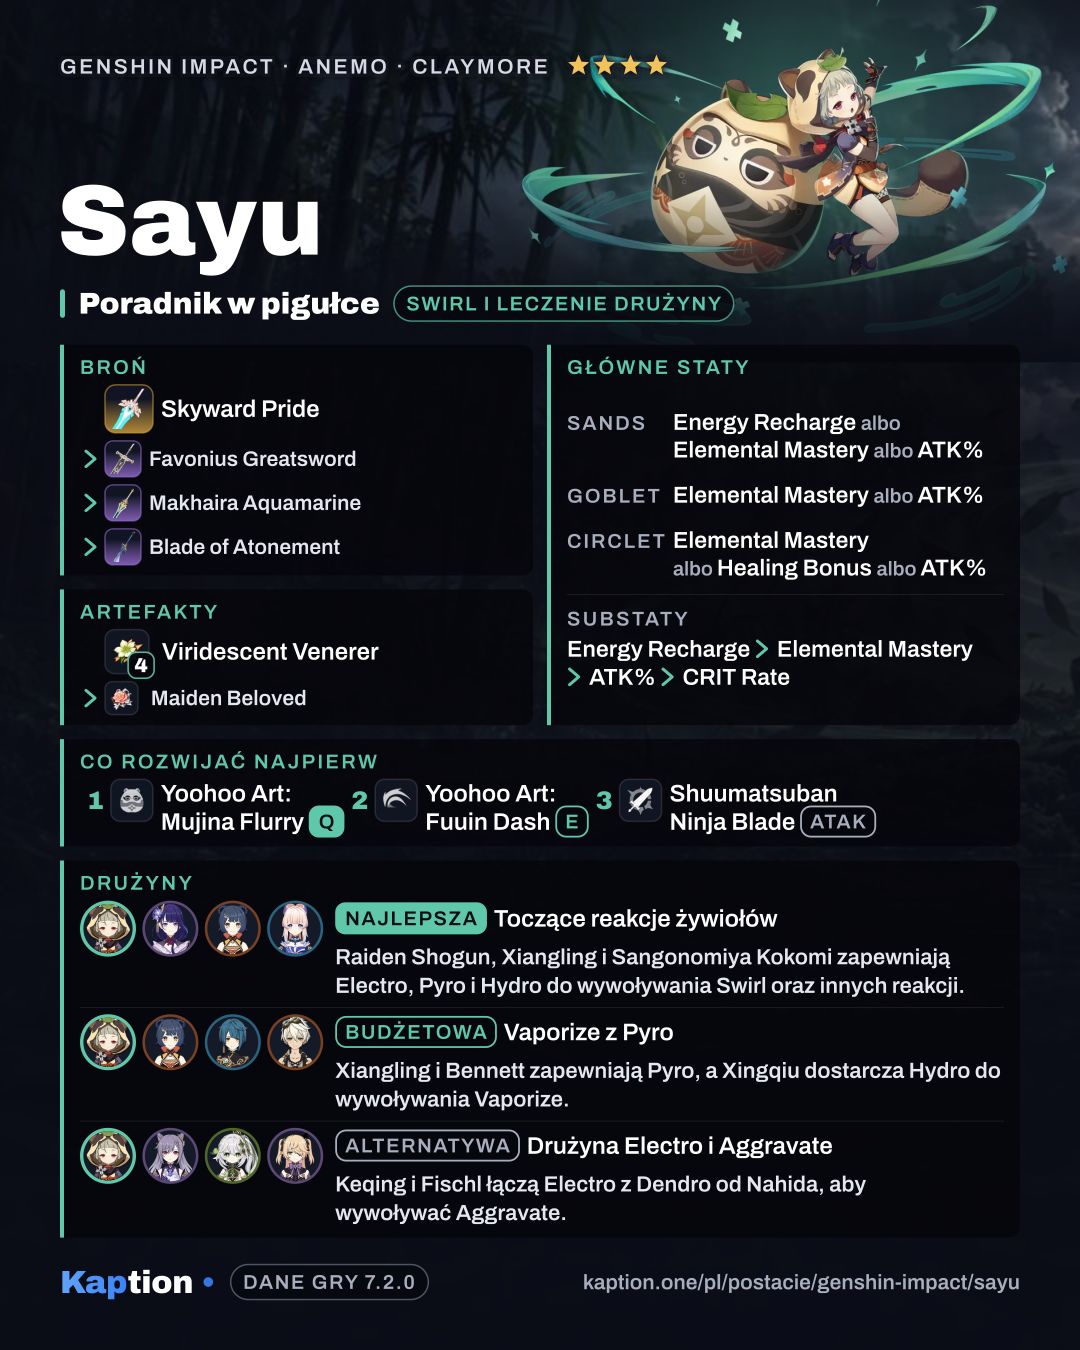
Use four pieces of Viridescent Venerer for the main support build. The set increases Swirl damage by 60% and lowers an opponent's resistance to the element infused in Swirl by 40% for 10 seconds. Its two-piece bonus also gives Sayu 15% Anemo DMG Bonus.
Noblesse Oblige is another team option: four pieces give the party 20% ATK for 12 seconds after Sayu uses her Burst. Ocean-Hued Clam is worth considering for a healing-focused build. It records healing, including overflow, and its Foam deals damage based on 90% of the accumulated amount. Maiden Beloved is an option if you want more healing.
For a mixed early setup, two pieces of Instructor give 80 Elemental Mastery and two pieces of The Exile give 20% Energy Recharge. This combination gives up a four-piece effect, so switch when a complete set better suits the team.
For main stats, use Energy Recharge, Elemental Mastery or ATK Percentage on the sands; Elemental Mastery or ATK Percentage on the goblet; and Elemental Mastery, Healing Bonus or ATK Percentage on the circlet. Energy Recharge helps keep the Burst ready. Elemental Mastery improves Sayu's passive reaction healing, while ATK improves Burst healing. For substats, look for Energy Recharge first, followed by Elemental Mastery, ATK Percentage and CRIT Rate.
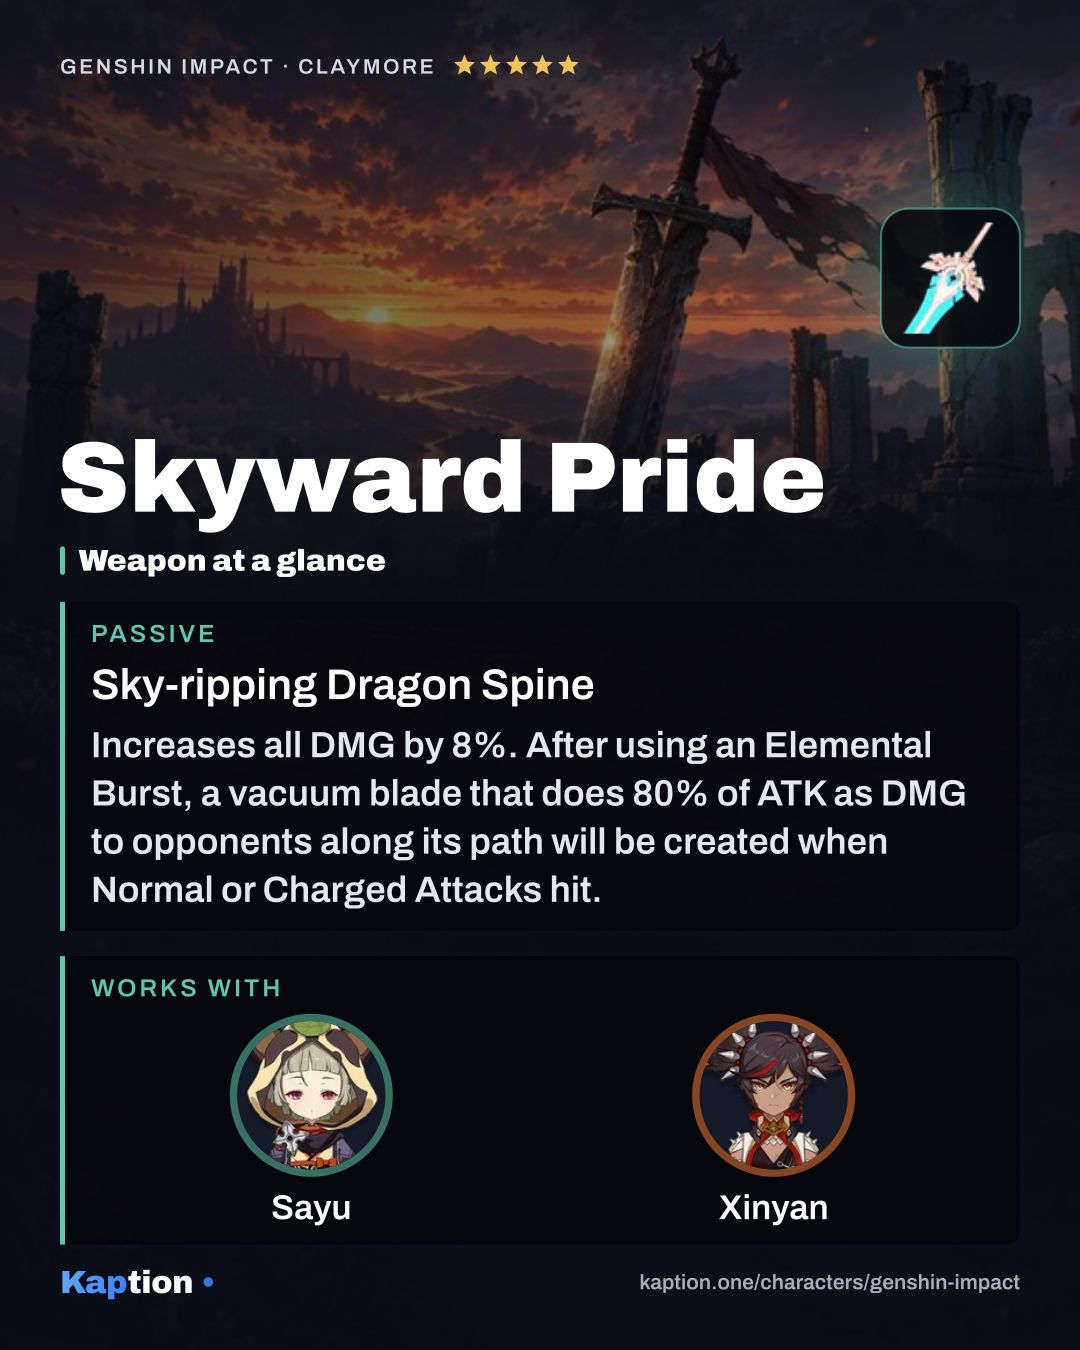
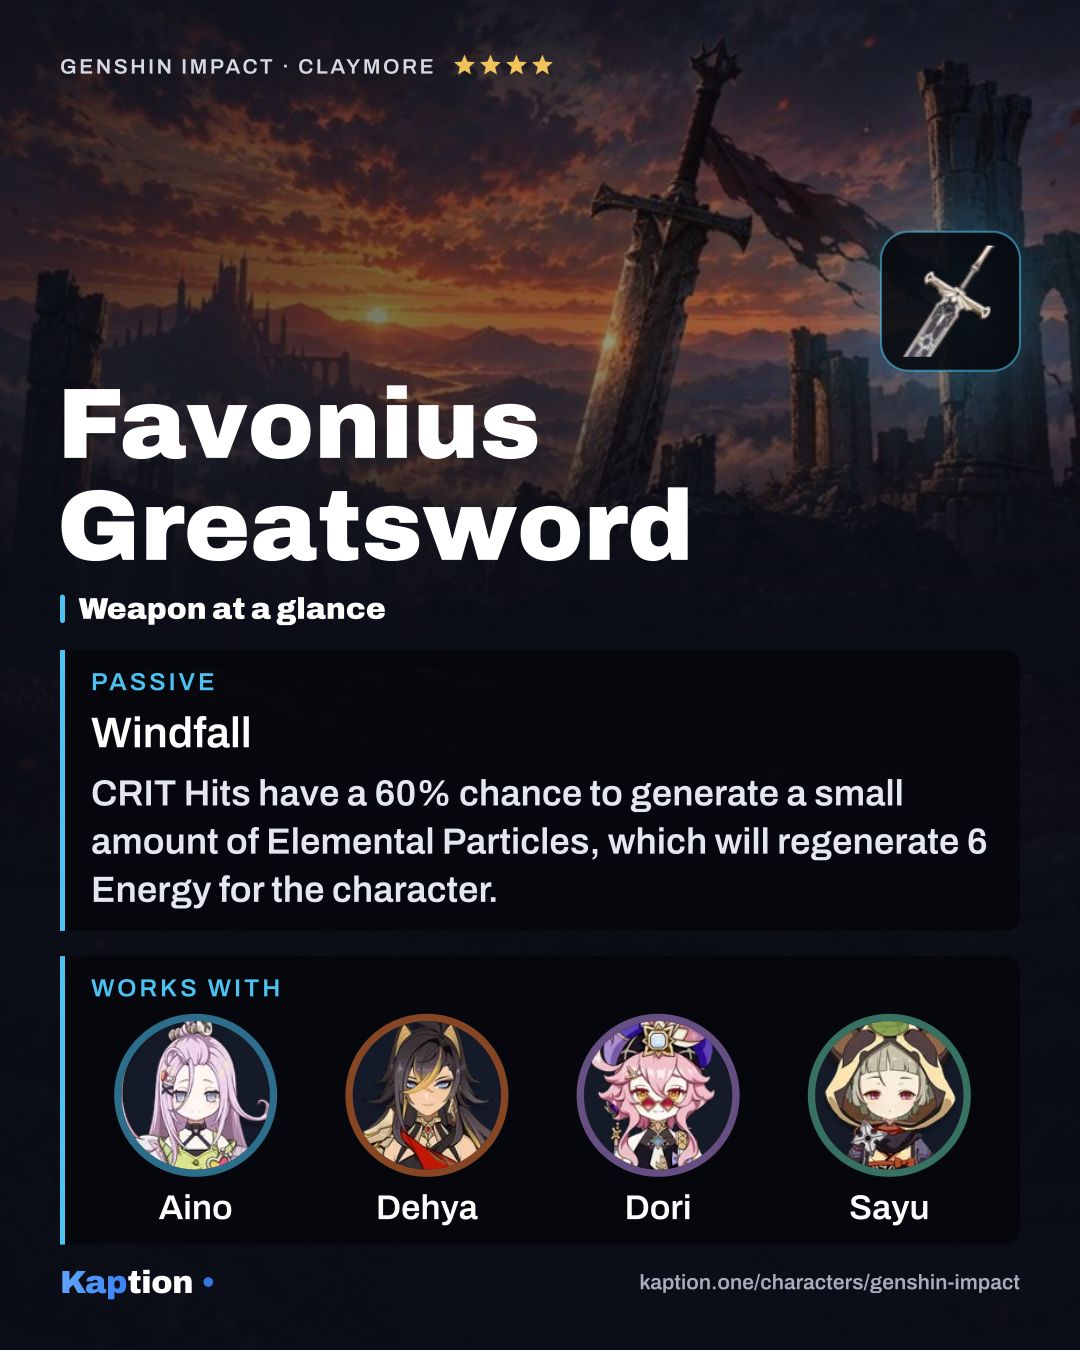
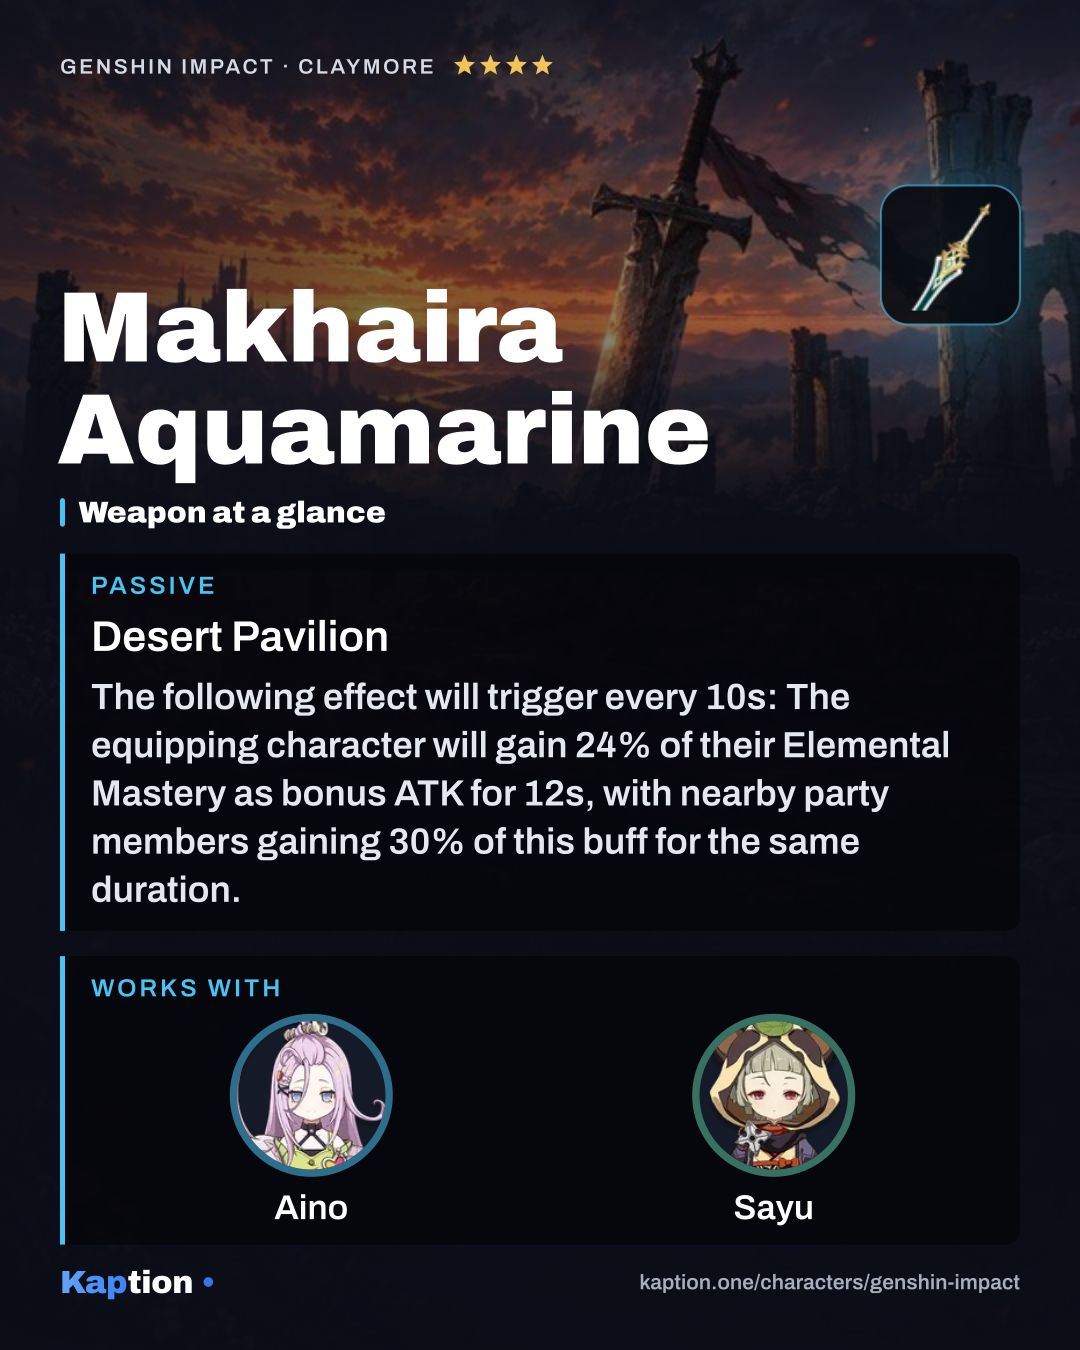
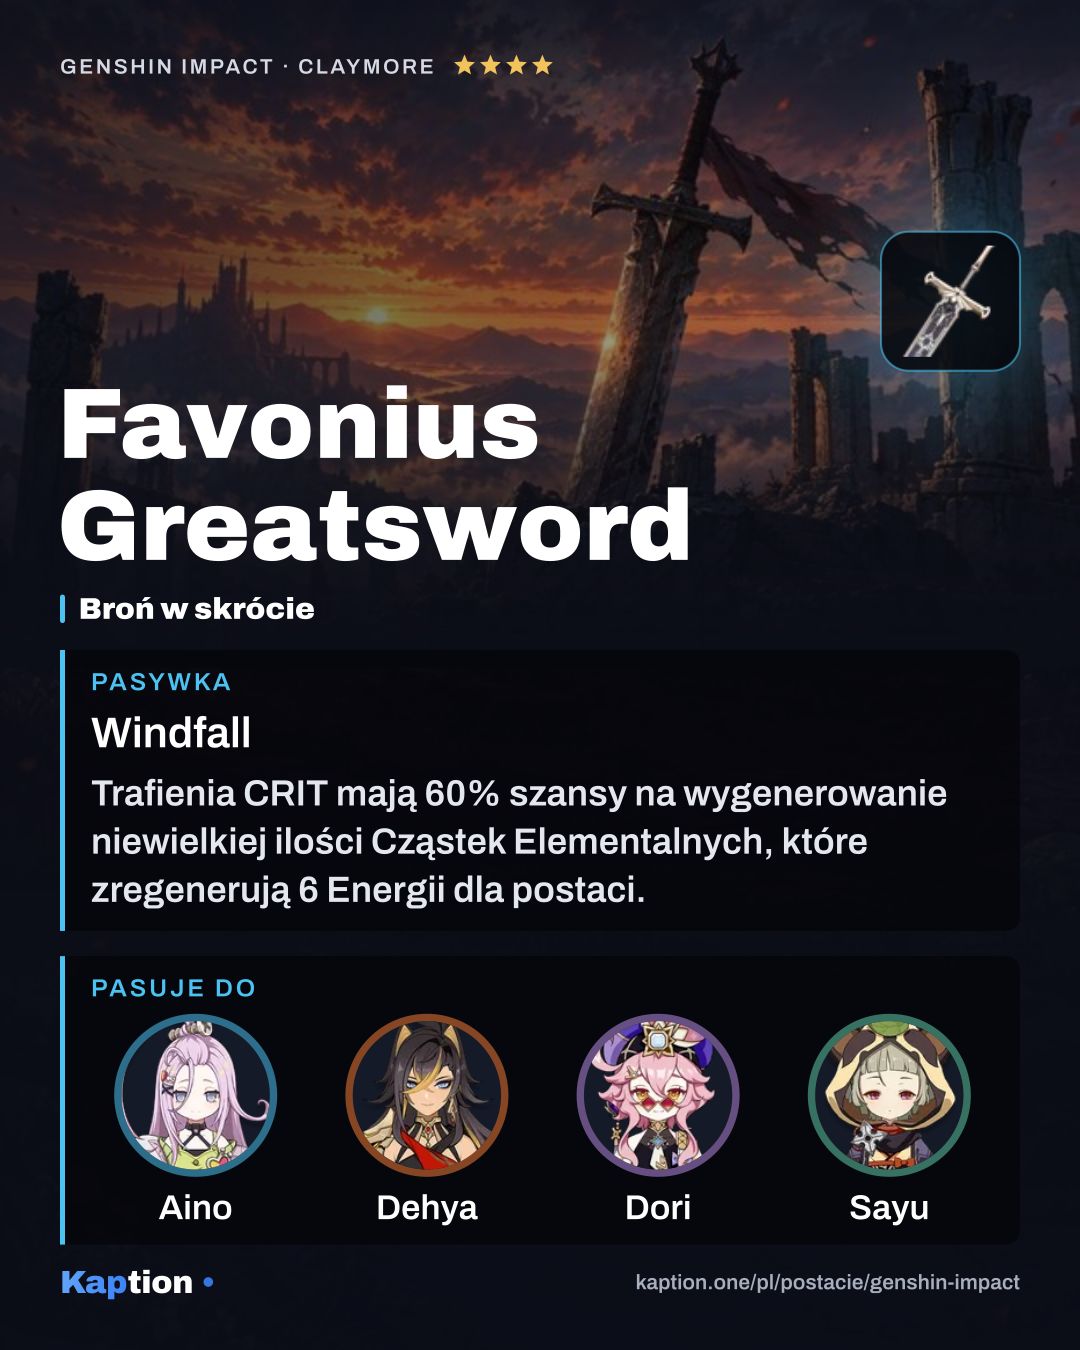
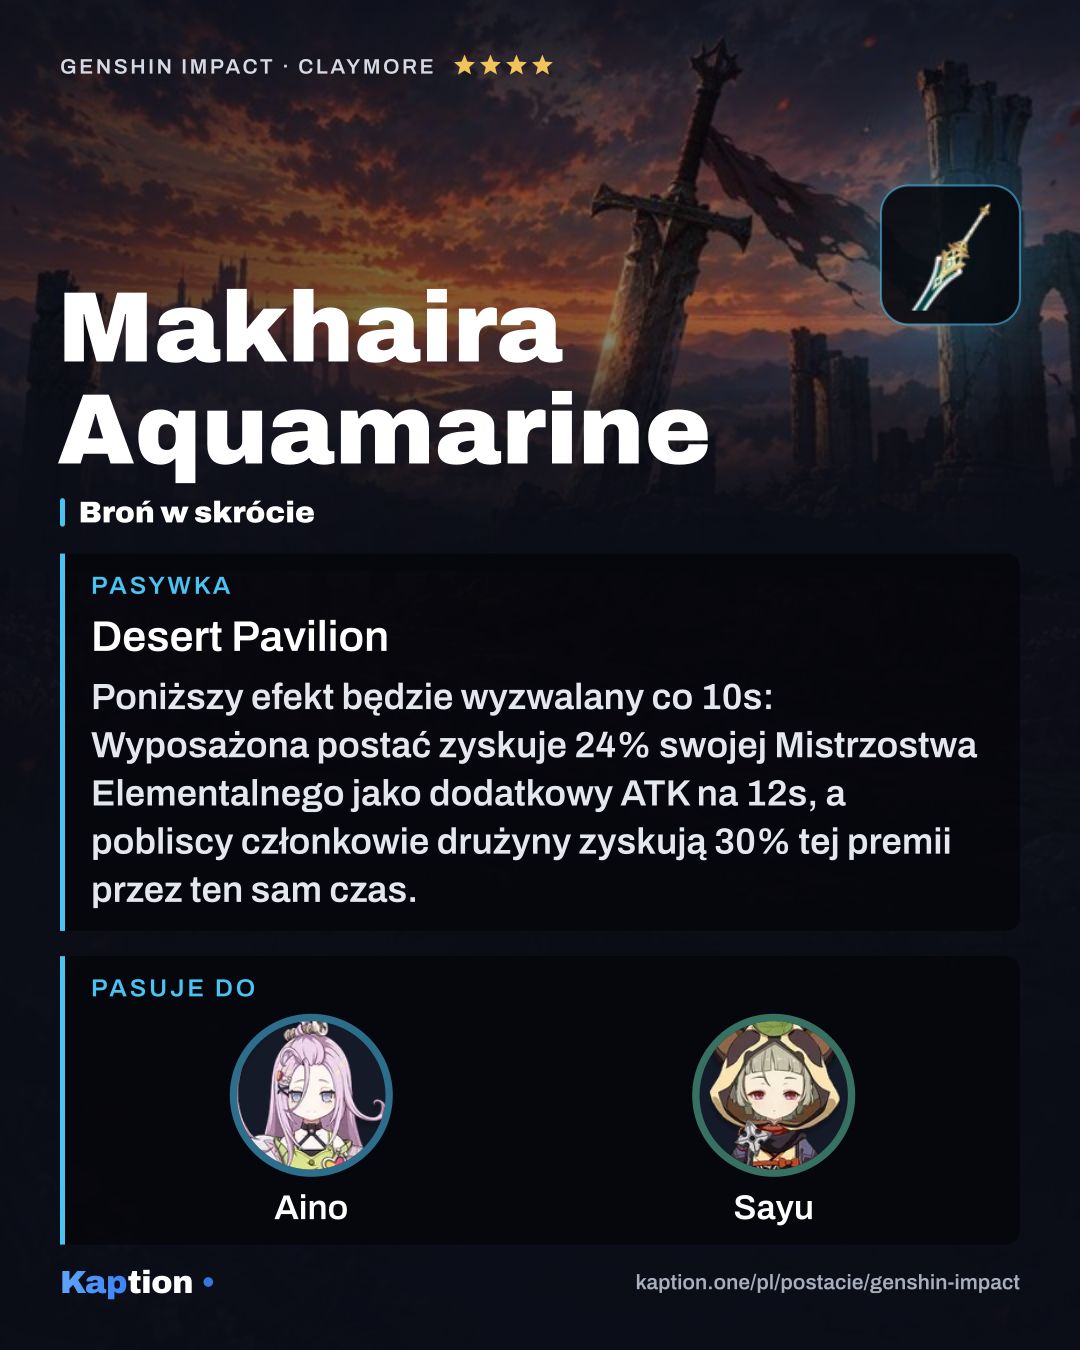
Favonius Greatsword is the first weapon choice: its CRIT Hits have a 60% chance to generate particles that restore 6 Energy to a character, once every 12 seconds. Skyward Pride is another option that increases all damage; after the Burst, normal or charged hits can create vacuum blades. Makhaira Aquamarine converts 24% of Sayu's Elemental Mastery into bonus ATK and gives nearby party members 30% of that buff.
Leveling priority
A practical leveling order is Yoohoo Art: Mujina Flurry first, because it is the source of Sayu's Burst healing and the Daruma. Level Yoohoo Art: Fuuin Dash next for its Anemo damage. Leave Shuumatsuban Ninja Blade (NA) until last if you mainly use Sayu for healing and reactions.
For ascension, gather Crystal Marrow and Marionette Core, along with Vayuda Turquoise Sliver, Vayuda Turquoise Fragment, Vayuda Turquoise Chunk and Vayuda Turquoise Gemstone. You also need Whopperflower Nectar, Shimmering Nectar, Energy Nectar and Mora.
Talent upgrades use Teachings of Light, Guide to Light and Philosophies of Light, plus the same three Nectar materials and Mora. Gilded Scale is also needed, and taking all three talents to their maximum uses three Crown of Insight.
Constellations worth it
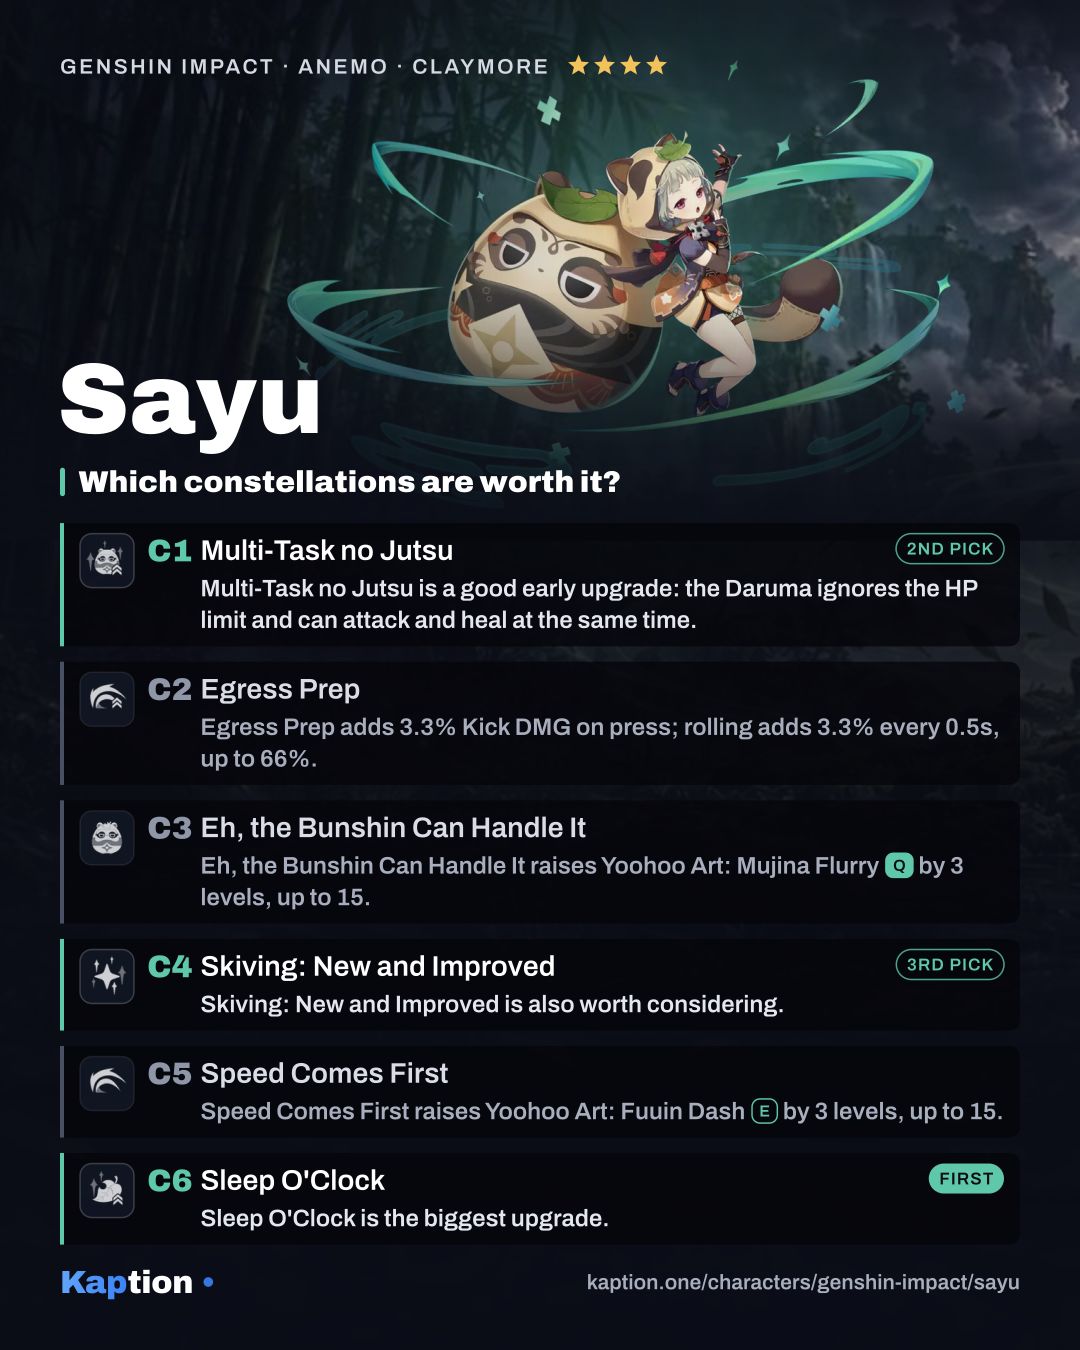
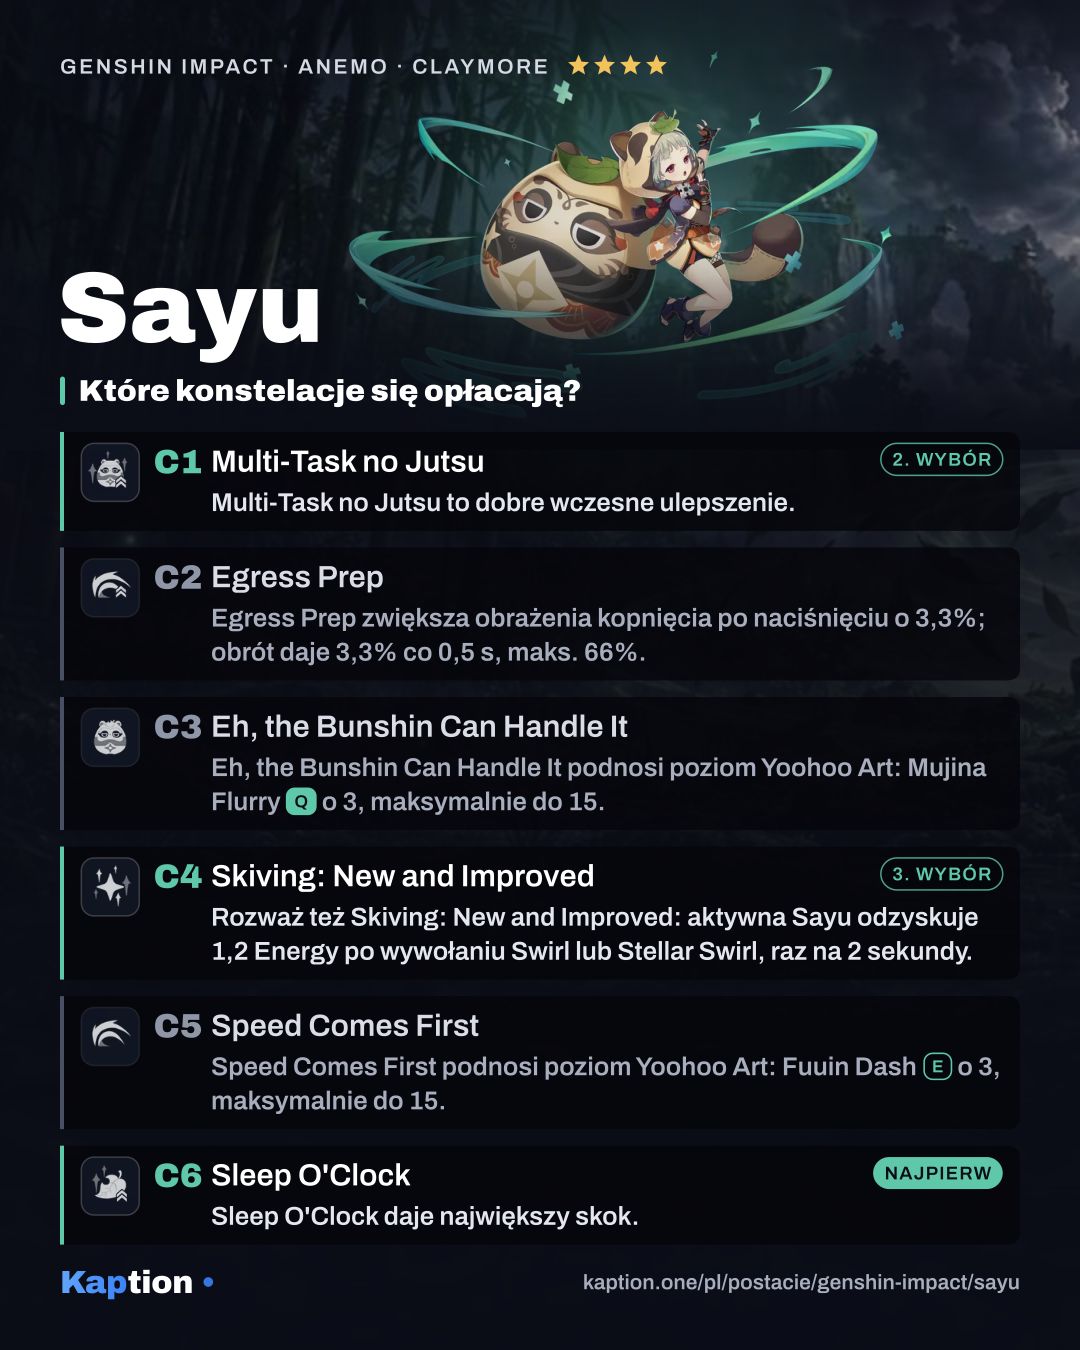
Sleep O'Clock is the biggest upgrade. Each point of Elemental Mastery adds 0.2% ATK to the Daruma's attack damage, up to 400% ATK, and adds 3 HP to its healing, up to 6,000 HP. It gives Elemental Mastery another direct use in the Burst.
Multi-Task no Jutsu is a good early upgrade: the Daruma ignores the HP limit and can attack and heal at the same time. Skiving: New and Improved is also worth considering. It restores 1.2 Energy when on-field Sayu triggers Swirl or Stellar Swirl, once every 2 seconds.
Egress Prep increases kick damage, while Speed Comes First adds three Skill levels. You can skip pursuing either for a healing-focused build. Eh, the Bunshin Can Handle It adds three Burst levels, but you do not need to target it separately to use Sayu as a healer.
Teams
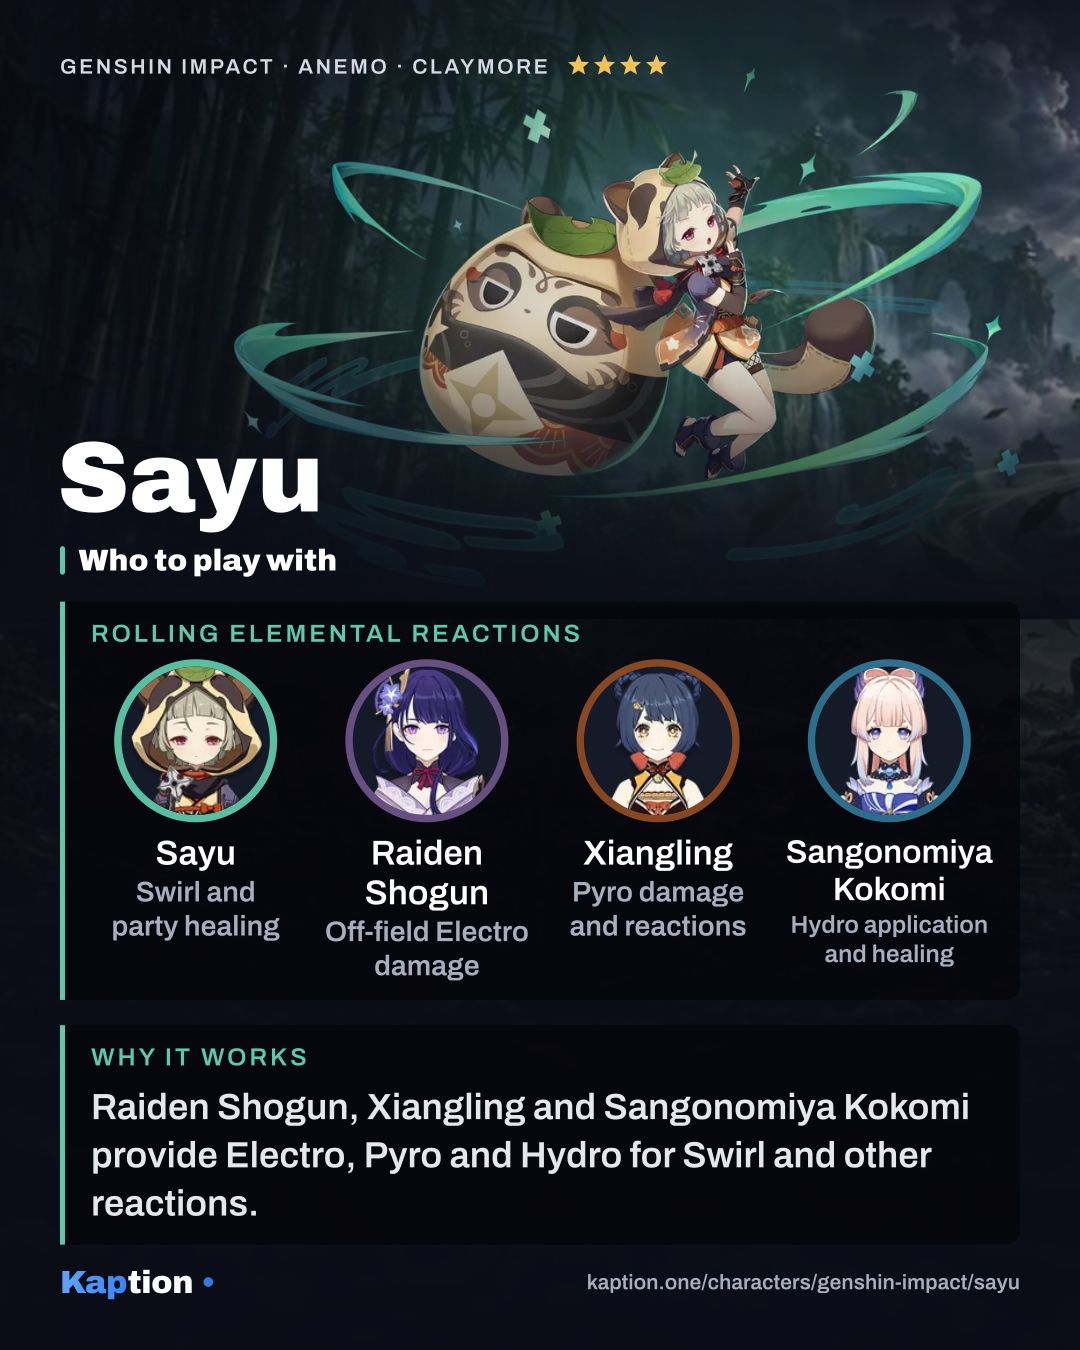
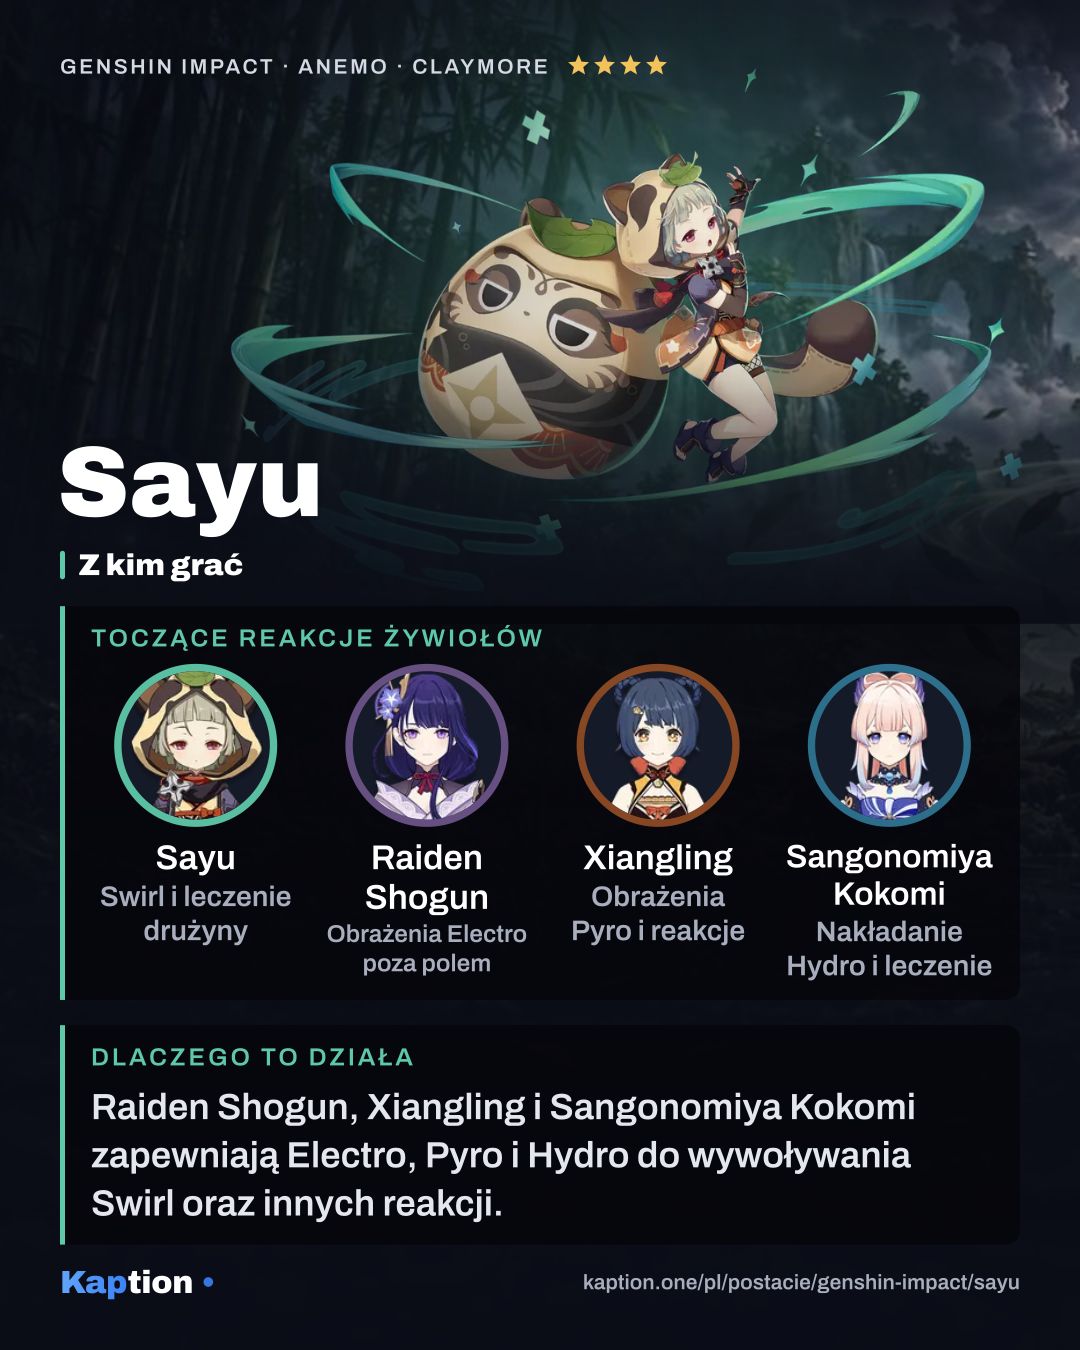
Give Sayu teammates with elements she can absorb and use for Swirl. Xiangling supplies Pyro, while Fischl or Raiden Shogun brings Electro and an off-field presence. Xingqiu is a Hydro option with an off-field role. Sayu gives these teams healing and, with Viridescent Venerer, a way to lower resistance to the element involved in Swirl.
For a Cryo team, Kamisato Ayaka or Ganyu can take the damage role alongside Sayu. Rosaria is another Cryo option. Make sure Sayu triggers the reaction with the element whose resistance you want to lower; the set does not lower every elemental resistance at once.
Sangonomiya Kokomi is a Hydro healer option if you want another source of healing. That overlaps with Sayu's job, so consider whether the team needs both or would rather use the slot for another role.
Common mistakes
Do not roll for the maximum duration by default. A longer roll means a longer cooldown after it ends, and you can end the held Skill early. Use the extra time when steering or absorbing an element is useful.
Do not expect the Daruma to attack and heal simultaneously before C1. Watch the 70% HP threshold and remember that the initial Burst heal works differently from the Daruma's later actions.
Do not stack Elemental Mastery while ignoring Energy Recharge if your Burst is often unavailable. Also, the passive reaction heal requires Sayu to be active when she triggers the reaction; a teammate's reaction does not meet that condition. With Favonius Greatsword, some CRIT Rate helps you use its particle effect.
For exploration, remember that Yoohoo Art: Silencer's Secret keeps Crystalflies and certain other animals from being startled when party members approach. The Archive lists which wildlife it covers.