

































Guide
How the kit works
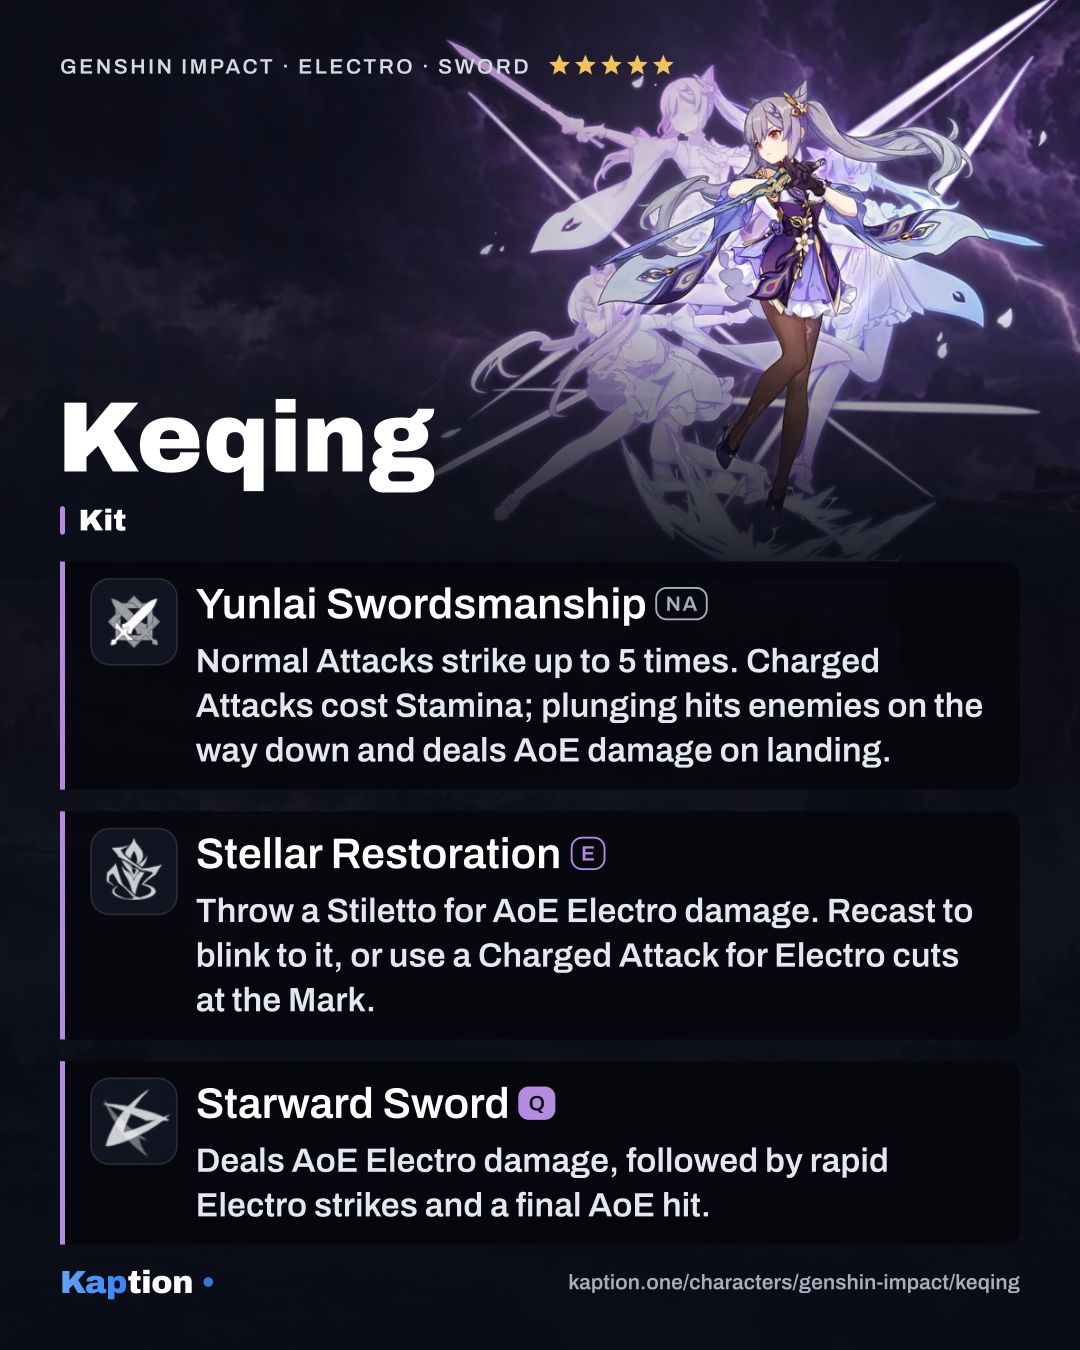
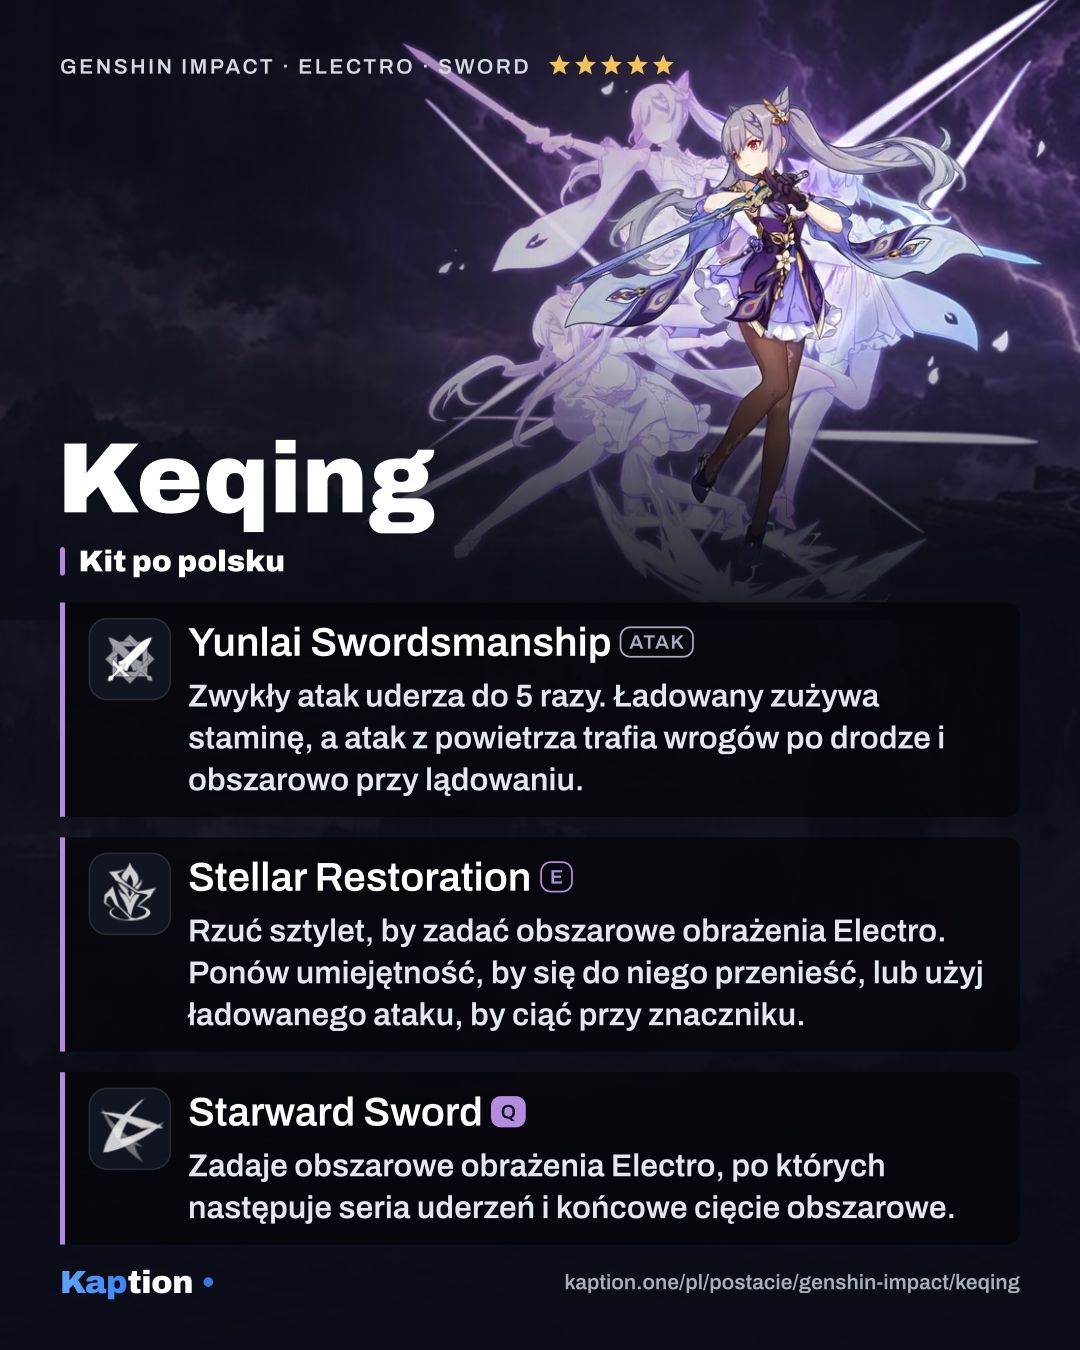
Use Starward Sword when it is available and you want to attack nearby opponents. It deals several instances of Electro damage and ends with an area hit. Casting it also gives Keqing 15% CRIT Rate and 15% Energy Recharge for 8 seconds.
Throw Stellar Restoration to deal area Electro damage and leave a Stiletto Mark. Recast it while the mark remains to blink there and slash. This recast gives the weapon Electro Infusion for 5 seconds, so follow it with attacks while the infusion lasts.
Yunlai Swordsmanship (NA) has up to five Normal Attack strikes. Its Charged Attack consumes Stamina for two quick strikes. You can also use a Charged Attack instead of recasting the skill: it clears the mark and creates Electro cuts at its location, but does not give the infusion from the recast.
Hold the skill to aim the Stiletto. A held throw can leave it suspended in the air; recasting lets Keqing leap to it and cross obstructing terrain. In combat, choose between that repositioning and the Charged Attack's cuts before clearing the mark.
Build and why
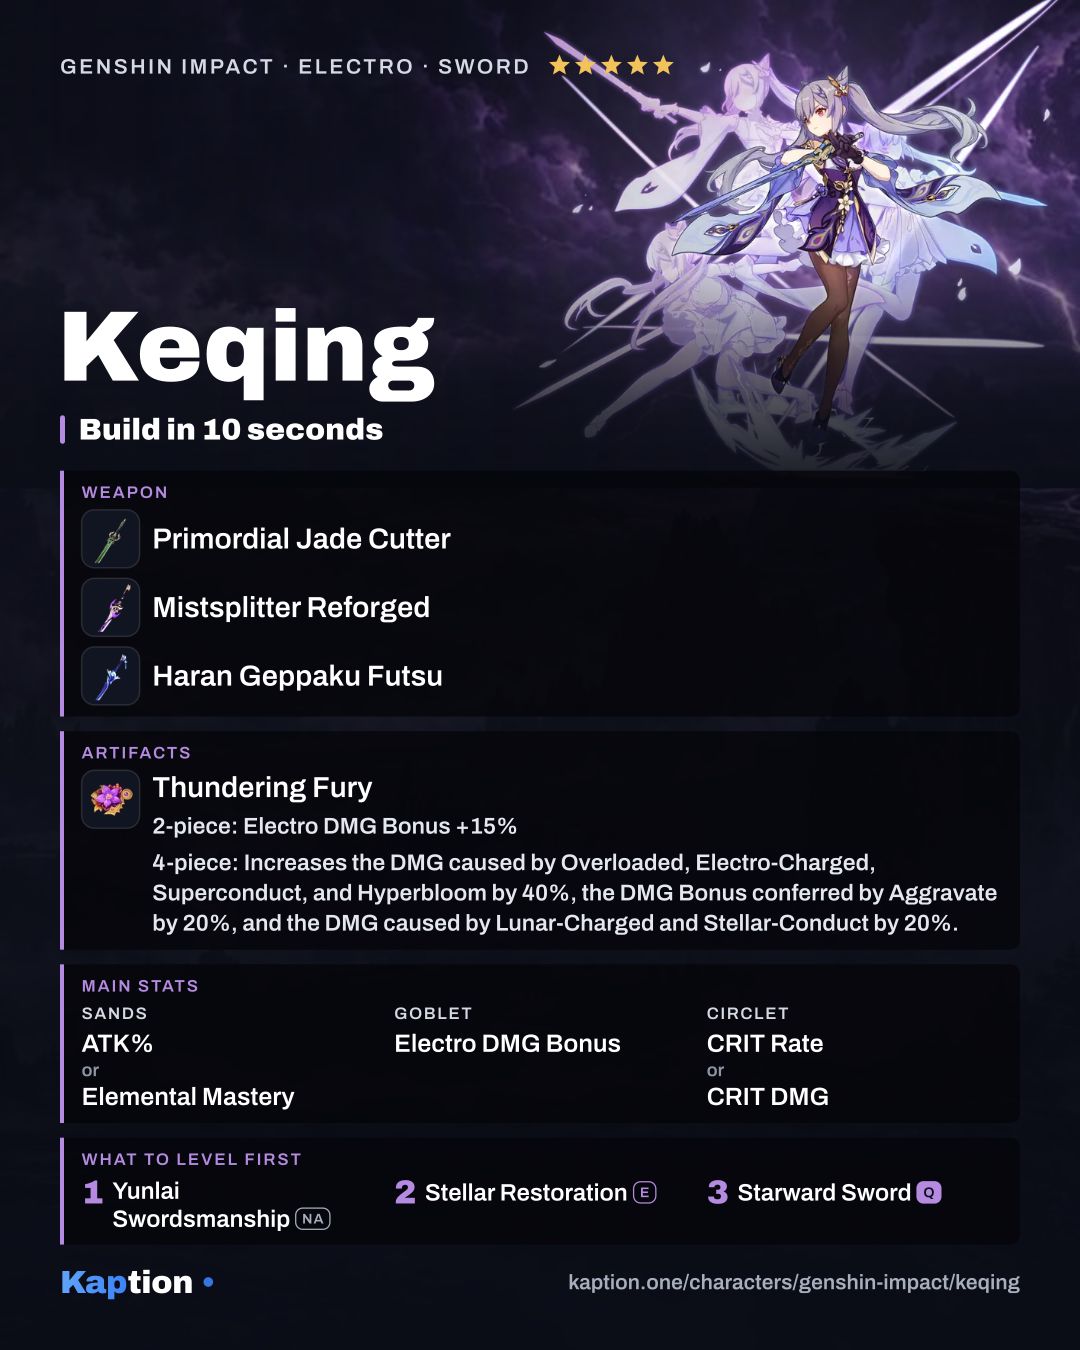
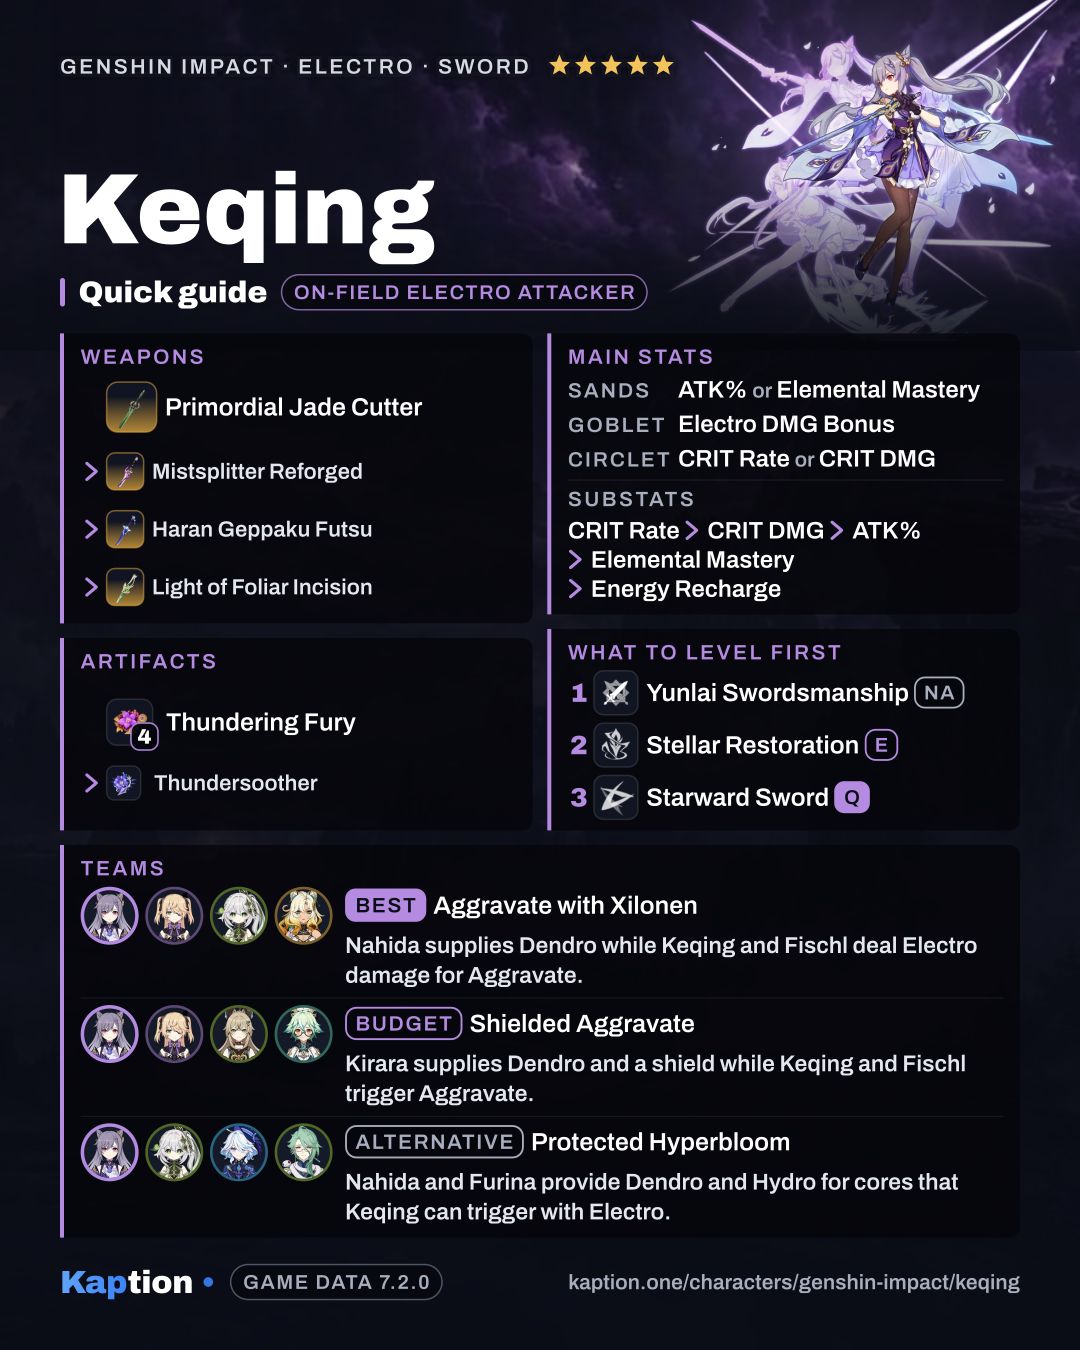
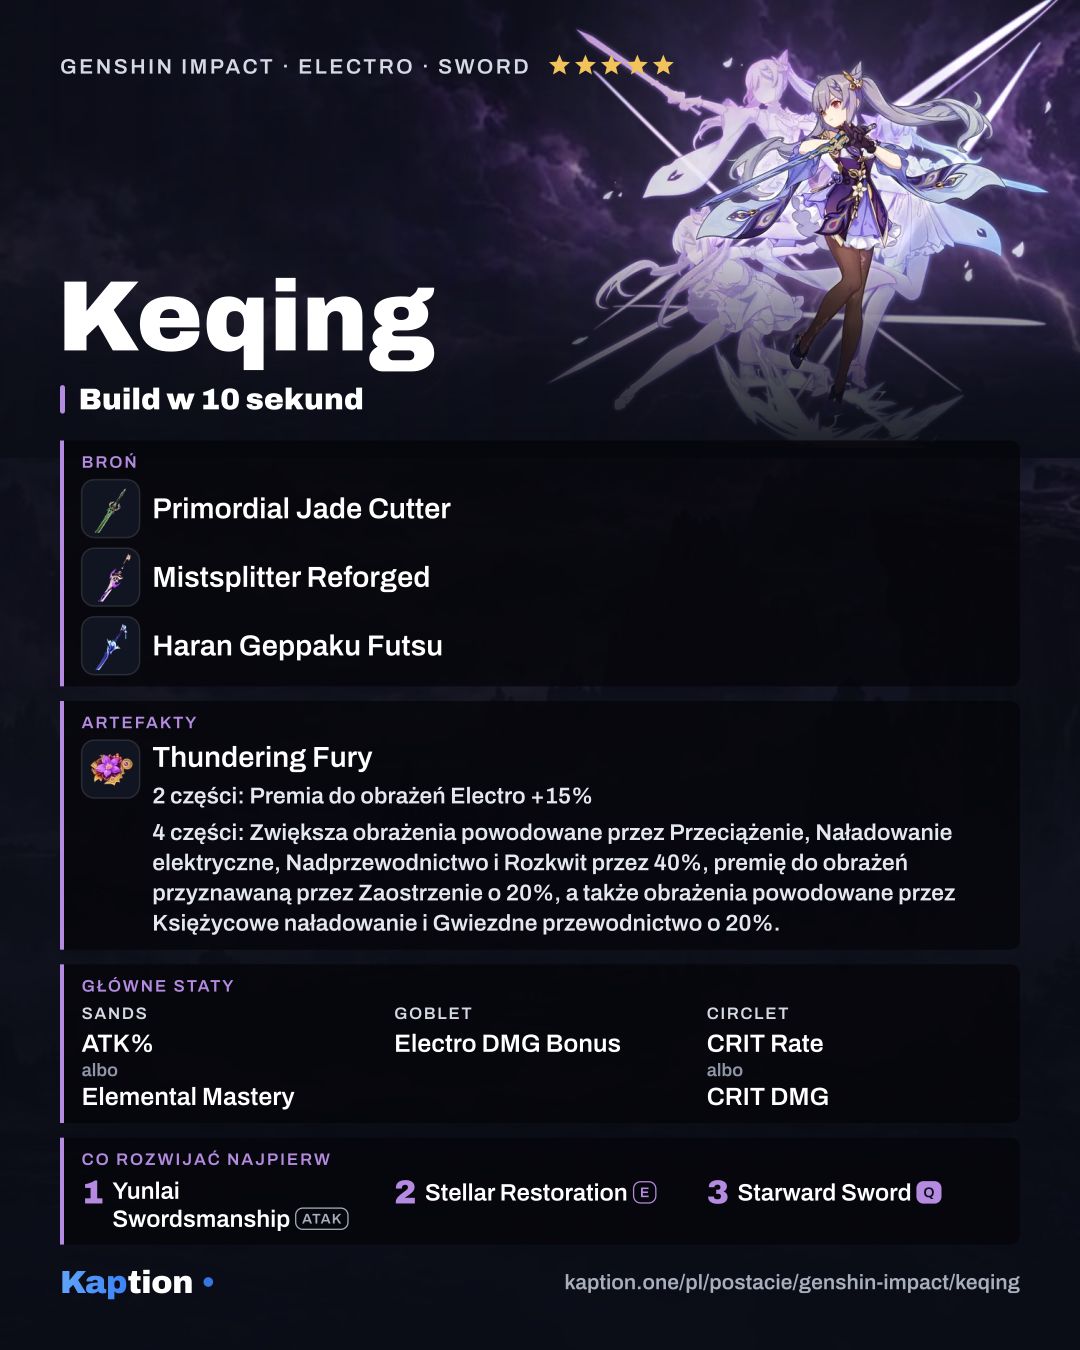
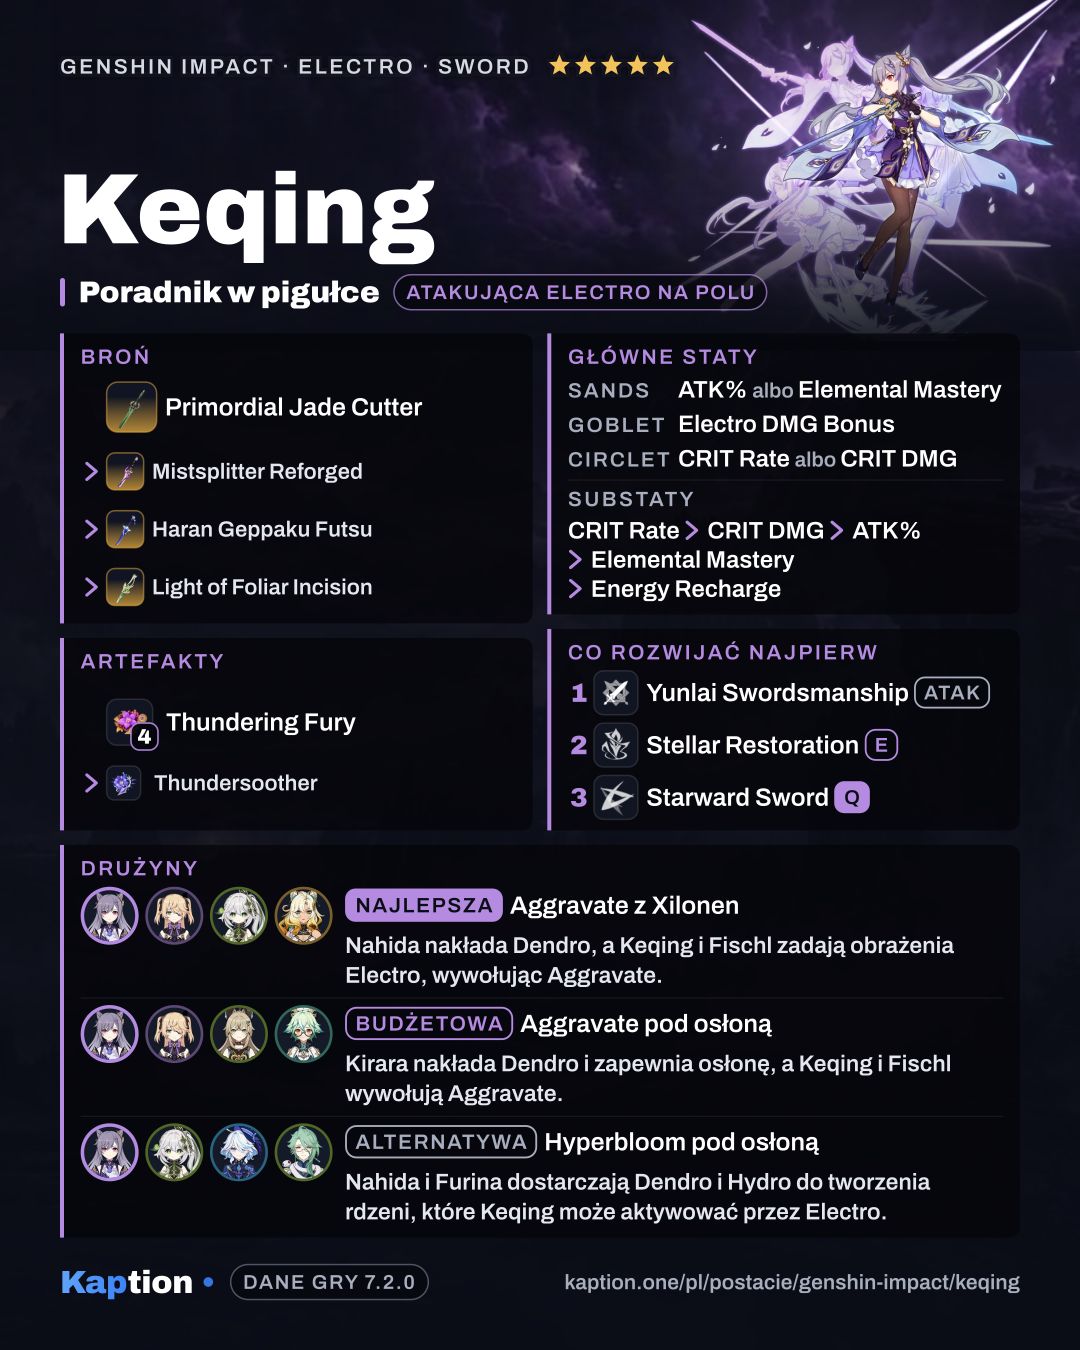
Use four pieces of Thundering Fury for an Electro reaction build. Its two-piece bonus gives 15% Electro DMG Bonus. The four-piece effect improves selected reactions, including Aggravate, and reduces Elemental Skill cooldown by 1 second when Quicken or a listed reaction is triggered, at most once every 0.8 seconds.
Gilded Dreams is another reaction option: it gives Elemental Mastery and grants ATK or more Elemental Mastery after a reaction, depending on teammates' elements. Thundersoother instead gives 35% more damage against opponents affected by Electro. Two pieces each of Thundering Fury and Gladiator's Finale are a useful interim combination for Electro DMG Bonus and ATK.
Choose ATK Percentage or Elemental Mastery on the sands, Electro DMG Bonus on the goblet, and CRIT Rate or CRIT DMG on the circlet. Prioritize CRIT Rate and CRIT DMG in substats, followed by ATK Percentage, Elemental Mastery and Energy Recharge. Account for the temporary CRIT Rate from her Burst when balancing the build.
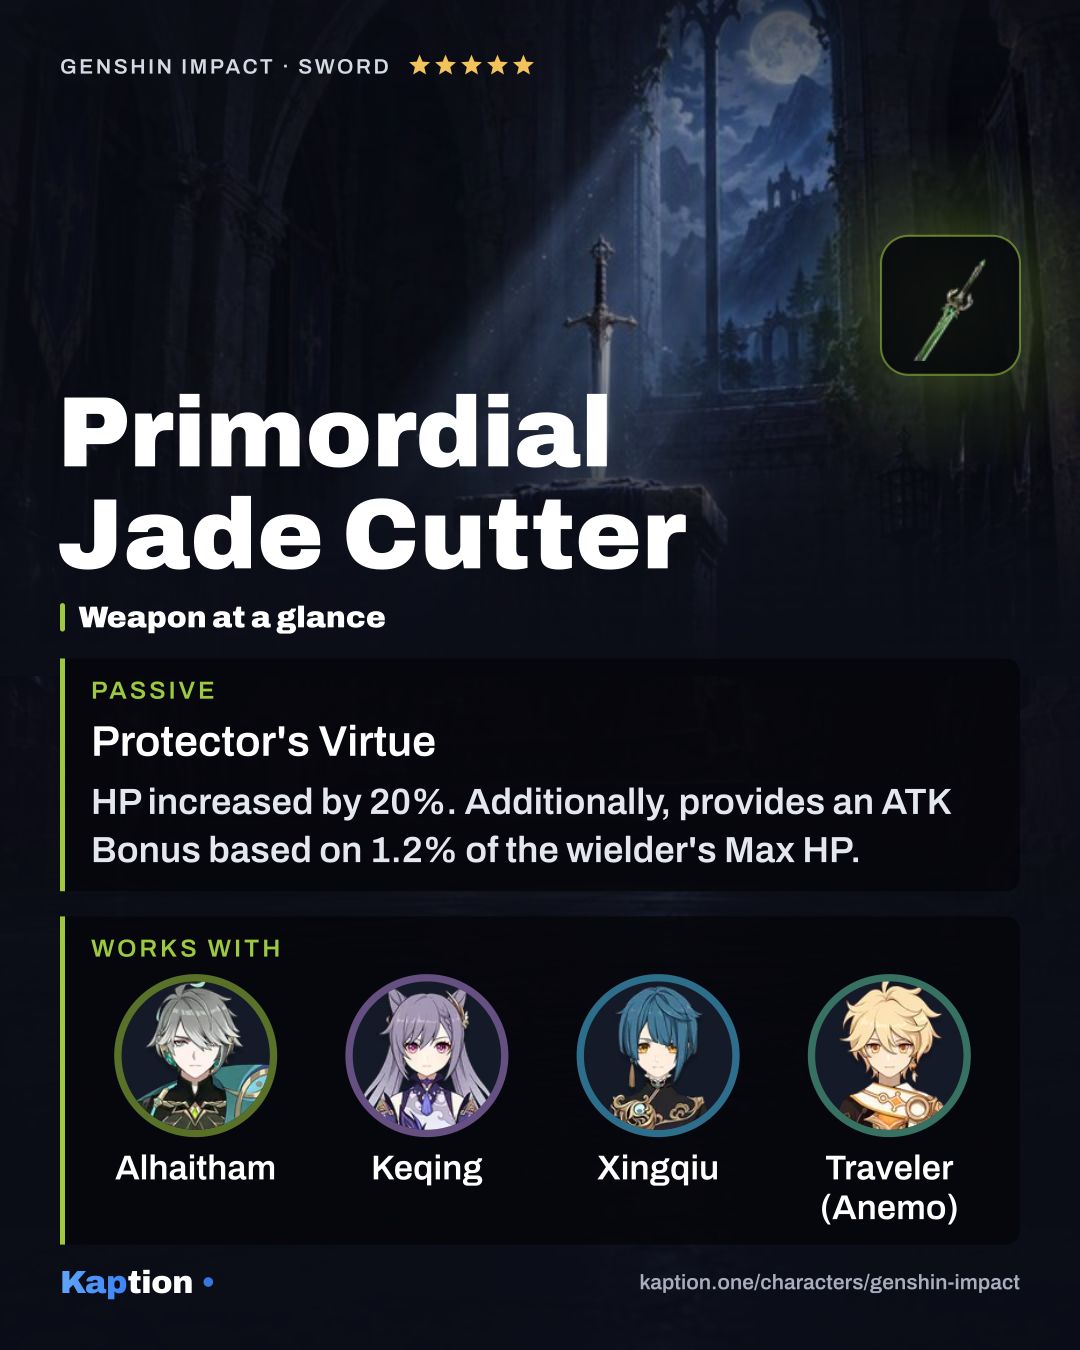
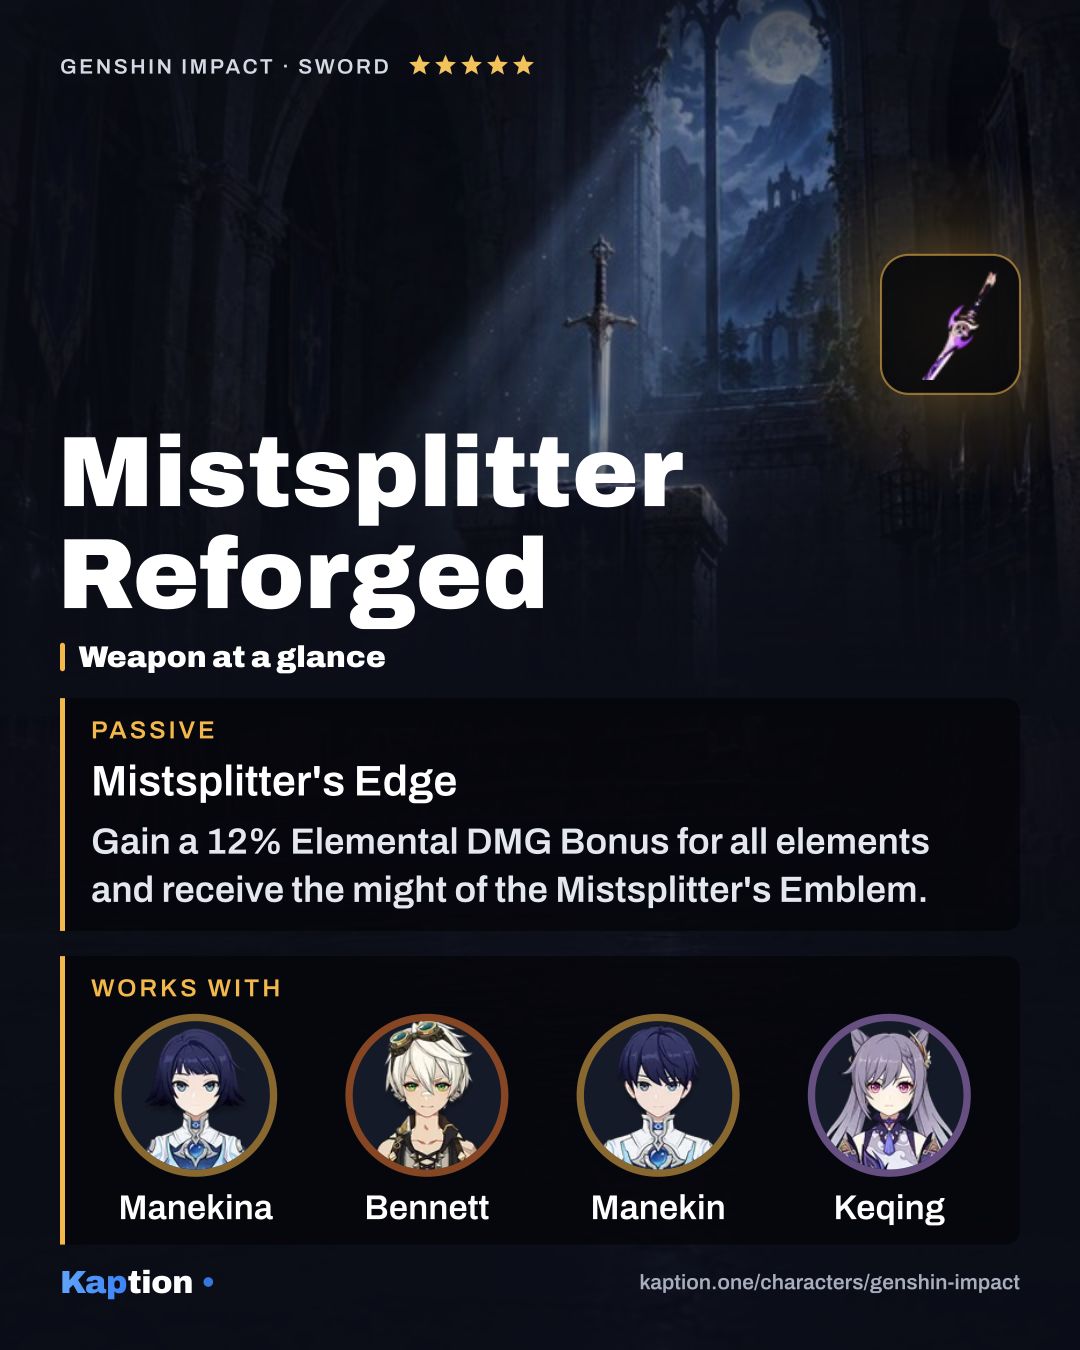
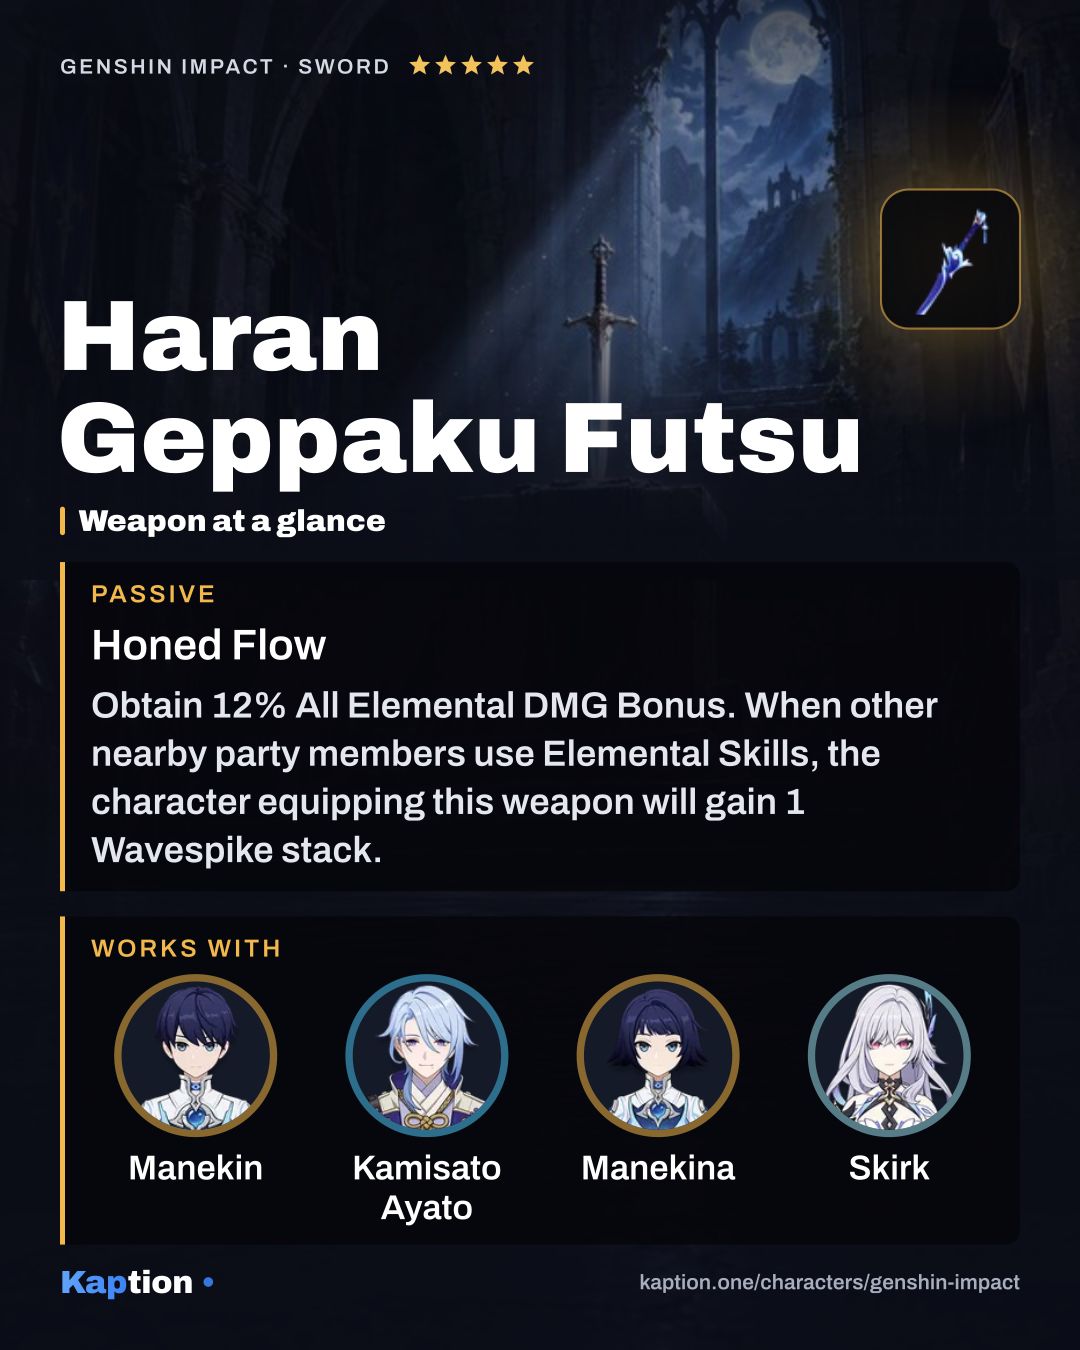
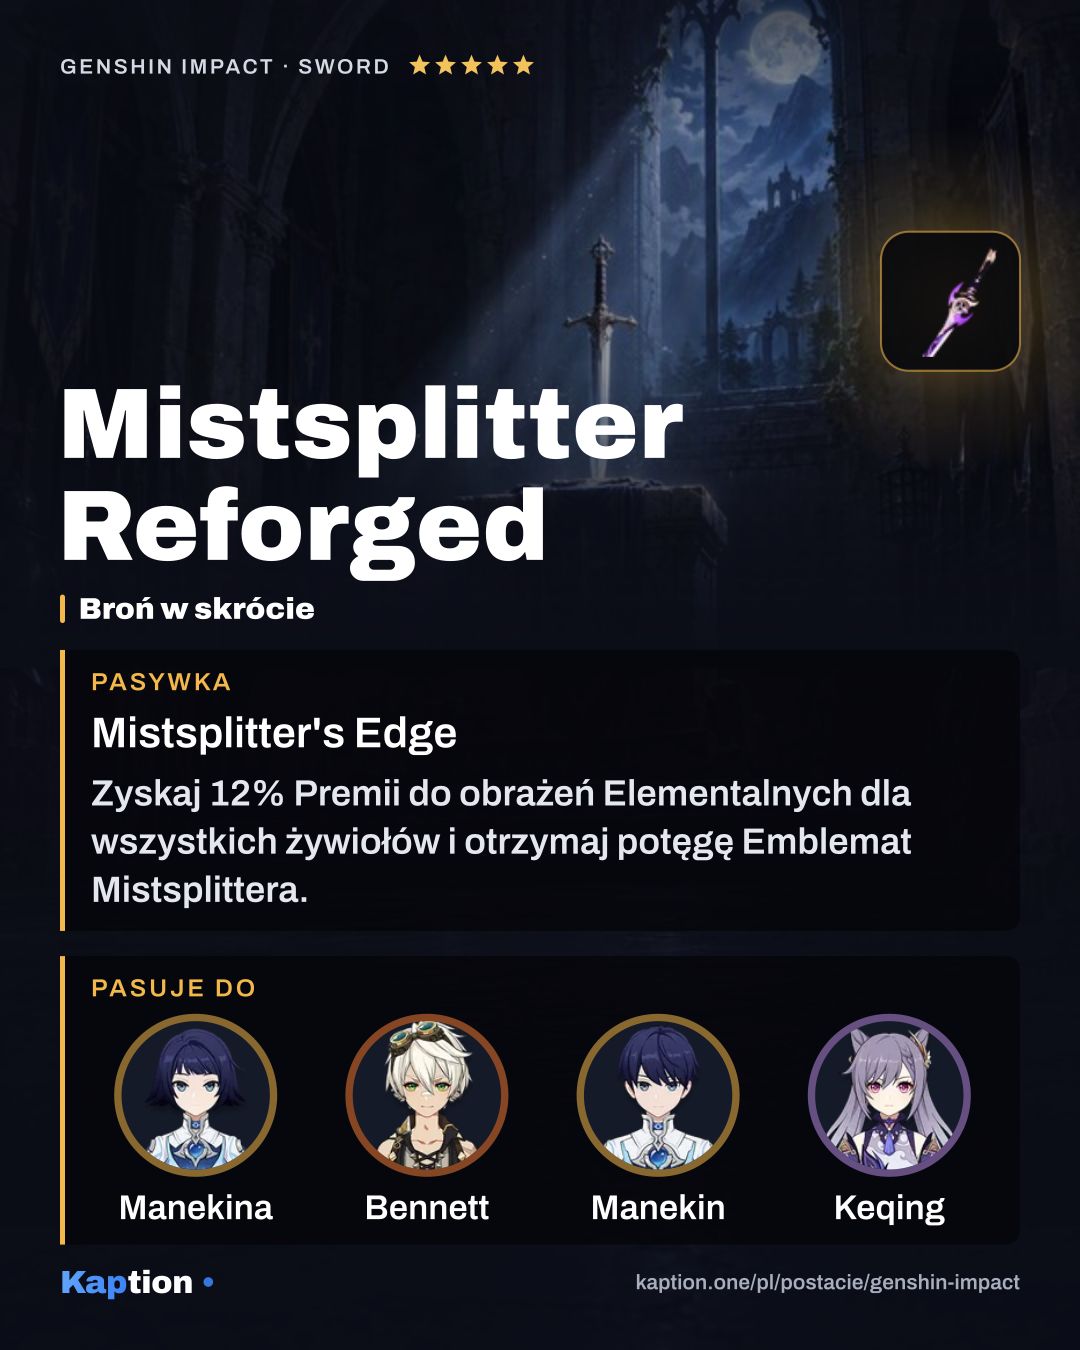
Mistsplitter Reforged is the first weapon choice. Its Elemental DMG Bonus suits Keqing's Electro attacks, and her Elemental Normal Attacks and Burst can grant Emblem stacks. Primordial Jade Cutter gives HP and an ATK bonus based on Max HP. Haran Geppaku Futsu gives Elemental DMG Bonus and can strengthen Normal Attacks after teammates use their skills and Keqing uses hers.
Lion's Roar is another option if enemies are affected by Electro or Pyro. Its damage bonus depends on that condition, so check what your team keeps on the target.
Leveling priority
A reasonable leveling order is Yunlai Swordsmanship (NA), then Stellar Restoration, then Starward Sword. Normal and Charged Attacks get repeated use during Keqing's field time; the skill follows because both its throw and recast are part of her routine. The Burst still deals multiple Electro hits, so raise it too.
For maximum ascension, gather 420,000 Mora, 168 Cor Lapis, 46 Lightning Prism, one Vajrada Amethyst Sliver, nine Vajrada Amethyst Fragment, nine Vajrada Amethyst Chunk and six Vajrada Amethyst Gemstone. You also need 18 Whopperflower Nectar, 30 Shimmering Nectar and 36 Energy Nectar.
To maximize all three talents, you need 4,957,500 Mora, nine Teachings of Prosperity, 63 Guide to Prosperity, 114 Philosophies of Prosperity, three Crown of Insight and 18 Ring of Boreas. The talent costs also include 18 Whopperflower Nectar, 66 Shimmering Nectar and 93 Energy Nectar, separate from the ascension amounts.
Constellations worth it
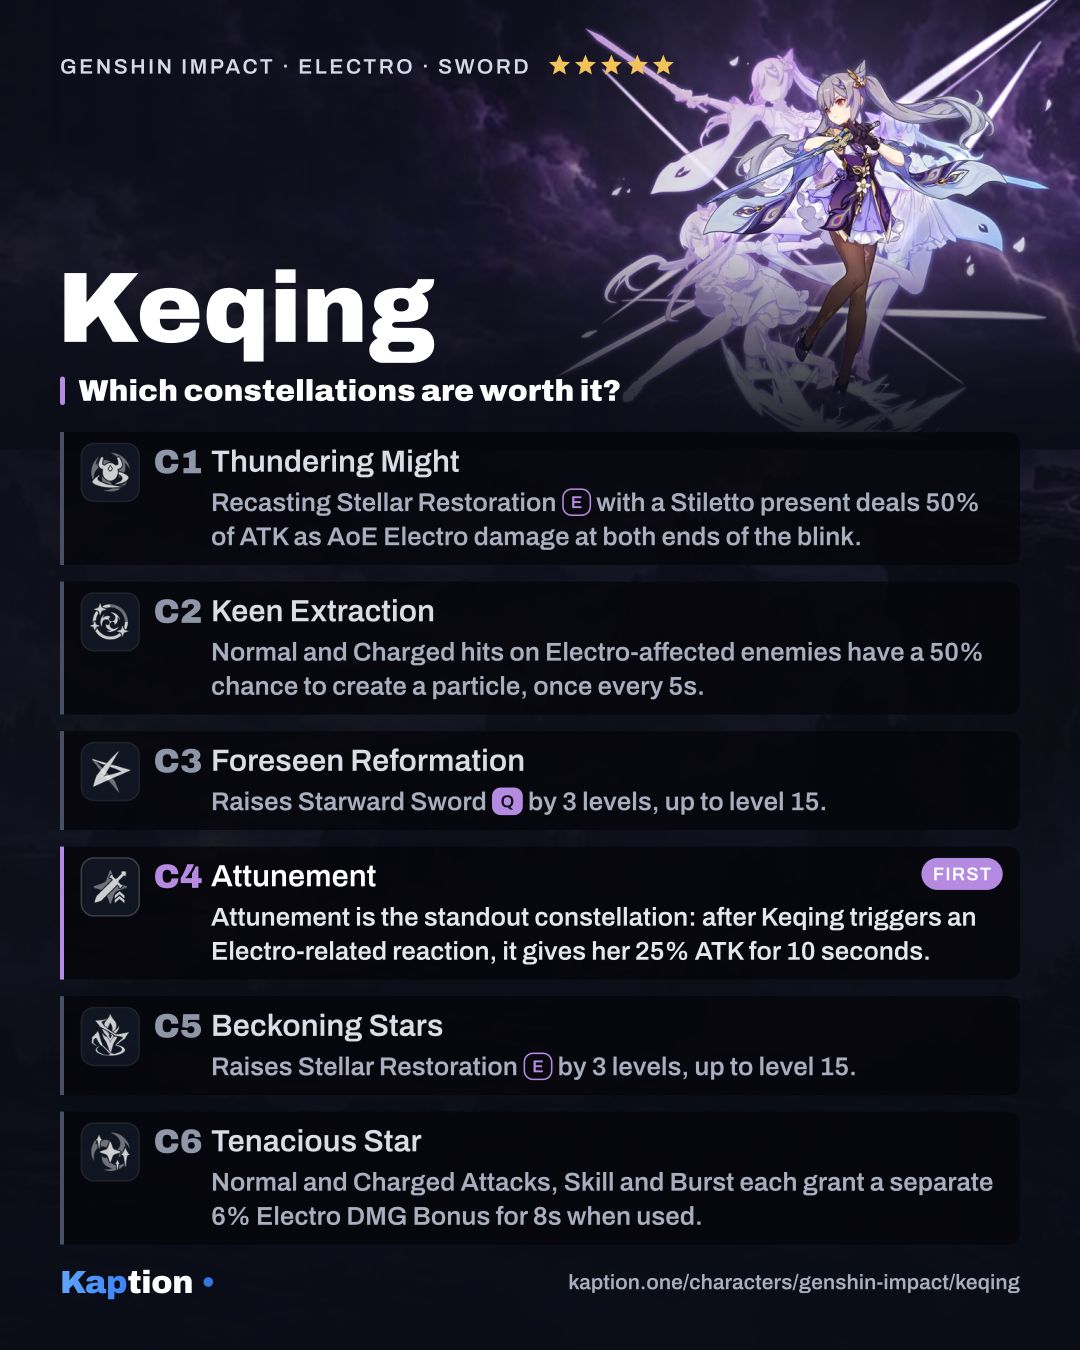
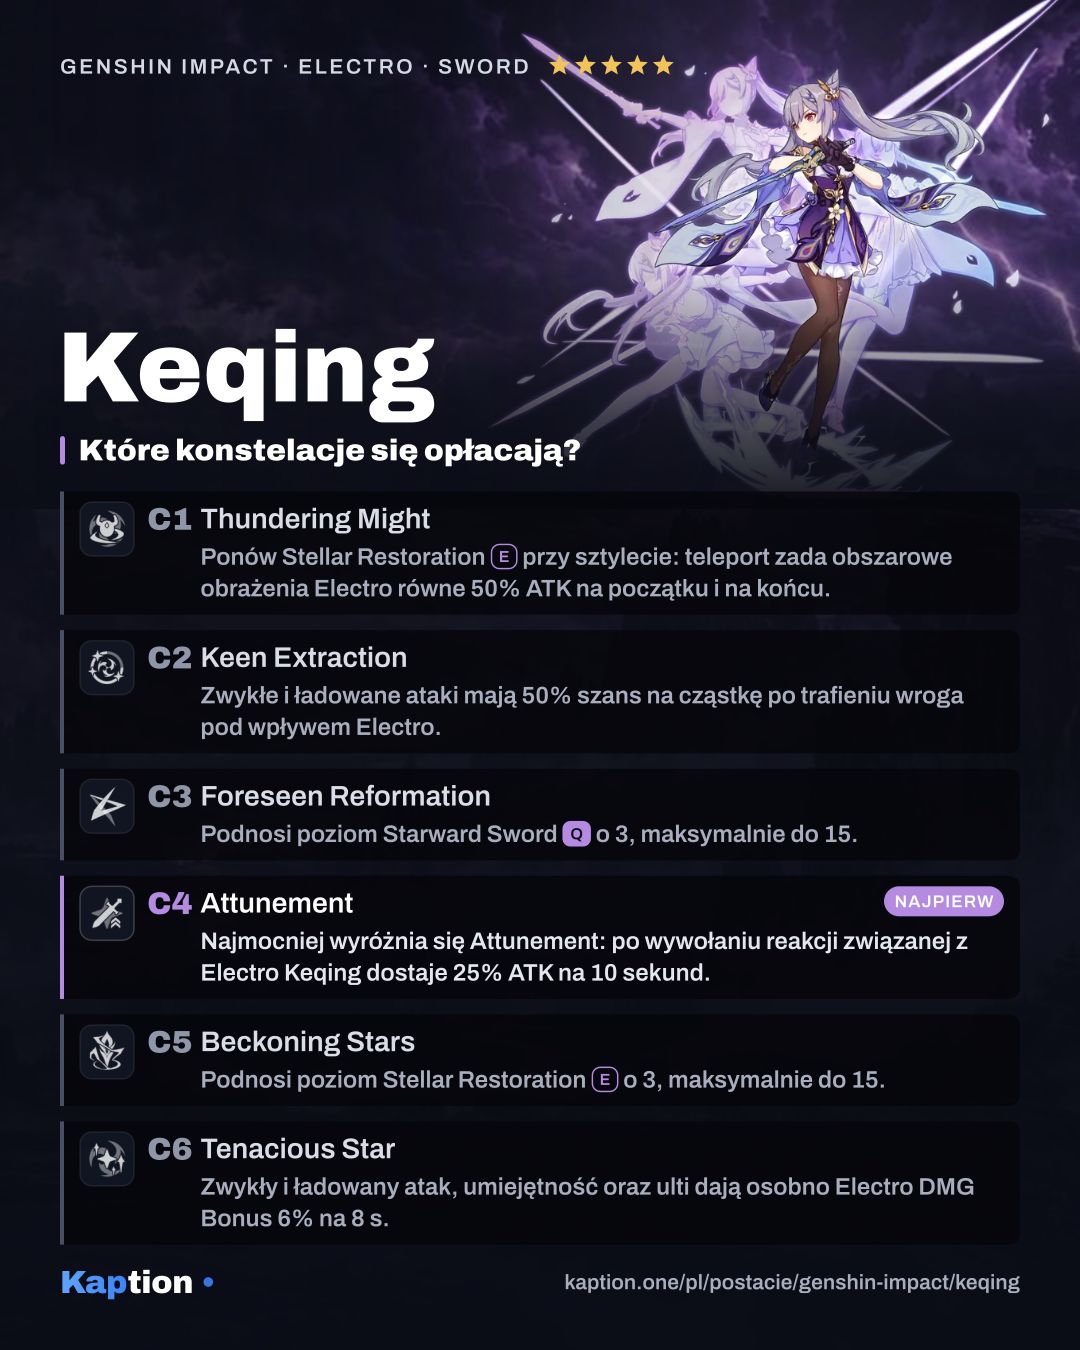
Attunement (C4) is the standout constellation: after Keqing triggers an Electro-related reaction, it gives her 25% ATK for 10 seconds. A reaction team can make use of the bonus while she attacks.
Foreseen Reformation adds three levels to Starward Sword. Tenacious Star is another upgrade to consider: Normal Attacks, Charged Attacks, the skill and the Burst each trigger their own 6% Electro DMG Bonus for 8 seconds.
Keen Extraction offers a chance to generate a particle when Normal or Charged Attacks hit an Electro-affected opponent, but it is not needed for the basic attack pattern. You do not need to pursue the constellations after C4 to use that pattern; C5 and C6 are optional.
Teams
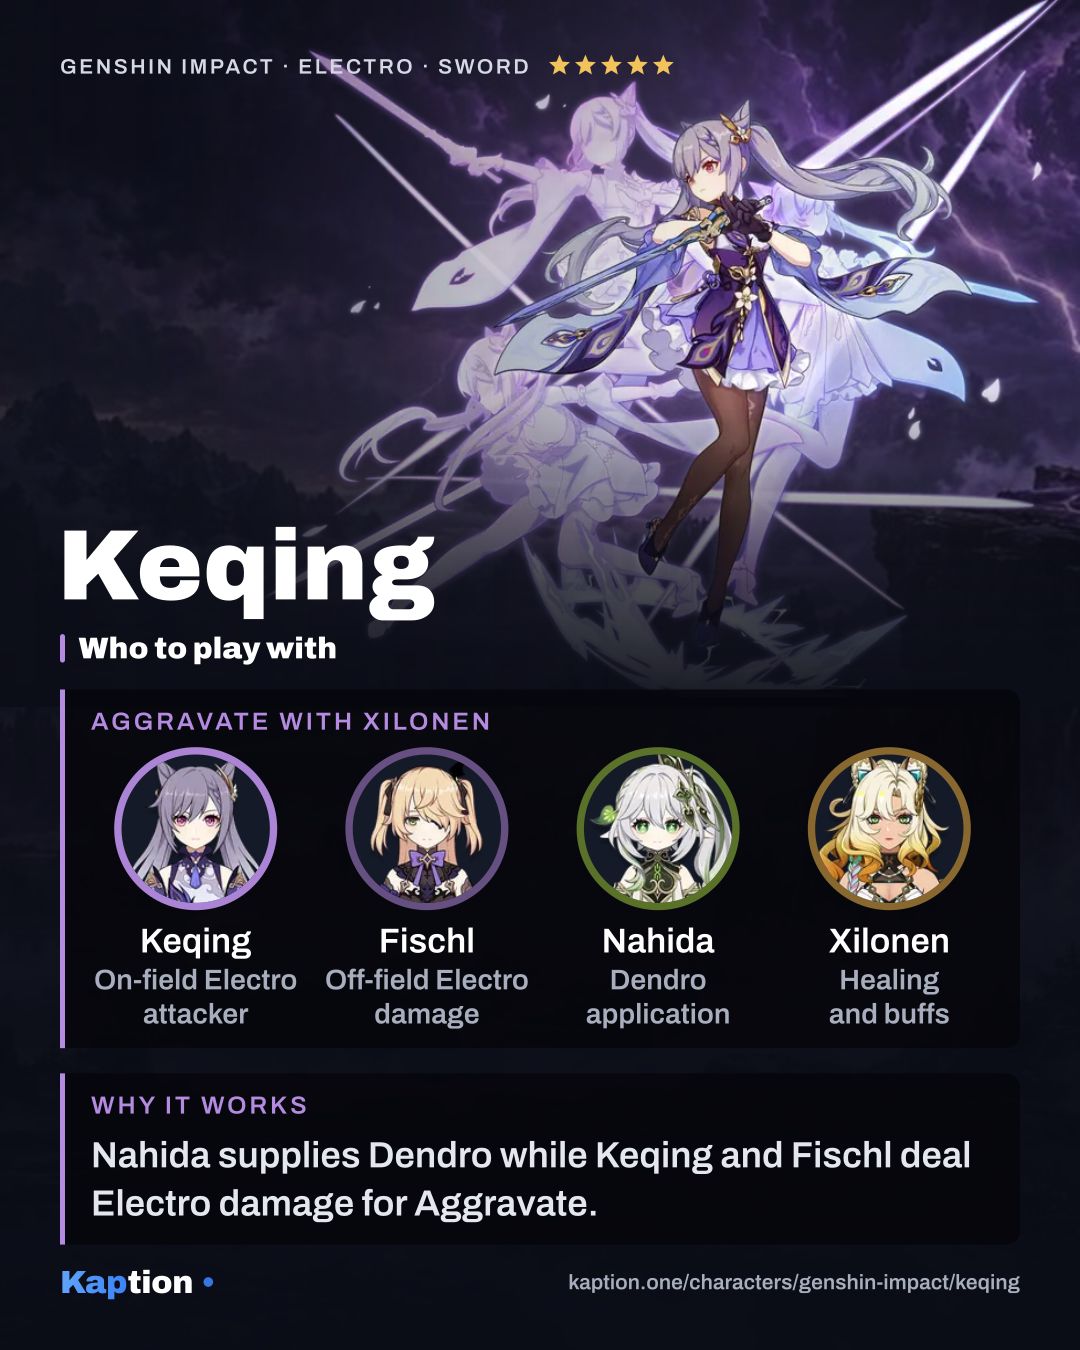
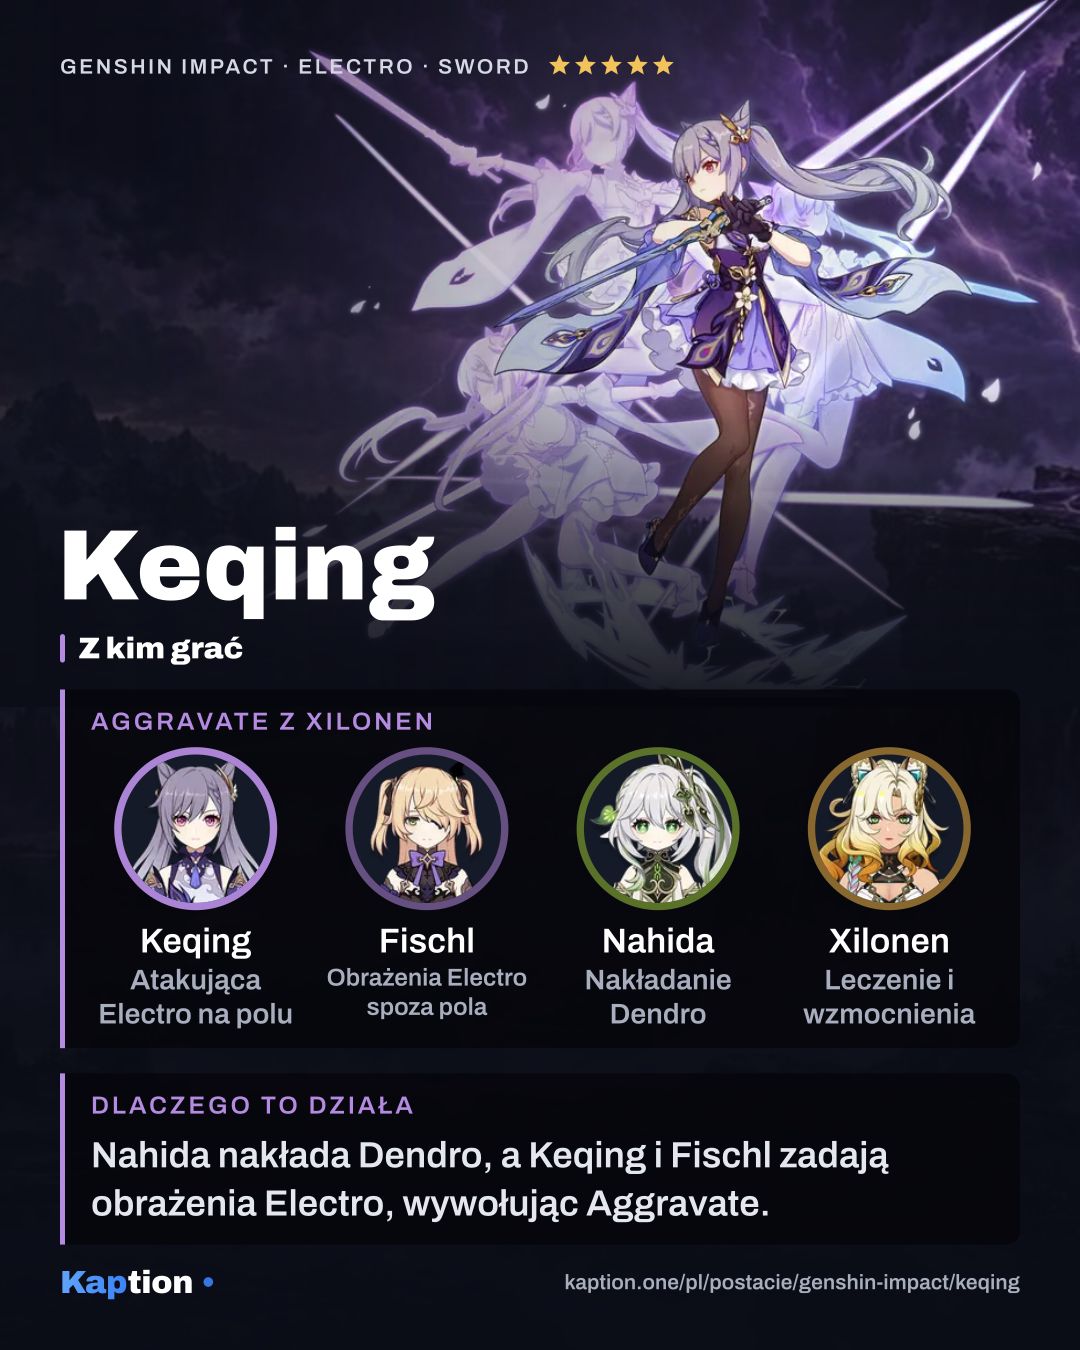
Start with a Dendro teammate for Quicken and Aggravate. Nahida is a Dendro option, while Baizhu can take the Dendro slot and provide healing or a shield. Keqing contributes field time and repeated Electro damage.
Fischl is an off-field Electro option alongside her. Kaedehara Kazuha provides an Anemo Swirl option; with Viridescent Venerer, a Swirl infused with Electro can lower the target's Electro RES. One example team is Keqing, Nahida, Fischl and Kaedehara Kazuha, though it has no dedicated healer listed here. Swap Nahida for Baizhu if you want healing.
For a Hydro route, Yelan is an off-field option and Sangonomiya Kokomi can heal. Hydro opens Electro-Charged alongside Keqing's Electro. Ineffa is another option for a Lunar-Charged team and brings a shield.
Common mistakes
Do not clear the Stiletto Mark with a Charged Attack when you need the blink and Electro Infusion. Recast Stellar Restoration instead, then use the infusion before its 5 seconds run out. Hold the throw when you need to aim at a higher spot.
Do not build around Thundersoother or Lion's Roar without checking whether opponents remain affected by the required element. Their bonuses depend on that condition; Thundering Fury offers a different approach for reaction teams.
Watch Stamina when using Charged Attacks. Also remember the 8-second CRIT Rate bonus from Starward Sword when choosing artifacts, rather than judging the build only by the stats visible before casting it.