






























Guide
How the kit works
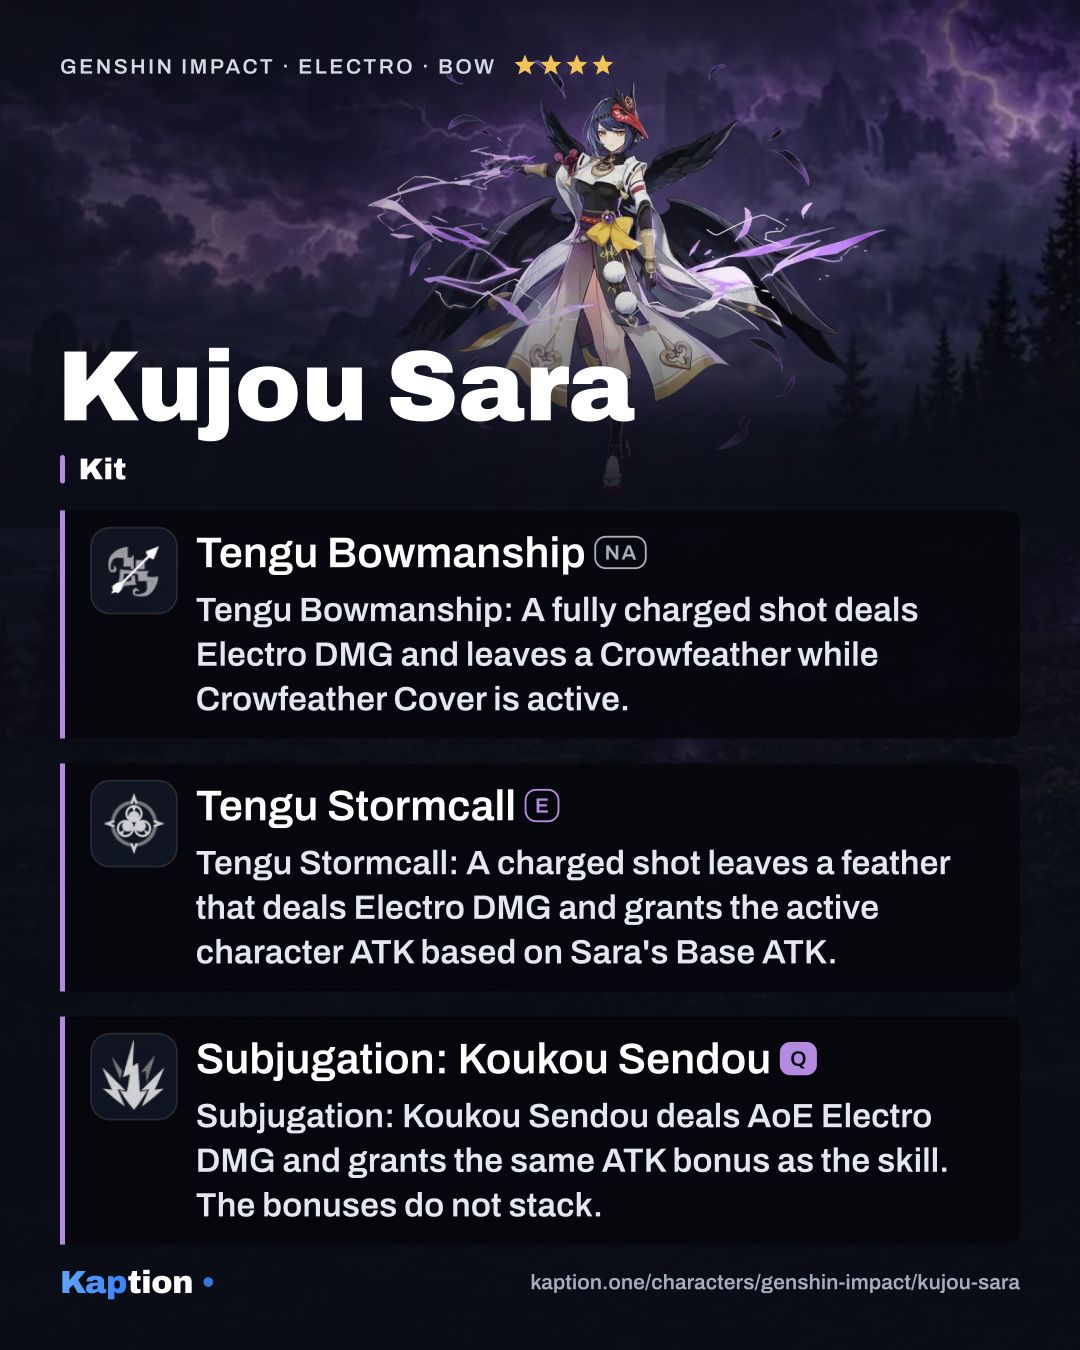
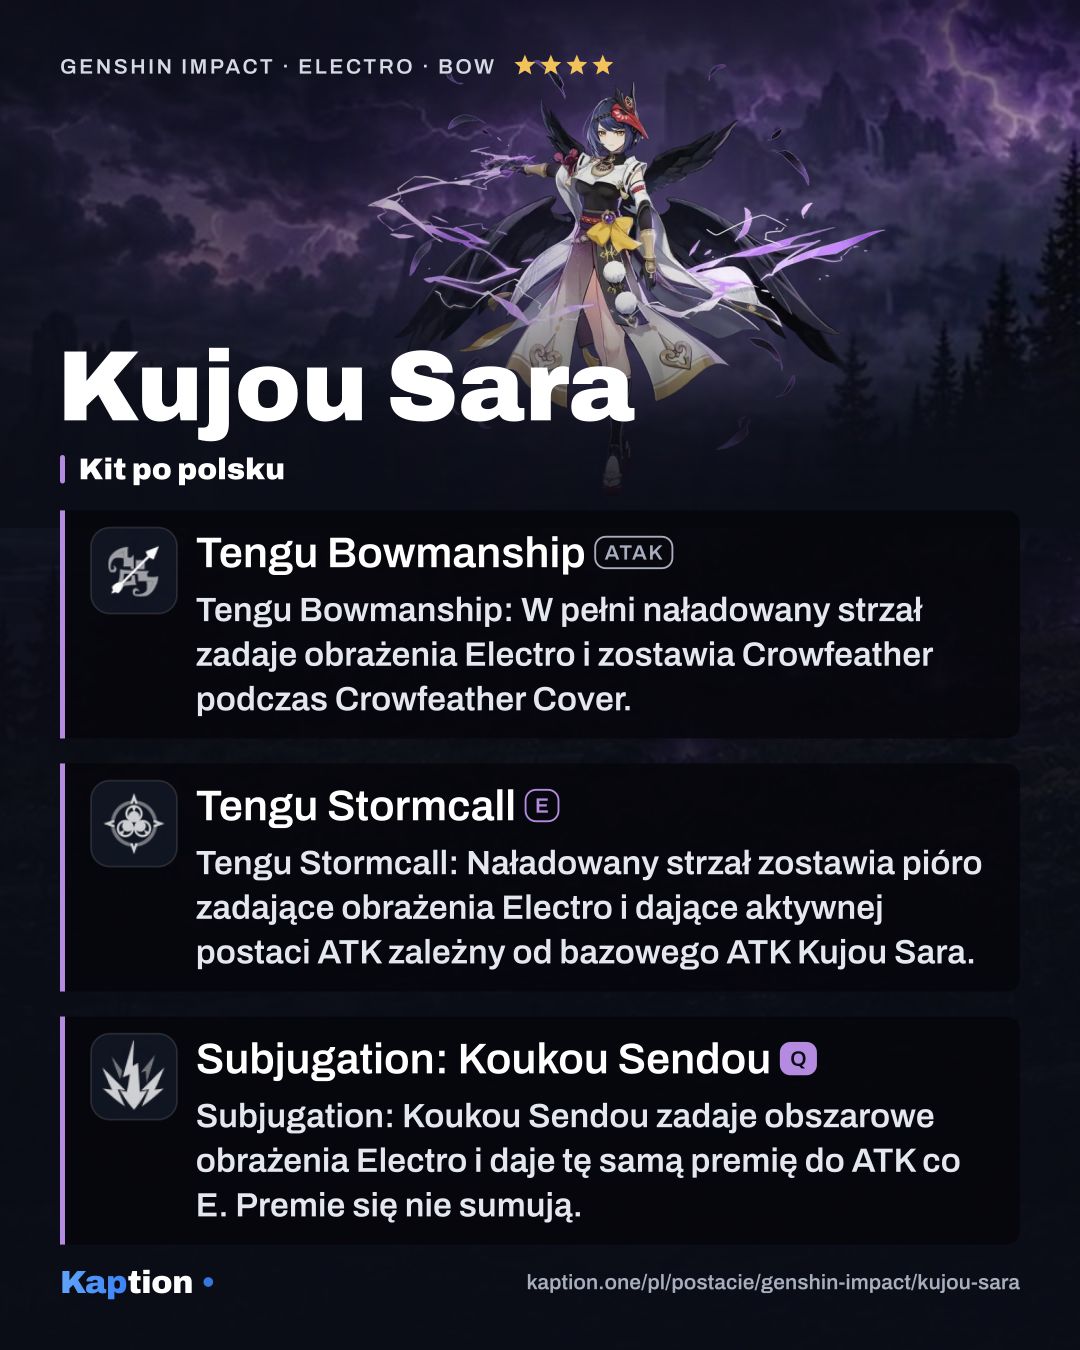
Start with Tengu Stormcall. Sara retreats and gains Crowfeather Cover for 18 seconds. While that state is active, fire a fully charged Aimed Shot and hit a target to leave a Crowfeather there. Immovable Will reduces the shot's charge time by 60% during Crowfeather Cover.
After a short delay, the feather triggers Tengu Juurai: Ambush. It deals Electro DMG and gives the active character in its area an ATK Bonus based on Sara's Base ATK. Switch to the character you want to buff and make sure they are in the area when it triggers. If Ambush hits an opponent, Decorum restores 1.2 Energy to every party member for each 100% Energy Recharge Sara has. This can happen once every 3 seconds.
Use Subjugation: Koukou Sendou for AoE Electro DMG and another way to give the ATK Bonus. Its first hit is followed by four Stormcluster bouts, which can also grant the bonus to the active character in their area. Bonuses from different Tengu Juurai do not stack: the last one to take effect determines the bonus and its duration.
Tengu Bowmanship (NA) gives Sara up to five consecutive Normal shots. A fully charged Aimed Shot deals Electro DMG, and her Plunging Attack deals AoE DMG on impact. For a support rotation, the charged shot's main job is placing the feather.
Build and why
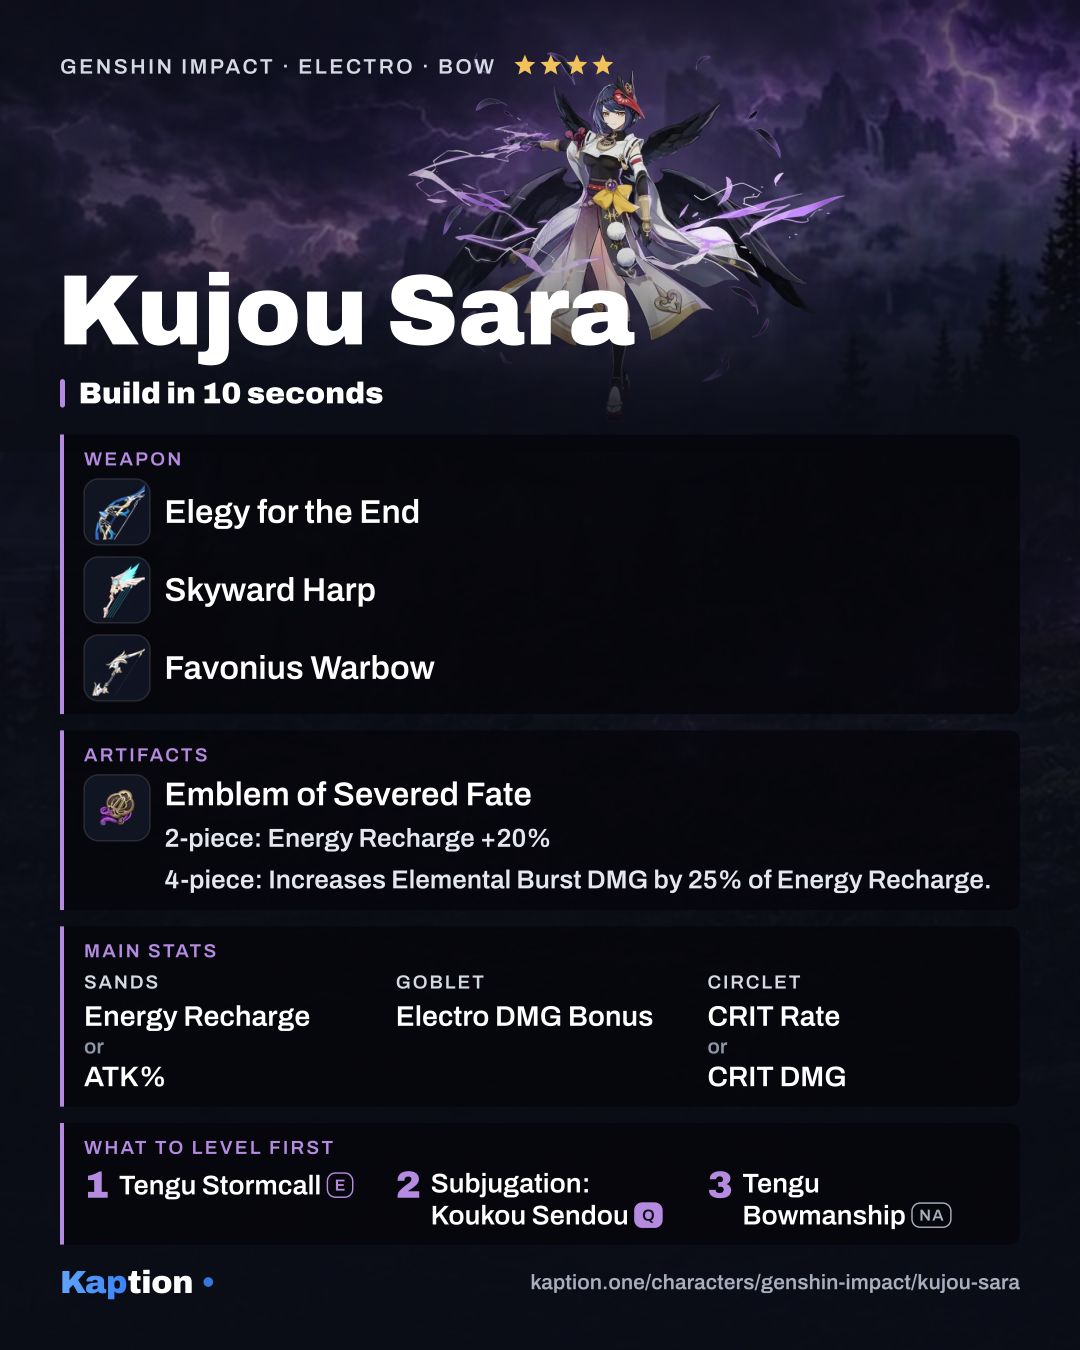
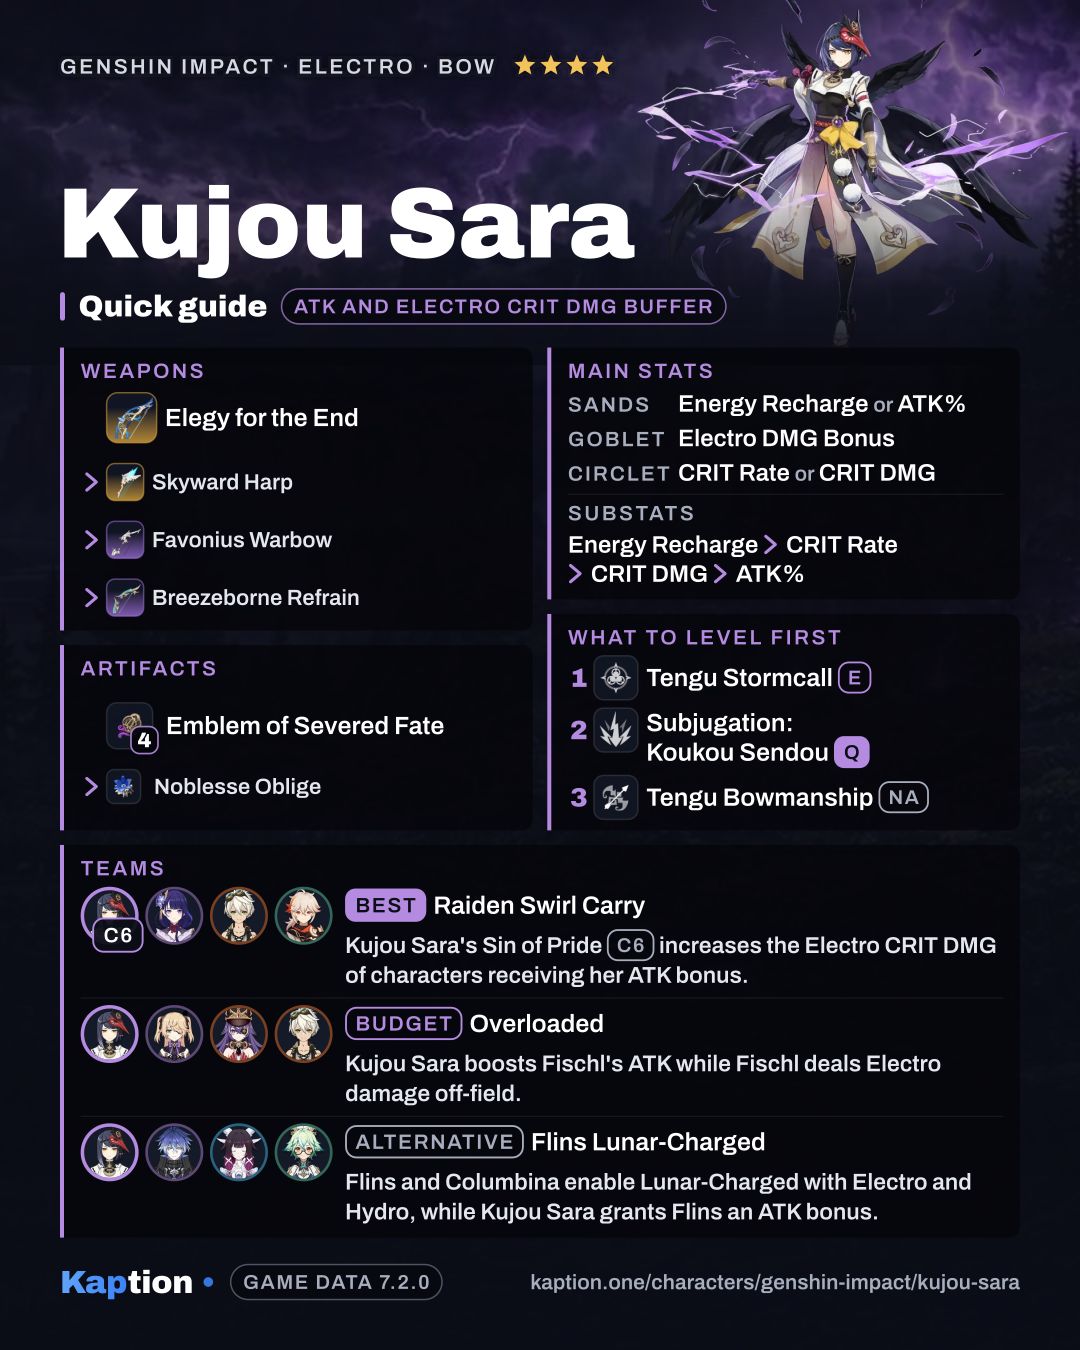
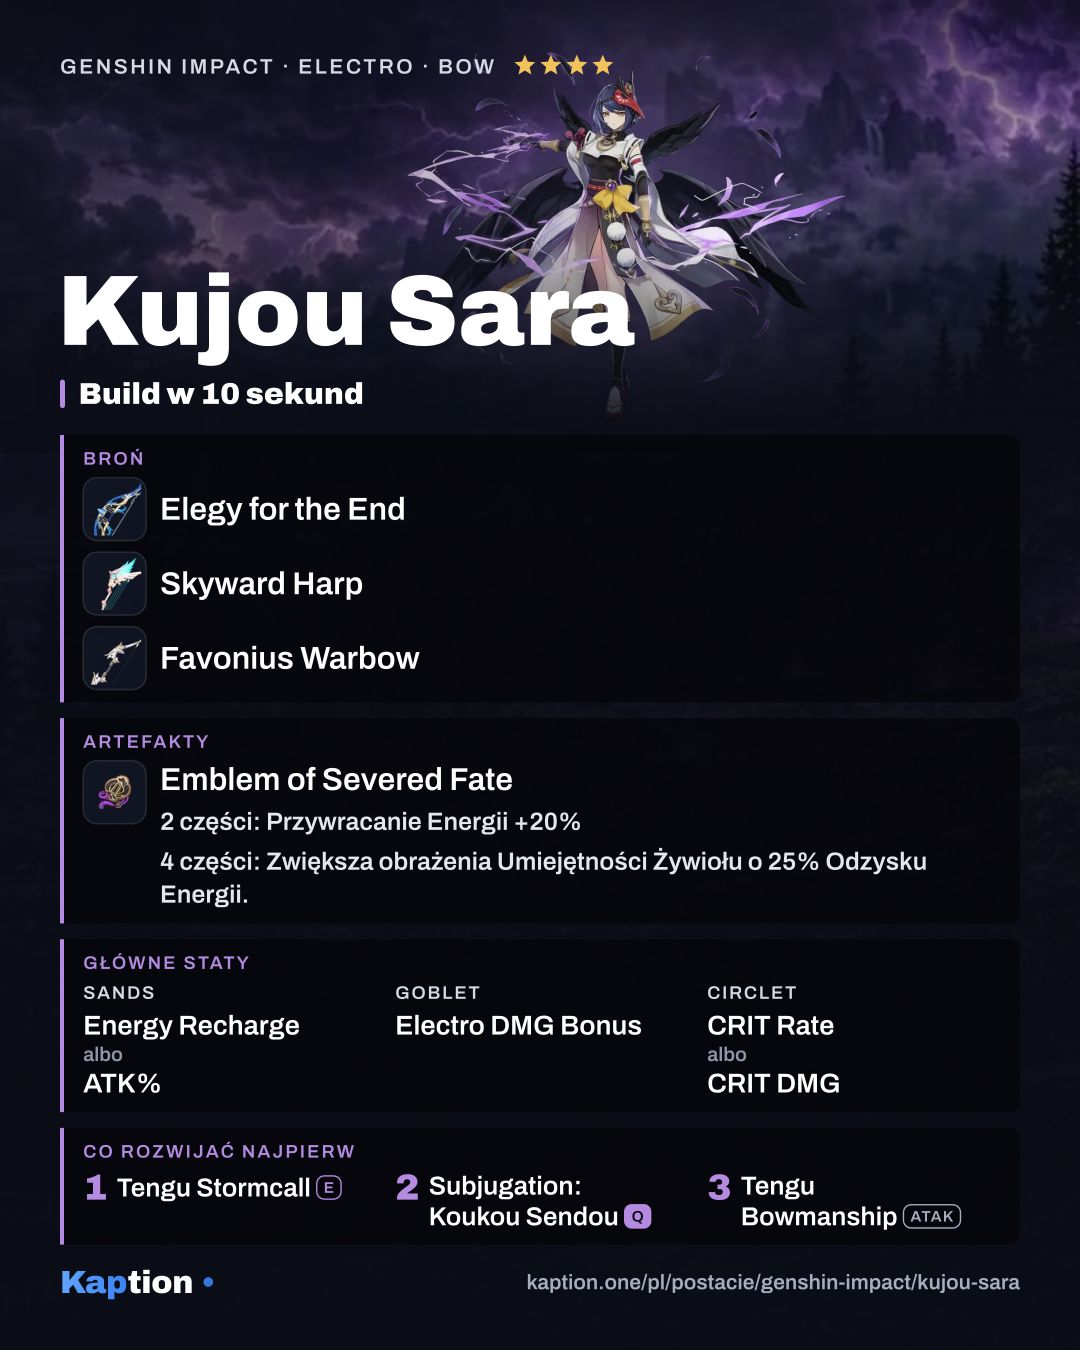
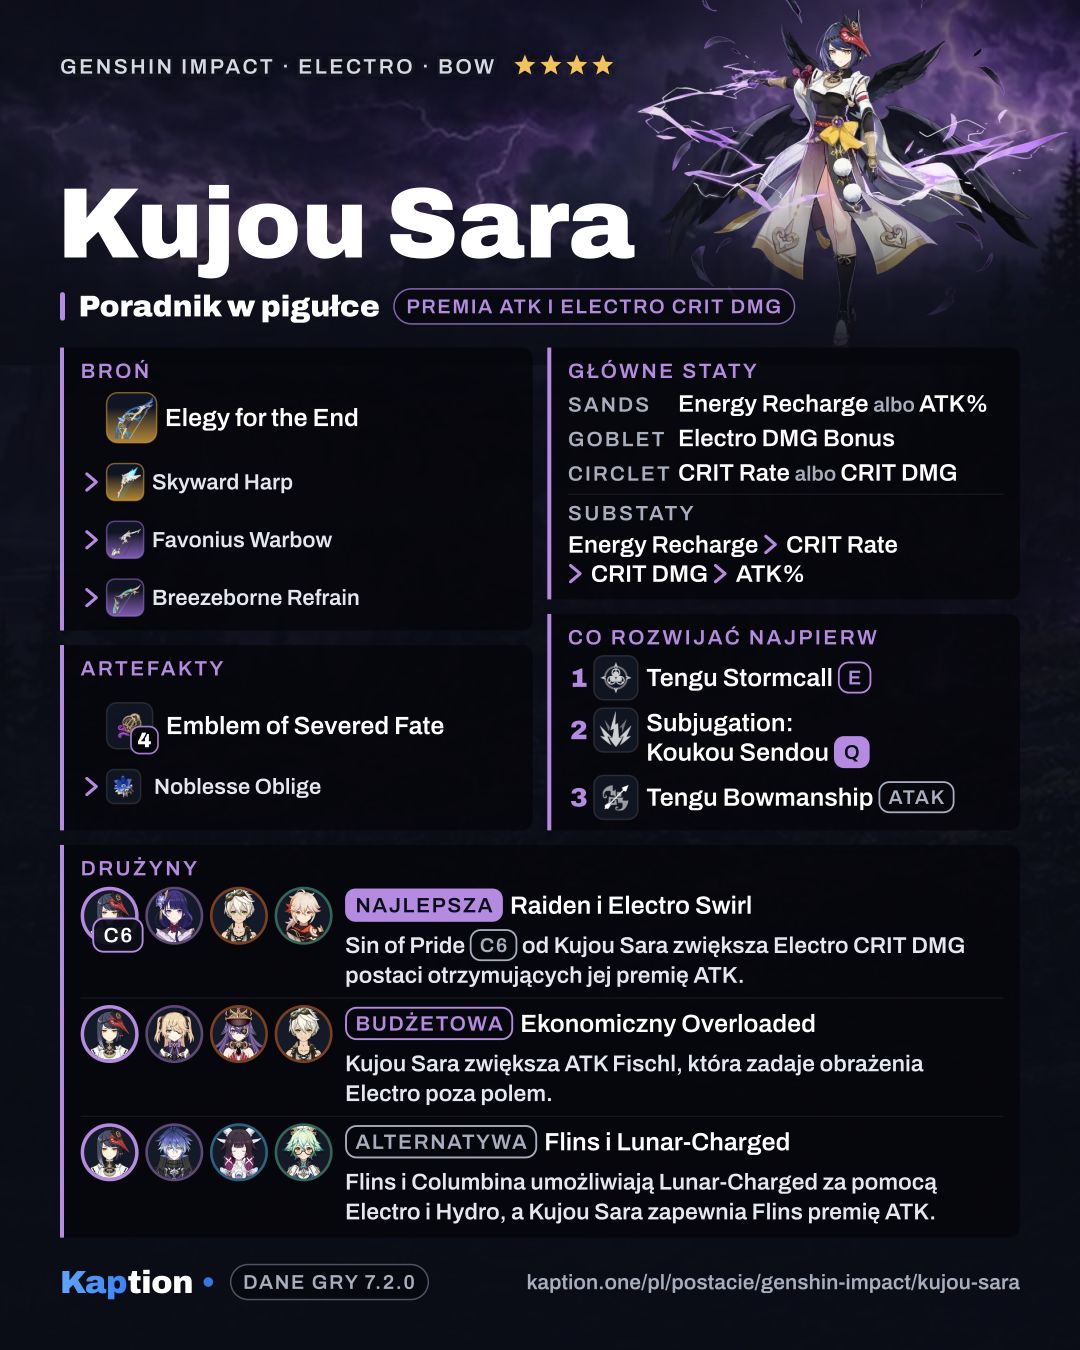
For Sara's own Burst damage, use four pieces of Emblem of Severed Fate. Its two-piece bonus gives 20% Energy Recharge, and its four-piece bonus converts 25% of Energy Recharge into Burst DMG Bonus, up to 75%. Four pieces of Noblesse Oblige are the team-focused alternative: using the Burst gives the party 20% ATK for 12 seconds, and that set effect cannot stack.
Thundering Fury is another damage option. Its two-piece bonus gives 15% Electro DMG Bonus, while the four-piece effect supports the reactions named in its description. You can also combine two pieces of Emblem of Severed Fate with two of Noblesse Oblige for Energy Recharge and Burst damage.
Use Energy Recharge or ATK Percentage on the sands, Electro DMG Bonus on the goblet, and CRIT Rate or CRIT DMG on the circlet. For substats, look for Energy Recharge first, then CRIT Rate, CRIT DMG and ATK Percentage. Energy Recharge also increases the Energy restored by Decorum.
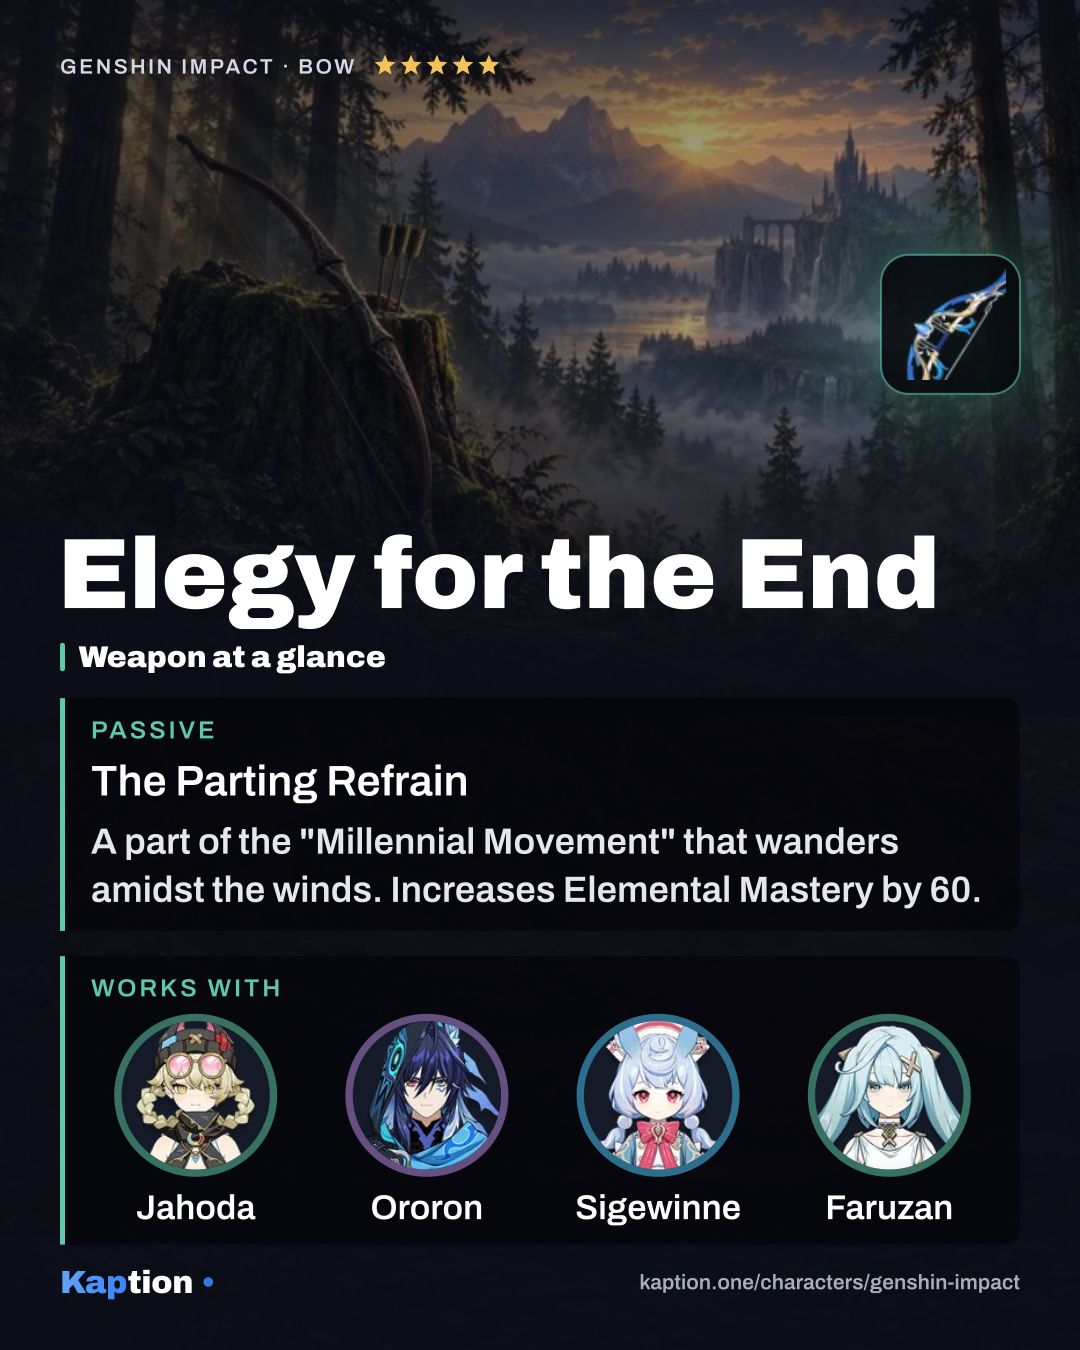
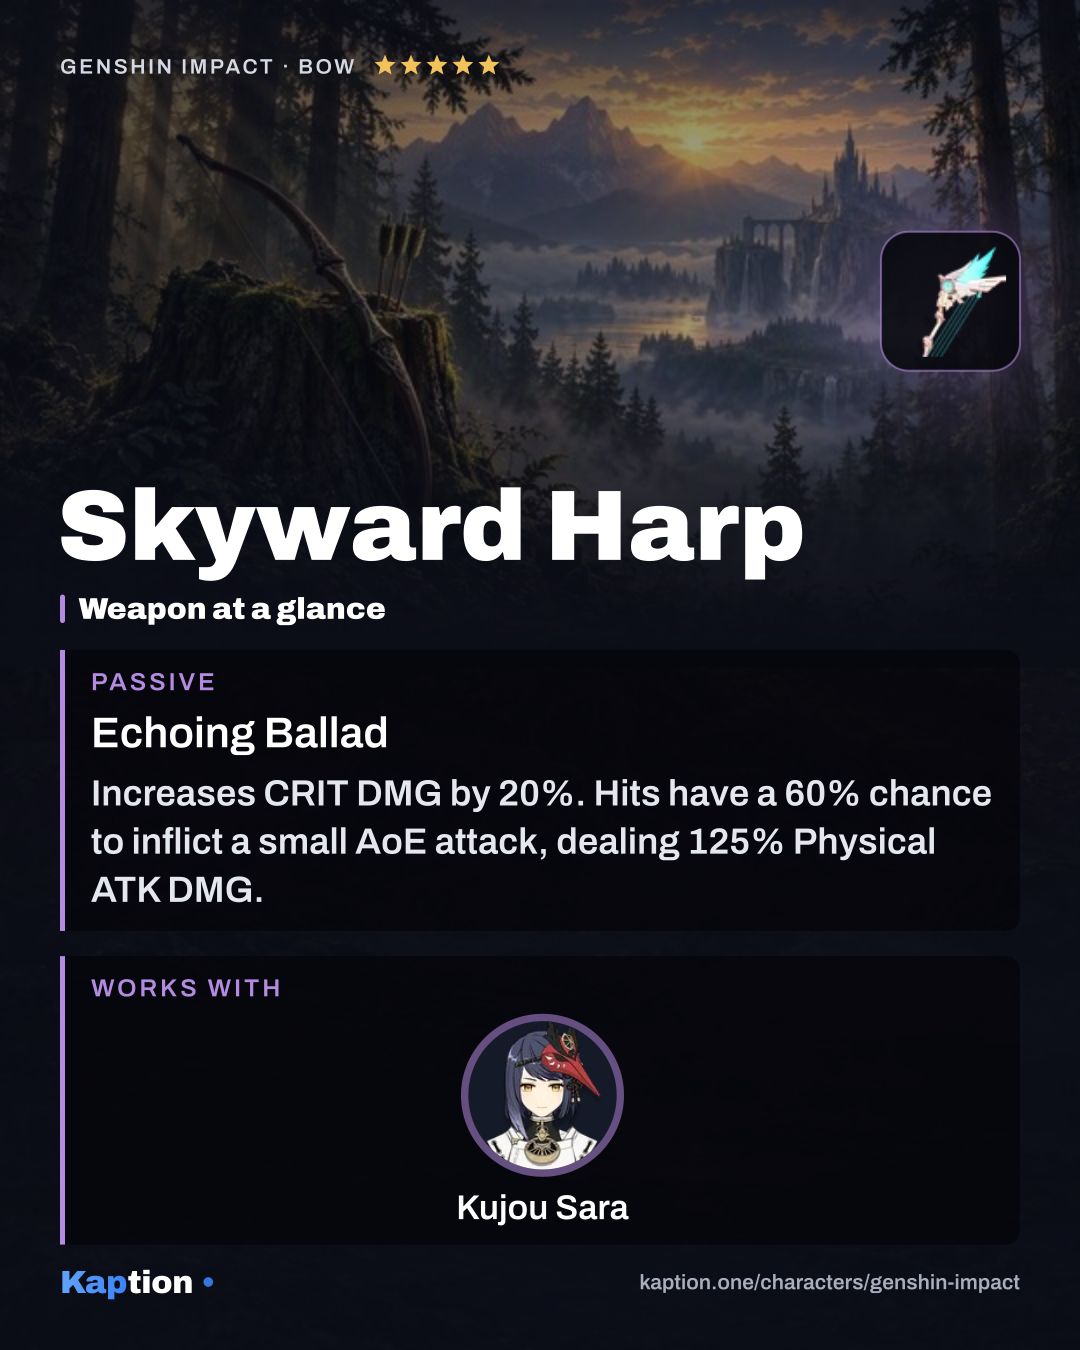
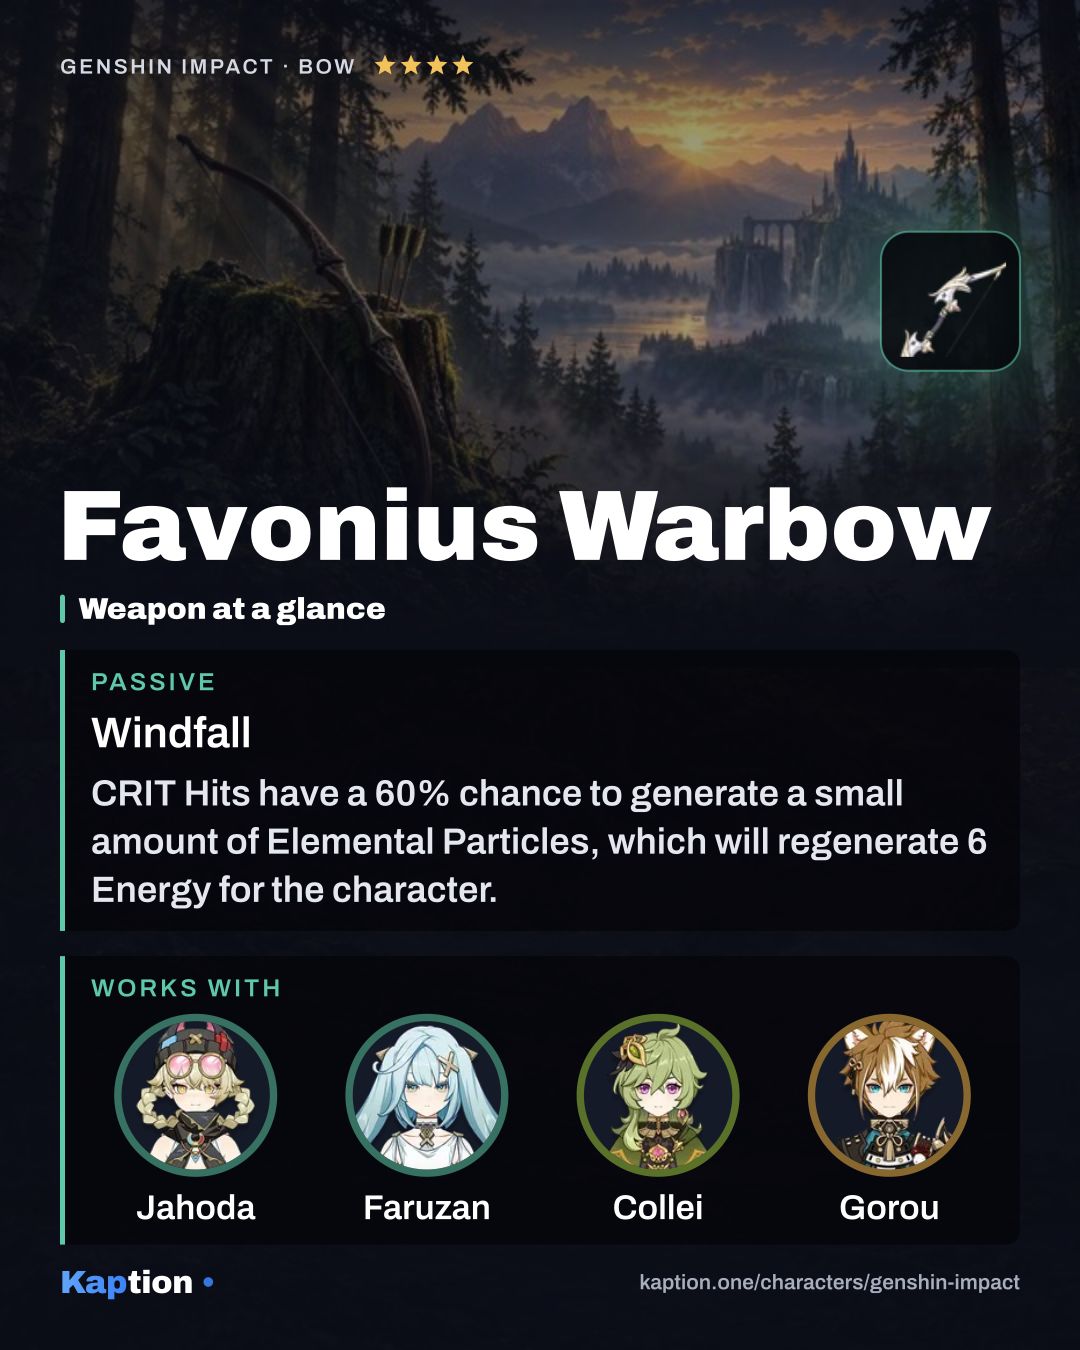
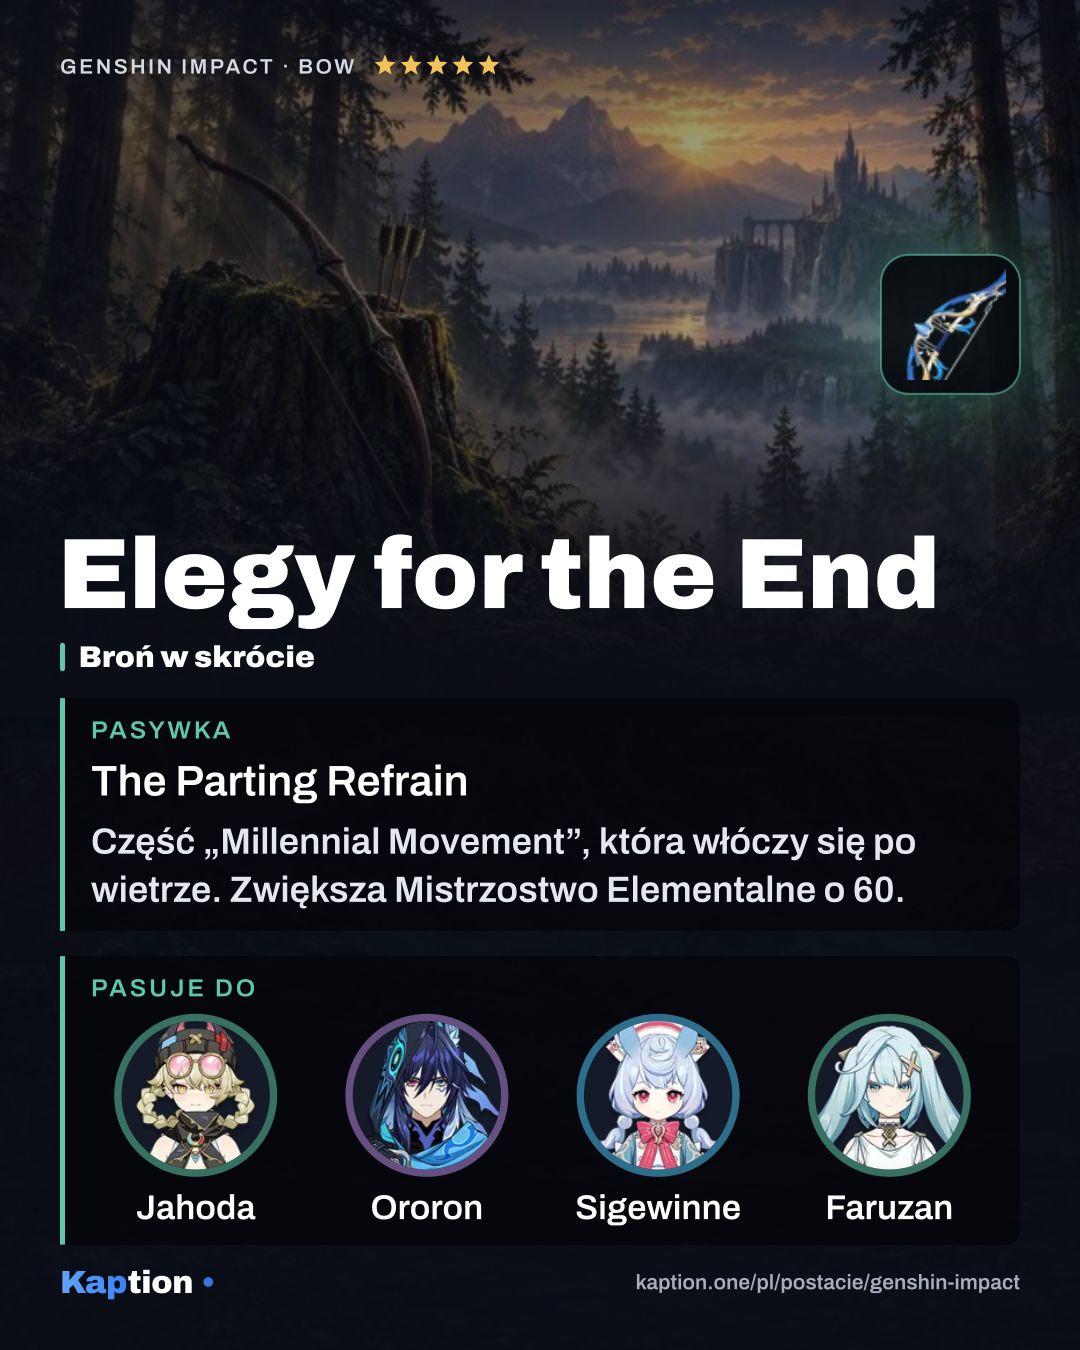
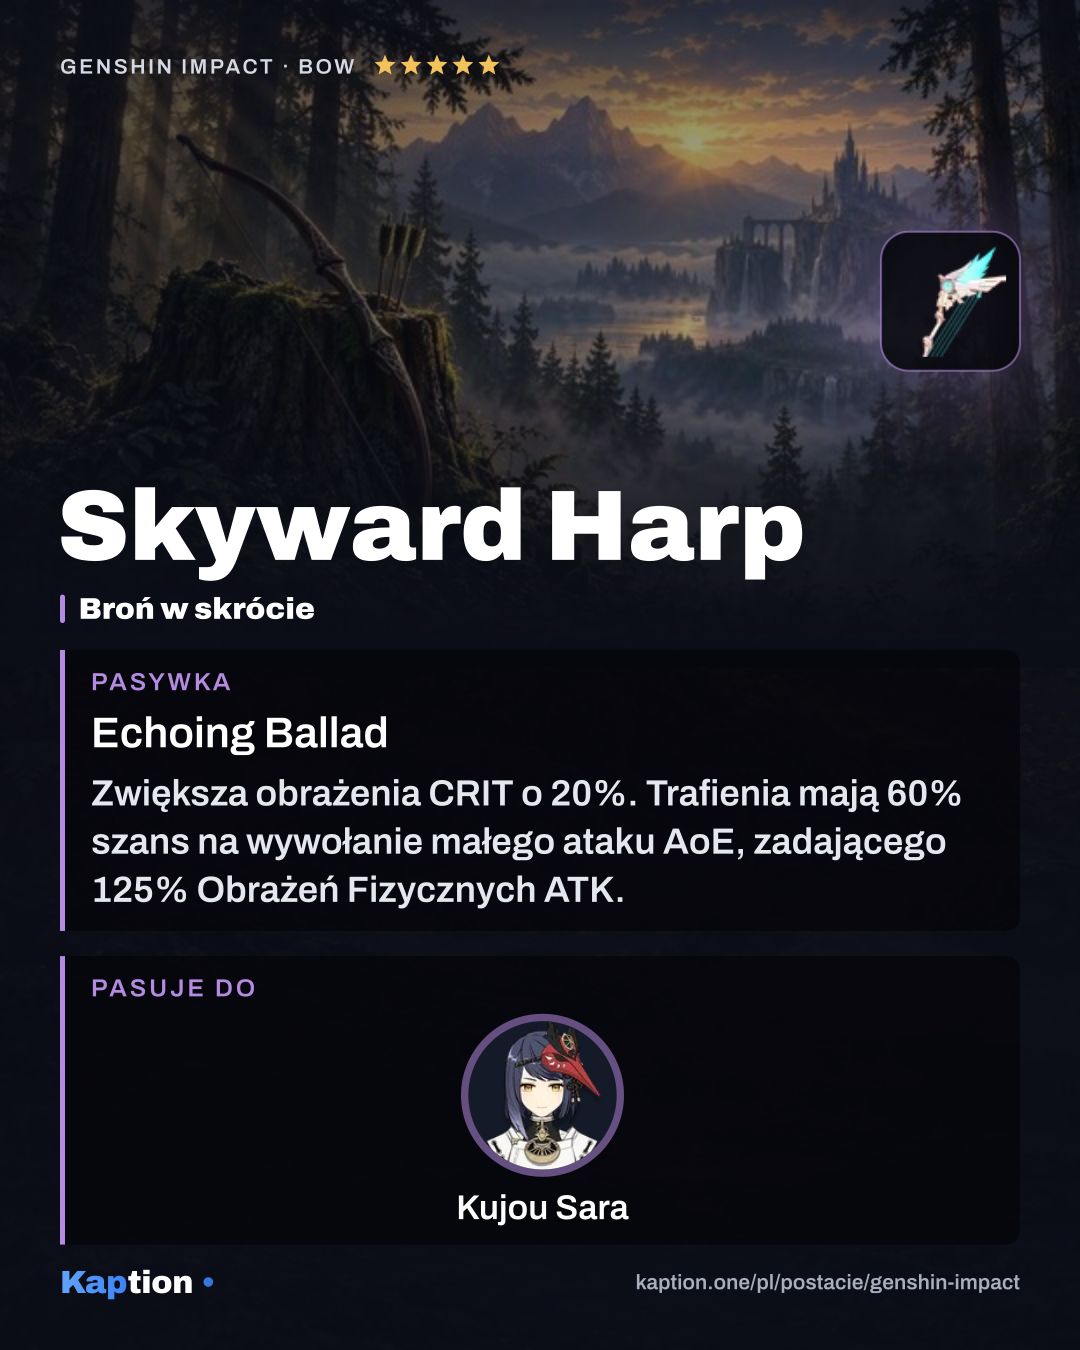
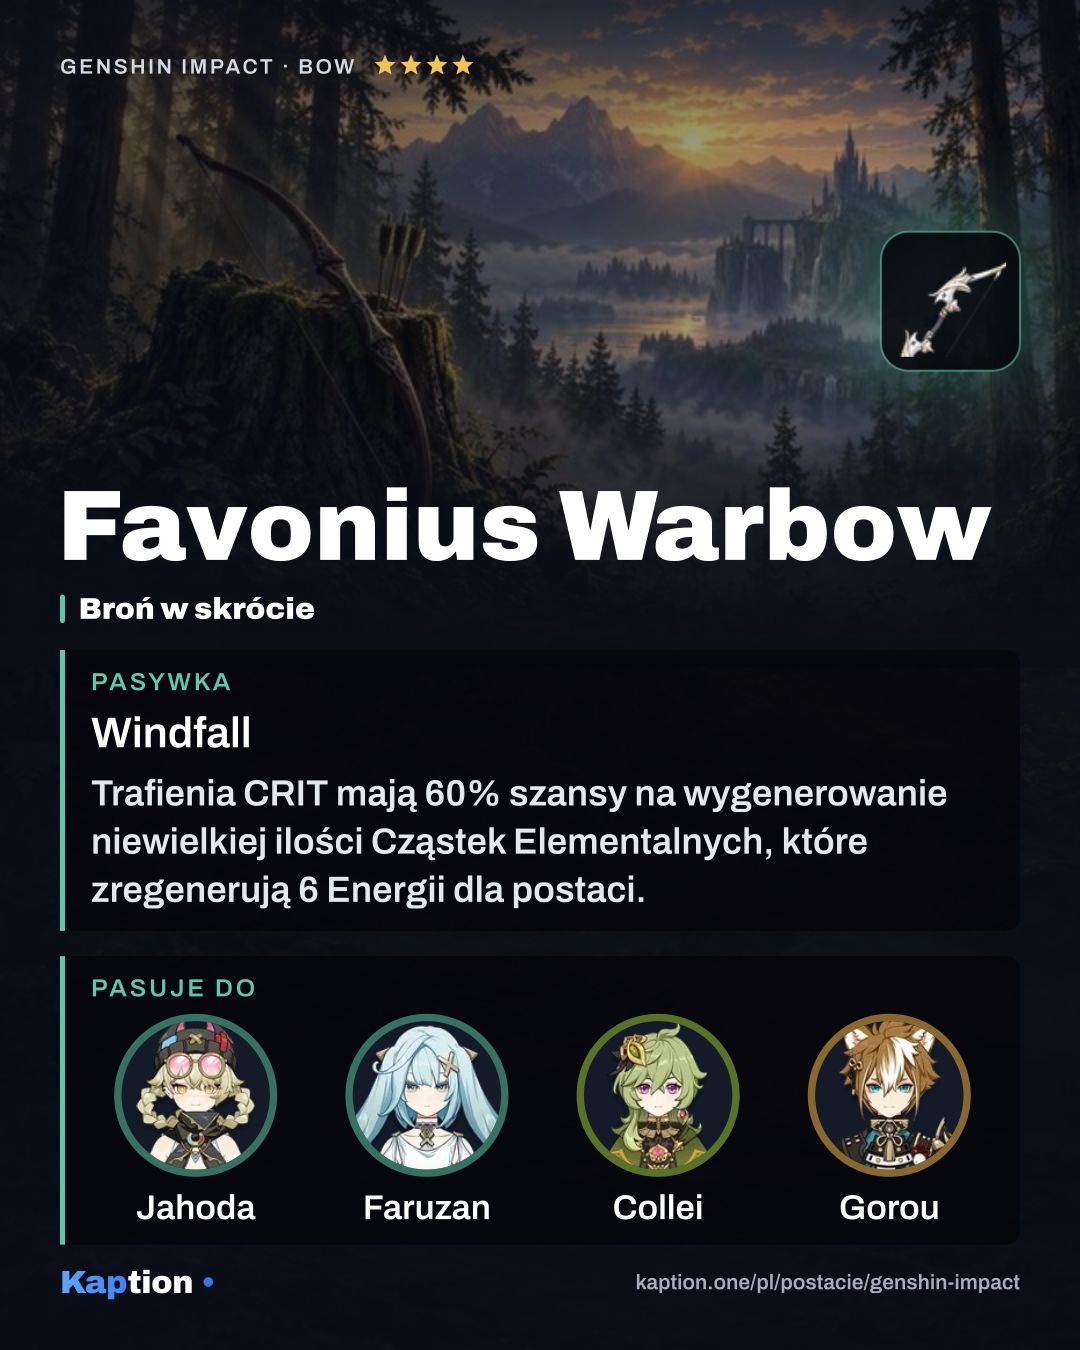
Elegy for the End is the first weapon to consider. Its shown effect gives 60 Elemental Mastery and builds Sigils when Skill or Burst hits land, including while Sara is off-field. Skyward Harp gives 20% CRIT DMG and can trigger a small Physical AoE attack. Favonius Warbow is another option: CRIT Hits have a 60% chance to generate particles that restore 6 Energy to the character, once every 12 seconds.
Leveling priority
A good leveling order is Tengu Stormcall first, followed by Subjugation: Koukou Sendou. The Skill supplies the ATK Bonus used by both abilities, while the Burst is a source of Sara's AoE damage. Leave Tengu Bowmanship (NA) until last if you mainly use its charged shot to place a feather.
For maximum character ascension, you need Mora, Dendrobium and Storm Beads, plus Vajrada Amethyst Sliver, Vajrada Amethyst Fragment, Vajrada Amethyst Chunk and Vajrada Amethyst Gemstone. You also need Damaged Mask, Stained Mask and Ominous Mask.
For all talents at maximum, the materials include more Mora and the same three masks, along with Teachings of Elegance, Guide to Elegance, Philosophies of Elegance, Ashen Heart and three Crown of Insight. You can leave the Normal Attack talent for later and spend those resources on the abilities you use more.
Constellations worth it
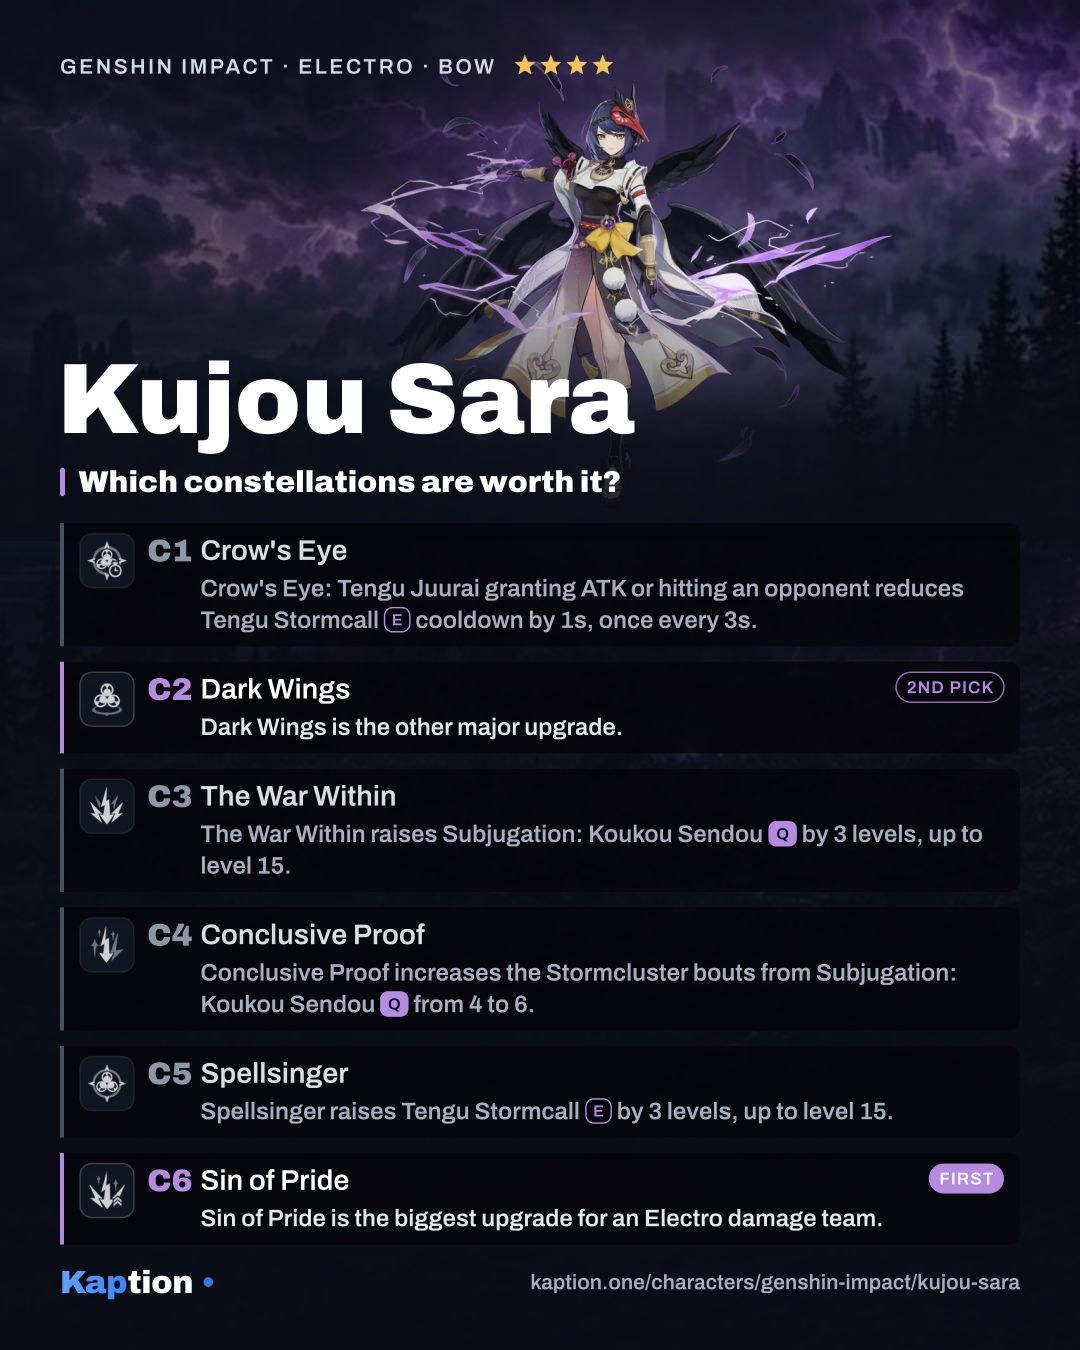
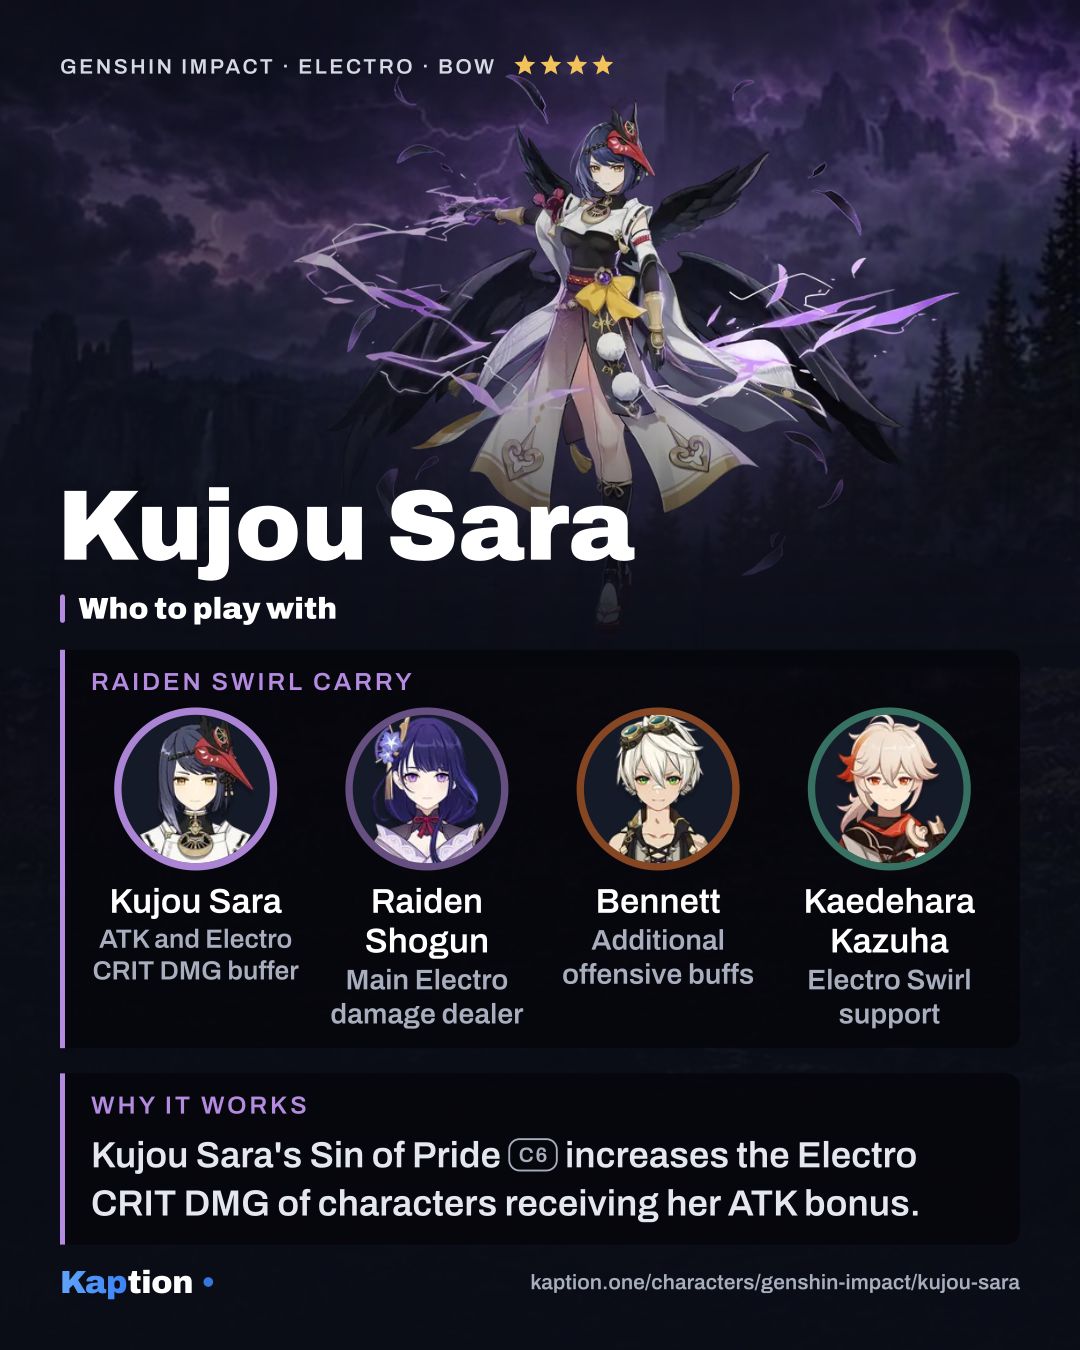
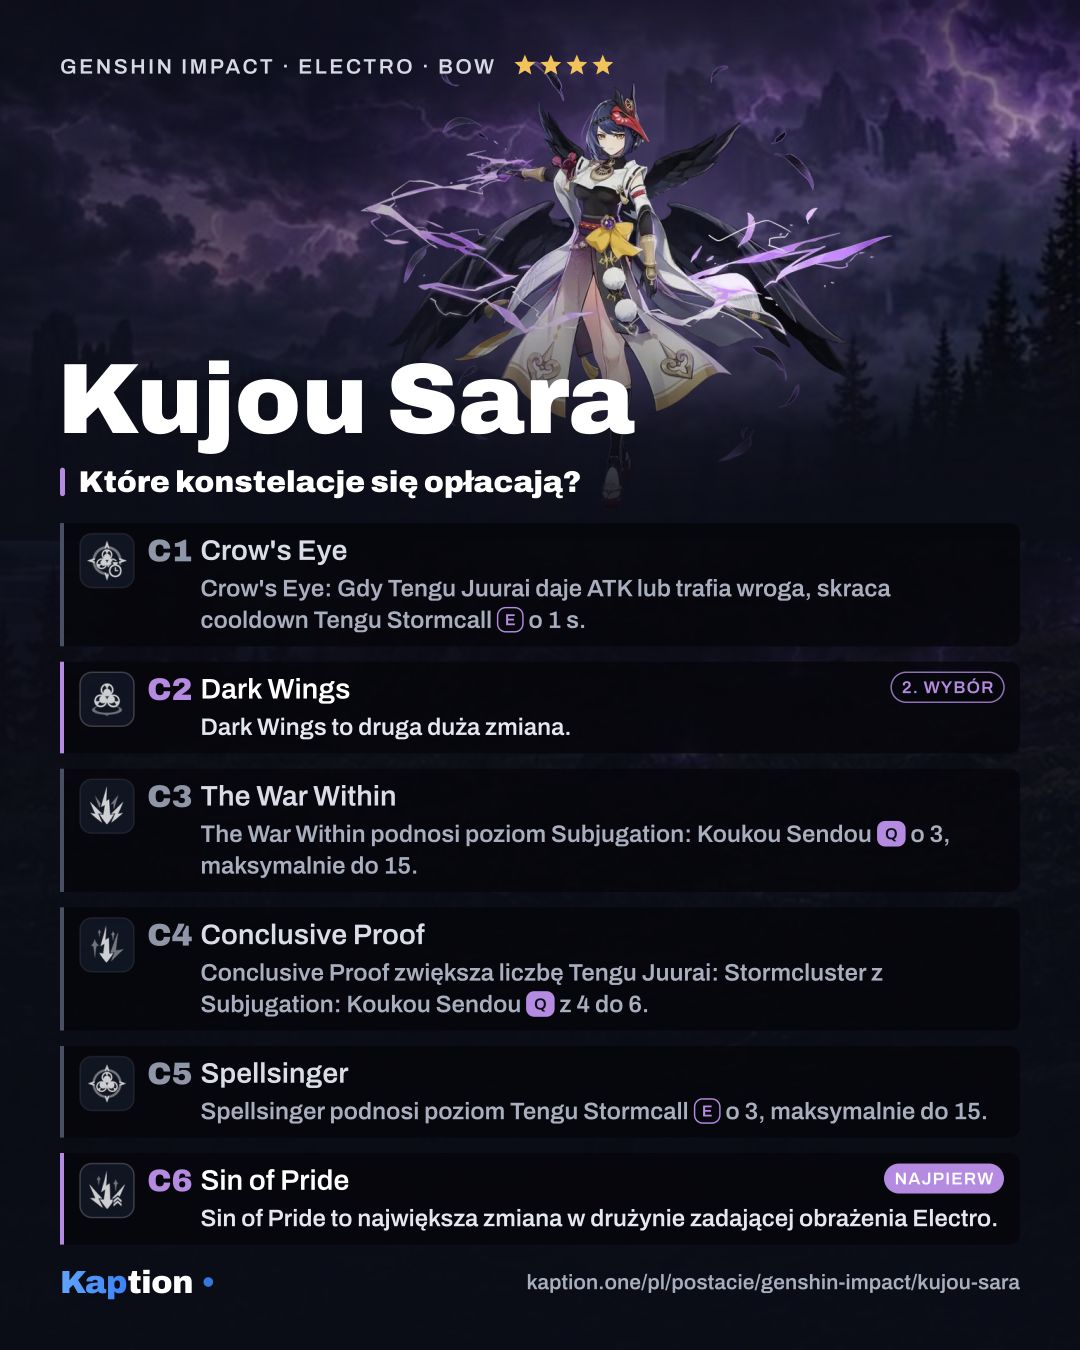
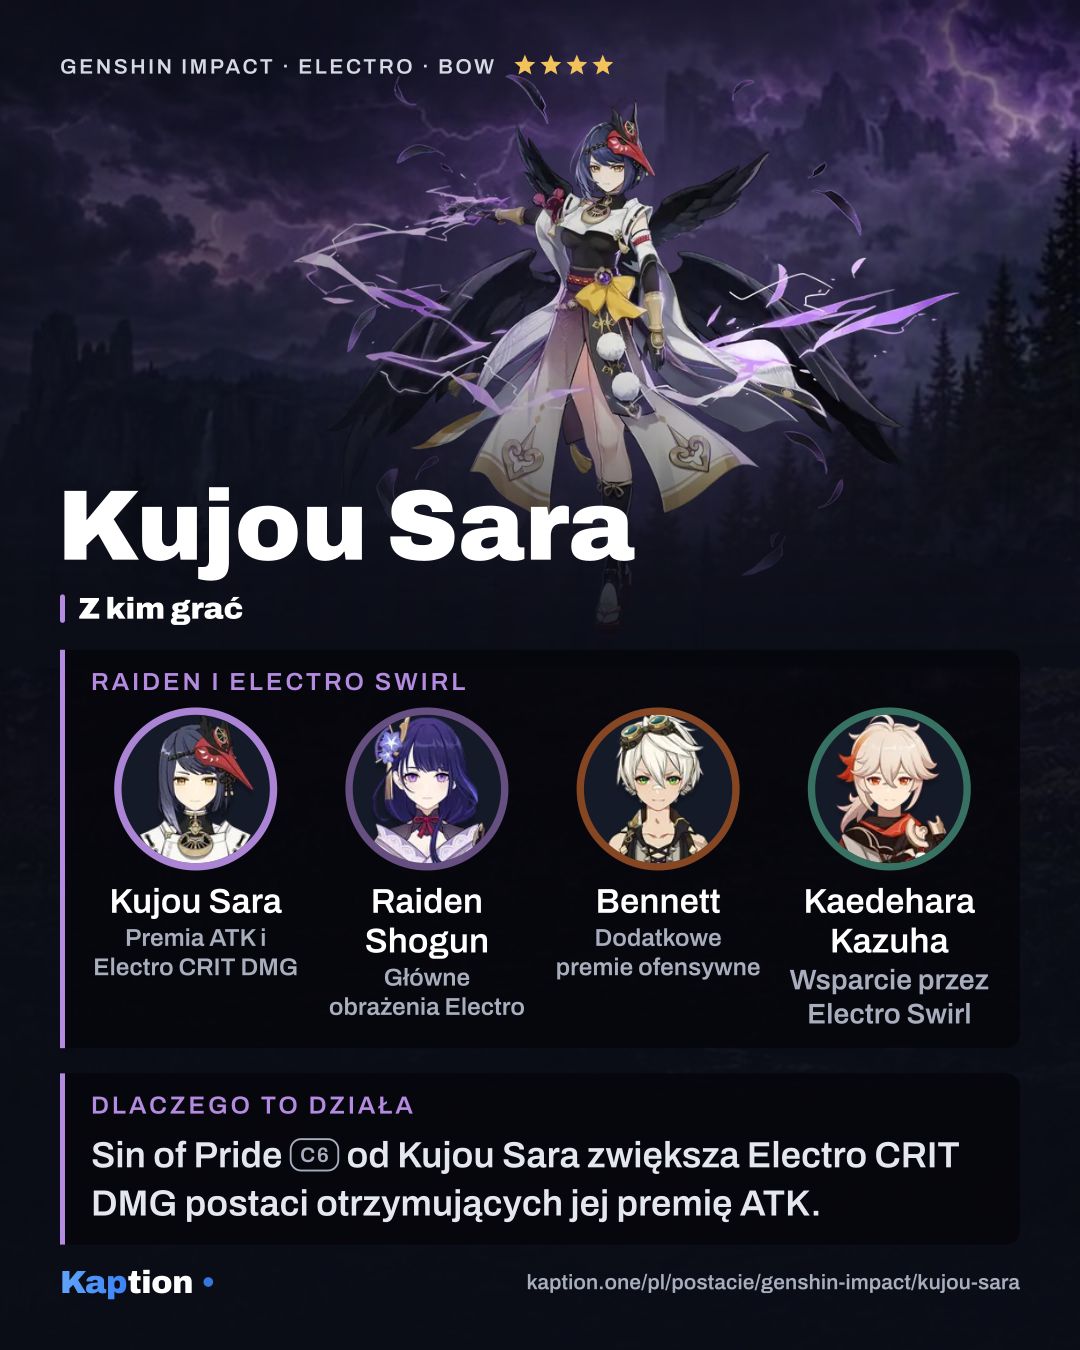
Sin of Pride is the biggest upgrade for an Electro damage team. Characters whose ATK has been increased by Tengu Juurai gain 60% CRIT DMG for their Electro DMG. The bonus is tied to the Tengu Juurai ATK increase, so the intended recipient still needs to receive it.
Dark Wings is the other major upgrade. Casting the Skill leaves a weaker Crowfeather at Sara's original position, dealing 30% of the original damage. That gives her another way to place a feather without a charged shot.
The War Within raises the Burst level by three, while Conclusive Proof increases its Stormcluster bouts from four to six. Spellsinger (C5) raises the Skill level by three. If you are deciding where to stop, consider the earlier upgrades for their convenience and treat the intervening damage and talent levels as less urgent; you cannot skip individual constellations on the way to C6.
Teams
Raiden Shogun is a strong teammate to build around: she deals Electro DMG and can use Sara's ATK Bonus. Clorinde and Cyno are other Electro options, and they can also benefit from the sixth constellation's Electro CRIT DMG bonus.
For the remaining slots, Kaedehara Kazuha brings Anemo and Swirl. Fischl is an Electro option who can contribute from off-field, while Zhongli can provide a shield. You can also consider Chevreuse as a Pyro healer in an Overloaded lineup.
Sara wants a teammate ready to take the field when her feather or Burst effect grants the bonus. Plan the handoff around that character rather than leaving Sara active when someone else needs the ATK.
Common mistakes
Do not confuse the 18-second Crowfeather Cover with the duration of the ATK Bonus. The cover is the window for placing a feather with a charged shot. Watch where the feather lands and where your intended recipient stands when it triggers.
Do not expect the Skill and Burst versions of the Tengu Juurai bonus to add together. The last one to take effect determines the bonus and its duration. Also, an ATK Percentage artifact does not replace the Base ATK used to calculate Sara's buff.
Do not ignore Energy Recharge when choosing pieces. It helps the Energy restored by Decorum and fits Emblem of Severed Fate. If you use Favonius Warbow, make room for CRIT Rate so Sara has chances to trigger its particle effect.