


























Guide
How the kit works
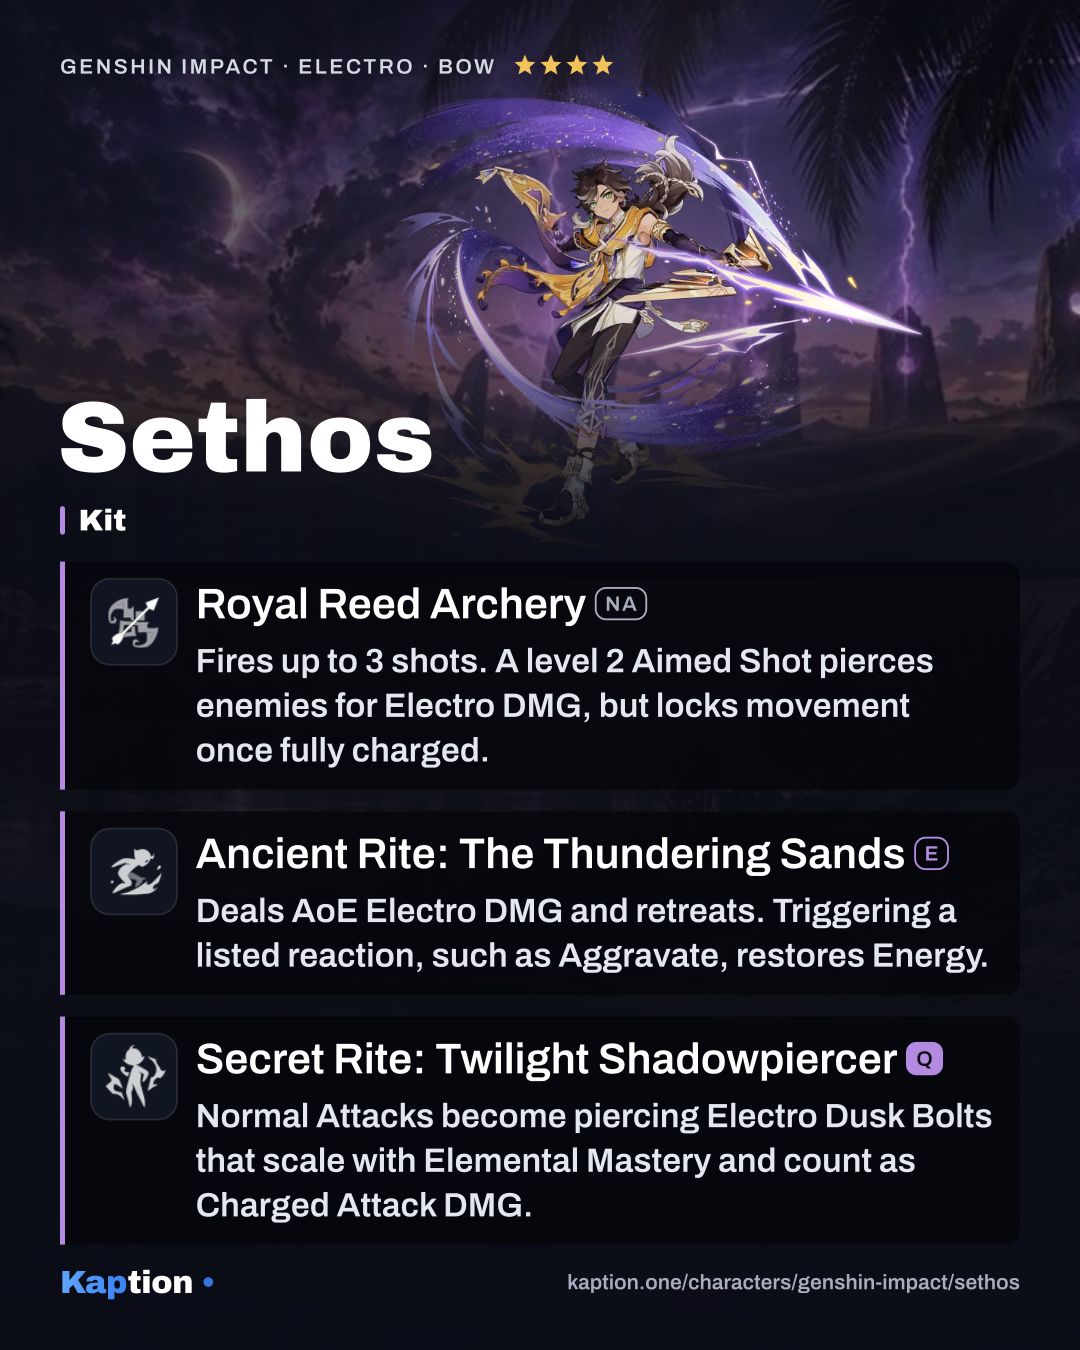
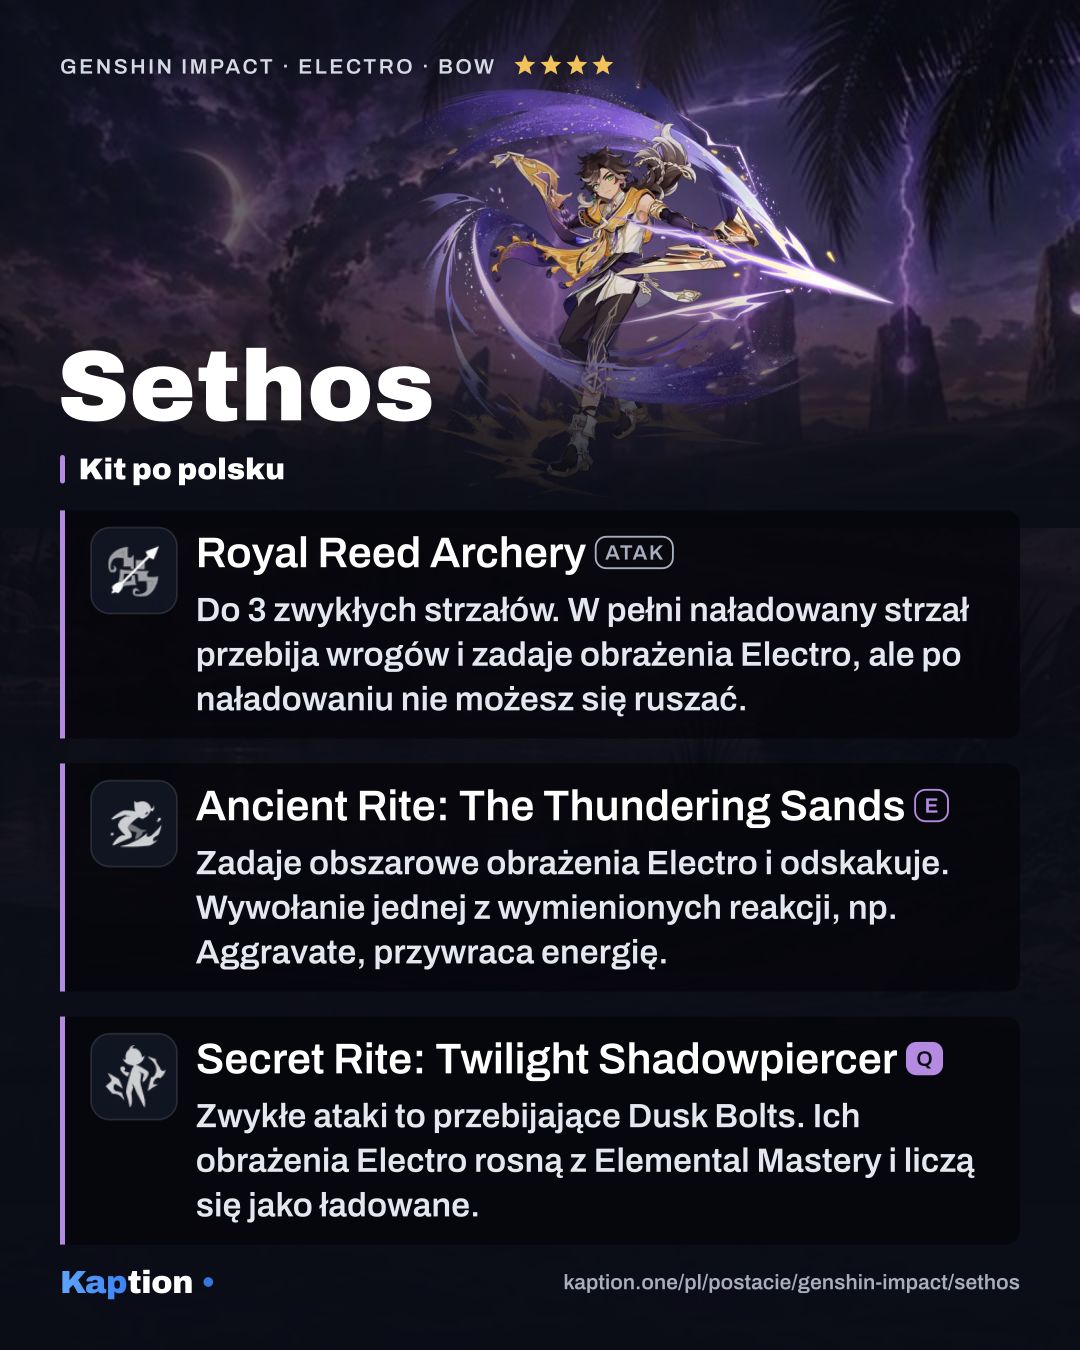
Set up an element on enemies, then use Ancient Rite: The Thundering Sands. Sethos deals area Electro damage and retreats. If the hit triggers a listed reaction, including Quicken, Aggravate or Electro-Charged, he recovers some Elemental Energy.
For the aimed-shot route, use Royal Reed Archery (NA). A level-two charged shot fires a Shadowpiercing Shot through enemies. Once fully charged, Sethos cannot move until he fires or stops aiming.
Black Kite's Enigma reduces charging time by 0.285 seconds per point of current Energy, counting up to 20 Energy and reducing the time no lower than 0.3 seconds. A Shadowpiercing Shot consumes the counted Energy; a level-one shot consumes half of it.
The Sand King's Boon increases Shadowpiercing Shot damage by 700% of Sethos's Elemental Mastery while Scorching Sandshade is active. The effect ends five seconds after the first hit or after four shots hit opponents. It returns 15 seconds after the first hit affected by it.
Alternatively, use Secret Rite: Twilight Shadowpiercer, then attack normally. The resulting Dusk Bolts pierce enemies, gain damage from Elemental Mastery and count as Charged Attack damage. Sethos cannot aim during this state, and switching him out cancels it.
Build and why
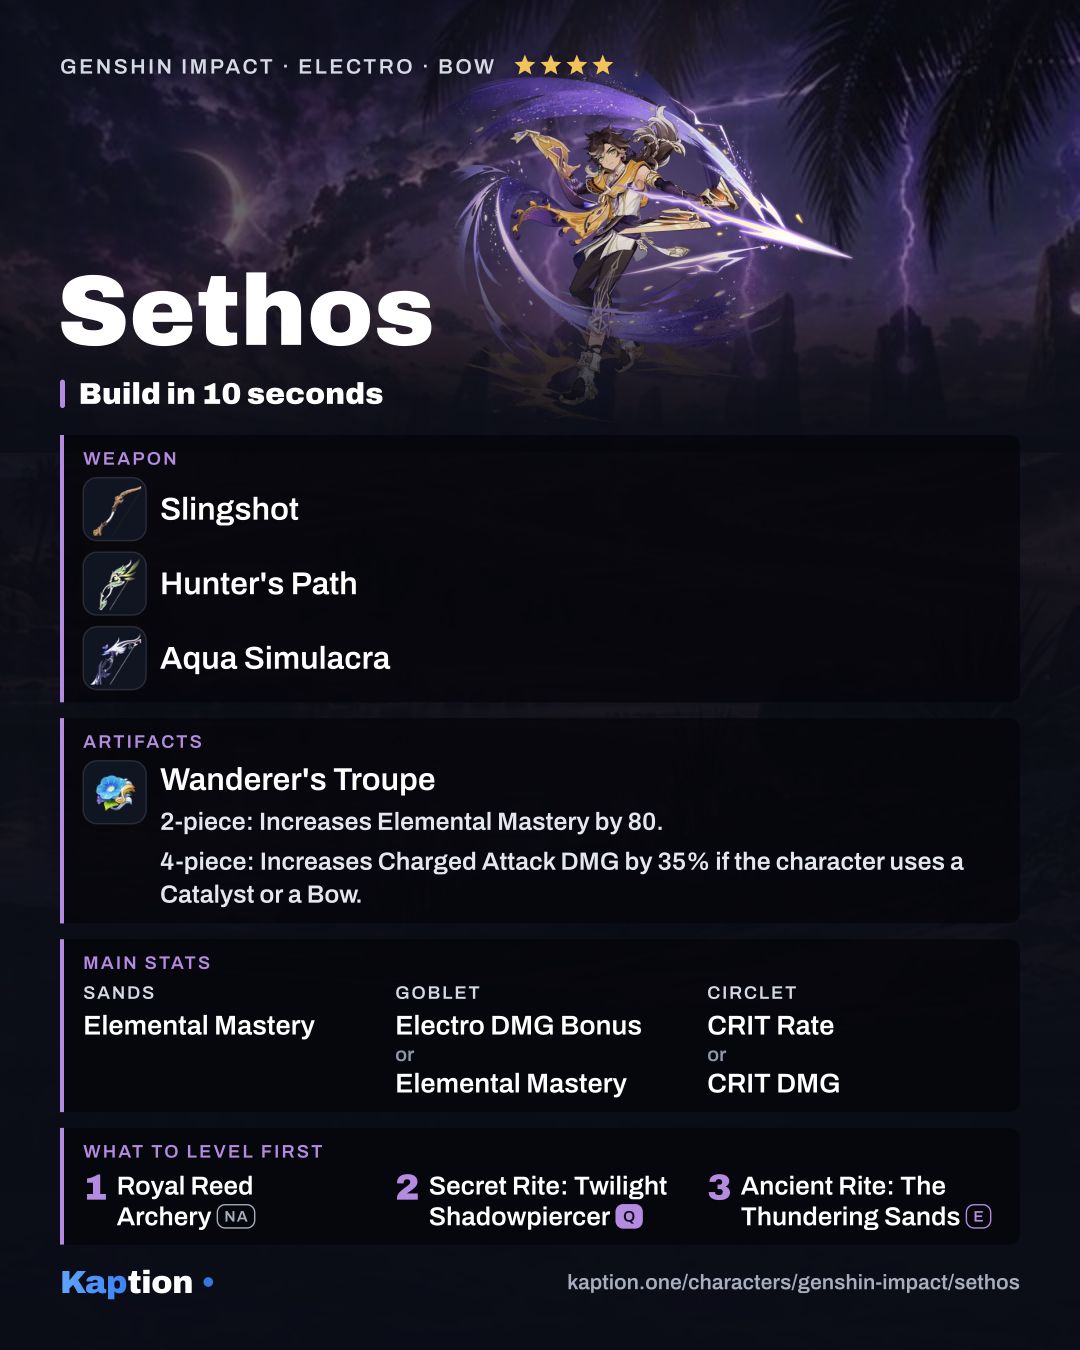
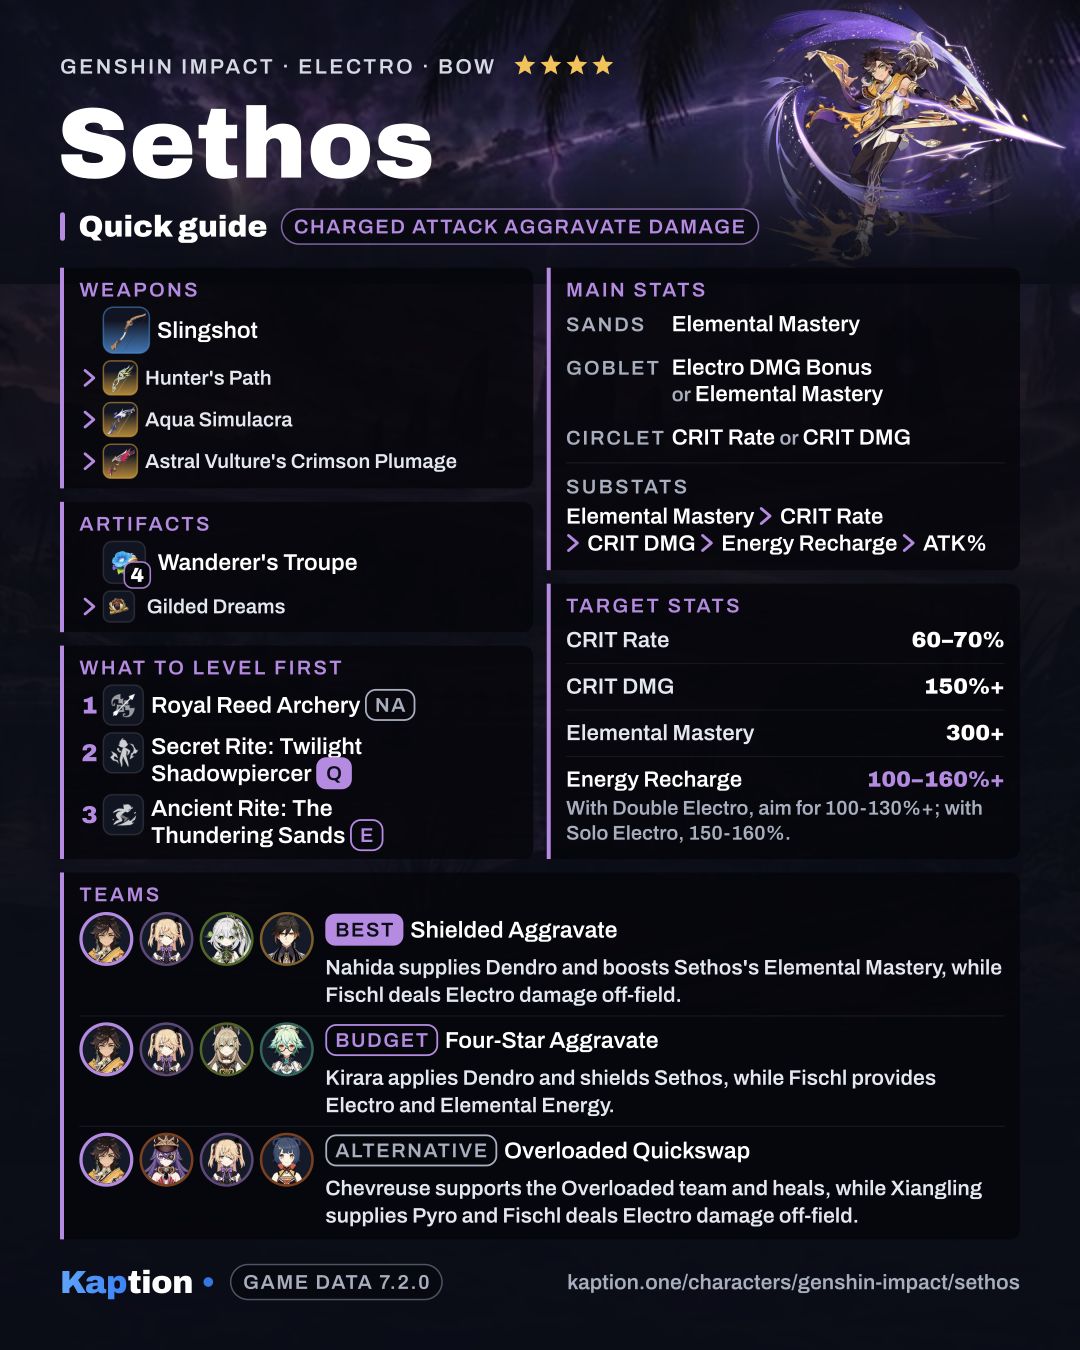
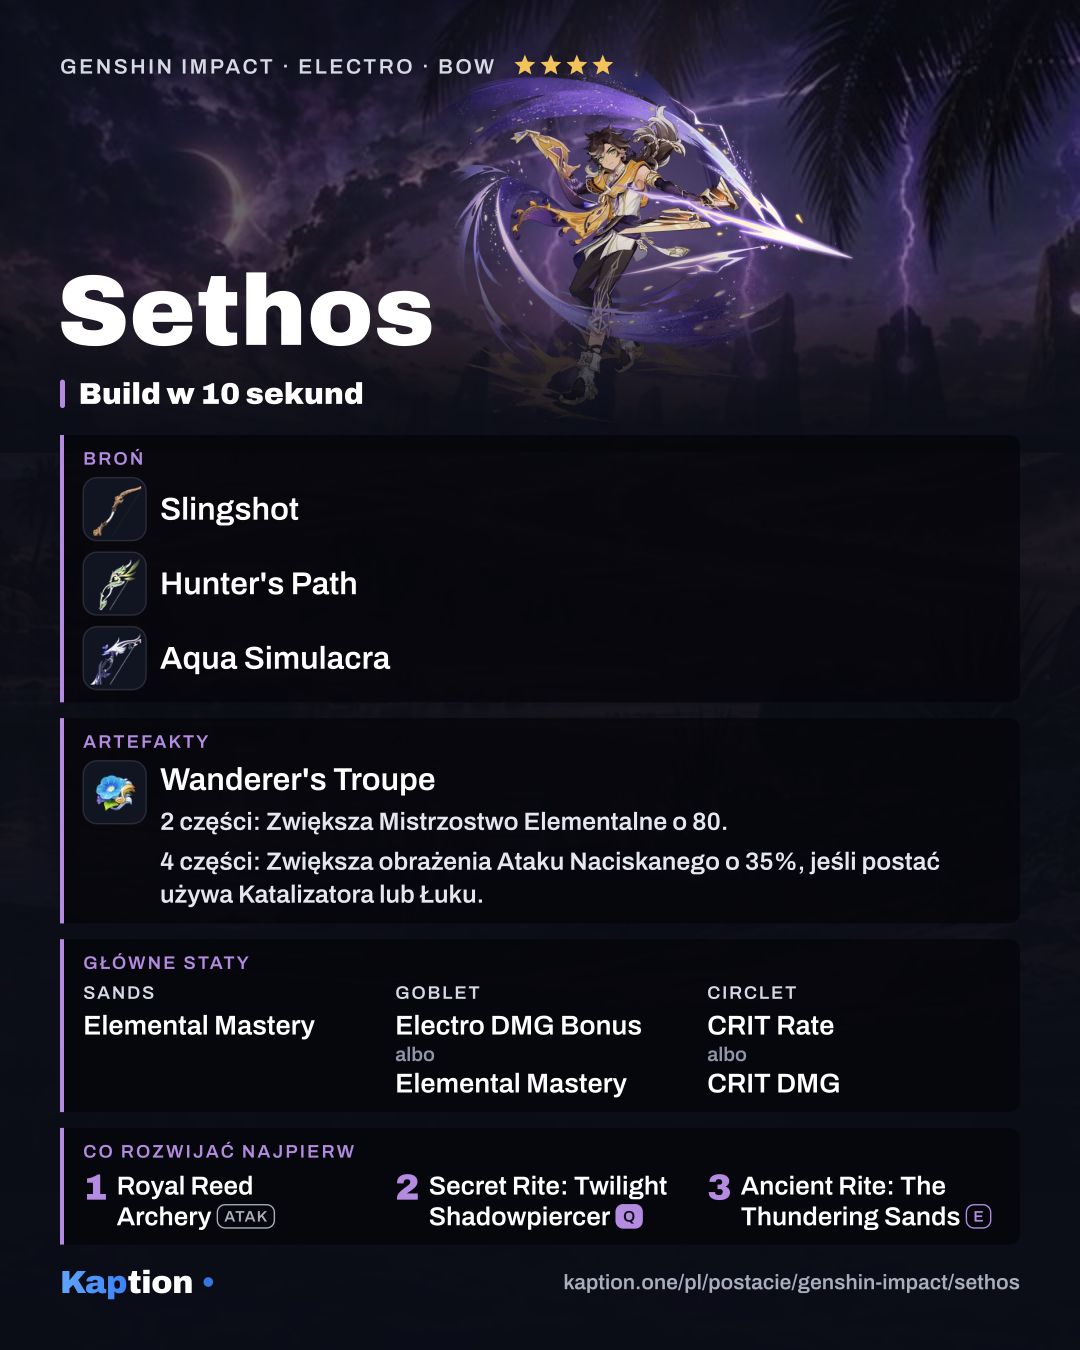
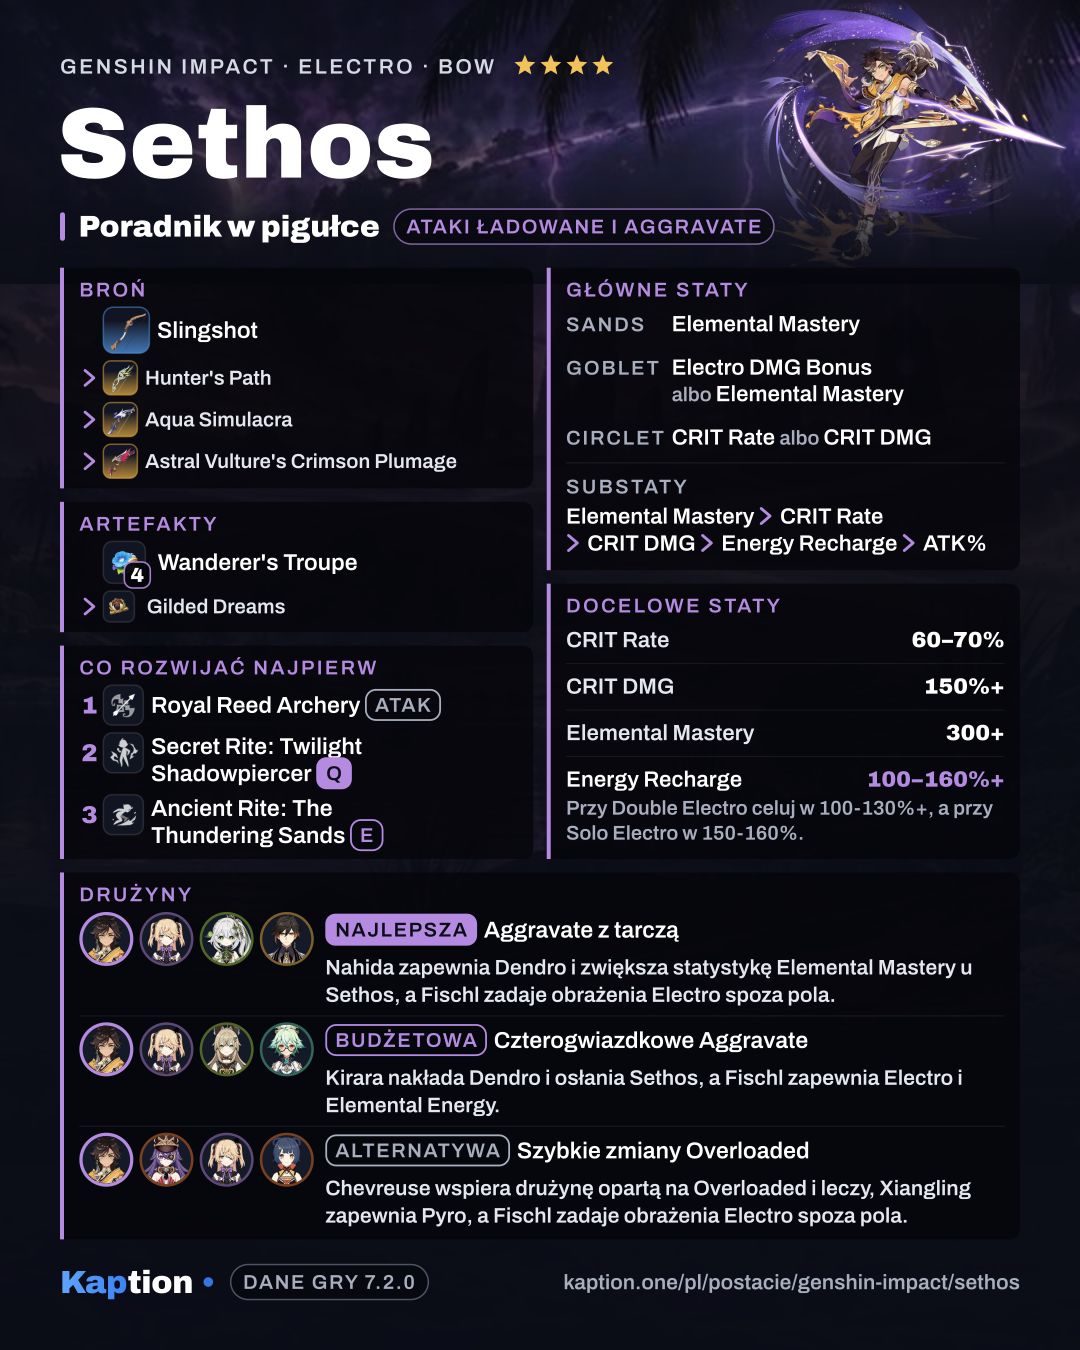
Use four pieces of Wanderer's Troupe. Its two-piece bonus gives 80 Elemental Mastery, and its four-piece bonus gives a Bow user 35% more Charged Attack damage. Both bonuses fit Shadowpiercing Shots and Dusk Bolts.
Four pieces of Gilded Dreams are another option. After a reaction, it grants ATK for each other party member with Sethos's element and Elemental Mastery for each one with a different element. For a mixed two-piece build, combine Wanderer's Troupe with Marechaussee Hunter for Elemental Mastery and Charged Attack damage.
Four pieces of Desert Pavilion Chronicle are also worth considering. After a Charged Attack hits, the set increases Charged Attack damage by 40% for 15 seconds, though its two-piece Anemo bonus does not help Sethos's Electro damage.
Choose Elemental Mastery on the sands, Electro DMG Bonus or Elemental Mastery on the goblet, and CRIT Rate or CRIT DMG on the circlet. Look for Elemental Mastery first in substats, followed by CRIT Rate and CRIT DMG. Energy Recharge and ATK Percentage are useful too.
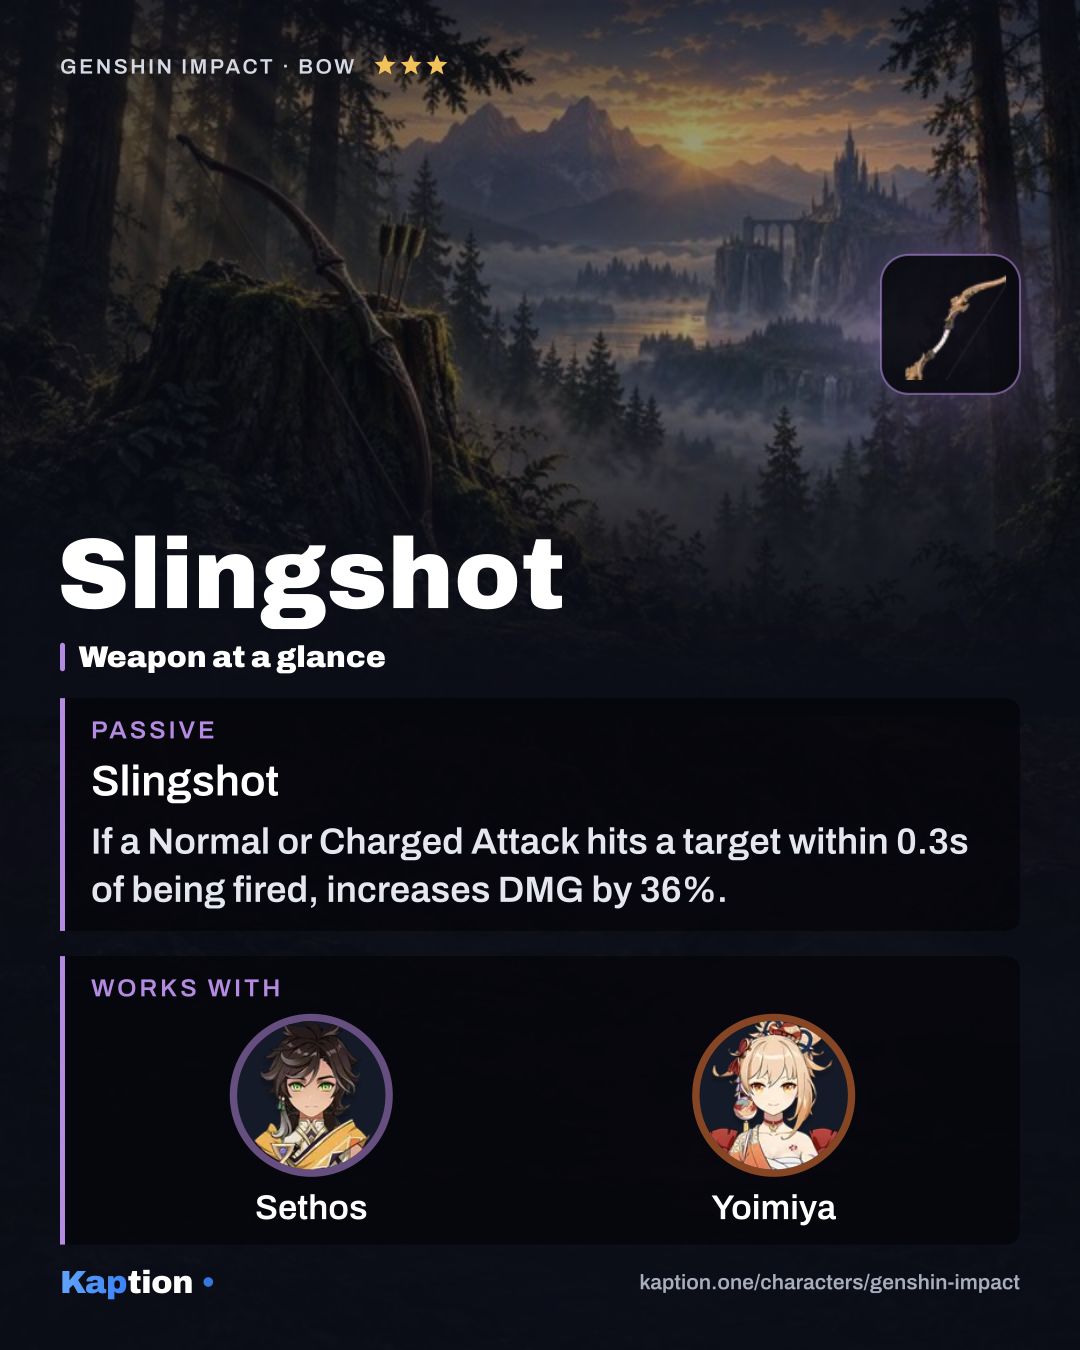
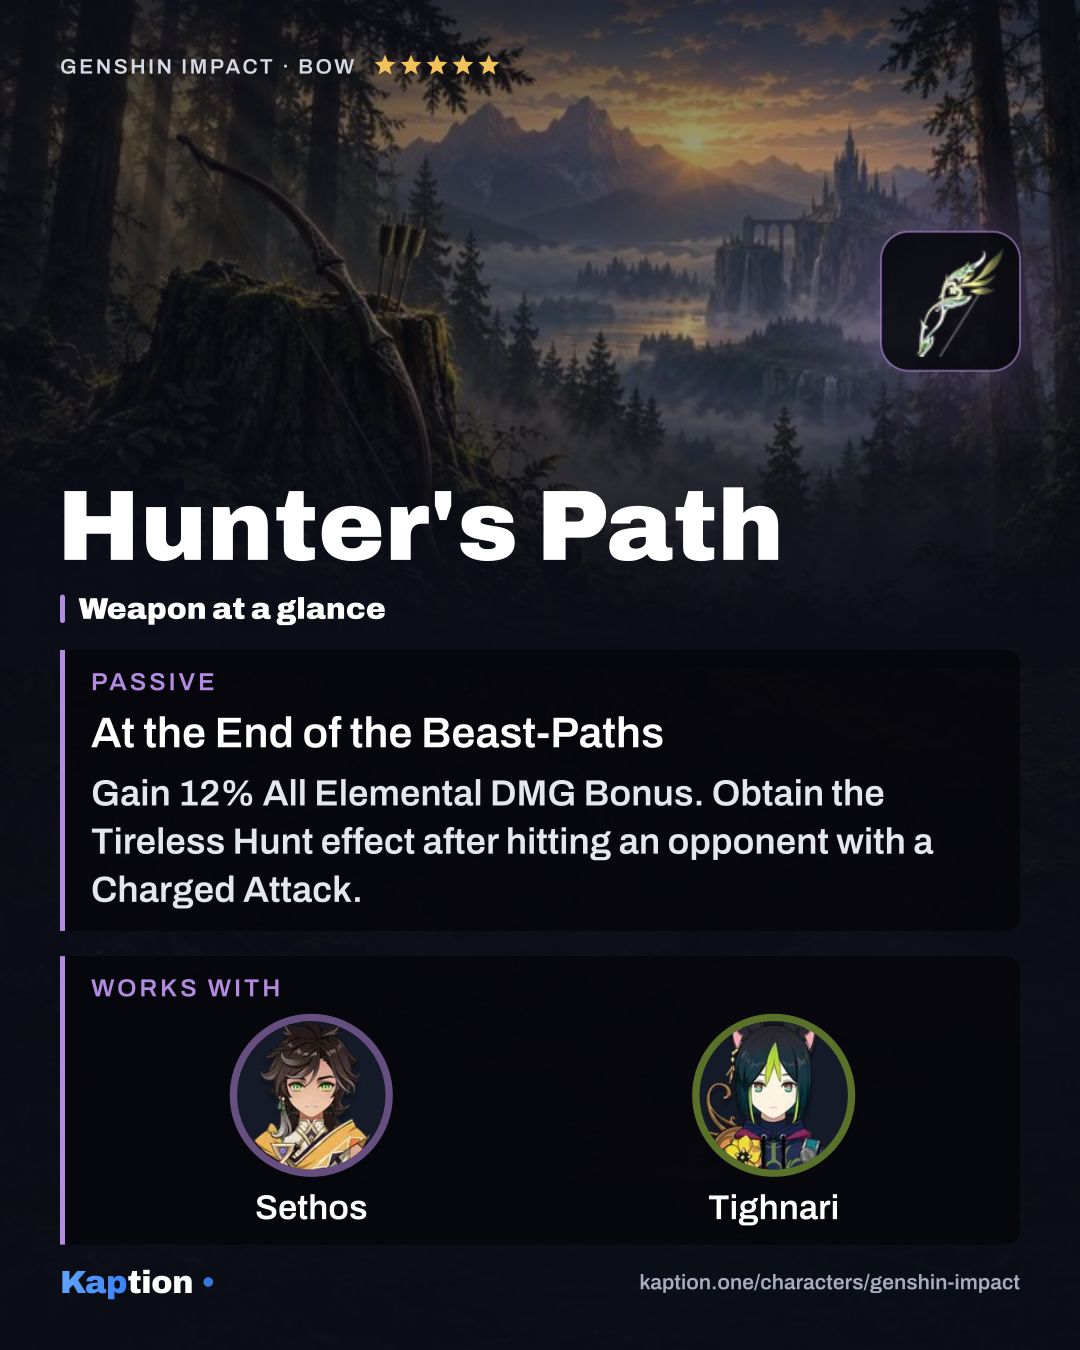
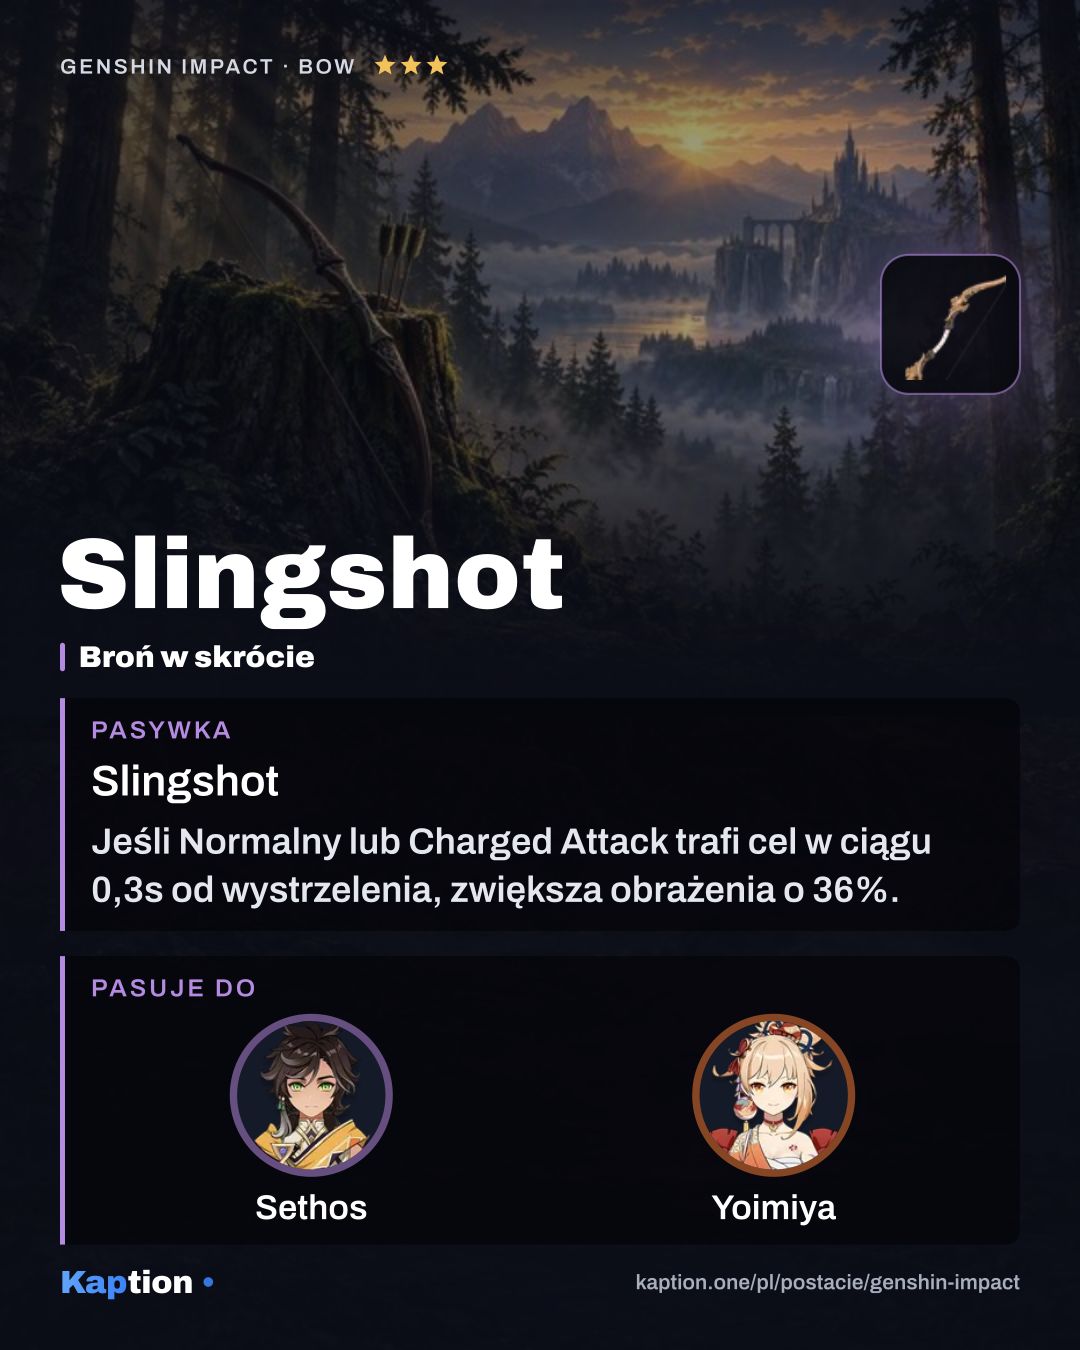
Hunter's Path is the top weapon choice. It gives an elemental damage bonus and, after a Charged Attack hits, increases Charged Attack damage based on Elemental Mastery. Slingshot is a strong alternative if your shot hits within 0.3 seconds of firing; otherwise, it reduces the shot's damage.
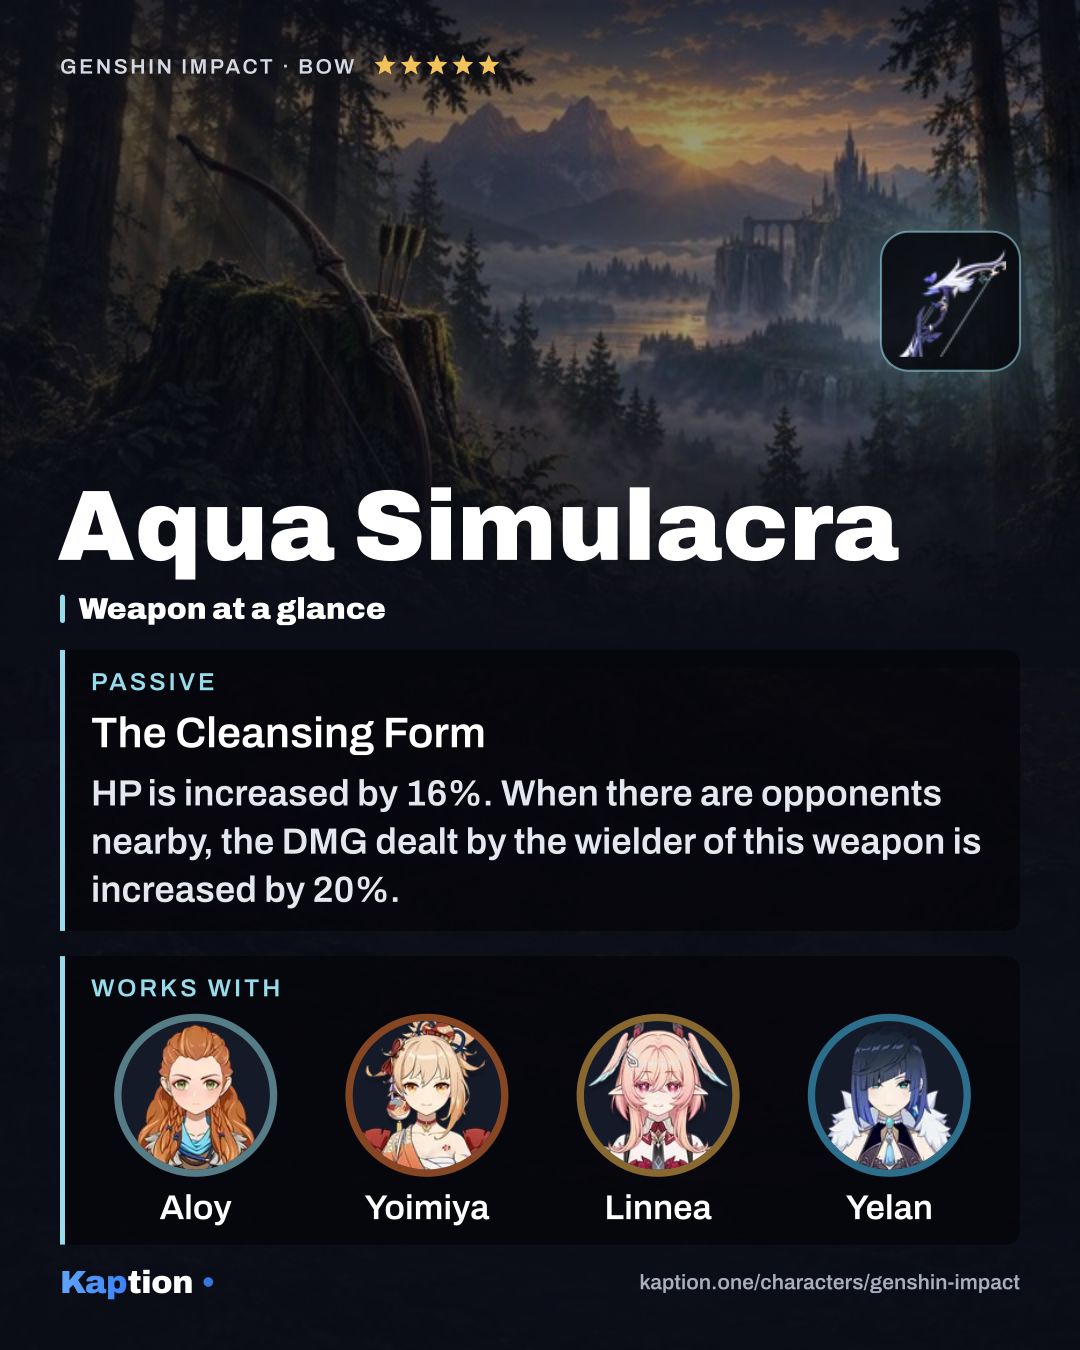
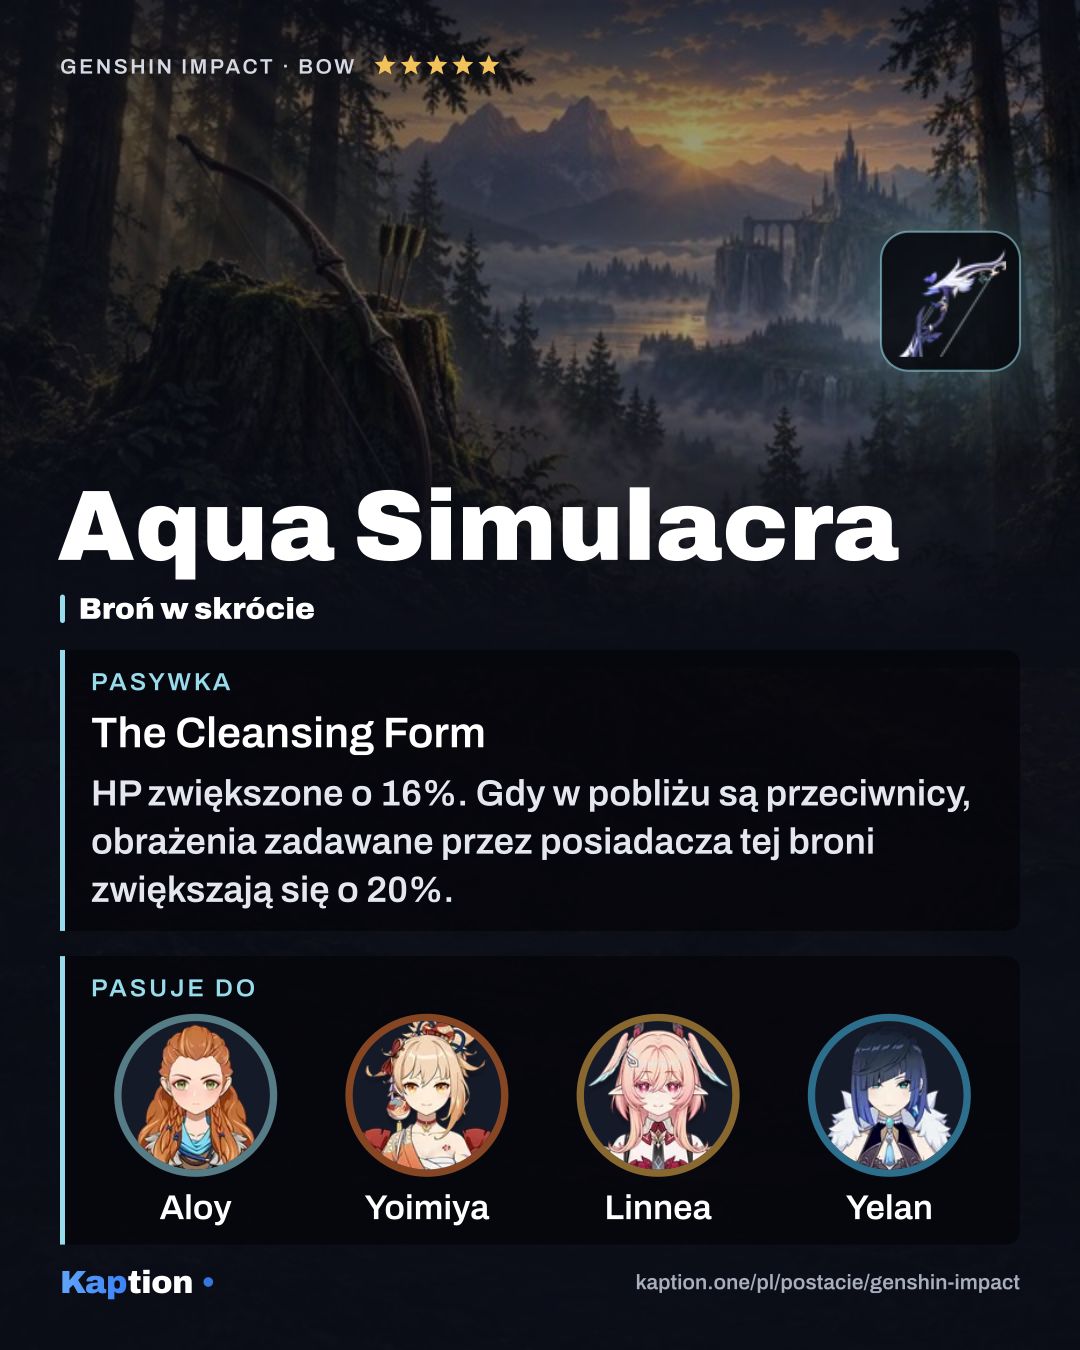
Aqua Simulacra increases damage when opponents are nearby. Cloudforged is another option: losing Energy grants Elemental Mastery, which fits the aimed-shot route.
Leveling priority
For an aimed-shot build, a sensible order is Royal Reed Archery (NA) first, Secret Rite: Twilight Shadowpiercer second and Ancient Rite: The Thundering Sands last. If you mainly use Dusk Bolts, consider leveling the Burst first instead.
For maximum ascension, gather 420,000 Mora, 168 Trishiraite, 46 Cloudseam Scale, 1 Vajrada Amethyst Sliver, 9 Vajrada Amethyst Fragment, 9 Vajrada Amethyst Chunk and 6 Vajrada Amethyst Gemstone. You also need 18 Faded Red Satin, 30 Trimmed Red Silk and 36 Rich Red Brocade.
For all talents to their maximum levels, gather 4,957,500 Mora, 3 Crown of Insight, 9 Teachings of Praxis, 63 Guide to Praxis, 114 Philosophies of Praxis and 18 Daka's Bell. The talent costs also include 18 Faded Red Satin, 66 Trimmed Red Silk and 93 Rich Red Brocade.
Constellations worth it
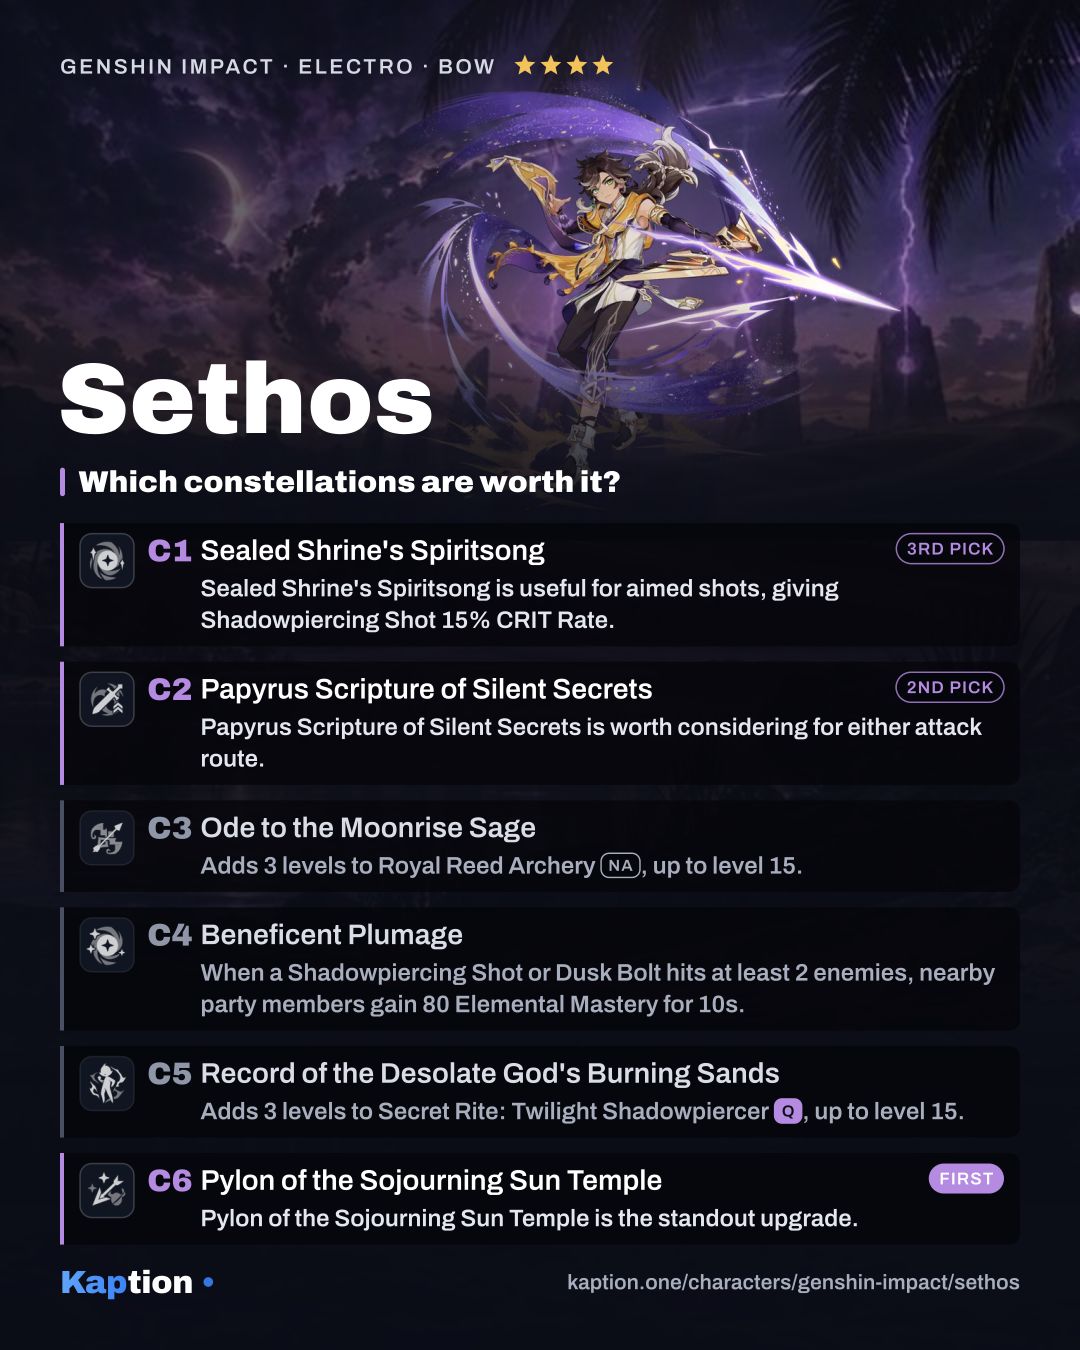
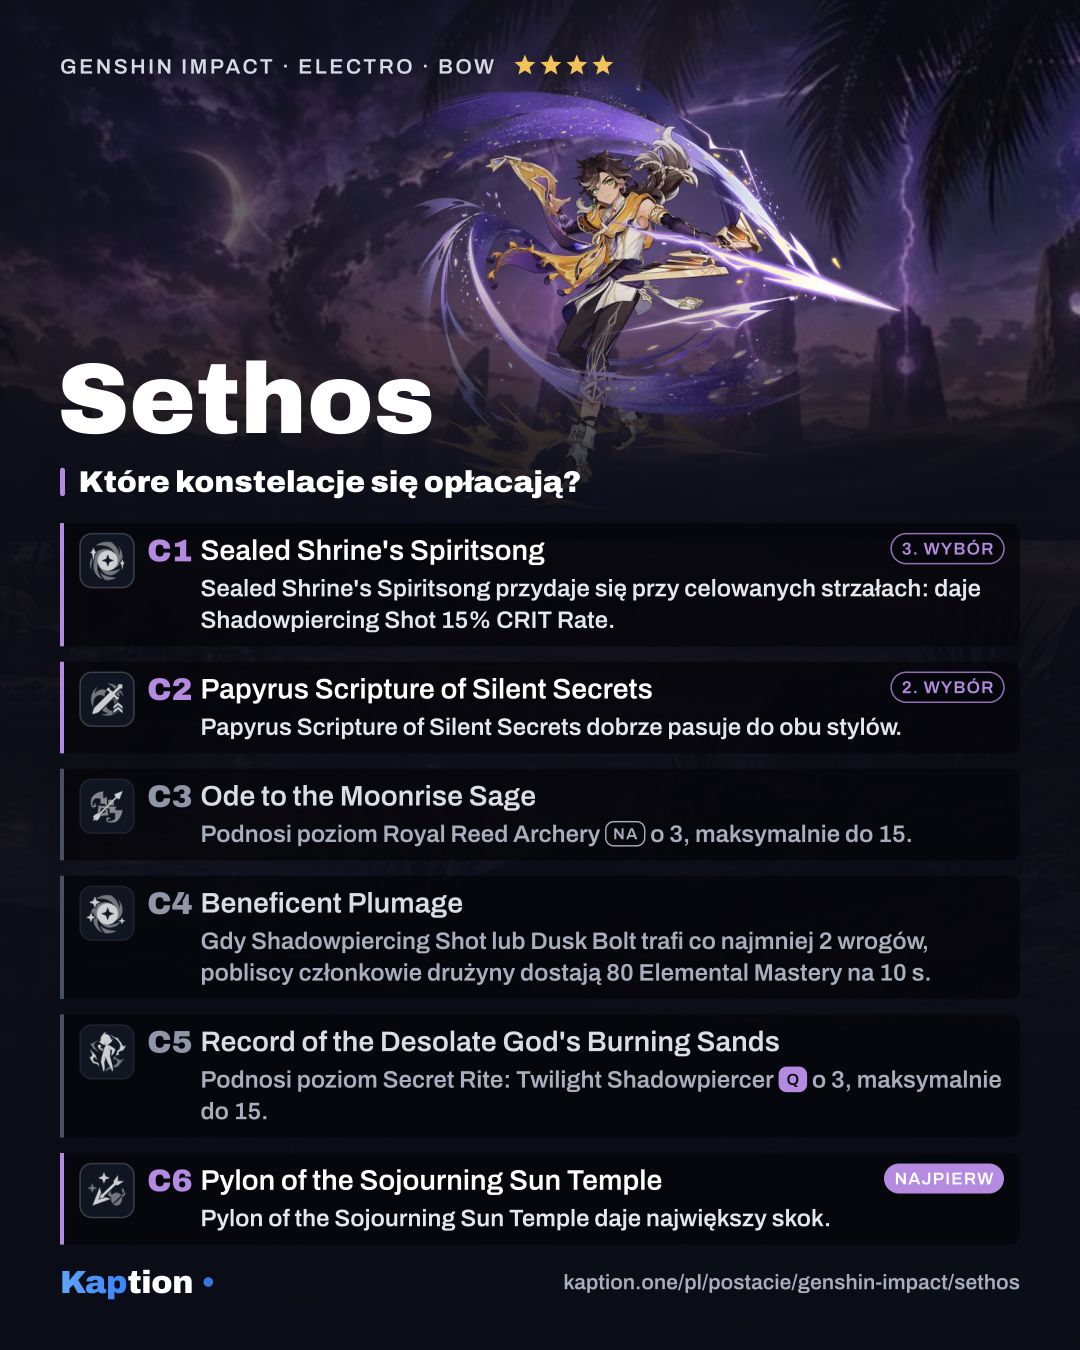
Pylon of the Sojourning Sun Temple is the standout upgrade. When a Shadowpiercing Shot hits, it returns the Energy spent through Black Kite's Enigma, up to once every 15 seconds. This makes the Energy cost of that shot easier to manage.
Papyrus Scripture of Silent Secrets is worth considering for either attack route. Spending Energy on aimed shots, recovering Energy through the Skill's reactions, or using the Burst can each grant a 15% Electro DMG Bonus for 10 seconds. It can stack twice, with separate durations.
Sealed Shrine's Spiritsong is useful for aimed shots, giving Shadowpiercing Shot 15% CRIT Rate. It does not state that Dusk Bolts receive the bonus.
If you mainly use aimed shots, Beneficent Plumage is less consistent because its 80 Elemental Mastery party bonus requires a Shadowpiercing Shot or Dusk Bolt to hit at least two opponents. Record of the Desolate God's Burning Sands raises Burst levels, so it is less relevant when you favor aimed shots. You cannot skip earlier constellations on the way to C6.
Teams
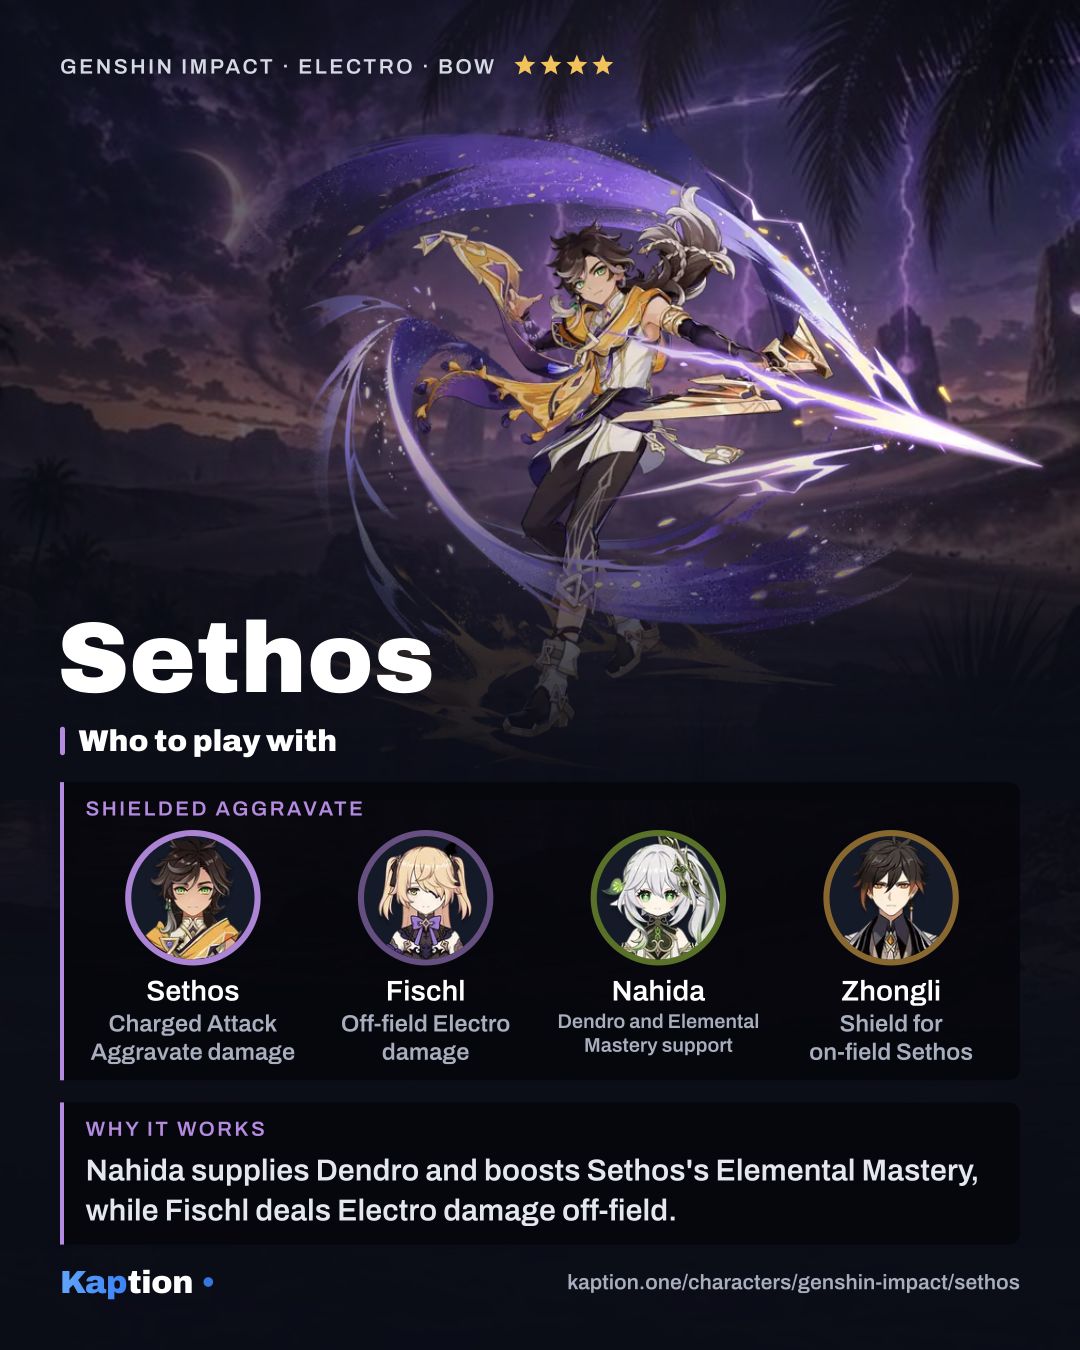
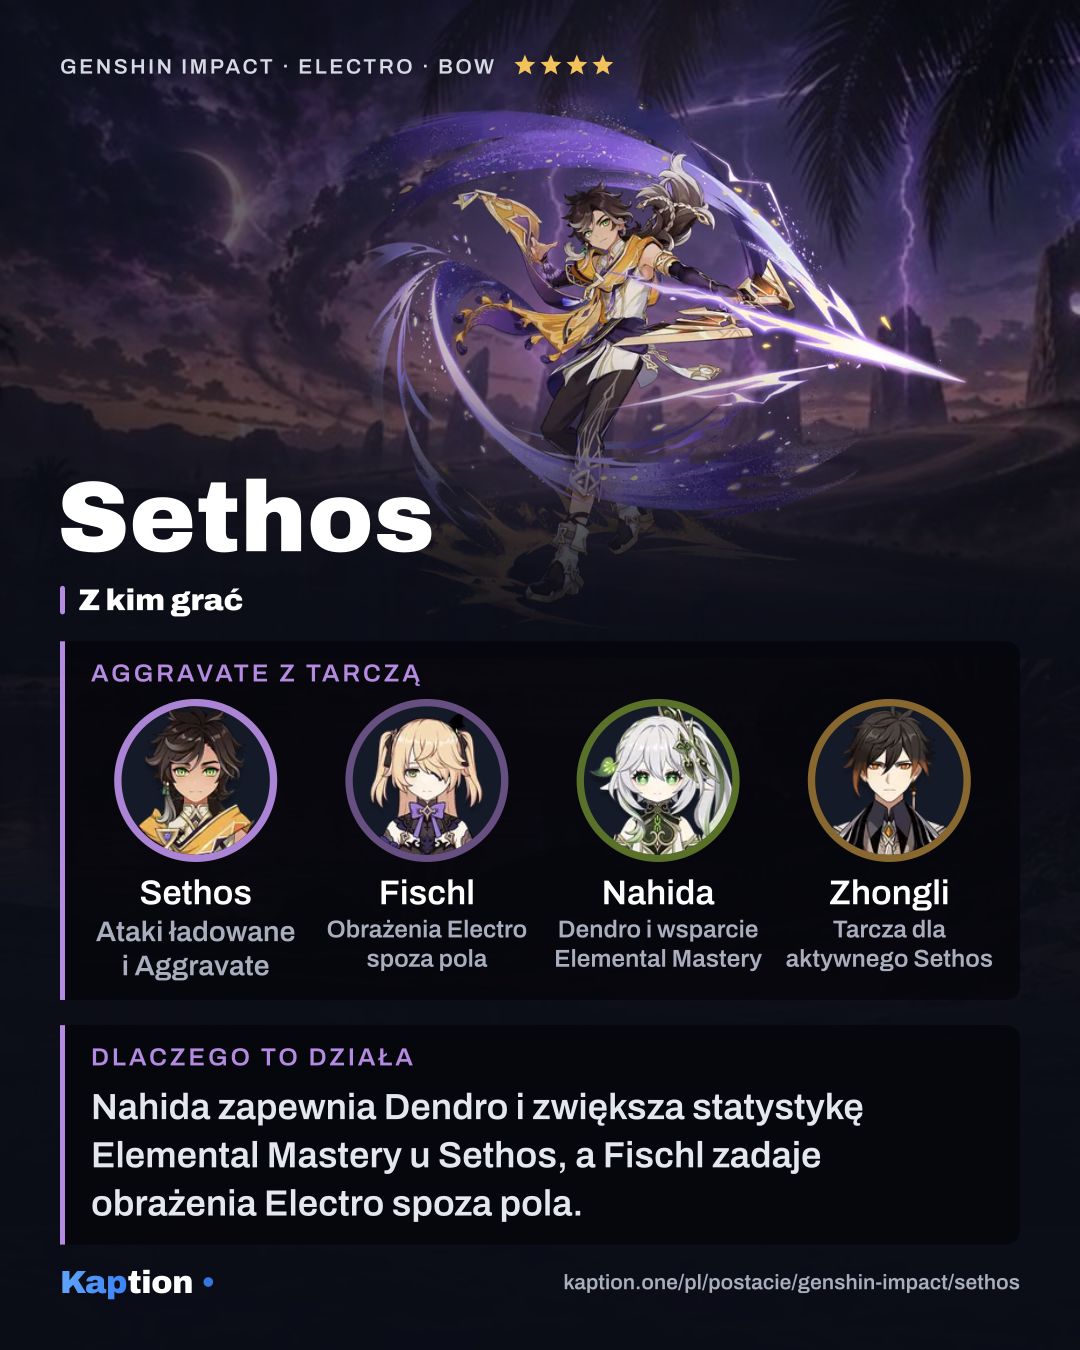
A Dendro teammate gives Sethos a way to use reactions such as Quicken and Aggravate. Nahida or Traveler (Dendro) are options. Baizhu can fill the Dendro slot while also providing healing and a shield.
Fischl adds off-field Electro, while Sucrose is an Anemo option for Swirl. A team of Sethos, Fischl, Baizhu and Sucrose gives Sethos reaction partners and protection while he is aiming.
For an Overloaded team, Chevreuse is a Pyro healer to consider alongside Electro and Pyro teammates. Xiangling or Mavuika are Pyro options. Sethos supplies on-field Electro damage; use the other characters' setups before committing to his Burst.
Common mistakes
Do not spend all your Energy on aimed shots and expect the next one to charge just as quickly. Use the Skill to trigger a listed reaction and recover Energy when you can. Even a level-one shot consumes some of the Energy counted by the passive.
Do not keep holding a fully charged Shadowpiercing Shot while trying to reposition. Sethos cannot move at that point, so aim from a safe place or bring a shield.
Do not switch Sethos out immediately after activating his Burst. Switching cancels its state, so set up your teammates first and leave him on the field to fire Dusk Bolts.
Do not build only for Normal Attack damage because you press the Normal Attack button during Burst. Dusk Bolts deal Charged Attack damage, making Charged Attack bonuses the relevant choice.