








































Guide
How the kit works
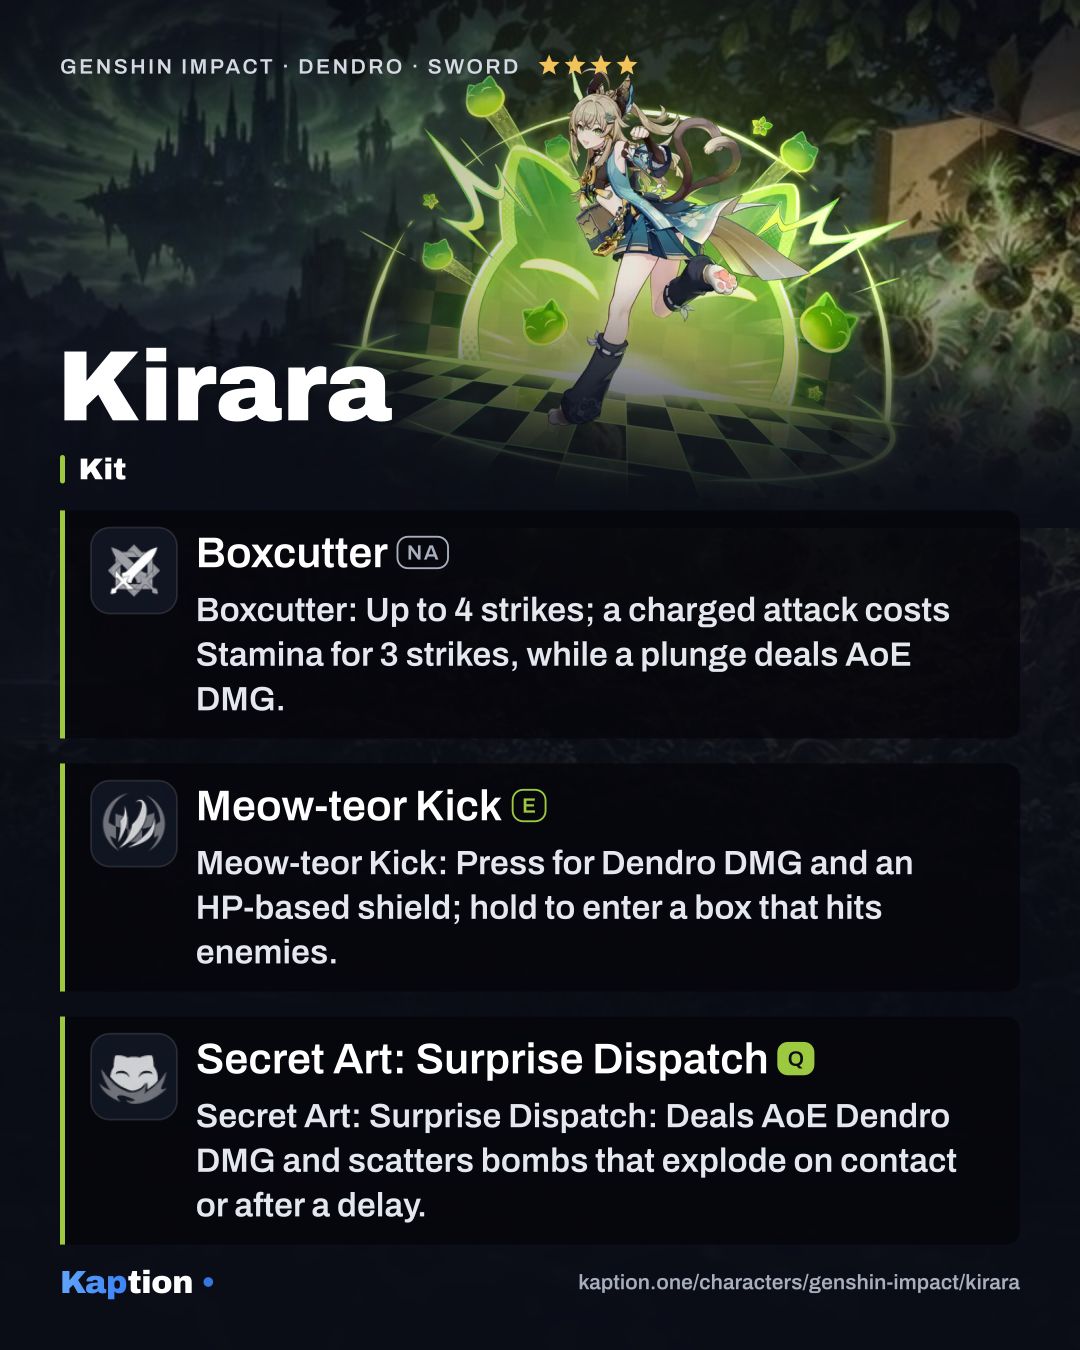
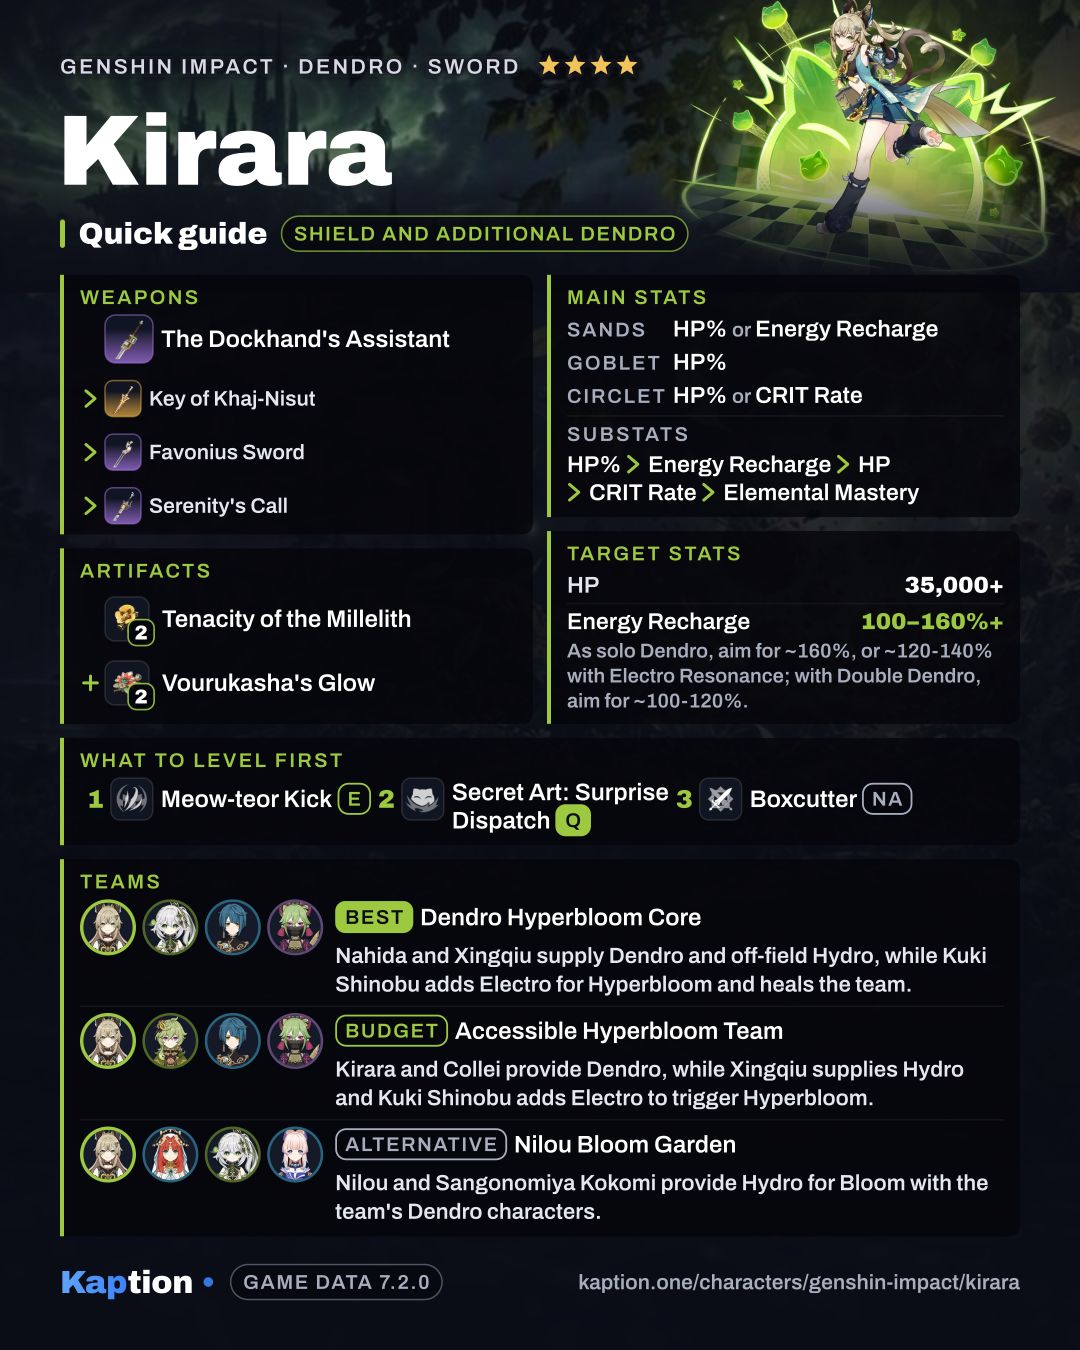
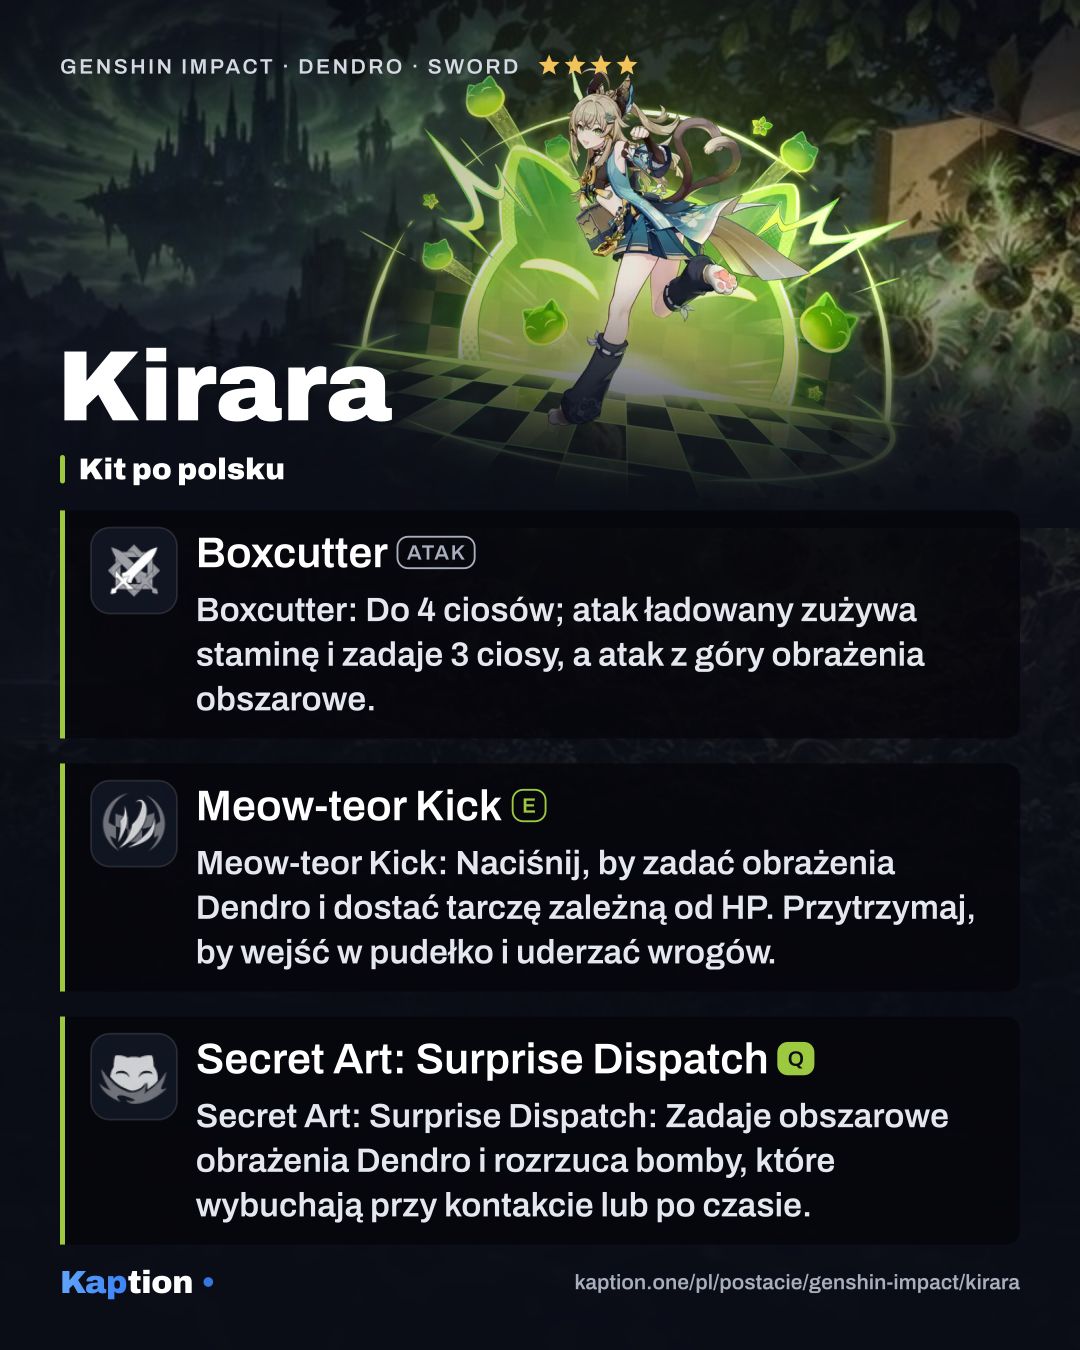
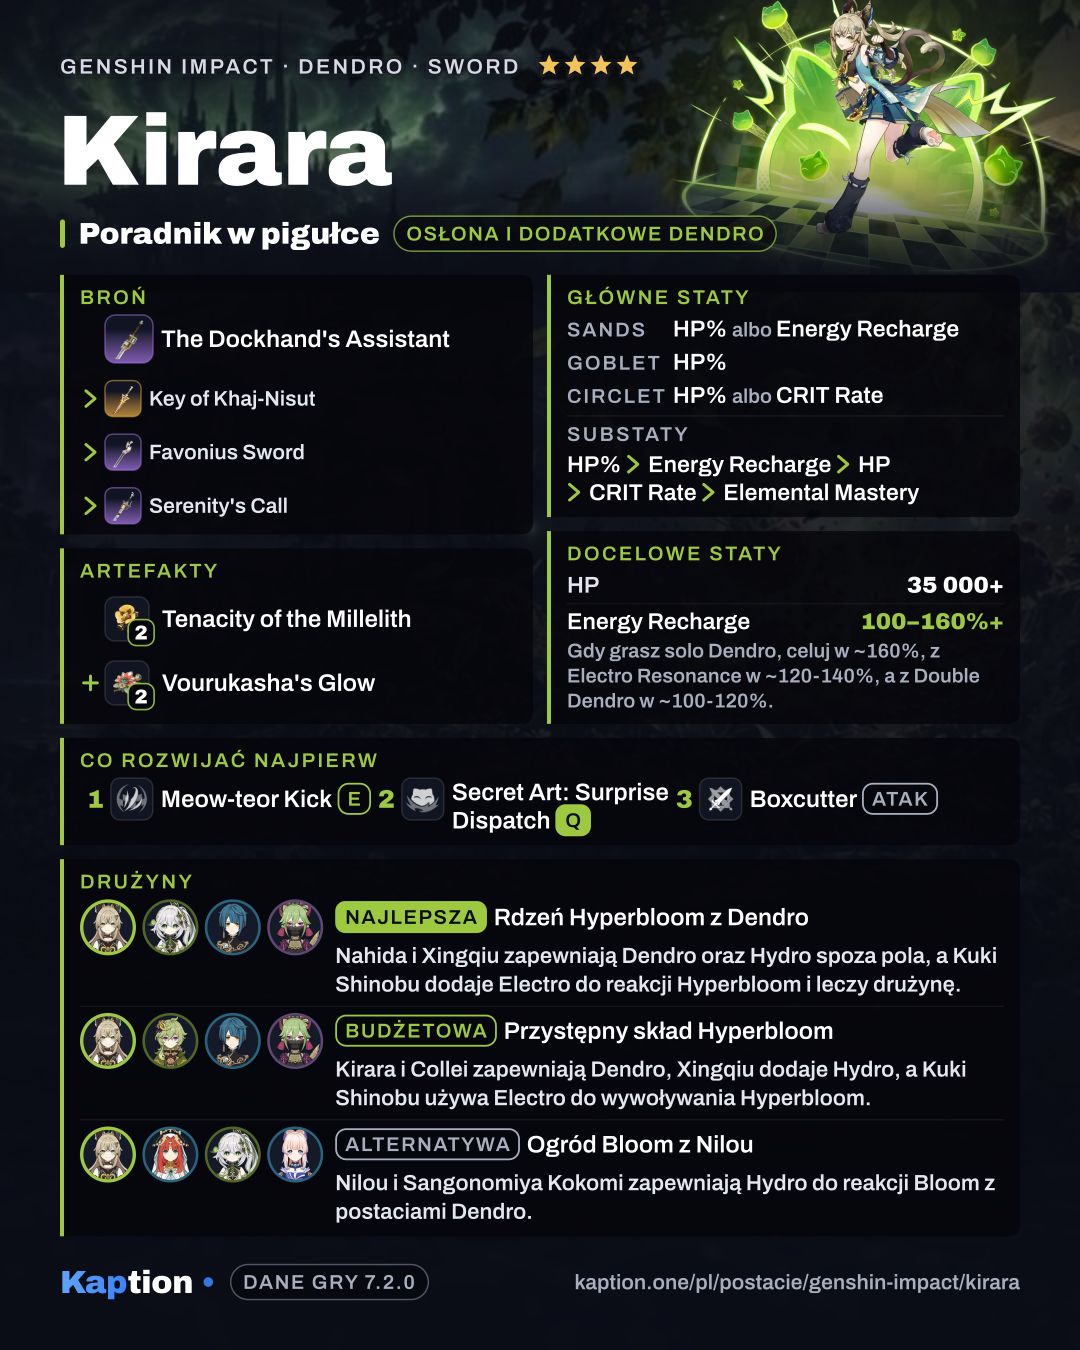
Start with Meow-teor Kick. Press it for an AoE Dendro kick and a Shield of Safe Transport; it also briefly applies Dendro to Kirara. The shield absorbs Dendro damage with 250% effectiveness. When a new shield is created, its absorption stacks with what remains of the old one, up to a limit, and its duration resets.
Hold the skill instead to create the same shield and enter Urgent Neko Parcel. Crash into enemies to deal Dendro damage and gain up to three Reinforced Packaging stacks. Each enemy can be hit once every 0.5s. When the state ends, each stack creates a shield with 20% of the skill shield's absorption; these can reinforce the existing shield.
The parcel lasts up to 10s and ends with an AoE Flipclaw Strike. Use the skill again to end it early. Sprinting or actively canceling a climb also ends it, and a longer stay in the parcel means a longer cooldown. Use Secret Art: Surprise Dispatch when you want its AoE Dendro damage and the exploding Cat Grass Cardamoms it leaves behind. Boxcutter (NA) is available for normal strikes, but the shield build does not depend on them.
Build and why
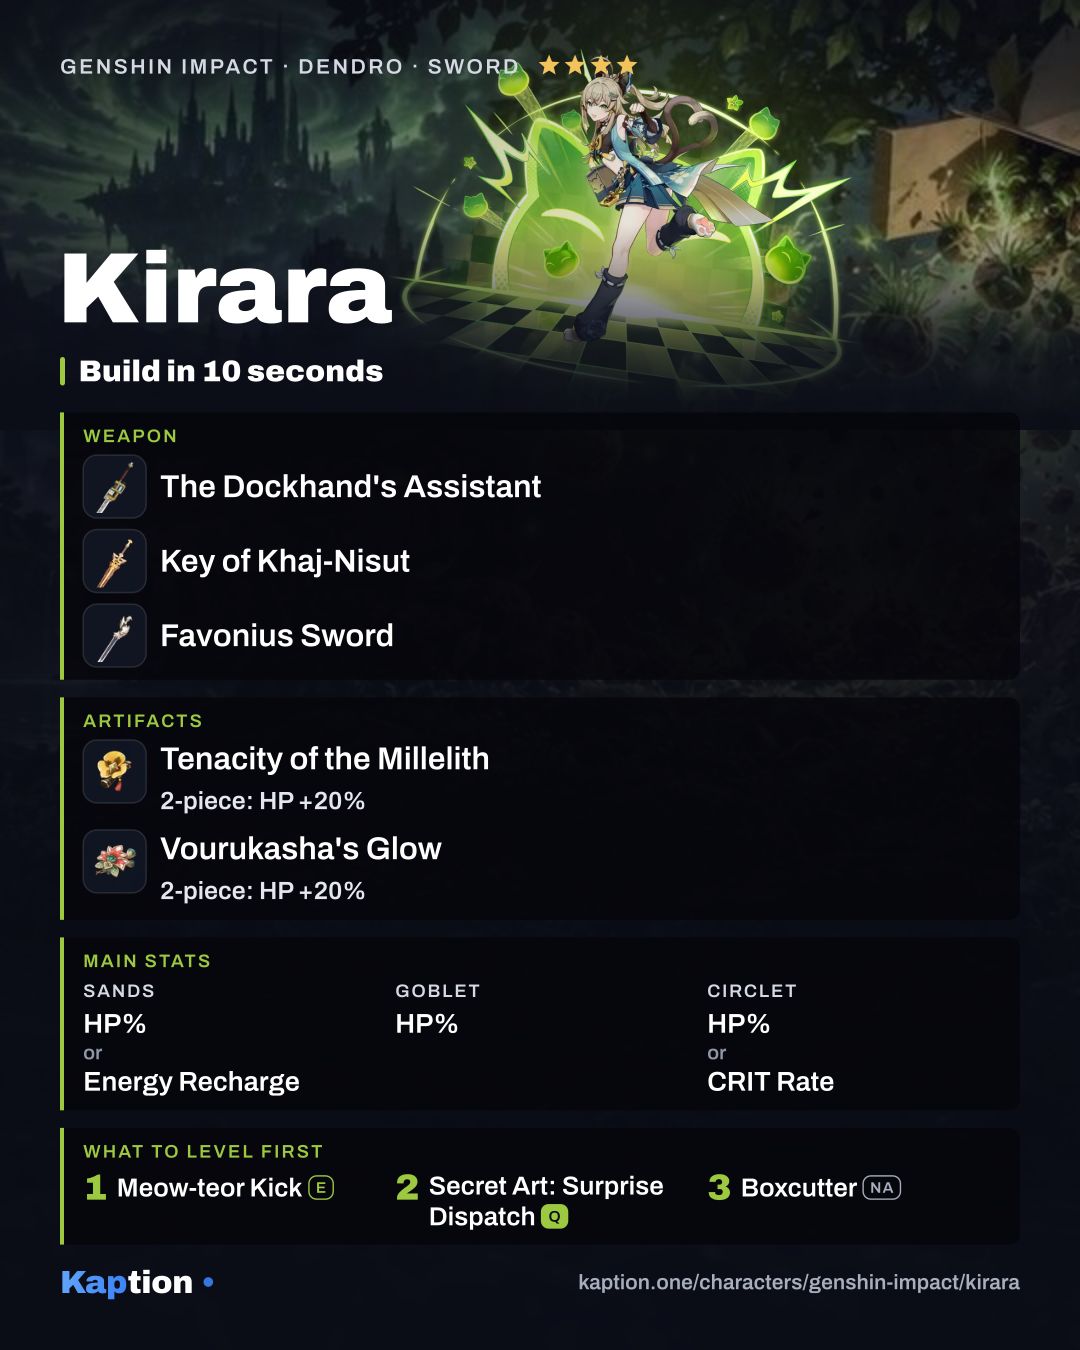
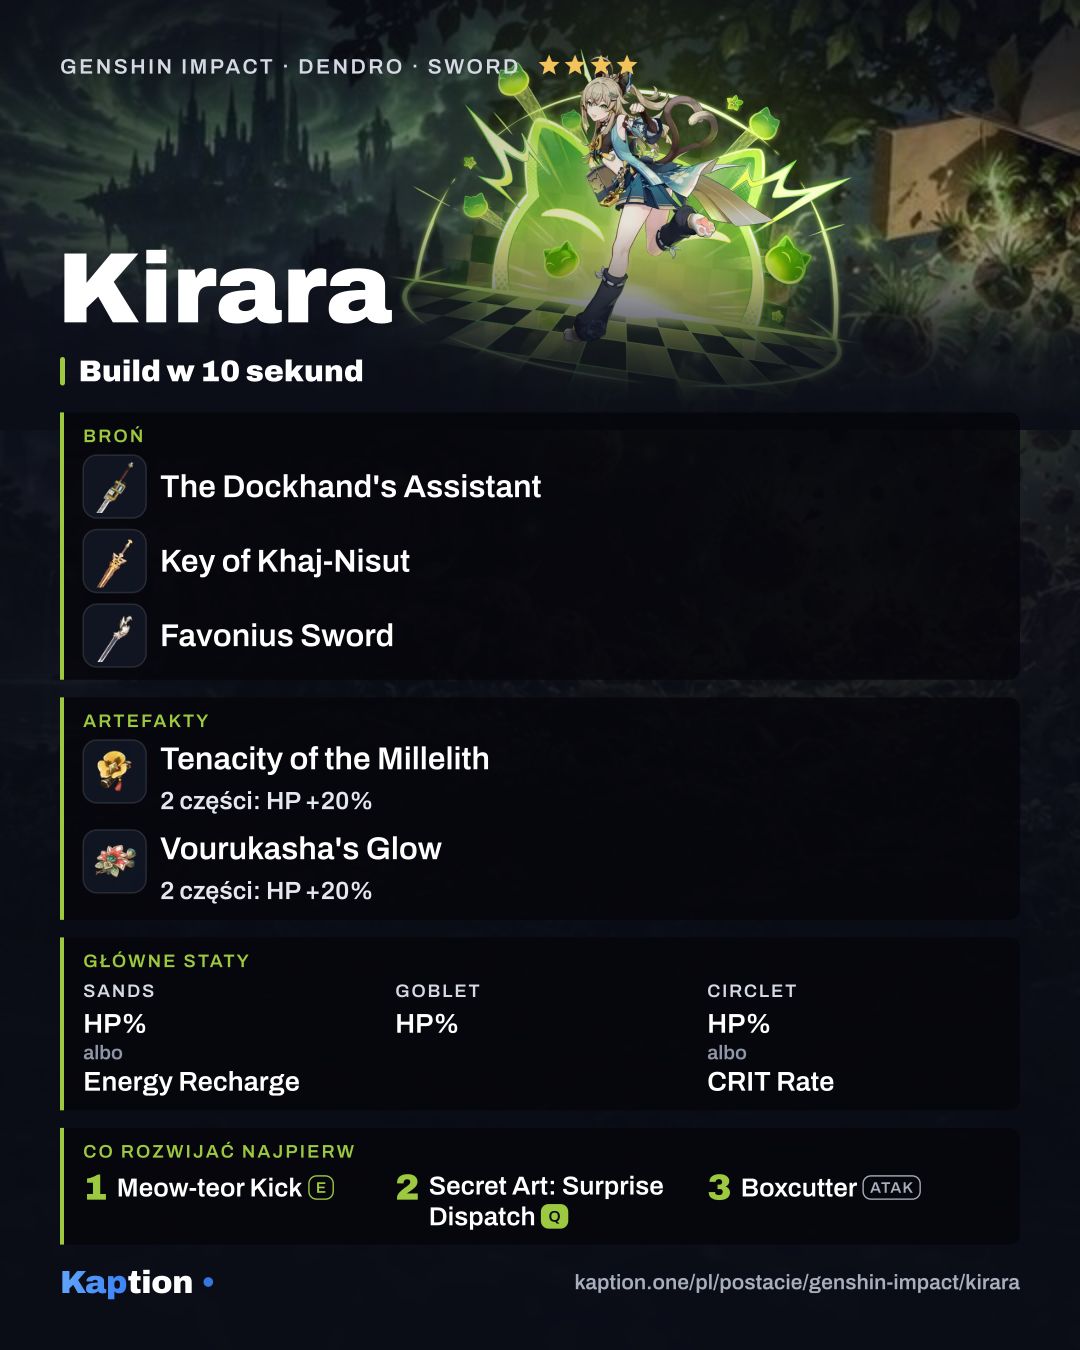
For team support, start with four pieces of Tenacity of the Millelith. Its two-piece bonus gives 20% HP. When the skill hits, the four-piece bonus gives nearby party members 20% ATK and 30% Shield Strength for 3s. The short duration matters: hits during the held skill can refresh the effect.
Four pieces of Instructor are another team option: triggering an Elemental Reaction gives the party 120 Elemental Mastery for 8s. Four pieces of Deepwood Memories suit a team that wants more Dendro damage. Skill or Burst hits reduce the target's Dendro RES by 30% for 8s. For a straightforward shield build, two pieces each of Tenacity of the Millelith and Vourukasha's Glow give 20% HP apiece.
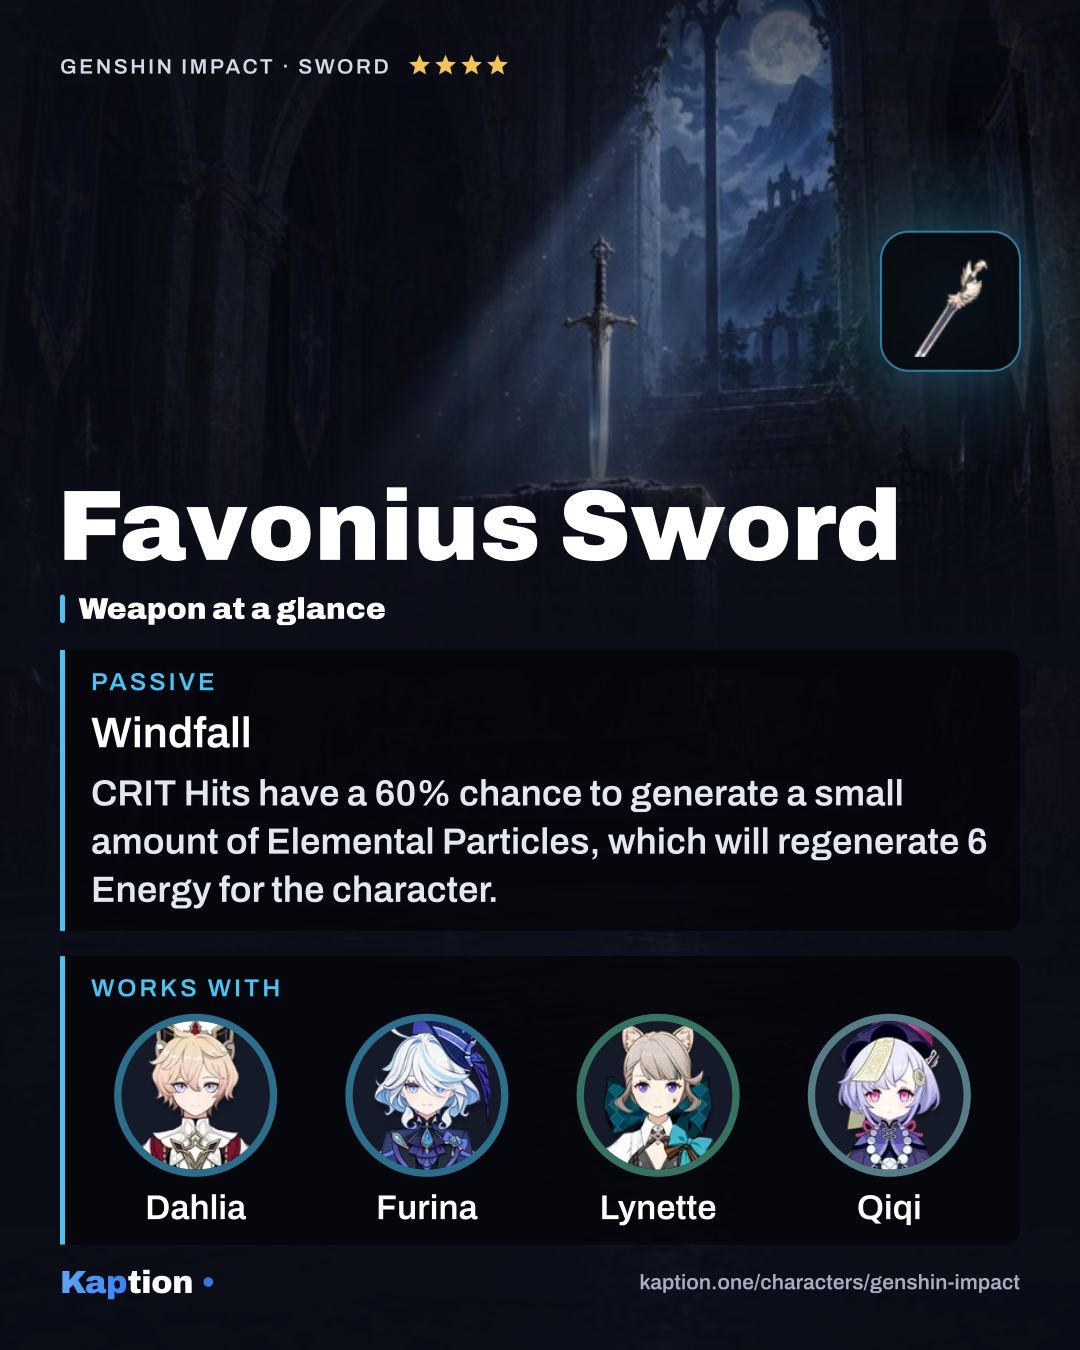
Use HP Percentage on the goblet and normally on the sands and circlet. Energy Recharge is an alternative sands stat if you want the Burst more often. Look for HP Percentage, Energy Recharge and HP in substats; CRIT Rate is useful with Favonius Sword. Elemental Mastery is another useful substat for reaction teams.
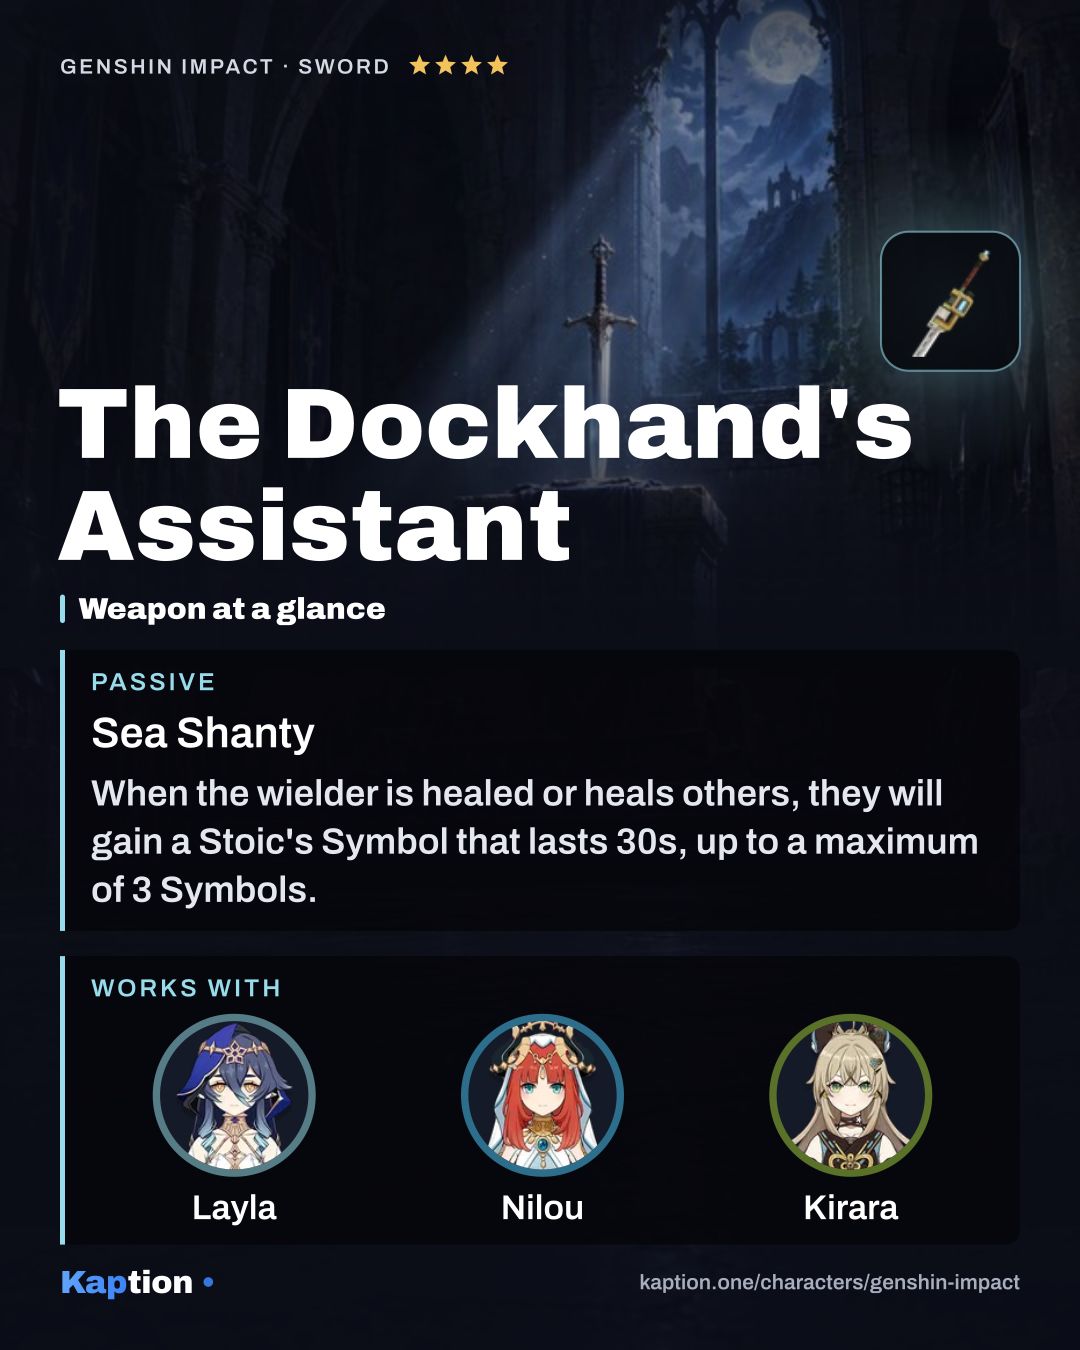
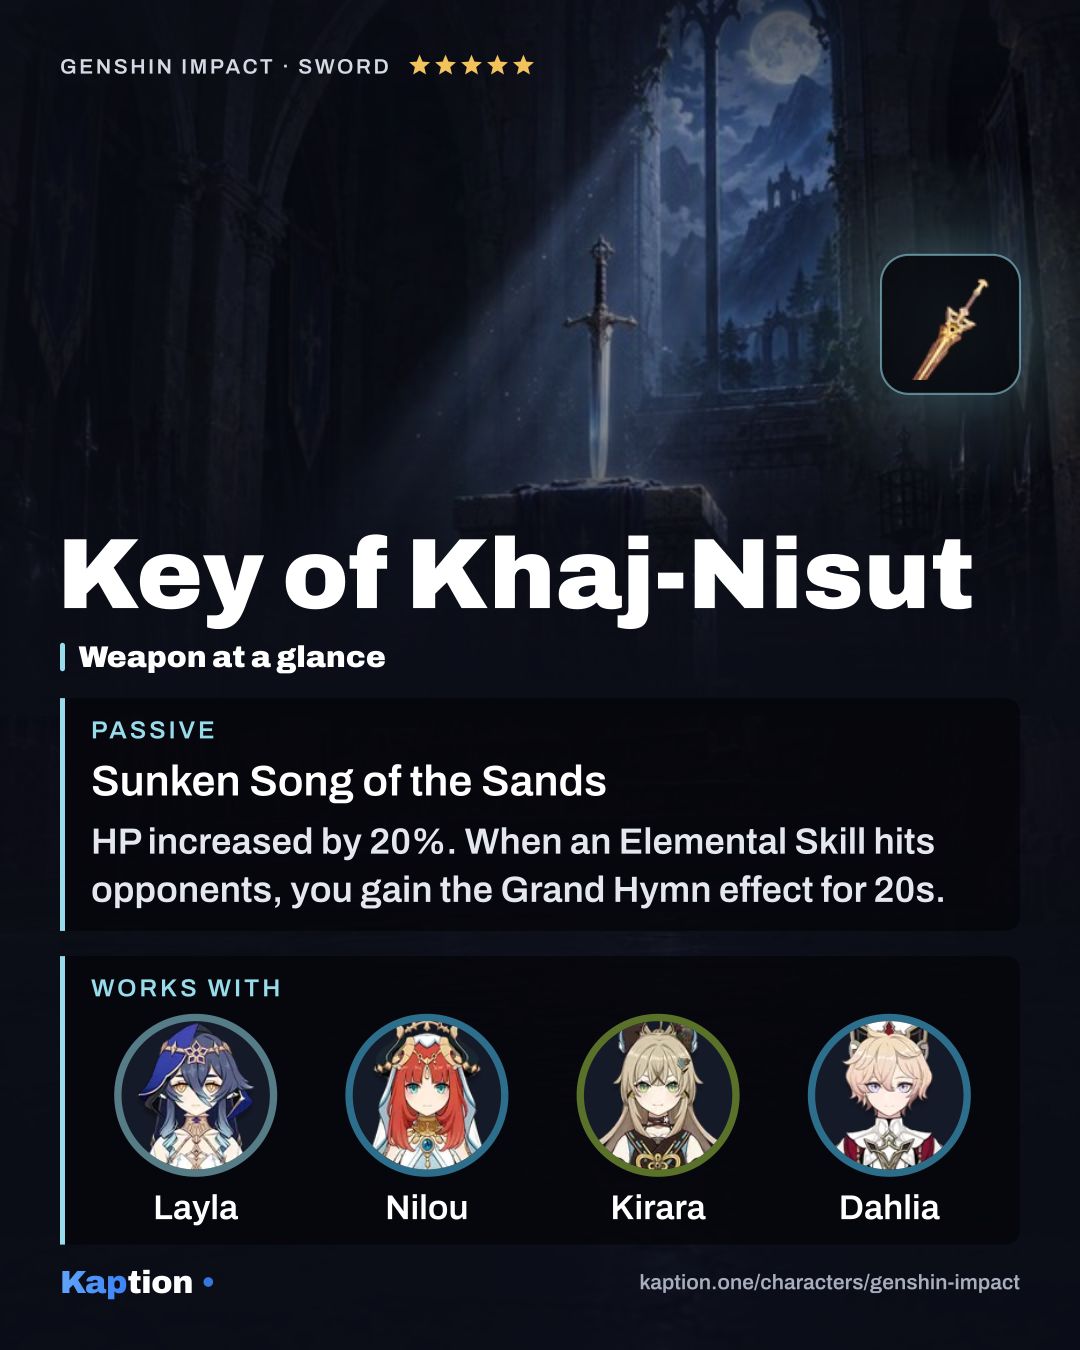
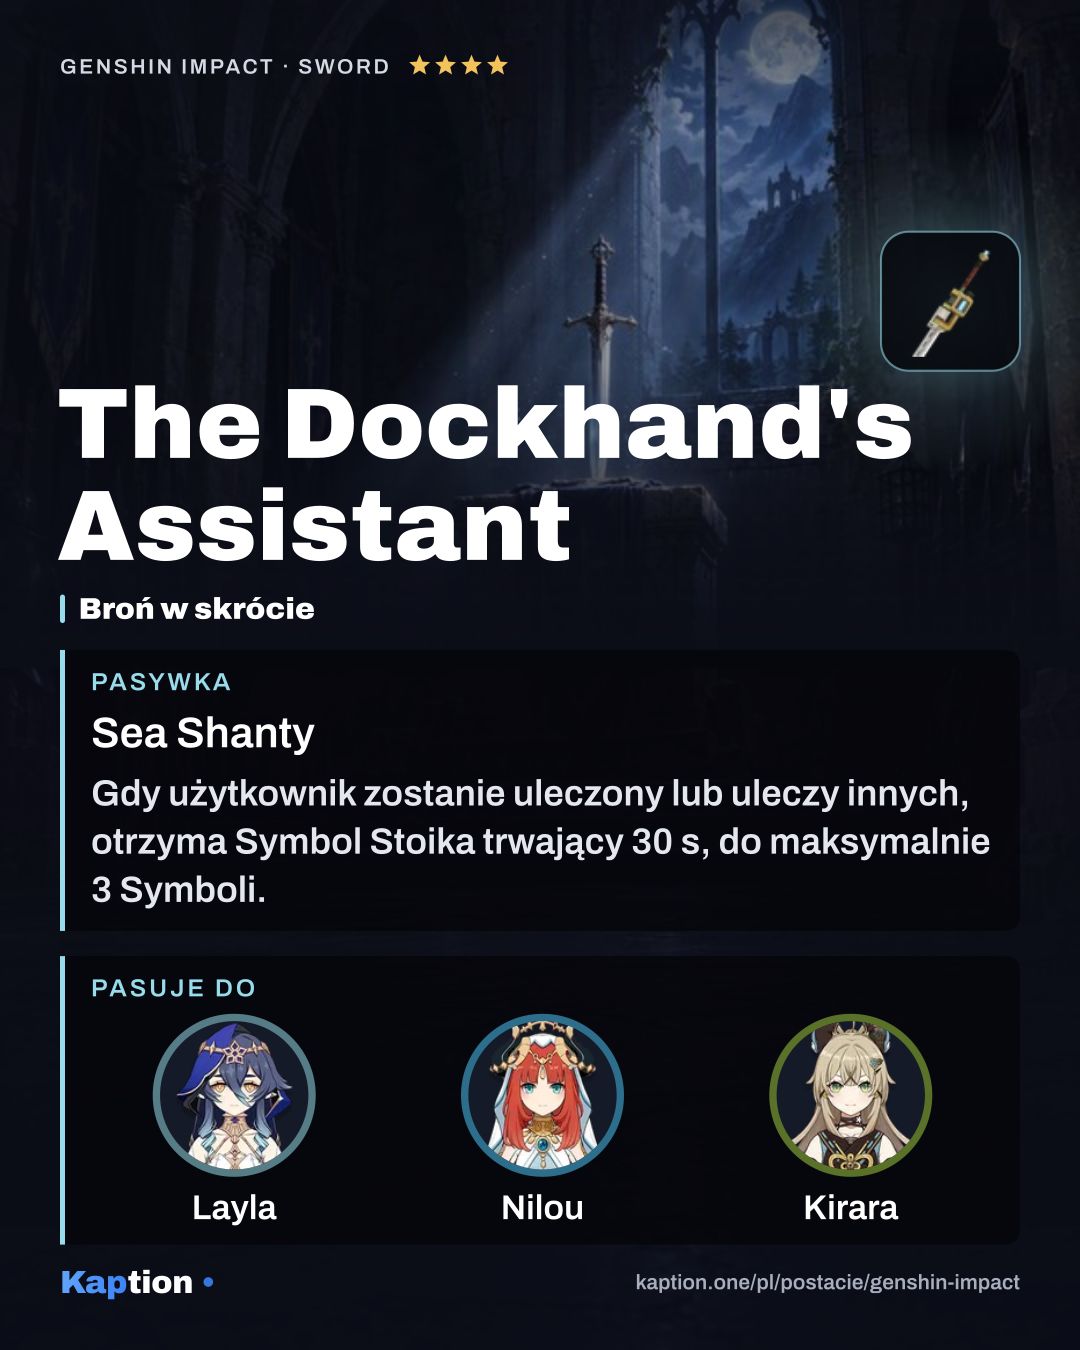
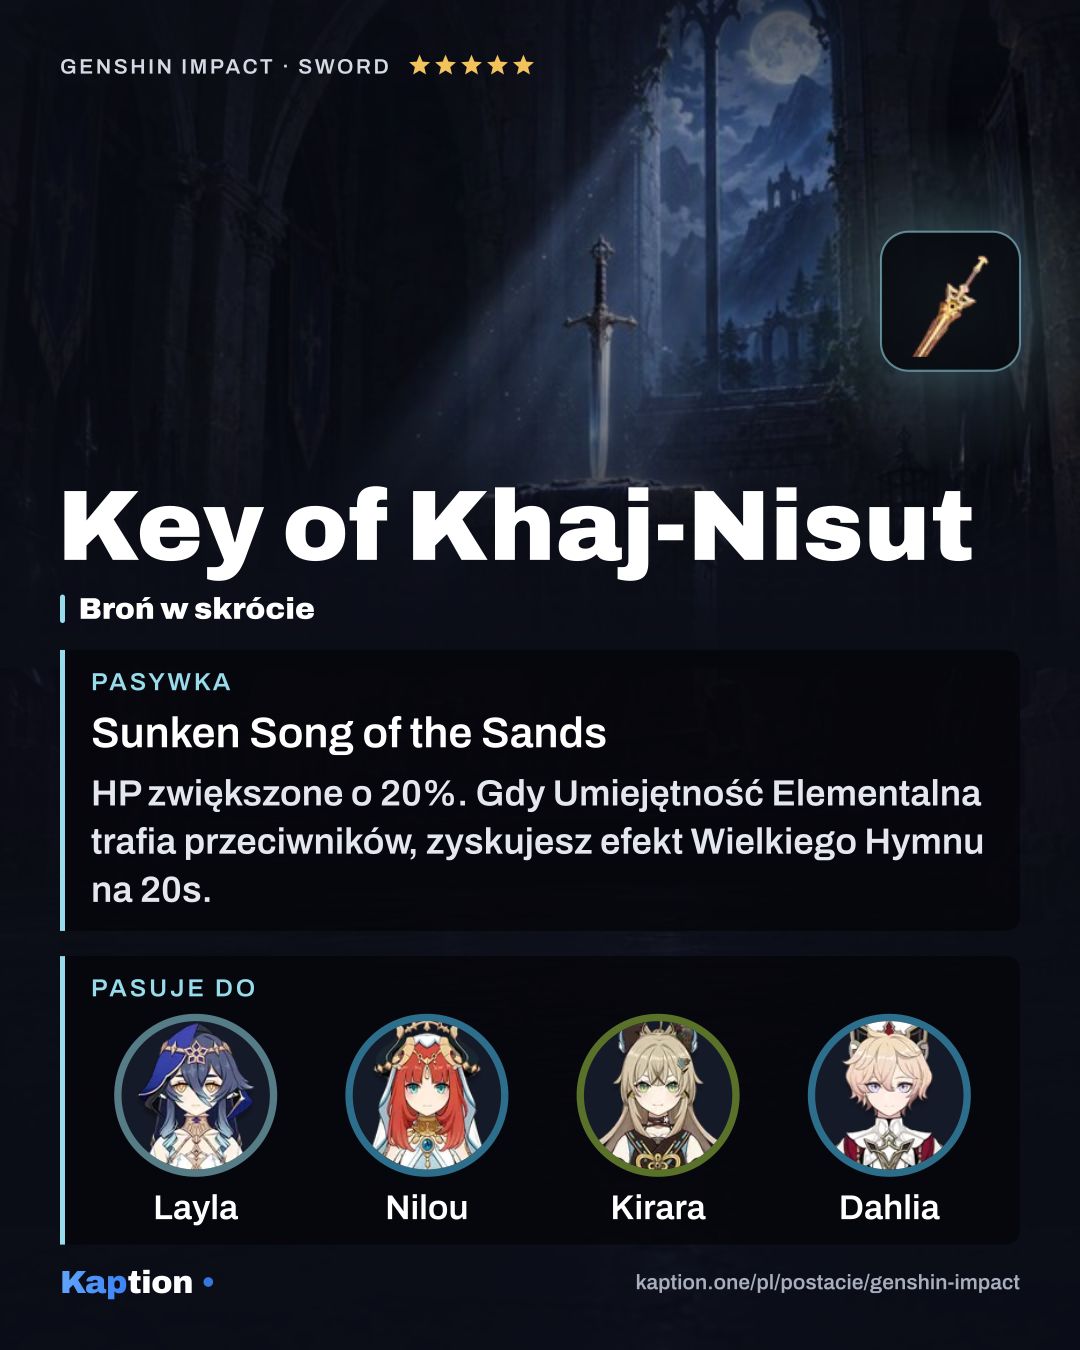
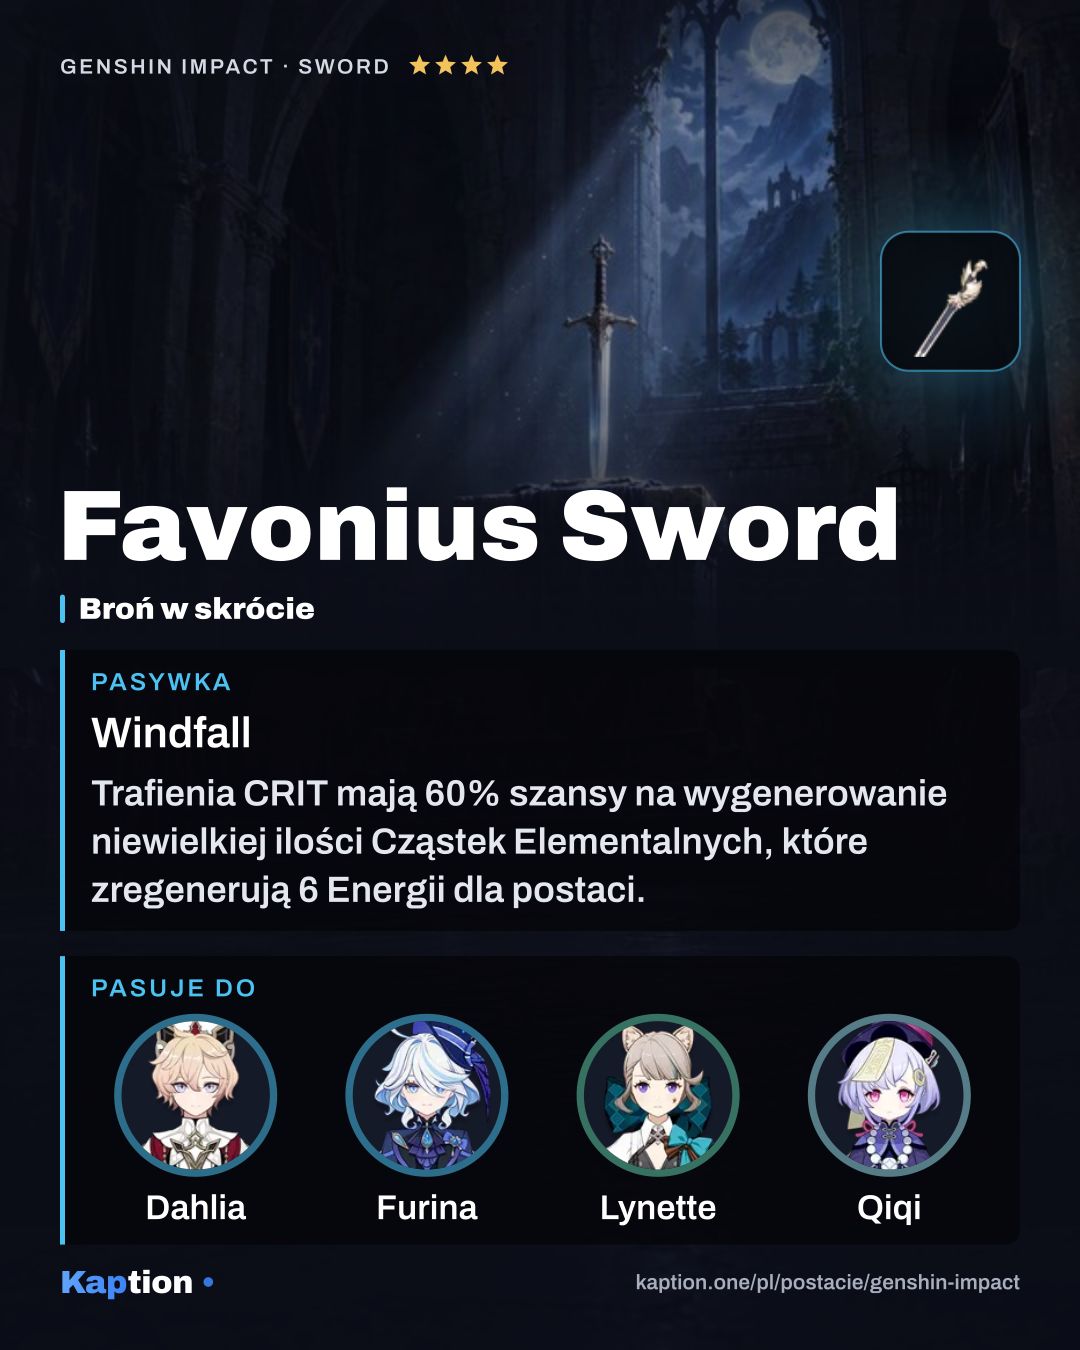
Key of Khaj-Nisut is the first weapon to look at: it increases HP by 20%, and skill hits build stacks that can grant the party Elemental Mastery. Favonius Sword trades that HP increase for a chance to generate particles on CRIT hits. The Dockhand's Assistant is another option: after Kirara is healed, using her skill or Burst consumes its accumulated Symbols for Elemental Mastery and Energy.
Leveling priority
For a shield-focused build, I would level Meow-teor Kick first because it creates the shield you rely on. Secret Art: Surprise Dispatch is a reasonable second choice for its damage. Leave Boxcutter (NA) until last if Kirara rarely uses normal attacks.
For maximum character ascension, gather 420,000 Mora, 168 Amakumo Fruit and 46 Evergloom Ring. You also need the Nagadus Emerald materials: 1 Sliver, 9 Fragment, 9 Chunk and 6 Gemstone. The enemy drops are 18 Spectral Husk, 30 Spectral Heart and 36 Spectral Nucleus.
To max all three talents, you need 4,957,500 Mora, 3 Crown of Insight, 9 Teachings of Transience, 63 Guide to Transience, 114 Philosophies of Transience and 18 Everamber. Talent upgrades also use 18 Spectral Husk, 66 Spectral Heart and 93 Spectral Nucleus.
Constellations worth it
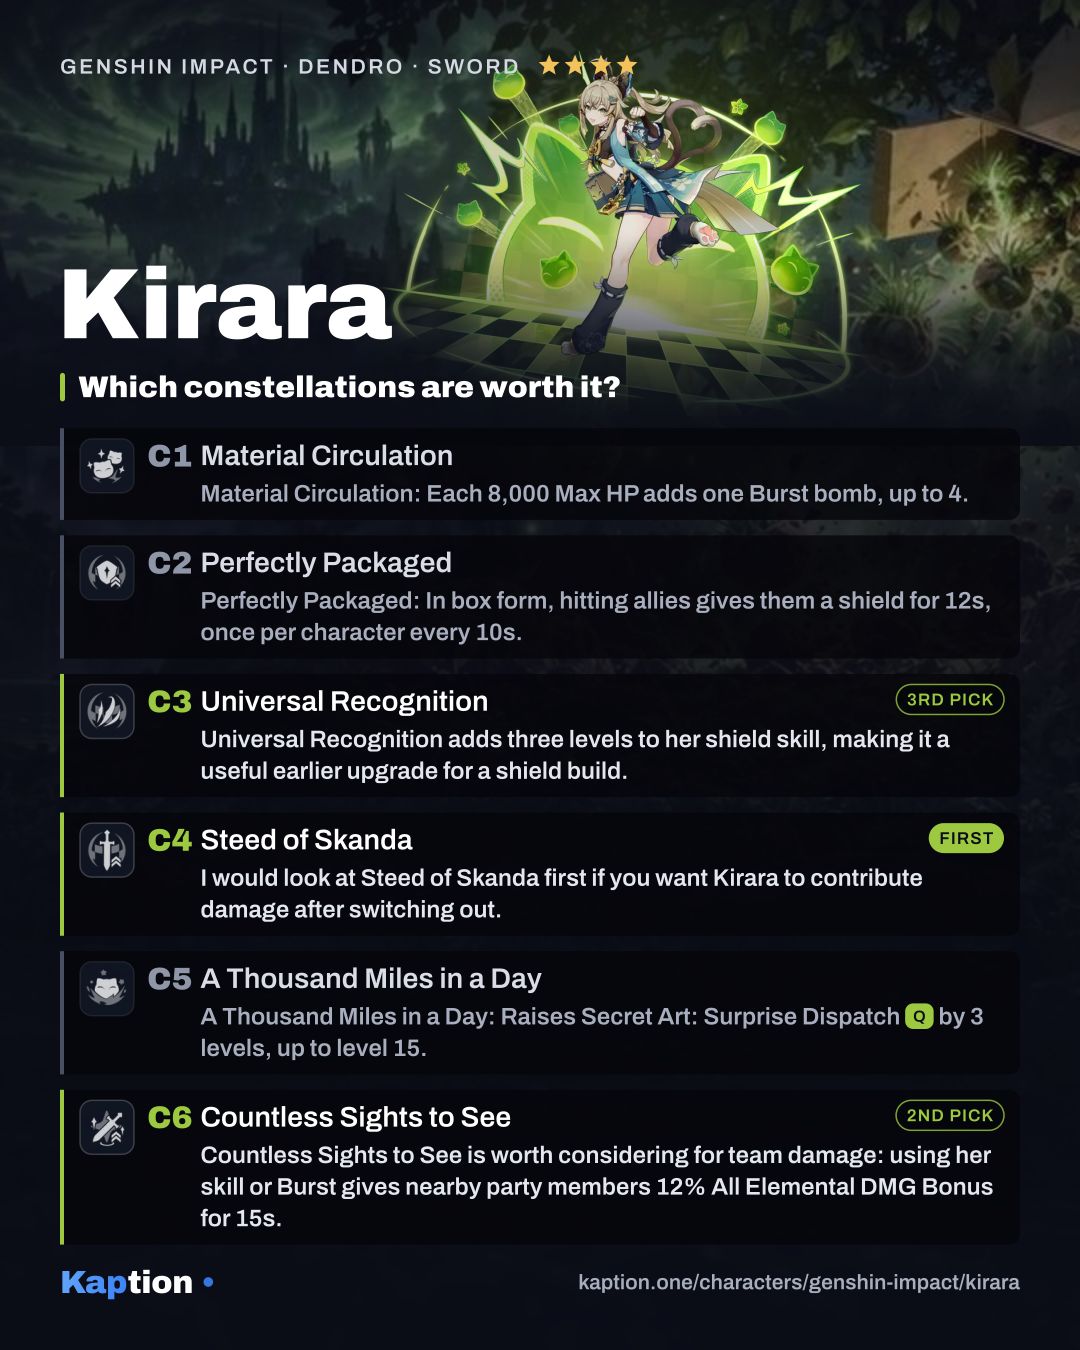
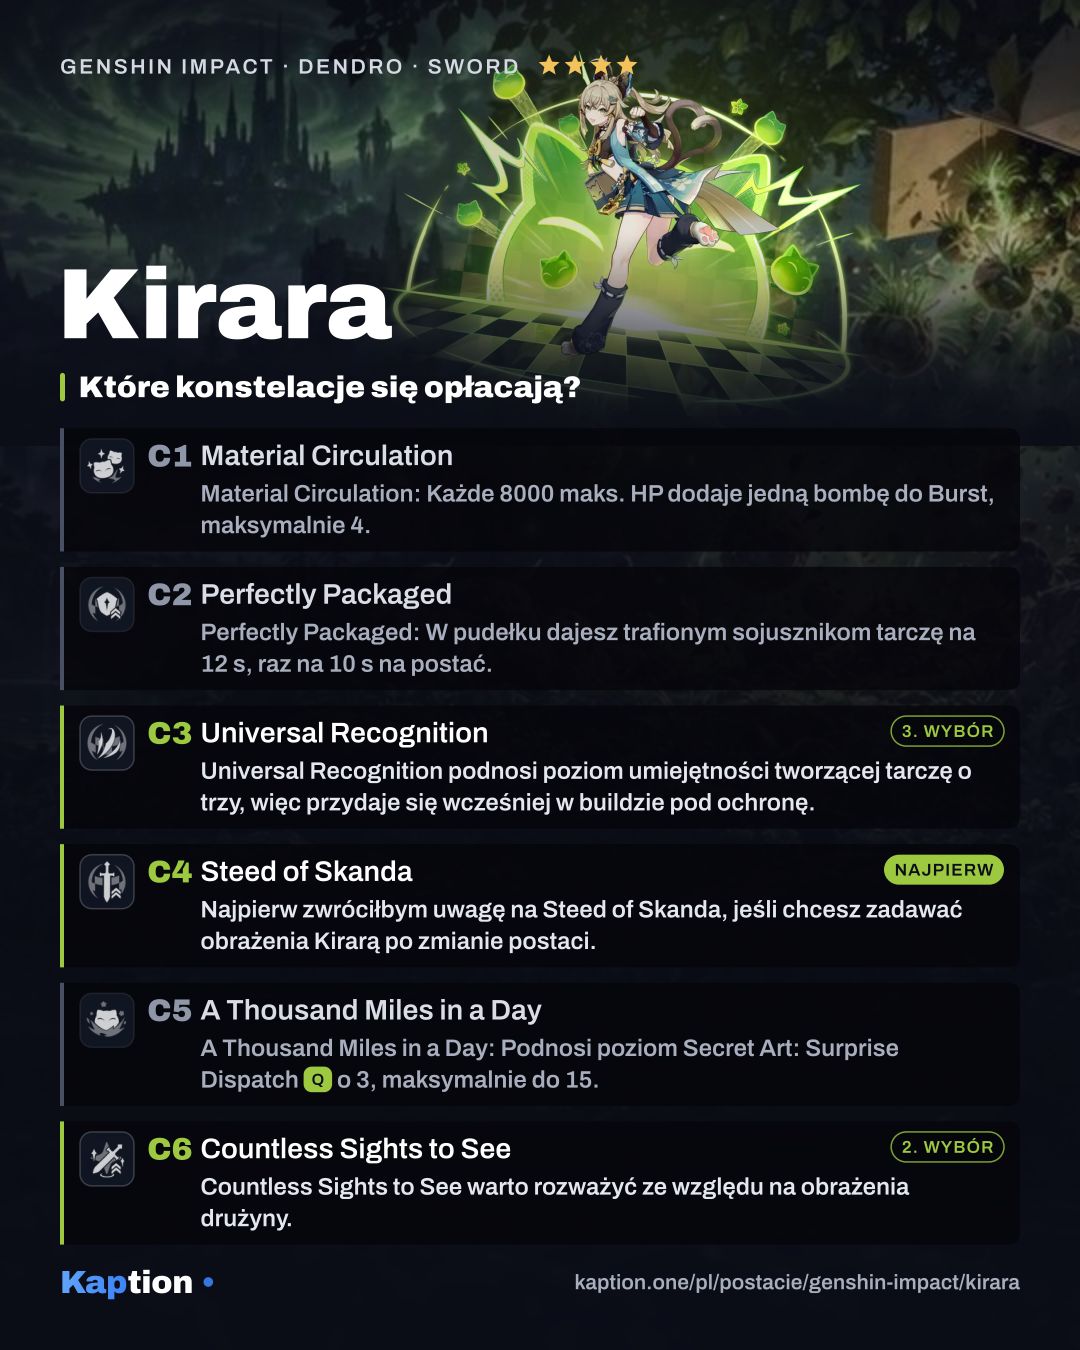
I would look at Steed of Skanda first if you want Kirara to contribute damage after switching out. A protected active character's Normal, Charged or Plunging Attack can trigger her coordinated Dendro hit. It deals 200% of Kirara's ATK as Burst damage and can trigger once every 3.8s, with the cooldown shared across the party.
Countless Sights to See is worth considering for team damage: using her skill or Burst gives nearby party members 12% All Elemental DMG Bonus for 15s. Universal Recognition adds three levels to her shield skill, making it a useful earlier upgrade for a shield build.
Material Circulation adds Burst projectiles based on Max HP, up to four. Perfectly Packaged gives other party members shields when Kirara crashes into them in parcel form, which is useful when playing together. A Thousand Miles in a Day adds three Burst levels. You can stop before pursuing these specifically if their benefits do not suit your team; constellations unlock in order.
Teams
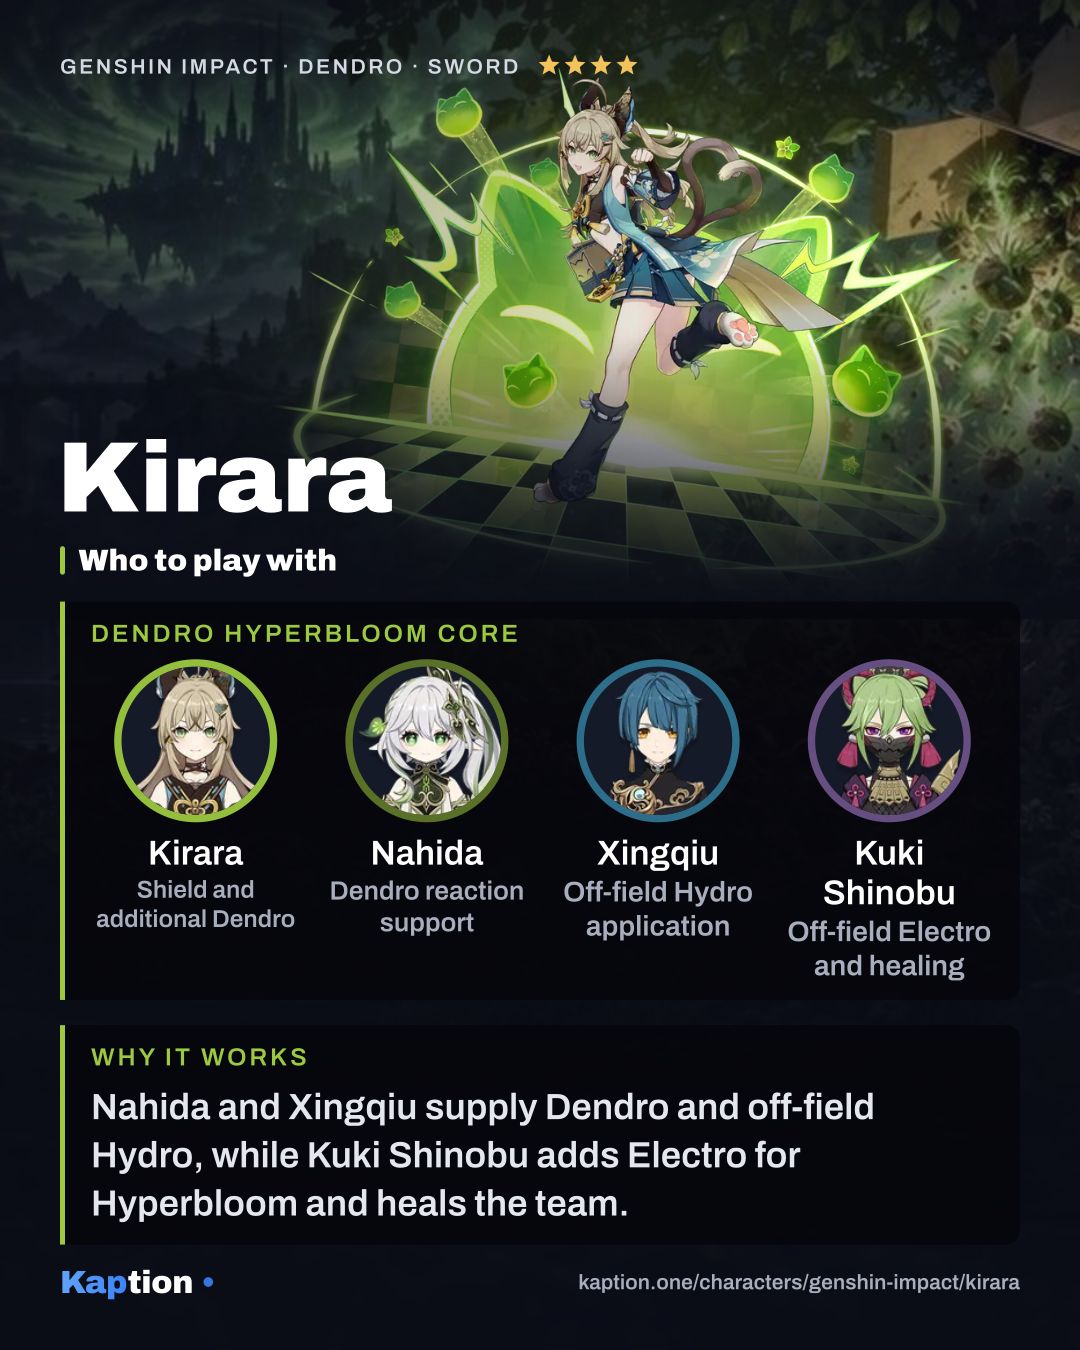
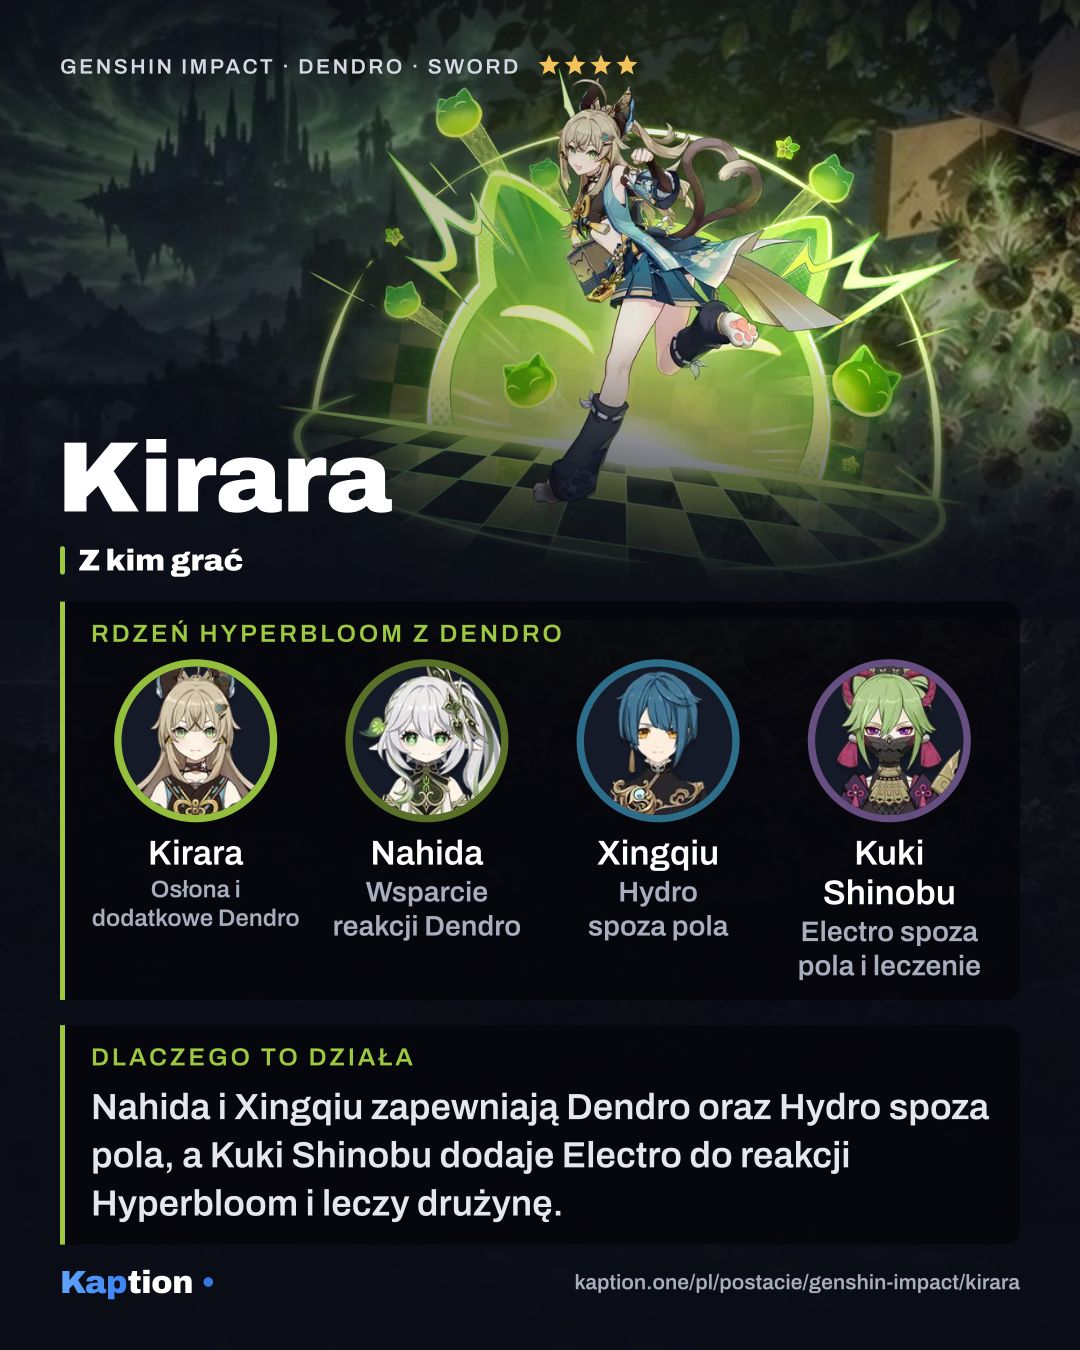
Kirara brings shielding and Dendro damage to a reaction team. An Electro option such as Fischl or Keqing can play alongside her in a Quicken team; Nahida is a listed Dendro teammate if you want another Dendro character. Kirara can protect the active character while the others attack.
For a Bloom-oriented team, consider Nilou with Hydro support from Barbara and another Dendro character such as Nahida. Barbara also fills a healing role, which is useful because Kirara's shield does not restore HP. Xingqiu is another listed Hydro teammate to consider. Match Kirara's artifact set to the damage and reactions your chosen team uses.
Common mistakes
Do not assume the parcel strengthens the shield without hitting enemies. You need impacts for Reinforced Packaging, and the added absorption is subject to the shield's limit. If you only need quick protection, pressing Meow-teor Kick avoids spending time in parcel form.
Do not sprint while you still want to stay in the parcel, since that ends the state. Also avoid ignoring CRIT Rate when using Favonius Sword: its particle effect needs a CRIT hit and is not guaranteed on every one. Watch the shield and refresh it rather than assuming it will last through every encounter.