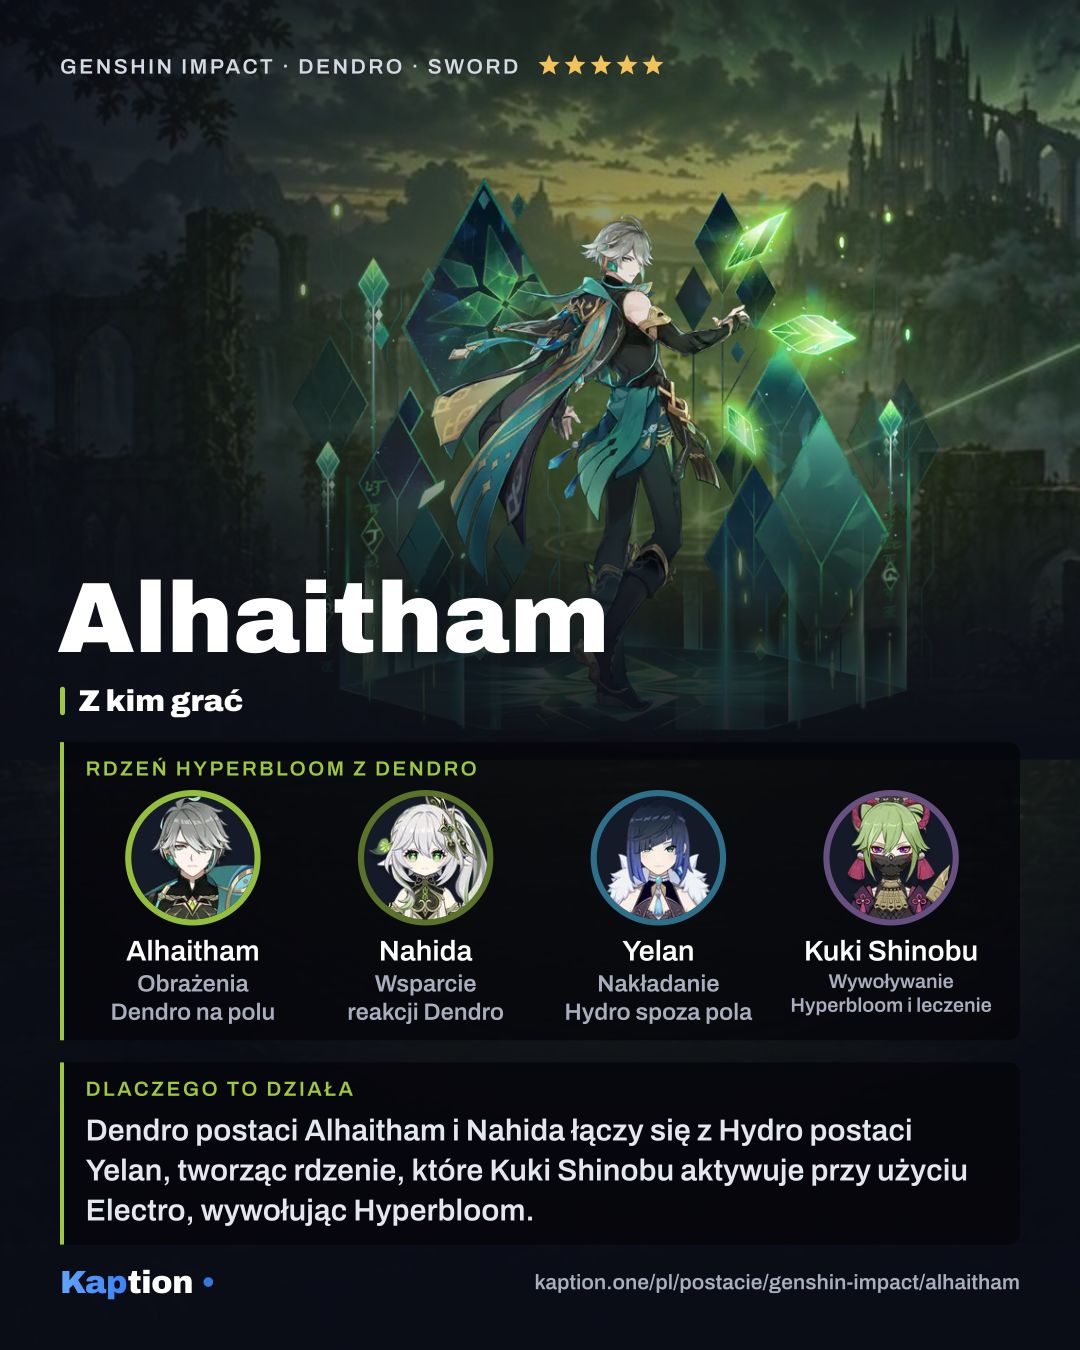



























Guide
How the kit works
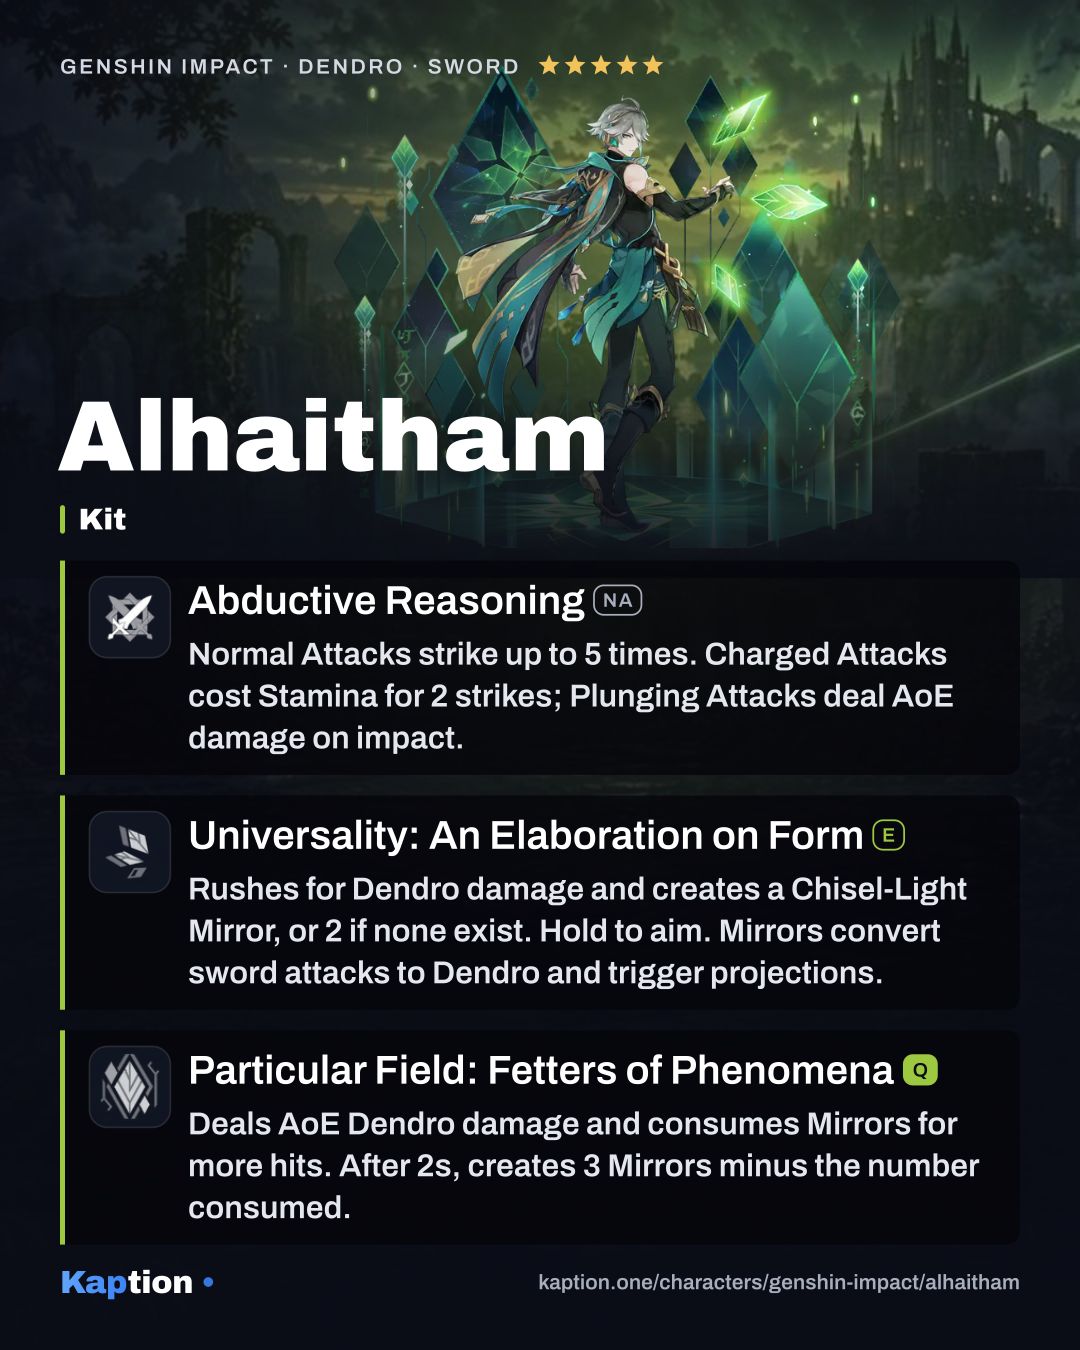
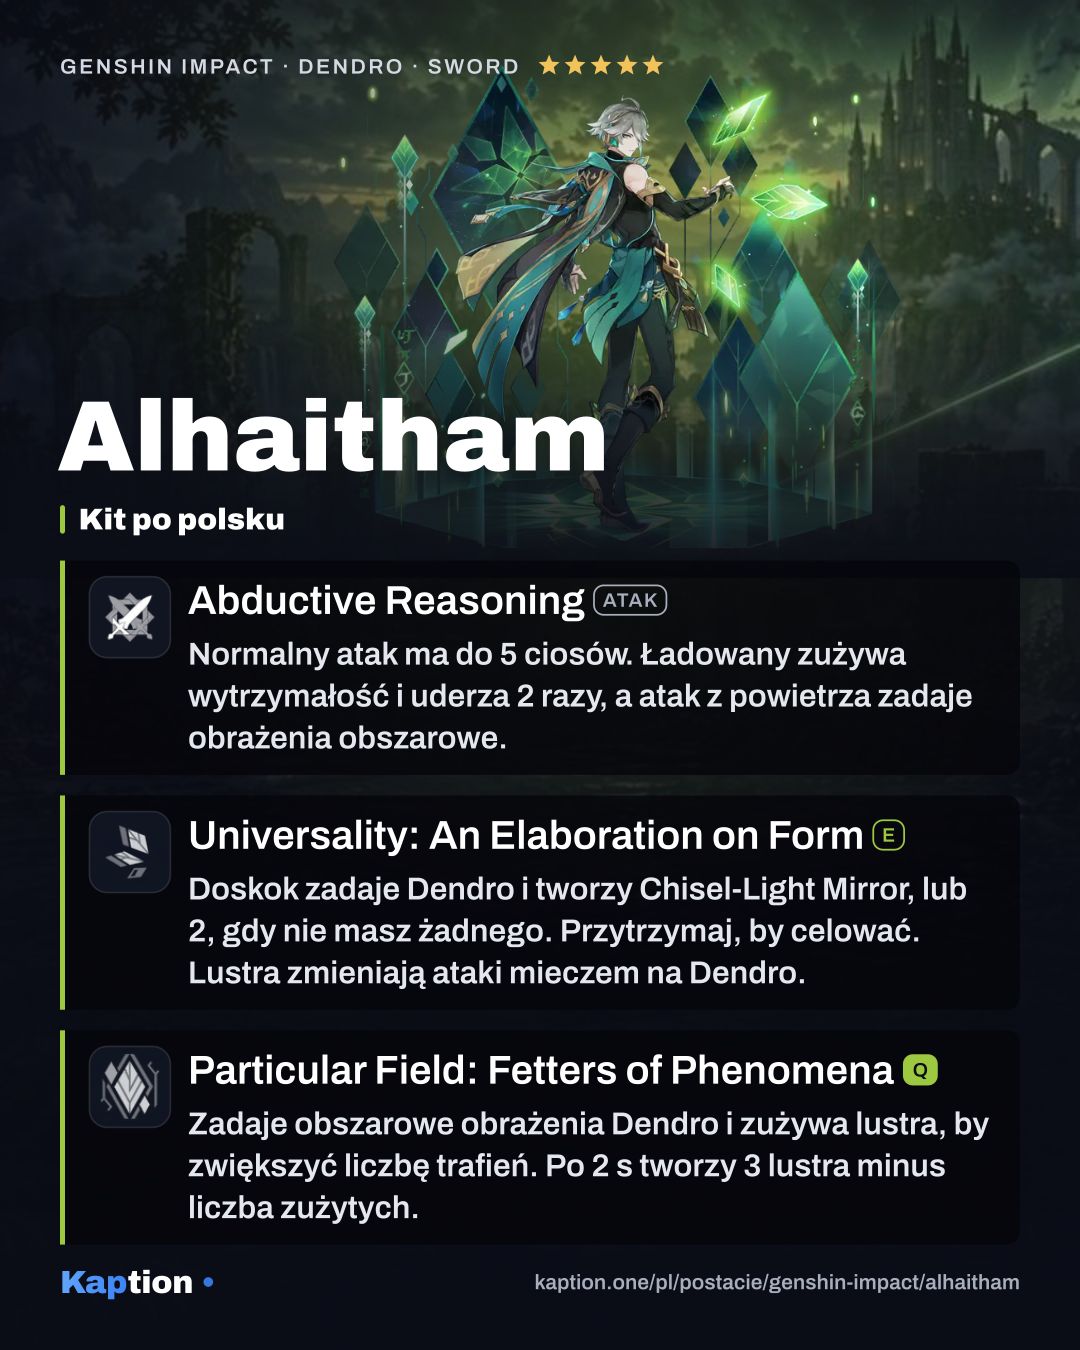
One way to start is Particular Field: Fetters of Phenomena with no Mirrors active. It deals several instances of area Dendro damage, then creates three Mirrors after 2 seconds. If you use it with Mirrors, it consumes them for more damage instances and creates fewer new ones.
With Mirrors active, use Abductive Reasoning (NA) to hit enemies. Normal, Charged and Plunging Attacks become Dendro damage that cannot be overridden. When they hit, they also trigger an area Projection Attack whose damage depends on the number of Mirrors.
Mirrors disappear one at a time, and Alhaitham can have at most three. A Charged or Plunging Attack that hits creates one Mirror through his passive, once every 12 seconds. Use it to replenish a Mirror after one disappears.
Universality: An Elaboration on Form rushes forward and deals Dendro damage. It creates one Mirror, or two if none are active. You can hold it to aim the rush. Use it to replenish Mirrors while attacking, or start with it when the Burst is unavailable.
Build and why
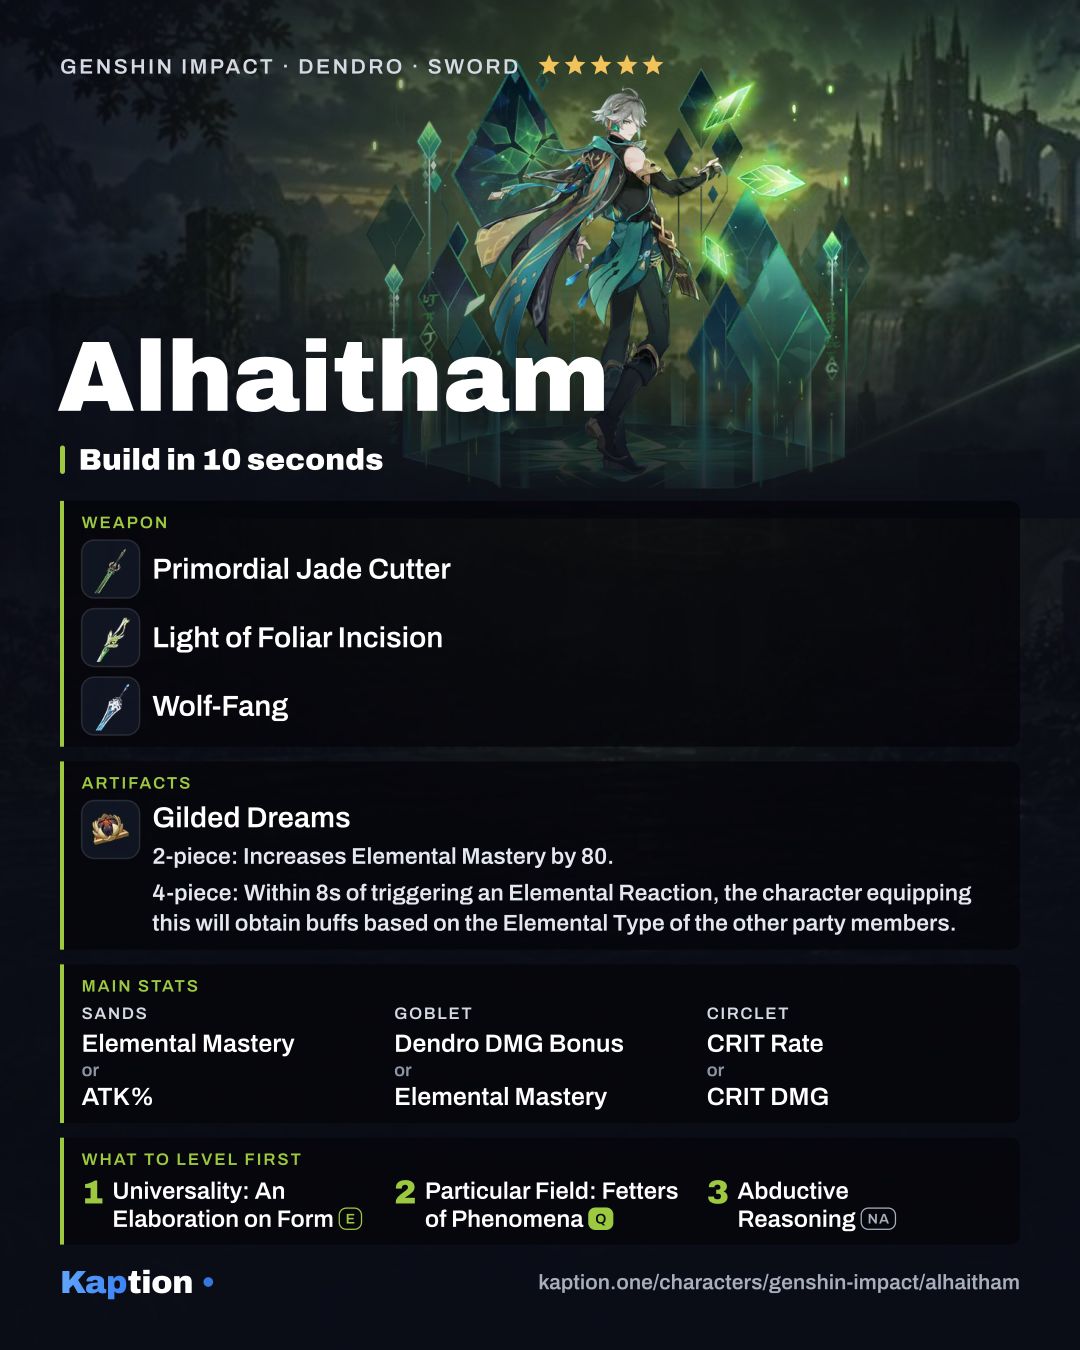
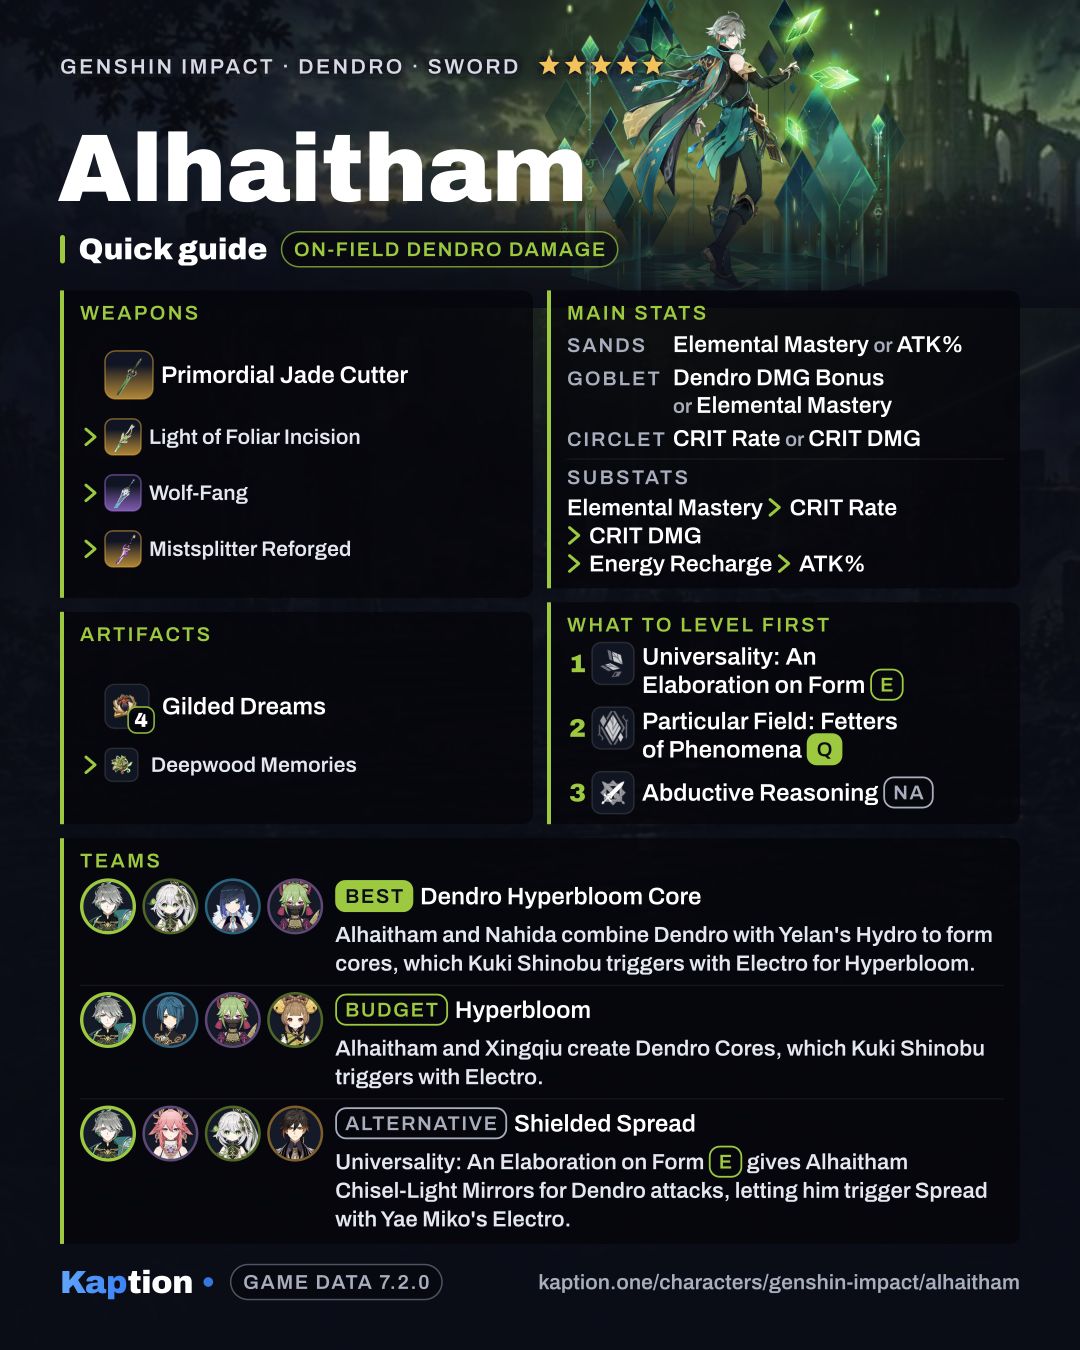
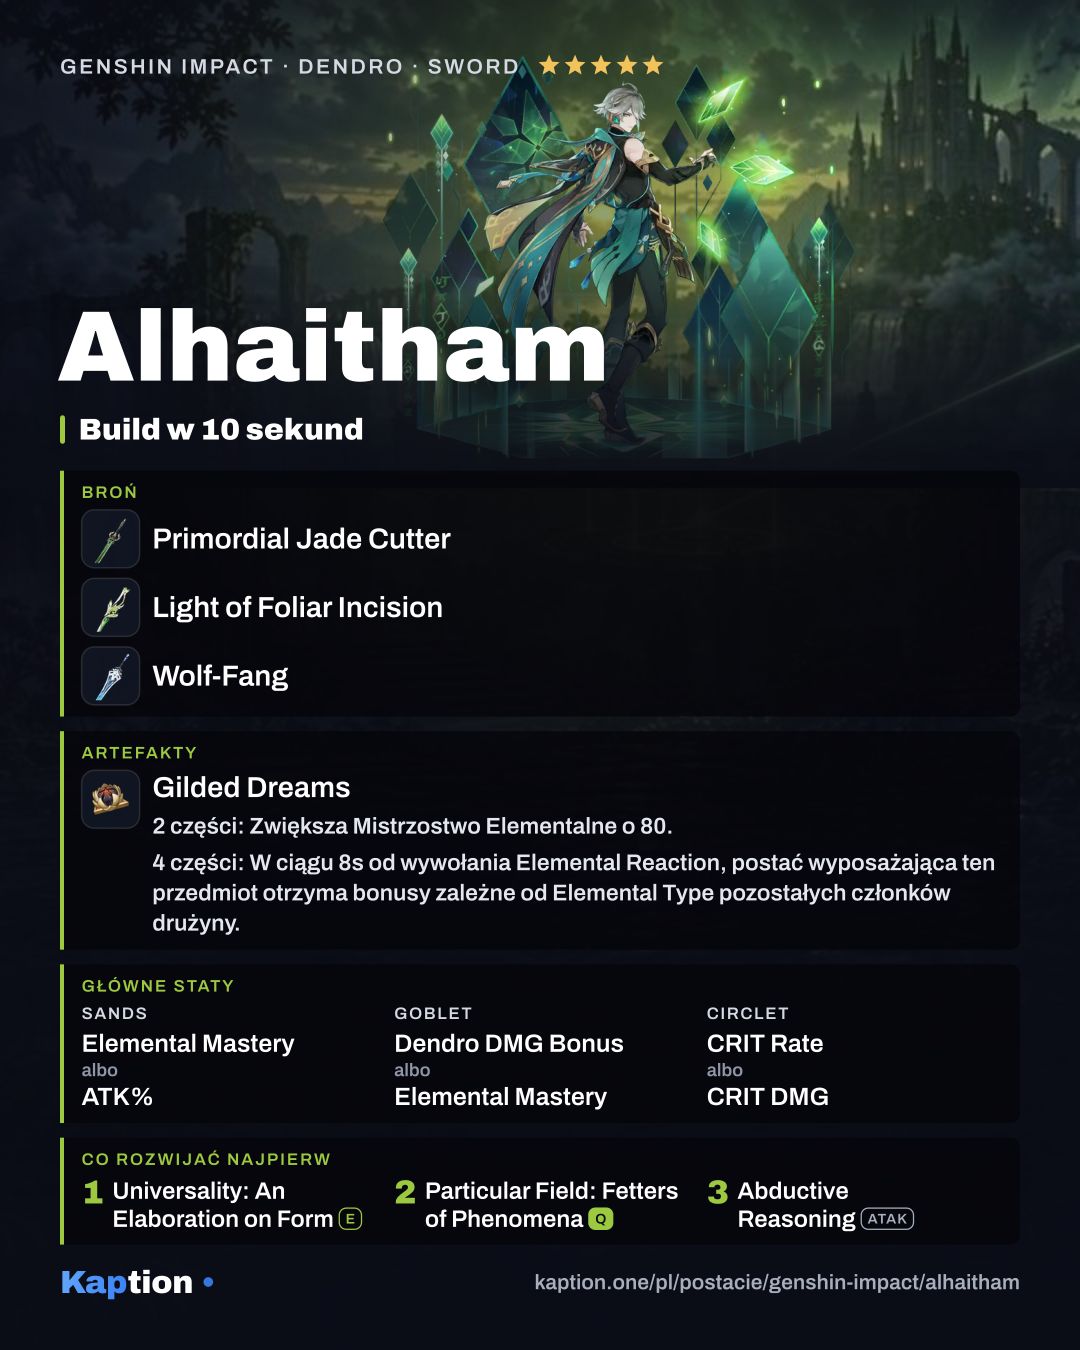
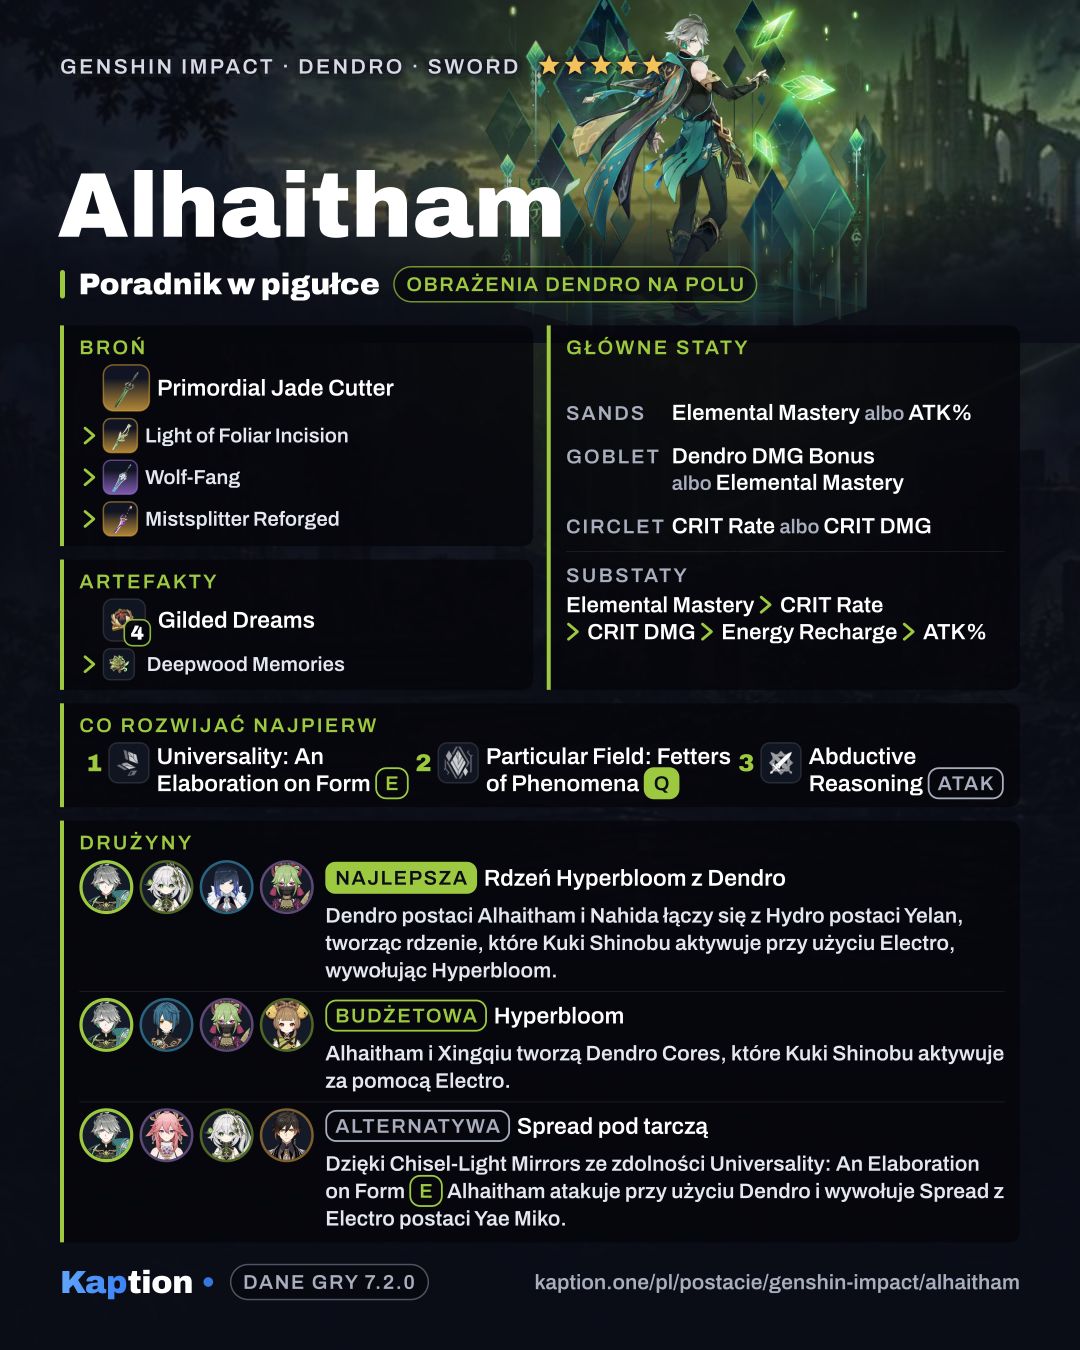
Start with four pieces of Gilded Dreams. Its two-piece bonus gives 80 Elemental Mastery, and its four-piece effect grants ATK or Elemental Mastery based on the other party members' elements after a reaction. Both can help Alhaitham deal damage.
Four pieces of Deepwood Memories are another option: they give 15% Dendro DMG Bonus and reduce a target's Dendro RES by 30% for 8 seconds after a Skill or Burst hit. You can instead put the set on a teammate and keep Gilded Dreams on Alhaitham. Two pieces each of Wanderer's Troupe and Deepwood Memories are a useful mixed set.
Use Elemental Mastery or ATK Percentage on the sands, Dendro DMG Bonus or Elemental Mastery on the goblet, and CRIT Rate or CRIT DMG on the circlet. For substats, look for Elemental Mastery first, followed by CRIT Rate, CRIT DMG, Energy Recharge and ATK Percentage.
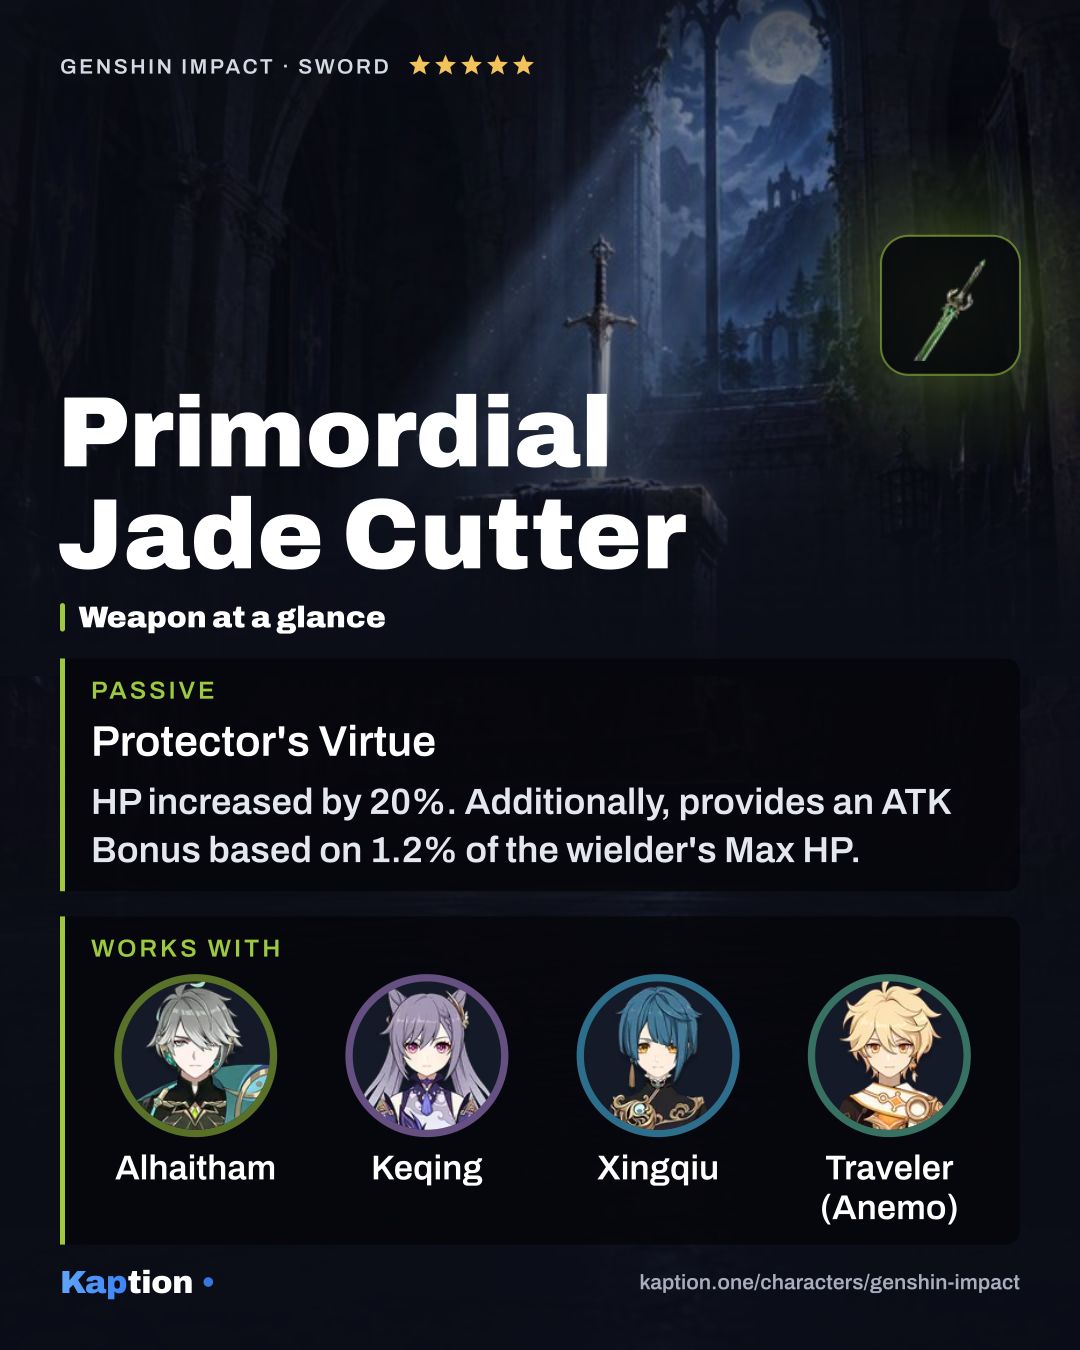
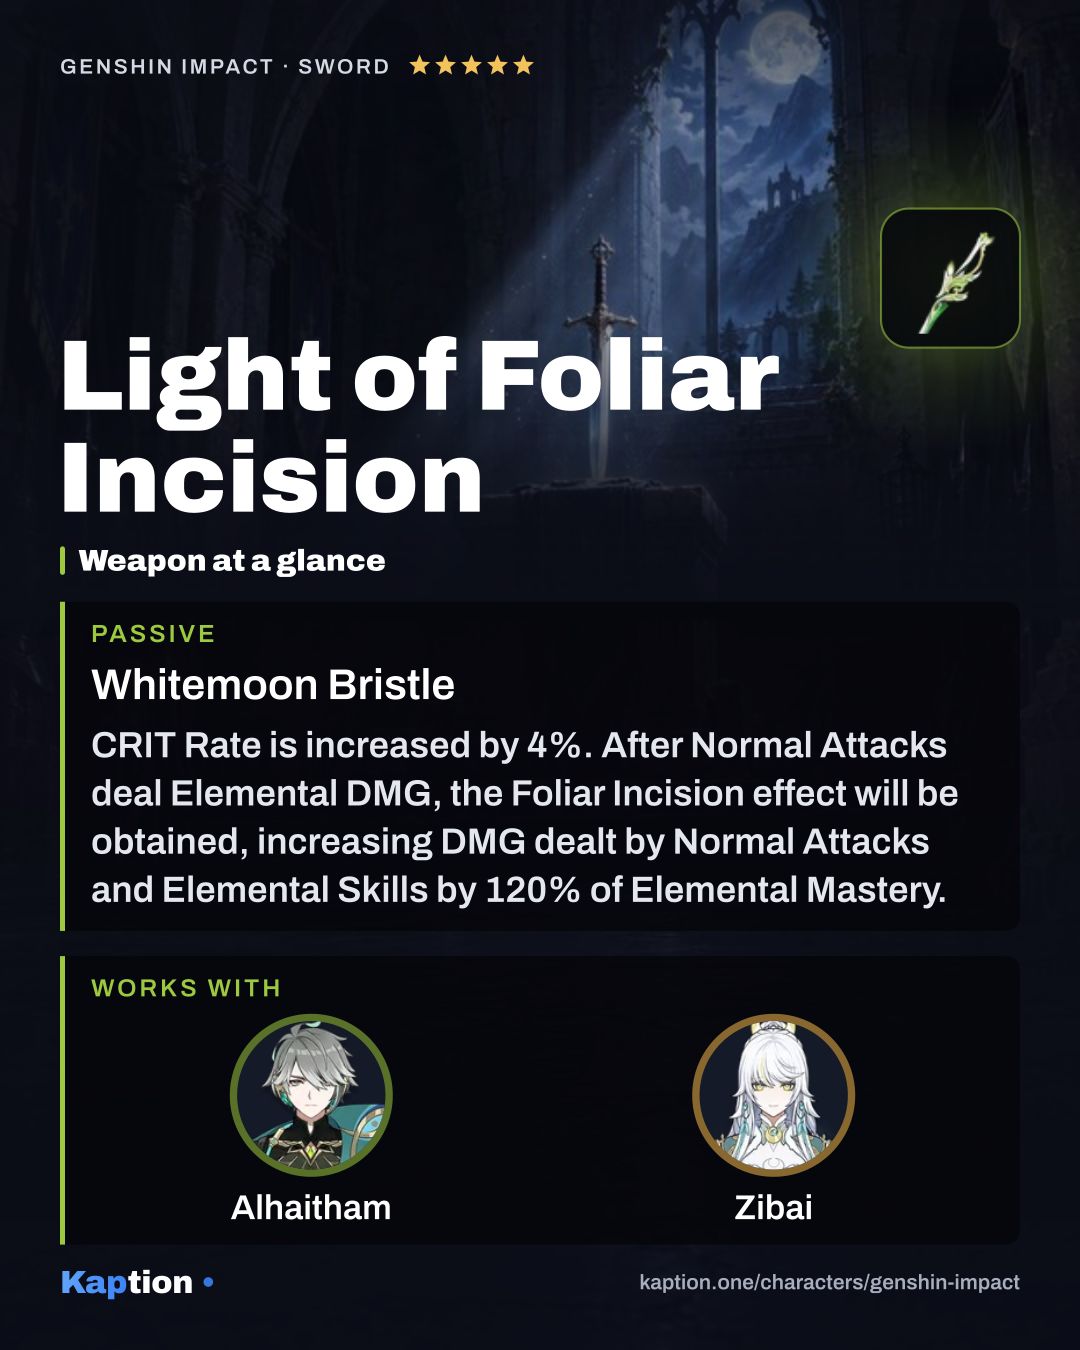
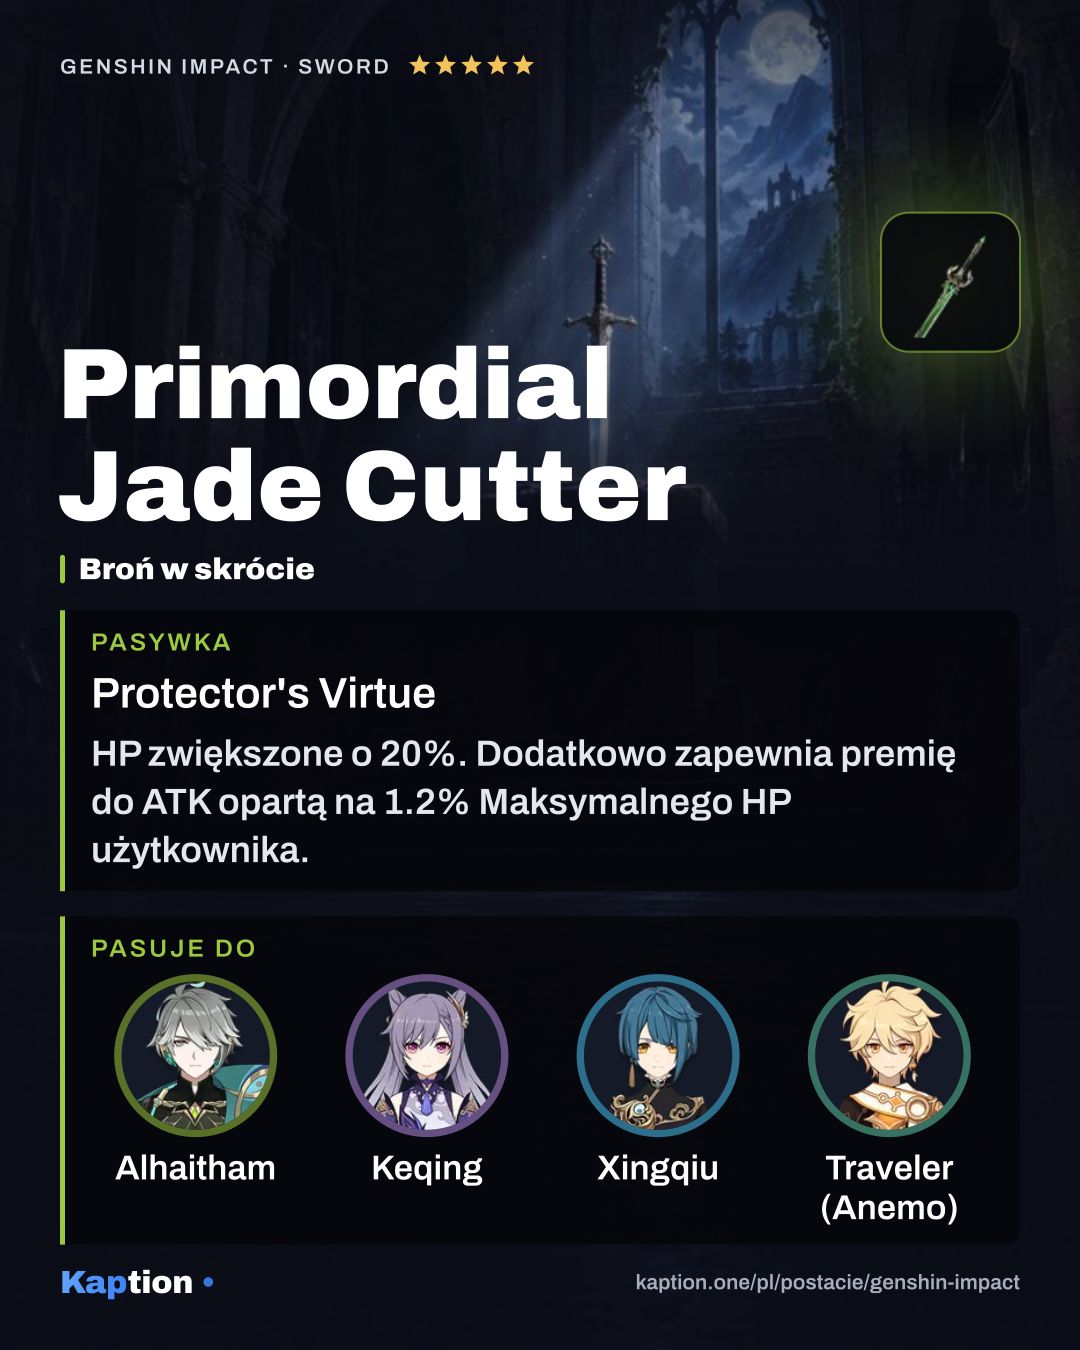
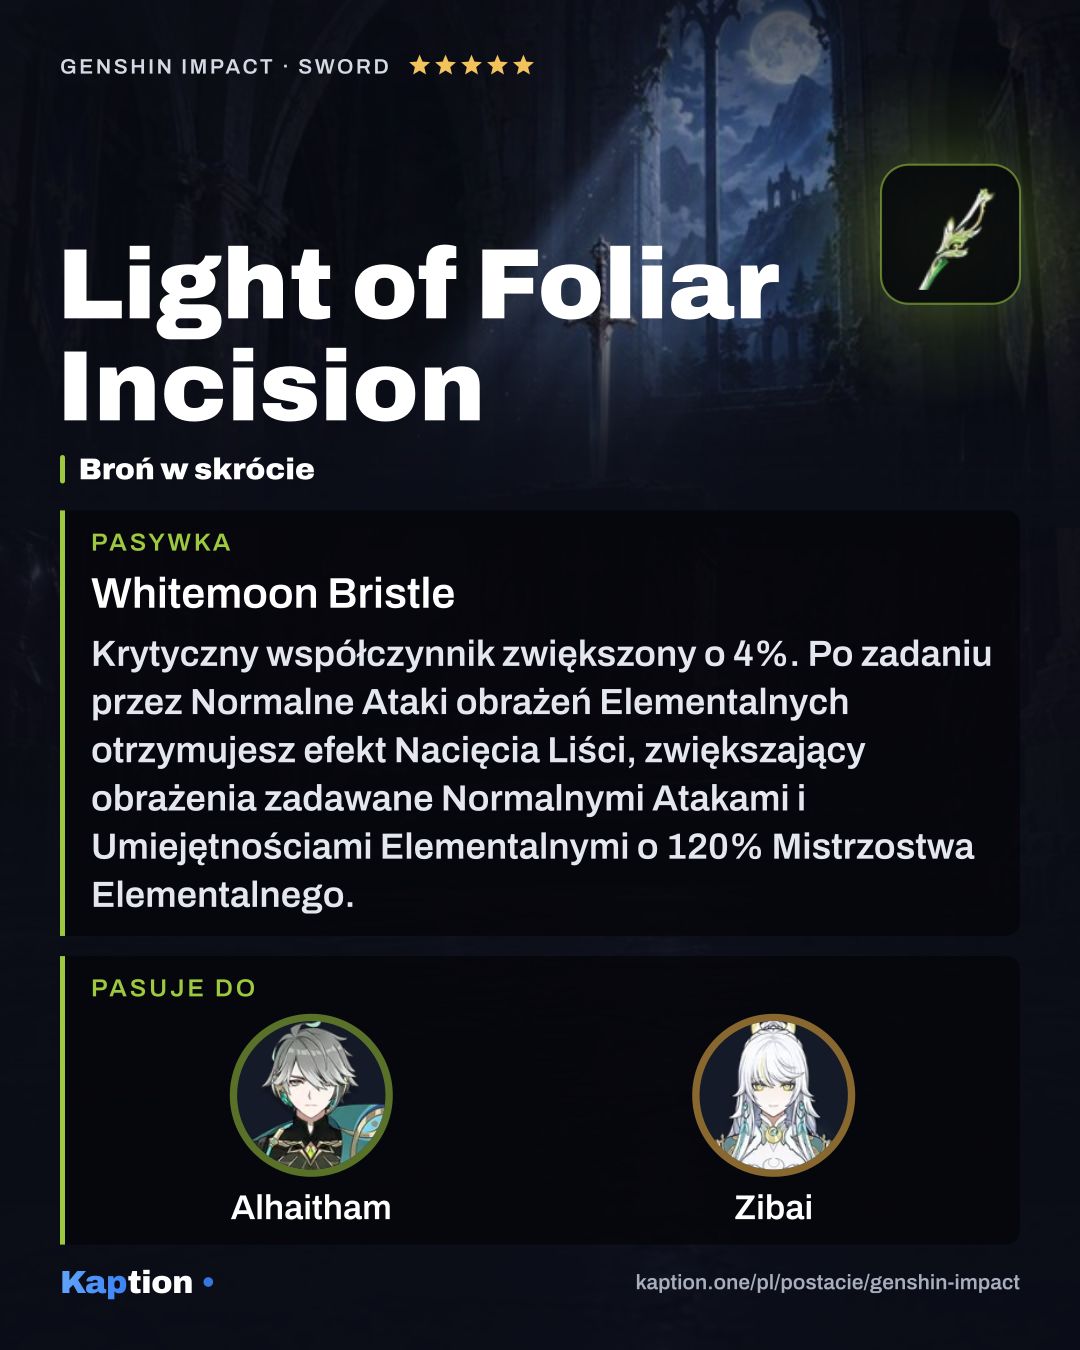
Light of Foliar Incision is the first weapon choice. After a Normal Attack deals Elemental DMG, it increases Normal Attack and Skill damage by 120% of Elemental Mastery. Primordial Jade Cutter is another option: it increases HP and grants ATK based on Max HP.
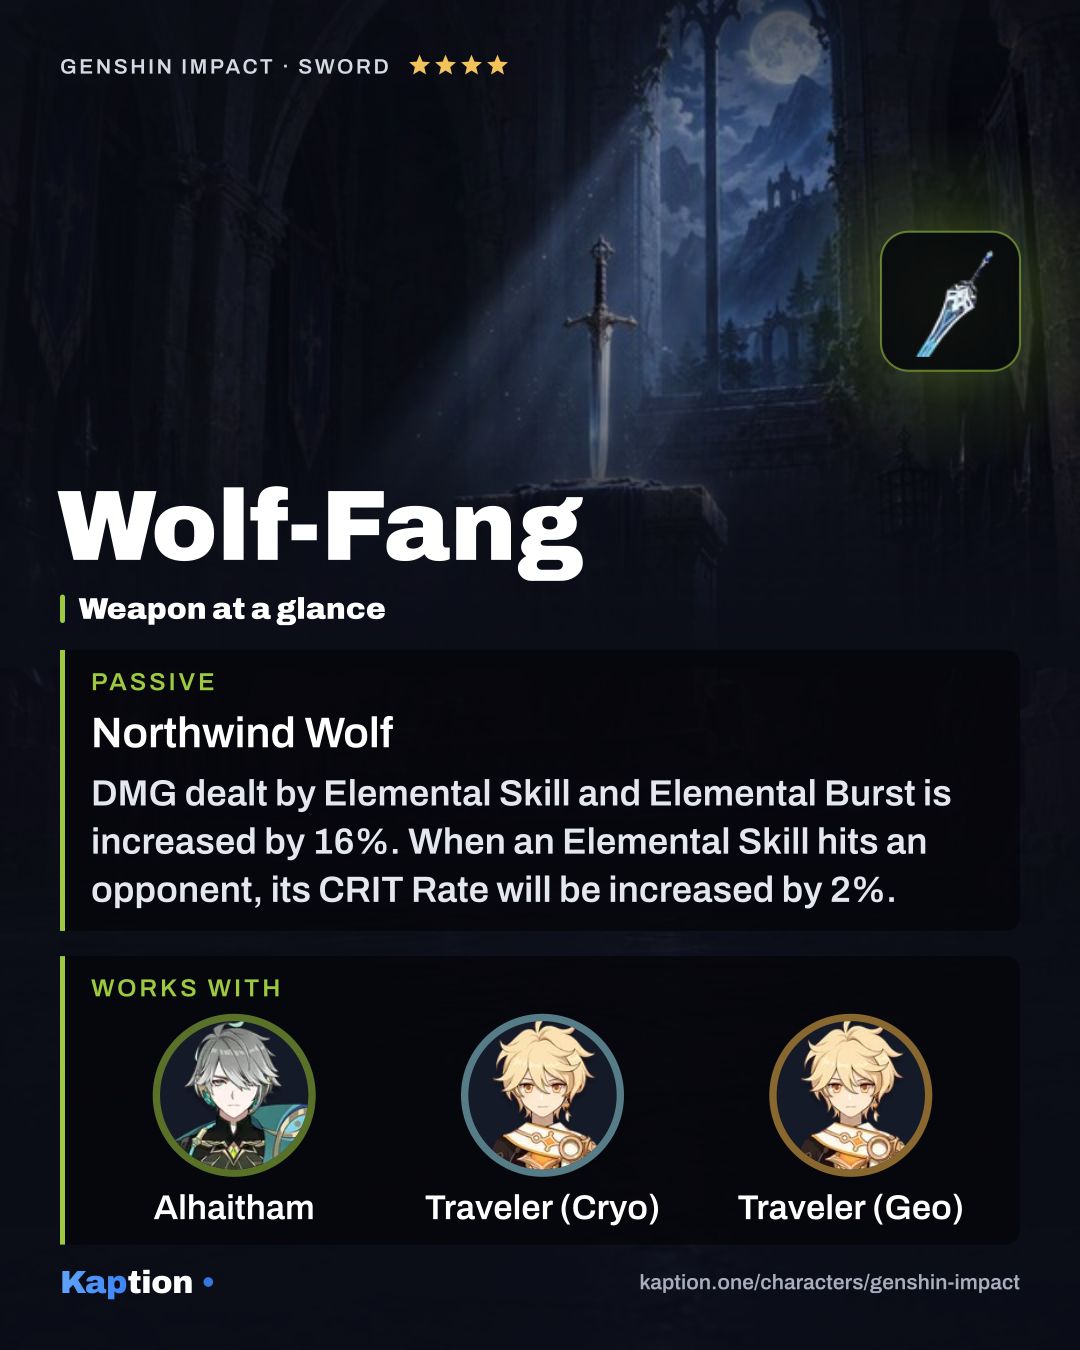
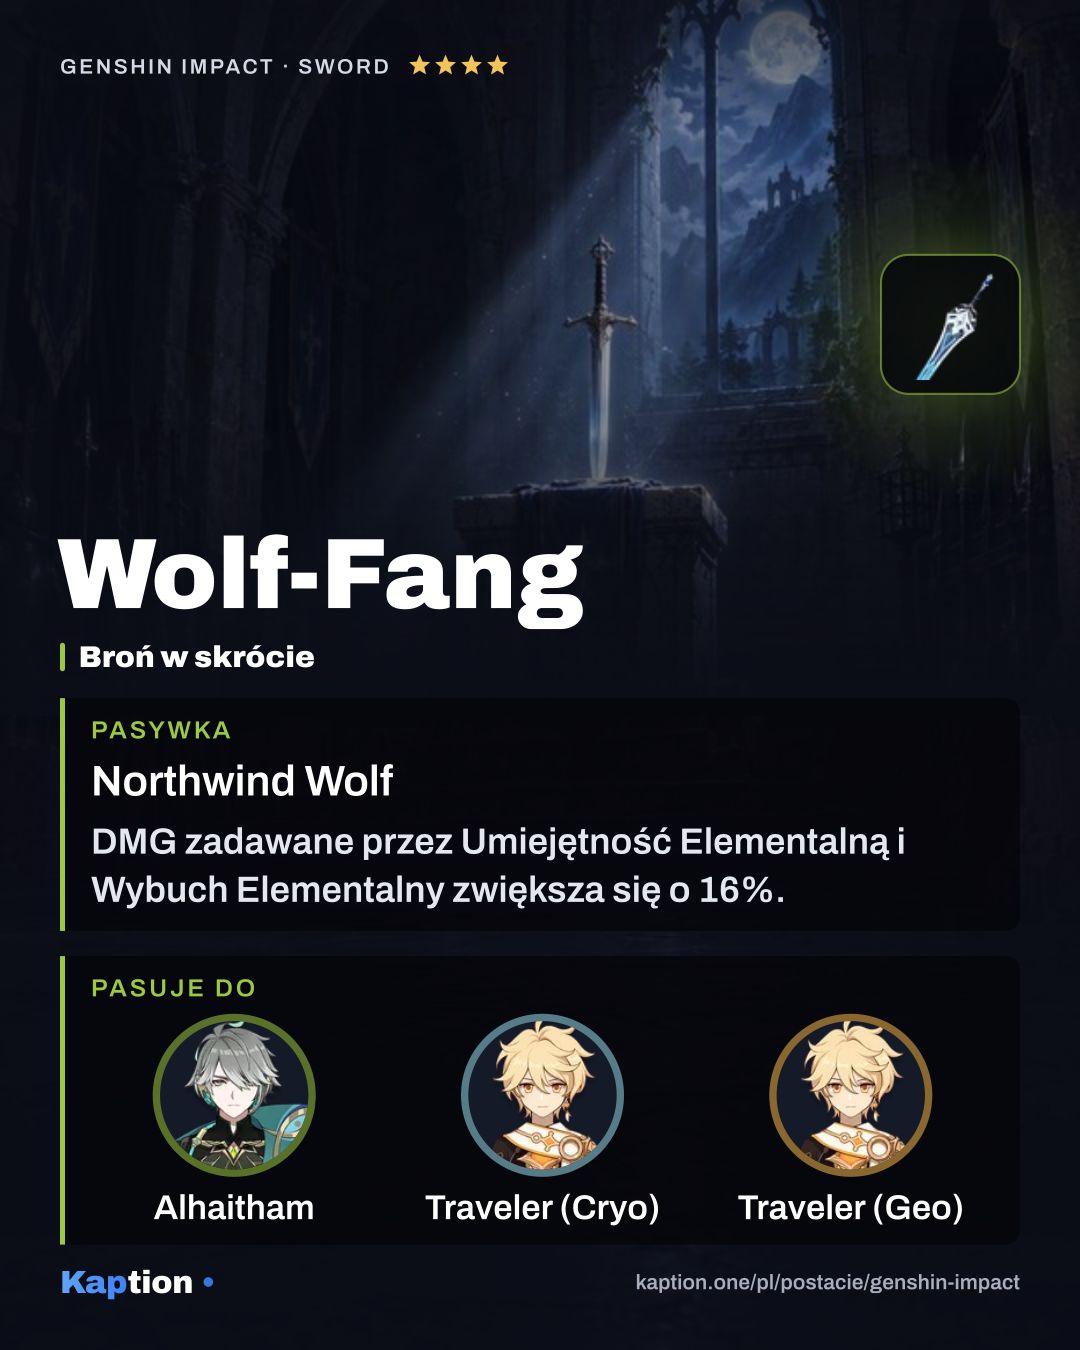
Wolf-Fang increases Skill and Burst damage by 16% and can raise their CRIT Rate when they hit. Iron Sting is another option: dealing Elemental DMG grants a damage bonus that can stack twice.
Leveling priority
A good leveling order is Universality: An Elaboration on Form first for the Mirror attacks, then Particular Field: Fetters of Phenomena for its Burst damage. Level Abductive Reasoning (NA) afterward, since you still use those attacks to trigger Projections.
For maximum ascension, gather 420,000 Mora, 168 Sand Grease Pupa and 46 Pseudo-Stamens. You also need 1 Nagadus Emerald Sliver, 9 Nagadus Emerald Fragment, 9 Nagadus Emerald Chunk, 6 Nagadus Emerald Gemstone, 18 Faded Red Satin, 30 Trimmed Red Silk and 36 Rich Red Brocade.
For all three skills, the total is 4,957,500 Mora, 3 Crown of Insight, 9 Teachings of Ingenuity, 63 Guide to Ingenuity, 114 Philosophies of Ingenuity, 18 Faded Red Satin, 66 Trimmed Red Silk, 93 Rich Red Brocade and 18 Mirror of Mushin.
Constellations worth it
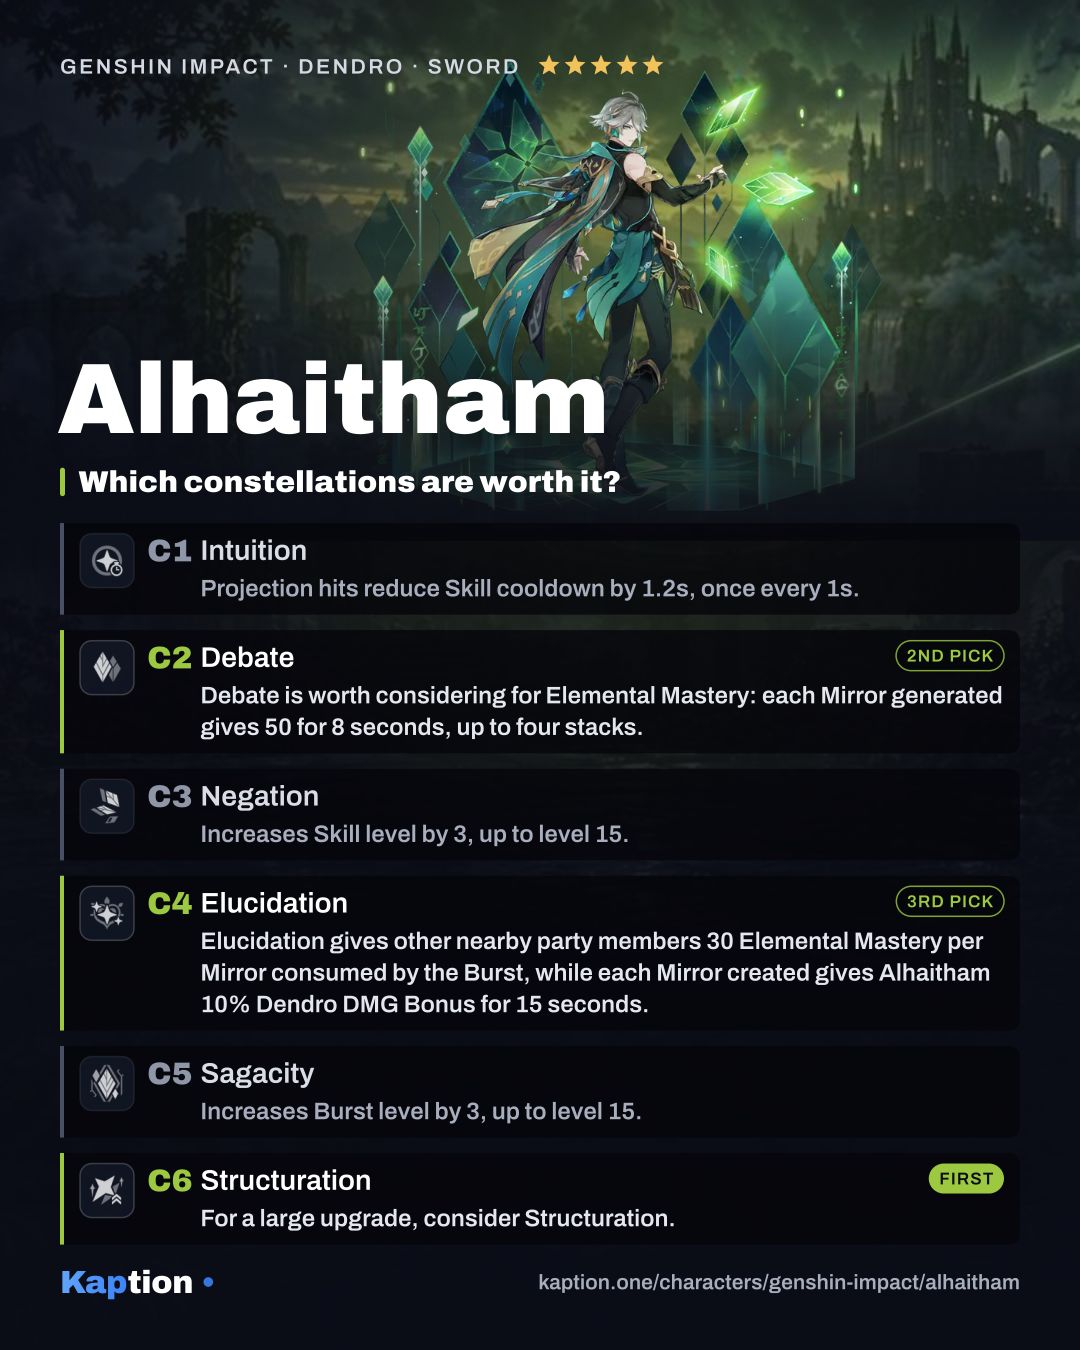
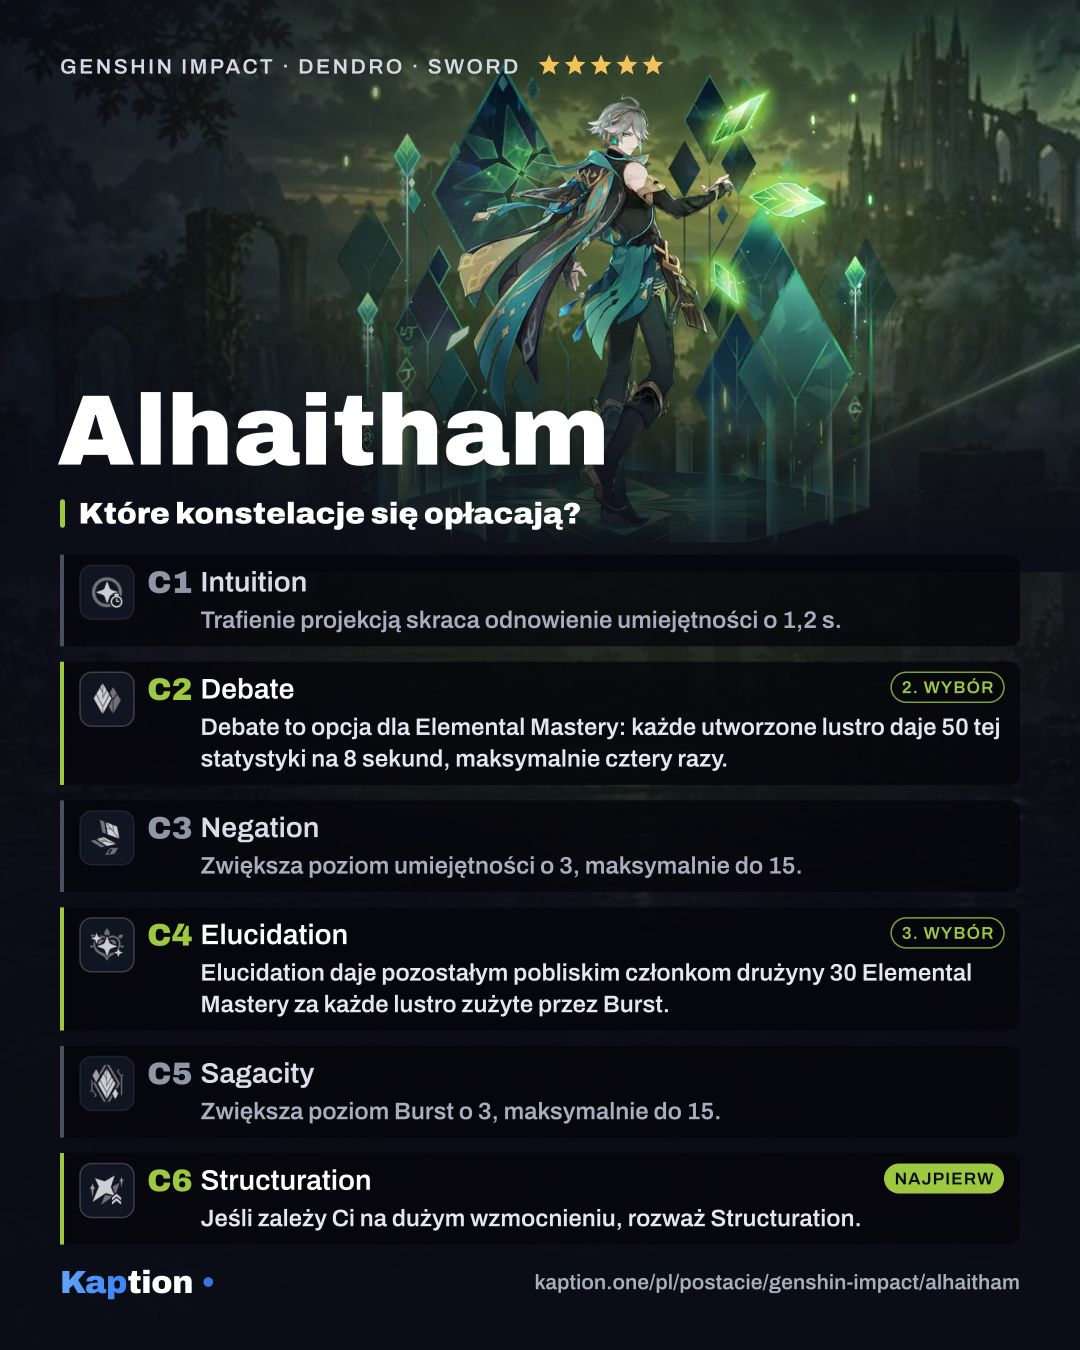
For a large upgrade, consider Structuration. Two seconds after the Burst, it creates three Mirrors regardless of how many were consumed. Generating a Mirror when already at the limit also grants 10% CRIT Rate and 70% CRIT DMG for 6 seconds.
Debate (C2) is worth considering for Elemental Mastery: each Mirror generated gives 50 for 8 seconds, up to four stacks. Elucidation (C4) gives other nearby party members 30 Elemental Mastery per Mirror consumed by the Burst, while each Mirror created gives Alhaitham 10% Dendro DMG Bonus for 15 seconds.
You can leave constellations aside and use the base kit. Intuition (C1) shortens the Skill's cooldown, while C3 and C5 add levels to the Skill and Burst. They are less interesting as separate targets if you prefer the effects above, though earlier constellations are needed to reach later ones.
Common mistakes
Do not switch Alhaitham out while expecting his Mirrors to stay: they all disappear when he leaves the field. Set up your teammates before his active turn where possible.
Do not use the Burst without checking the Mirror count. Consuming Mirrors gives the Burst more damage instances but leaves you with fewer new Mirrors after 2 seconds. Also remember that the Charged or Plunging Attack's Mirror has a 12-second trigger limit.
Do not ignore Elemental Mastery when choosing artifacts. It increases Projection Attack and Burst damage directly. Energy Recharge is useful too if you have trouble having the Burst ready.