








































Guide
How the kit works
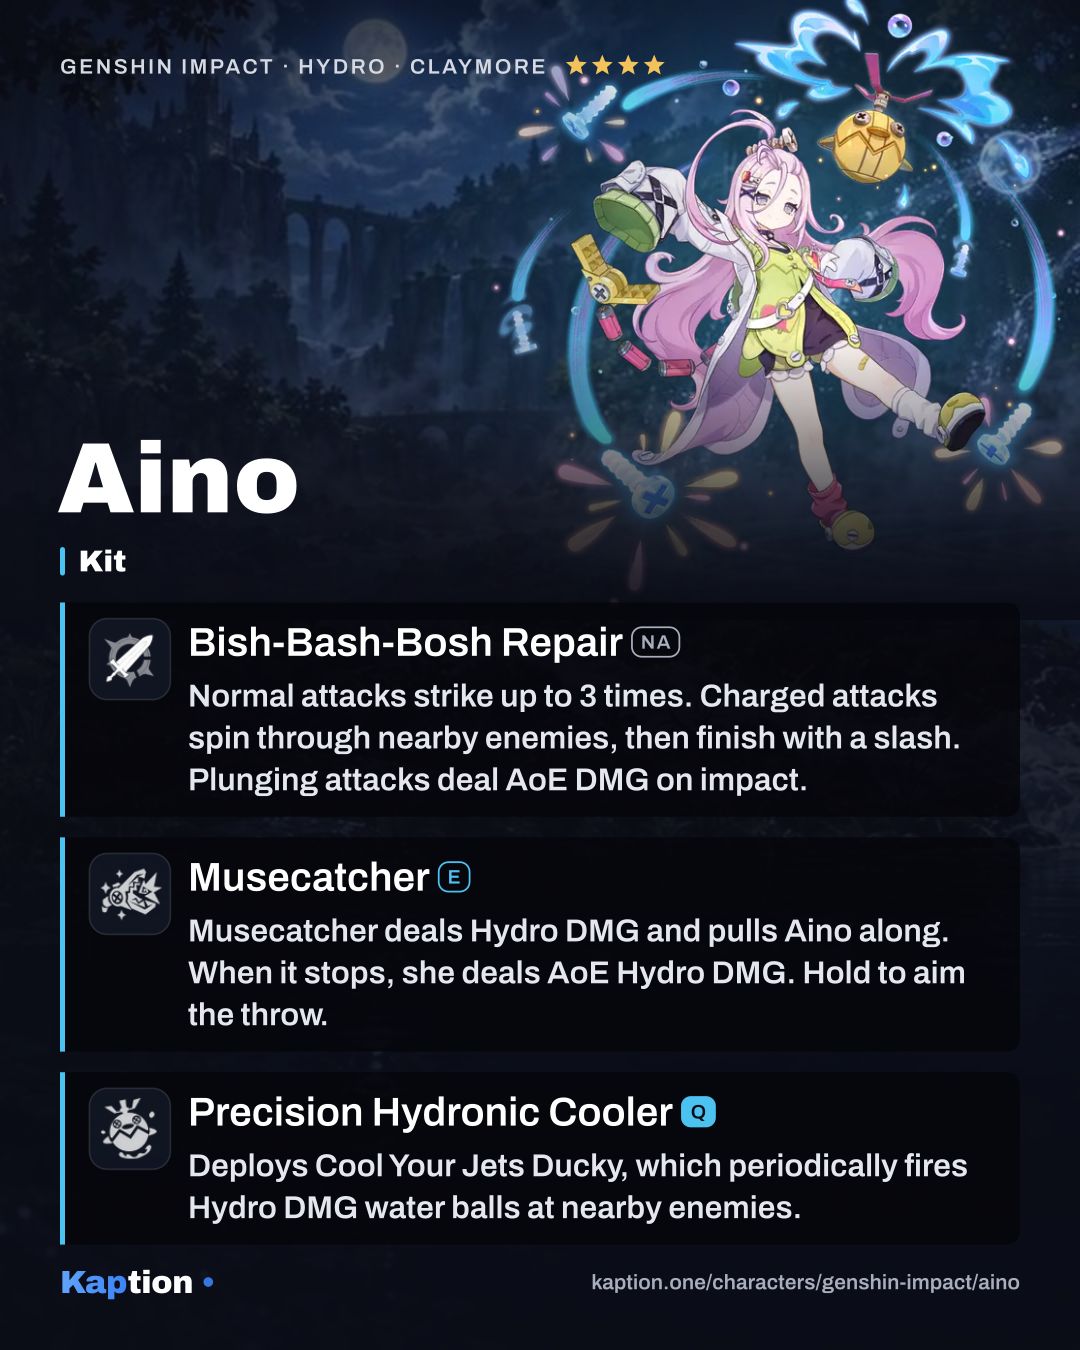
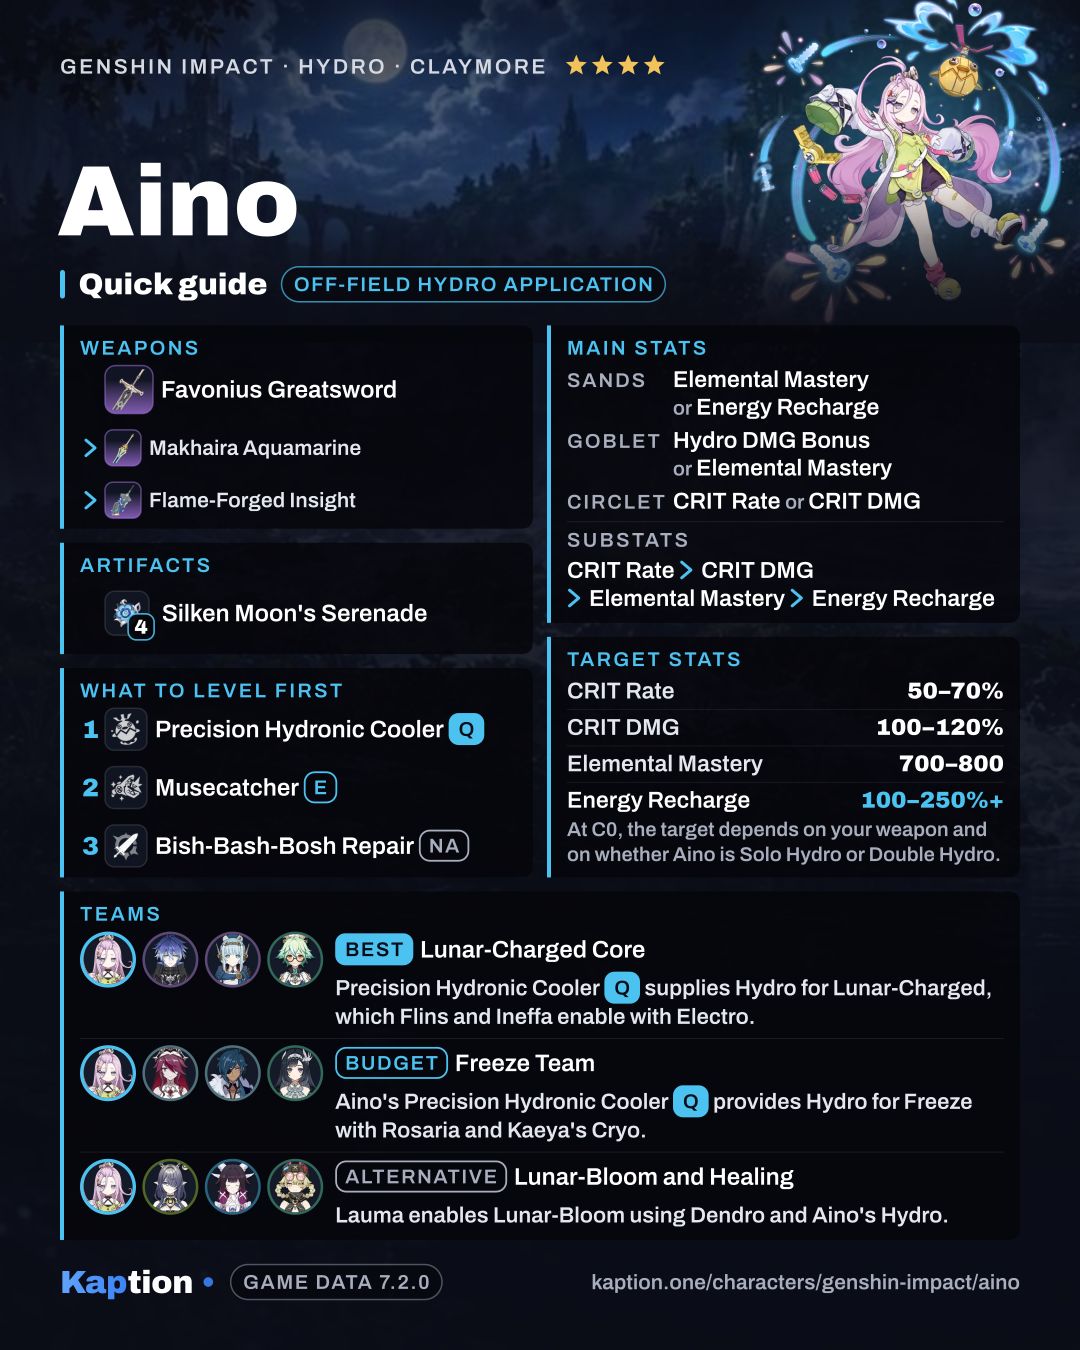
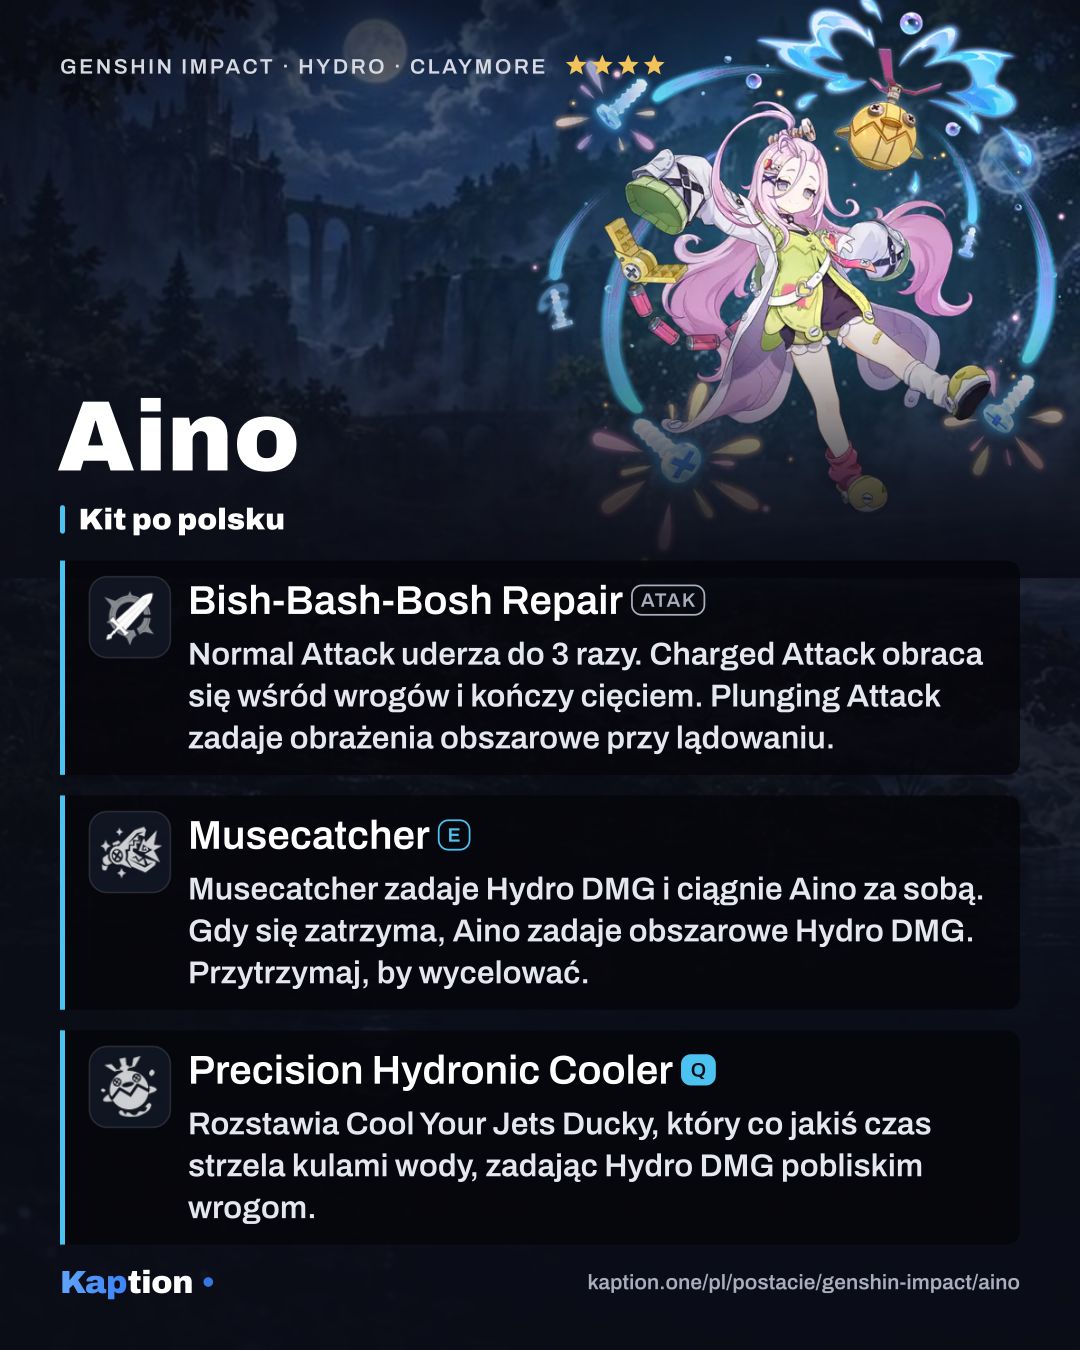
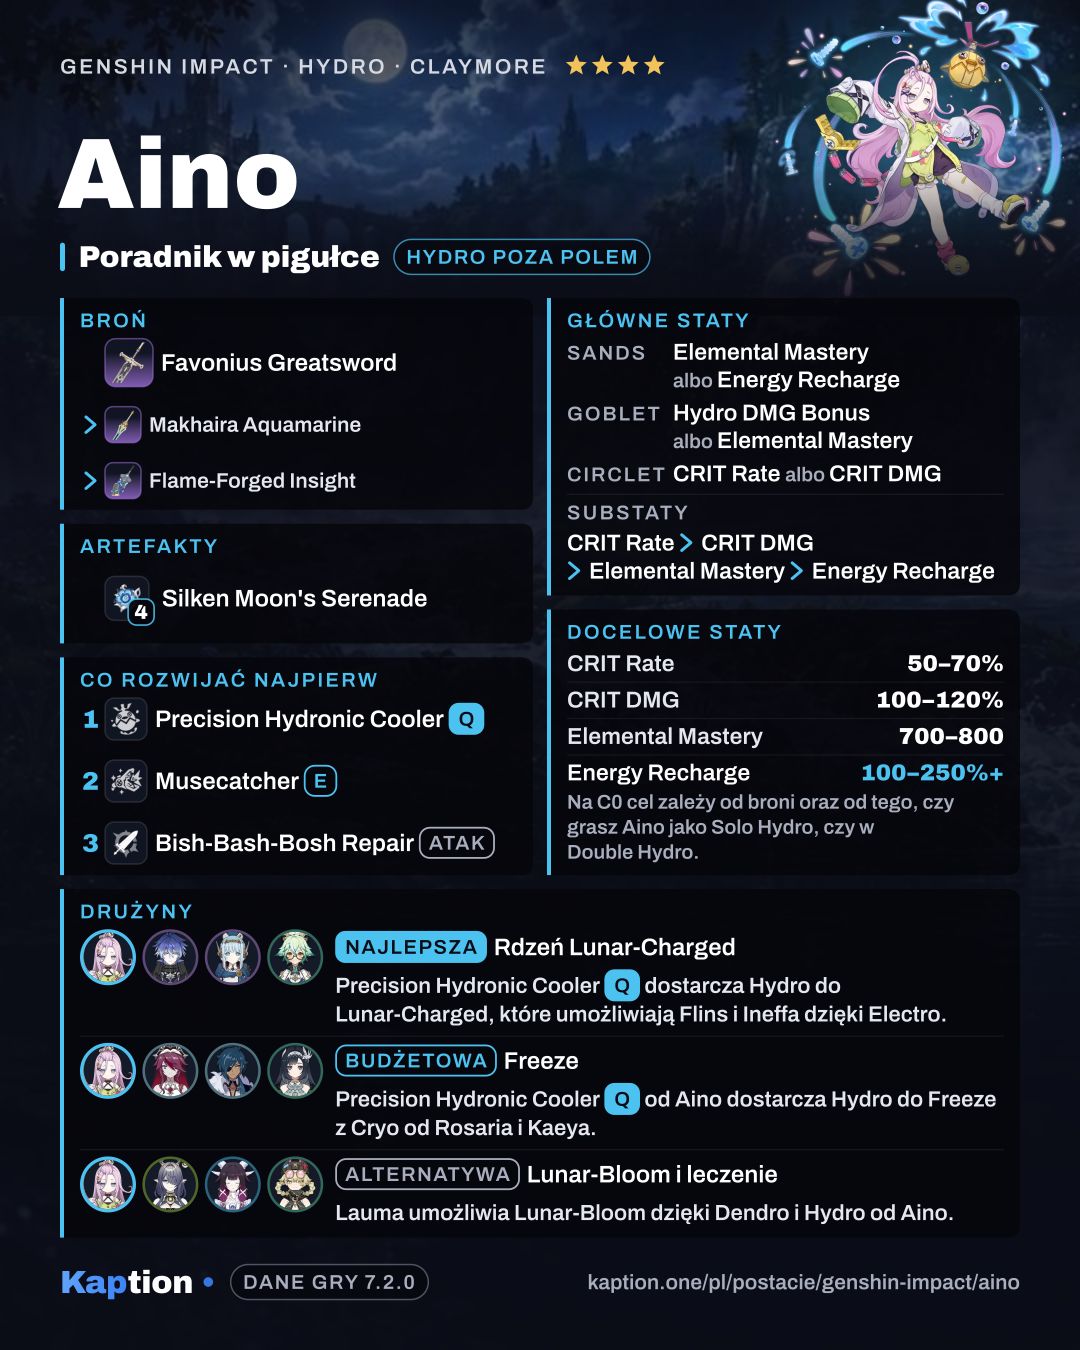
Start with Musecatcher. Aino throws the device forward and is dragged behind it. It deals Hydro DMG on the way, then deals AoE Hydro DMG around her when the drag ends. Hold the Skill if you need to aim its direction.
Use Precision Hydronic Cooler to deploy the Cool Your Jets Ducky and its Focused Hydronic Cooling Zone. The device periodically fires Hydro water balls at nearby opponents. Switch to another character and fight while it is active. At Ascendant Gleam, the shots become more frequent and deal AoE Hydro DMG over a larger area.
Aino's passive increases Burst DMG by 50% of her Elemental Mastery. Bish-Bash-Bosh Repair (NA) gives her up to three Normal Attack strikes; its Charged Attack spins while draining Stamina and ends with a stronger slash. Those attacks are available when needed, but her device is the focus of this setup.
Build and why
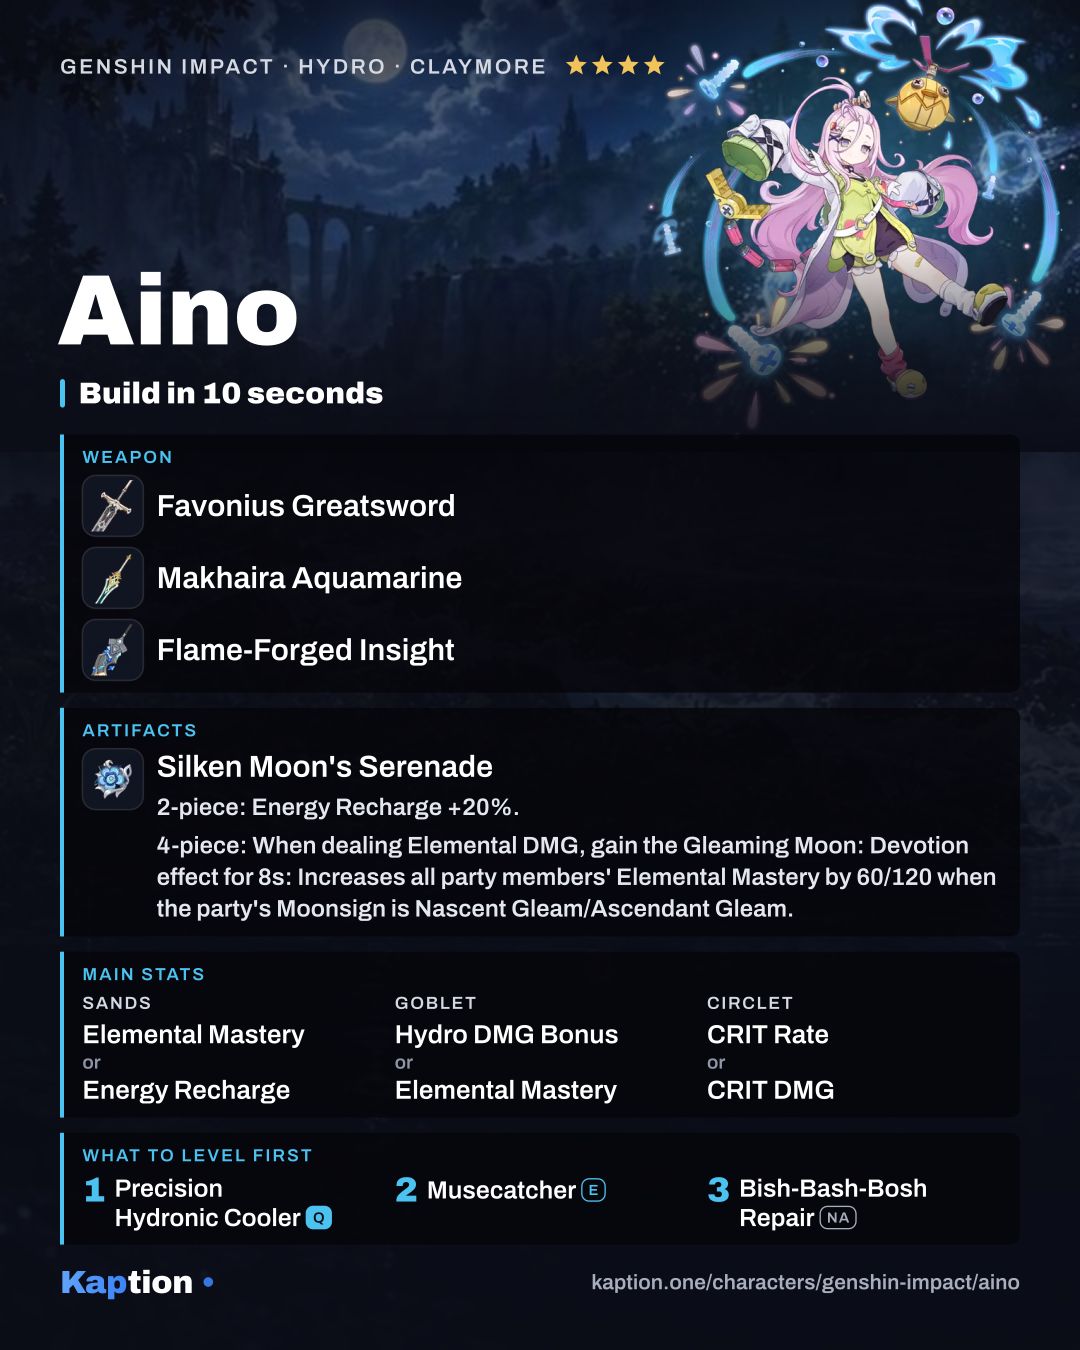
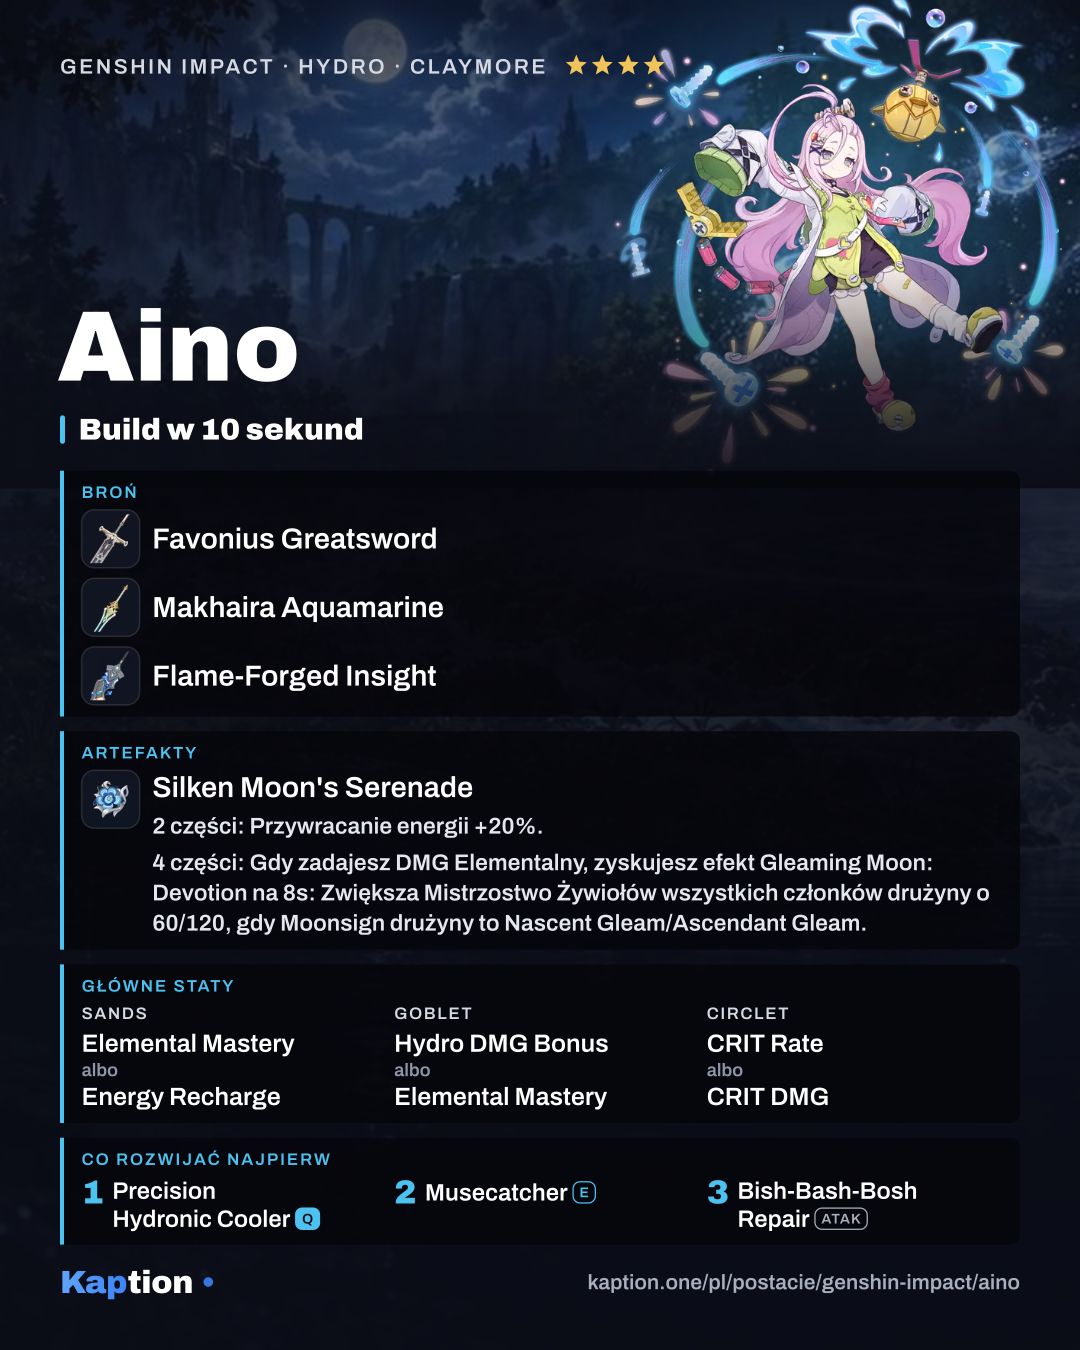
Use four pieces of Silken Moon's Serenade. Two pieces give 20% Energy Recharge. When Aino deals Elemental DMG, four pieces grant the party 60 Elemental Mastery at Nascent Gleam or 120 at Ascendant Gleam for 8 seconds. She can trigger the effect off-field. The set also increases party Lunar Reaction DMG by 10% for each different Gleaming Moon effect; identical Gleaming Moon effects cannot stack.
For alternatives, Noblesse Oblige gives Burst DMG and grants the party 20% ATK for 12 seconds after the wearer uses a Burst. Instructor gives Elemental Mastery and, after its wearer triggers a reaction, grants the whole party 120 Elemental Mastery for 8 seconds.
Choose Elemental Mastery or Energy Recharge on the sands, Hydro DMG Bonus or Elemental Mastery on the goblet, and CRIT Rate or CRIT DMG on the circlet. For substats, look for CRIT Rate, CRIT DMG, Elemental Mastery and Energy Recharge, in that order. Adjust the sands if you need more Energy to use the Burst.
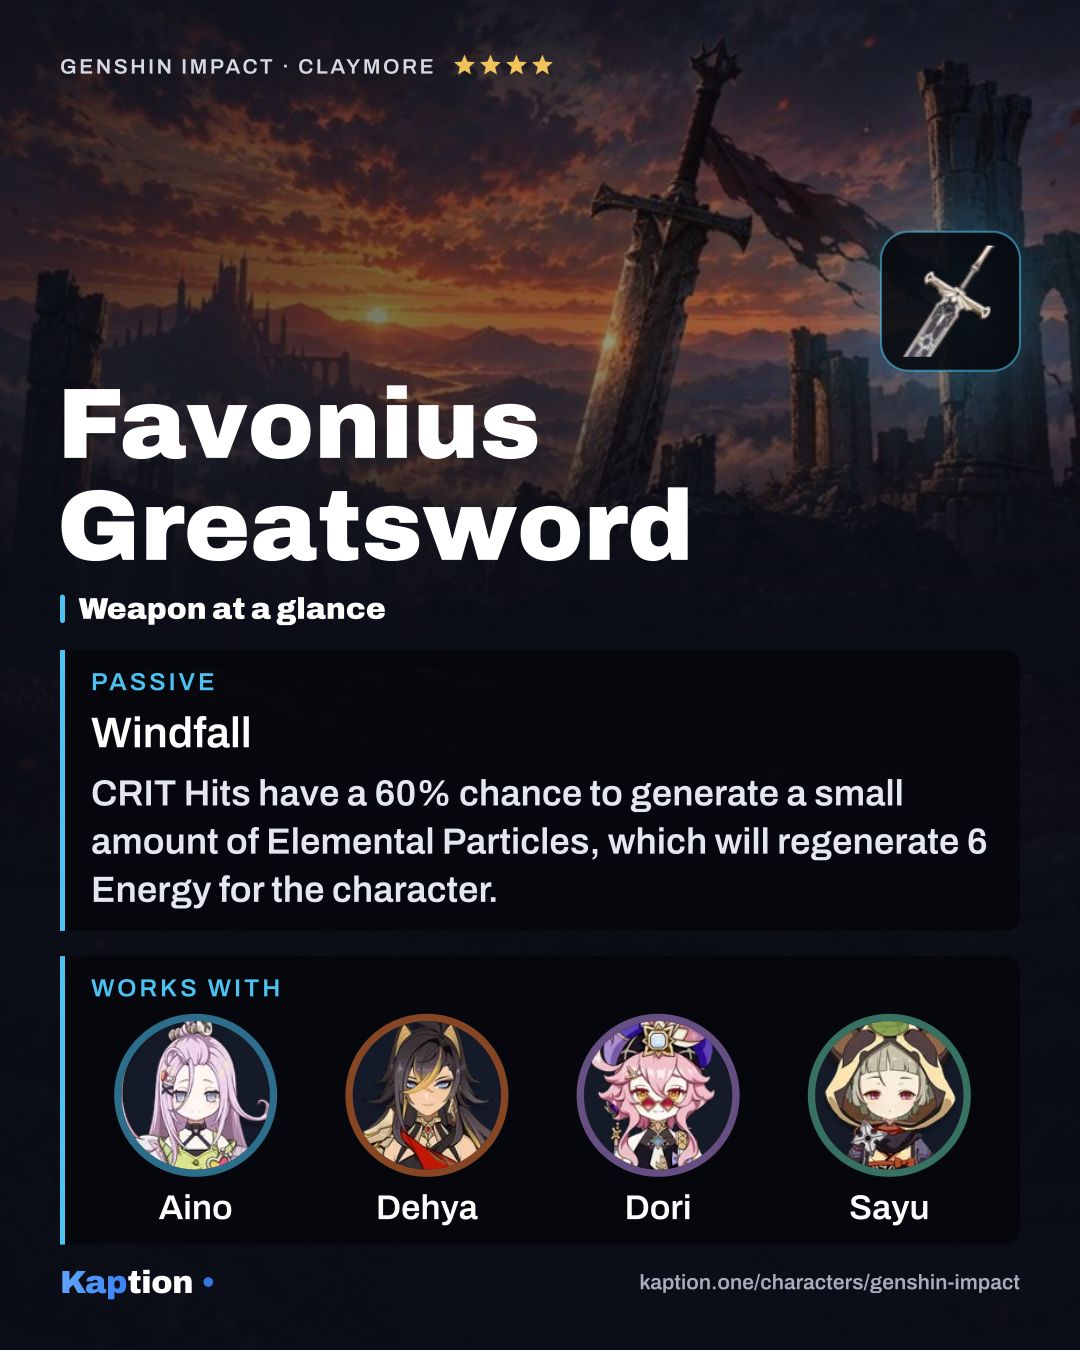
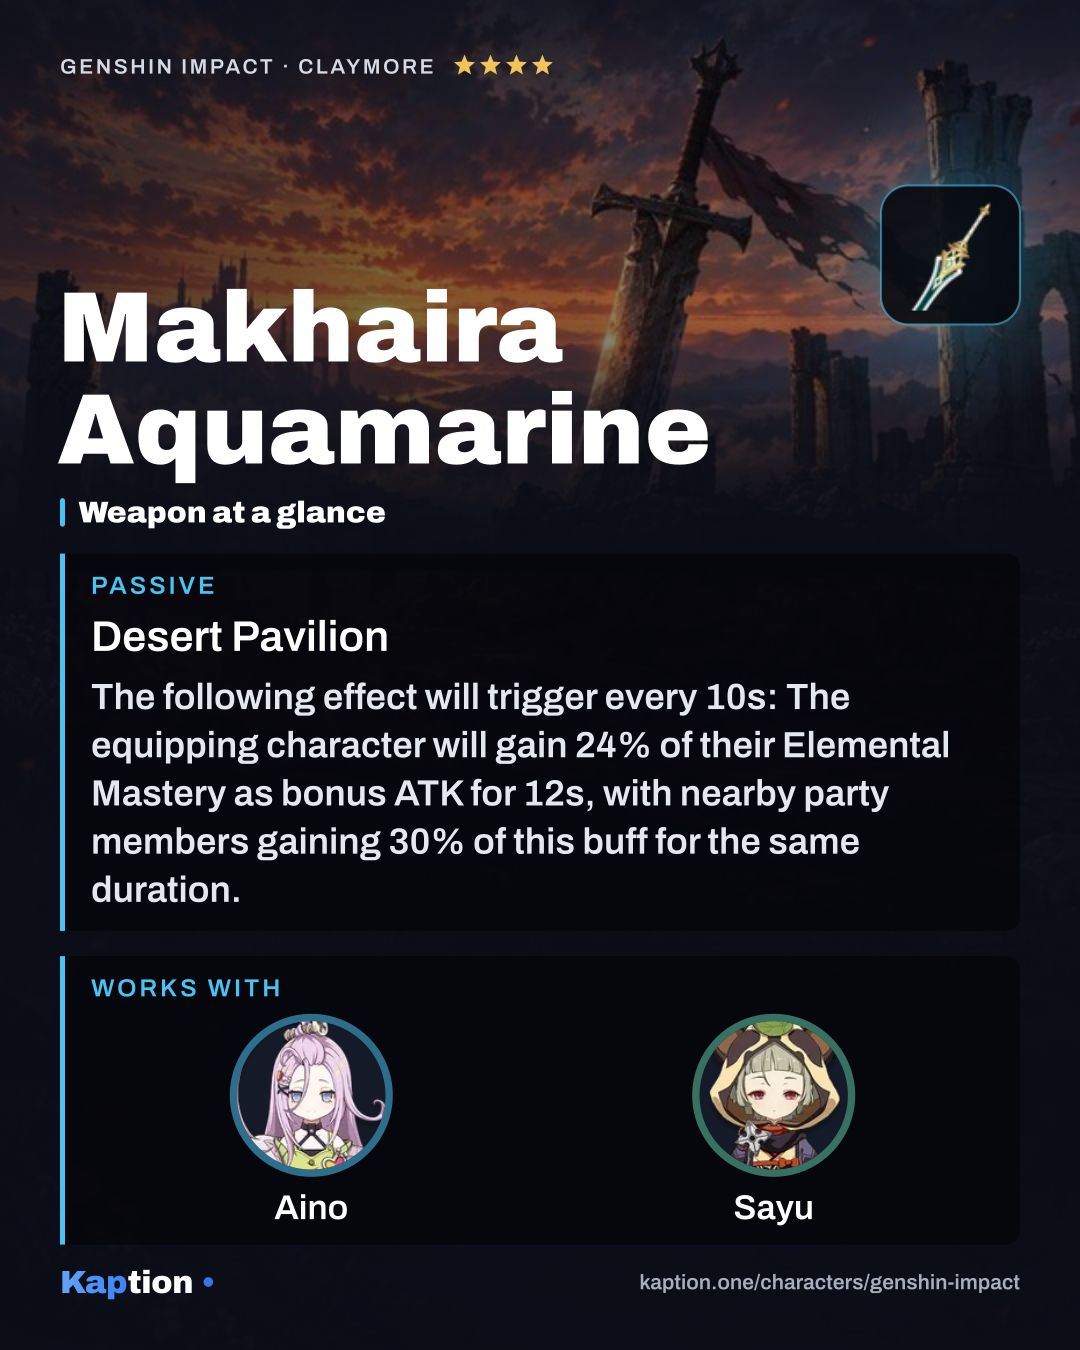
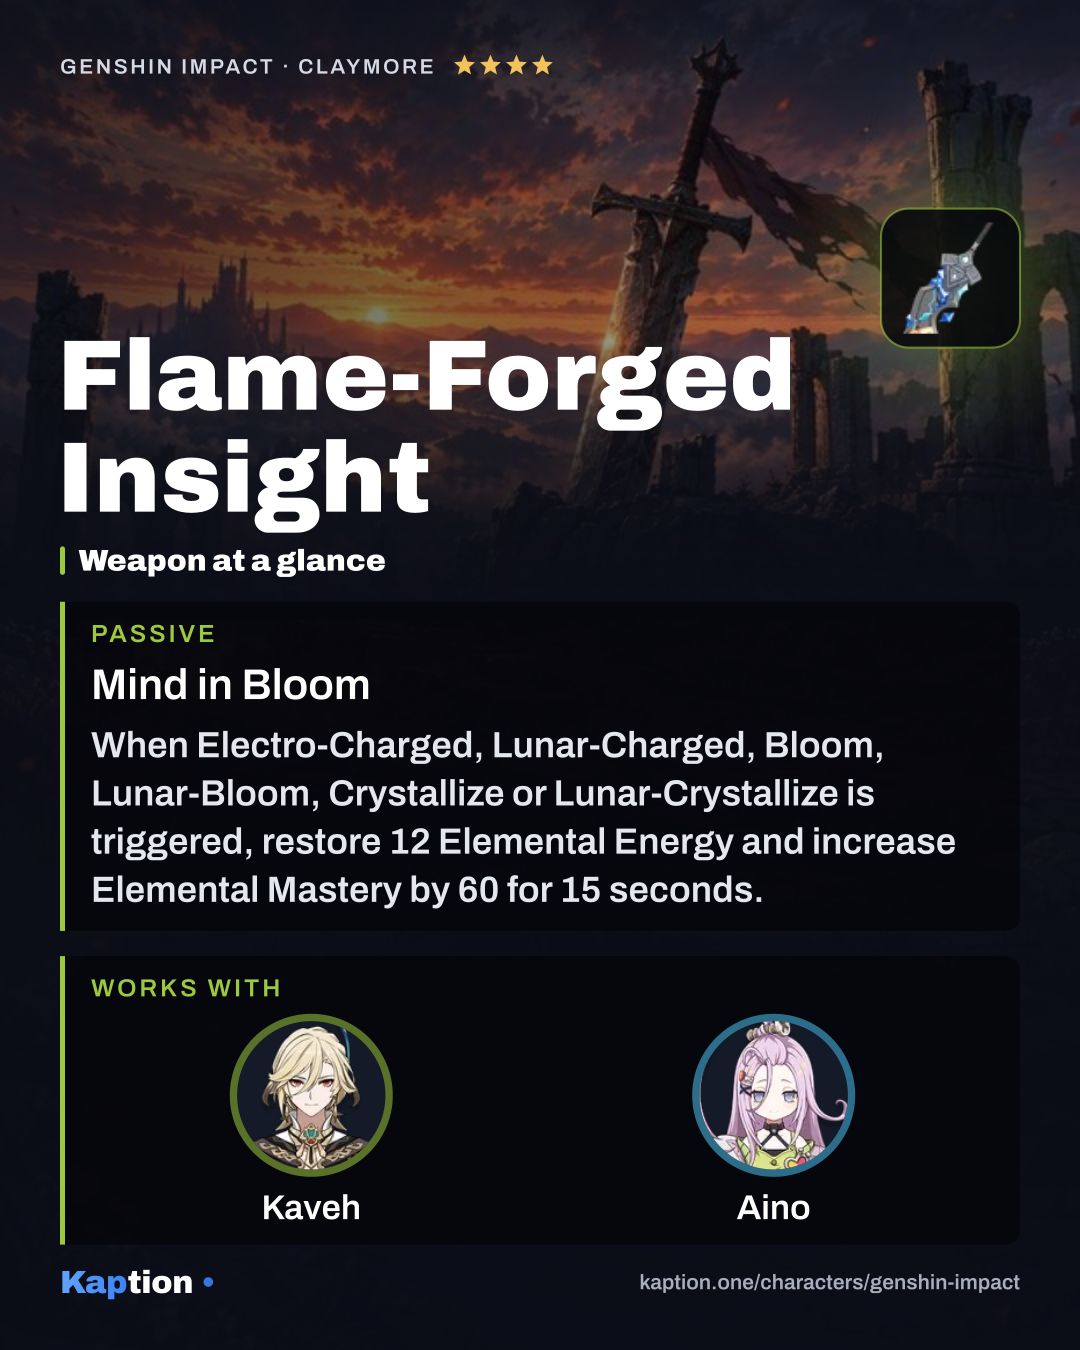
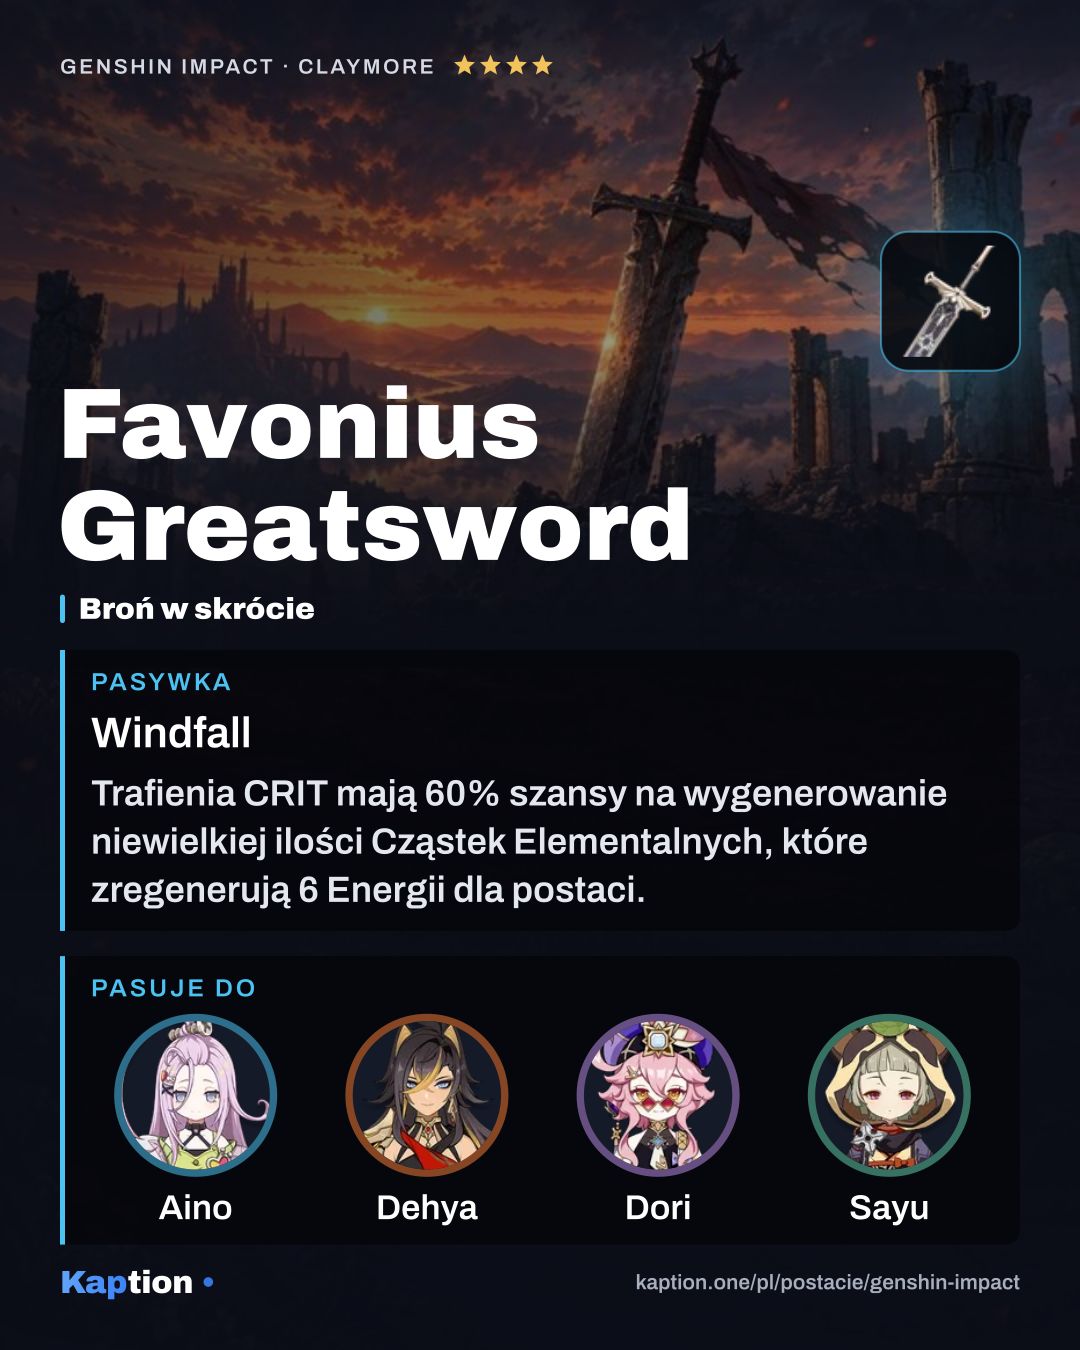
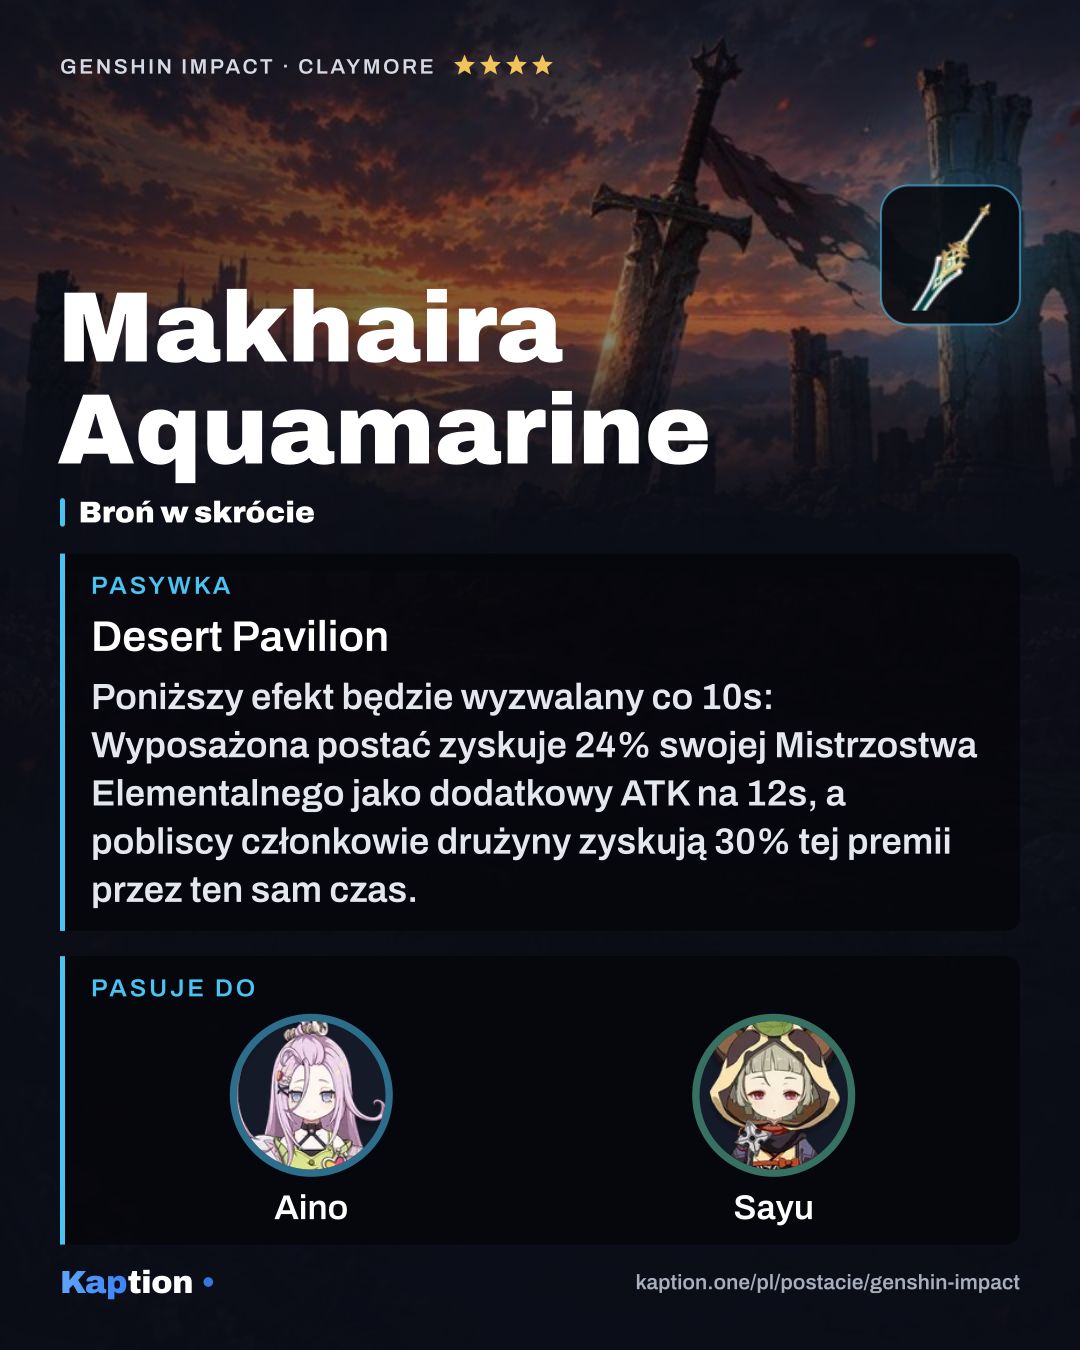
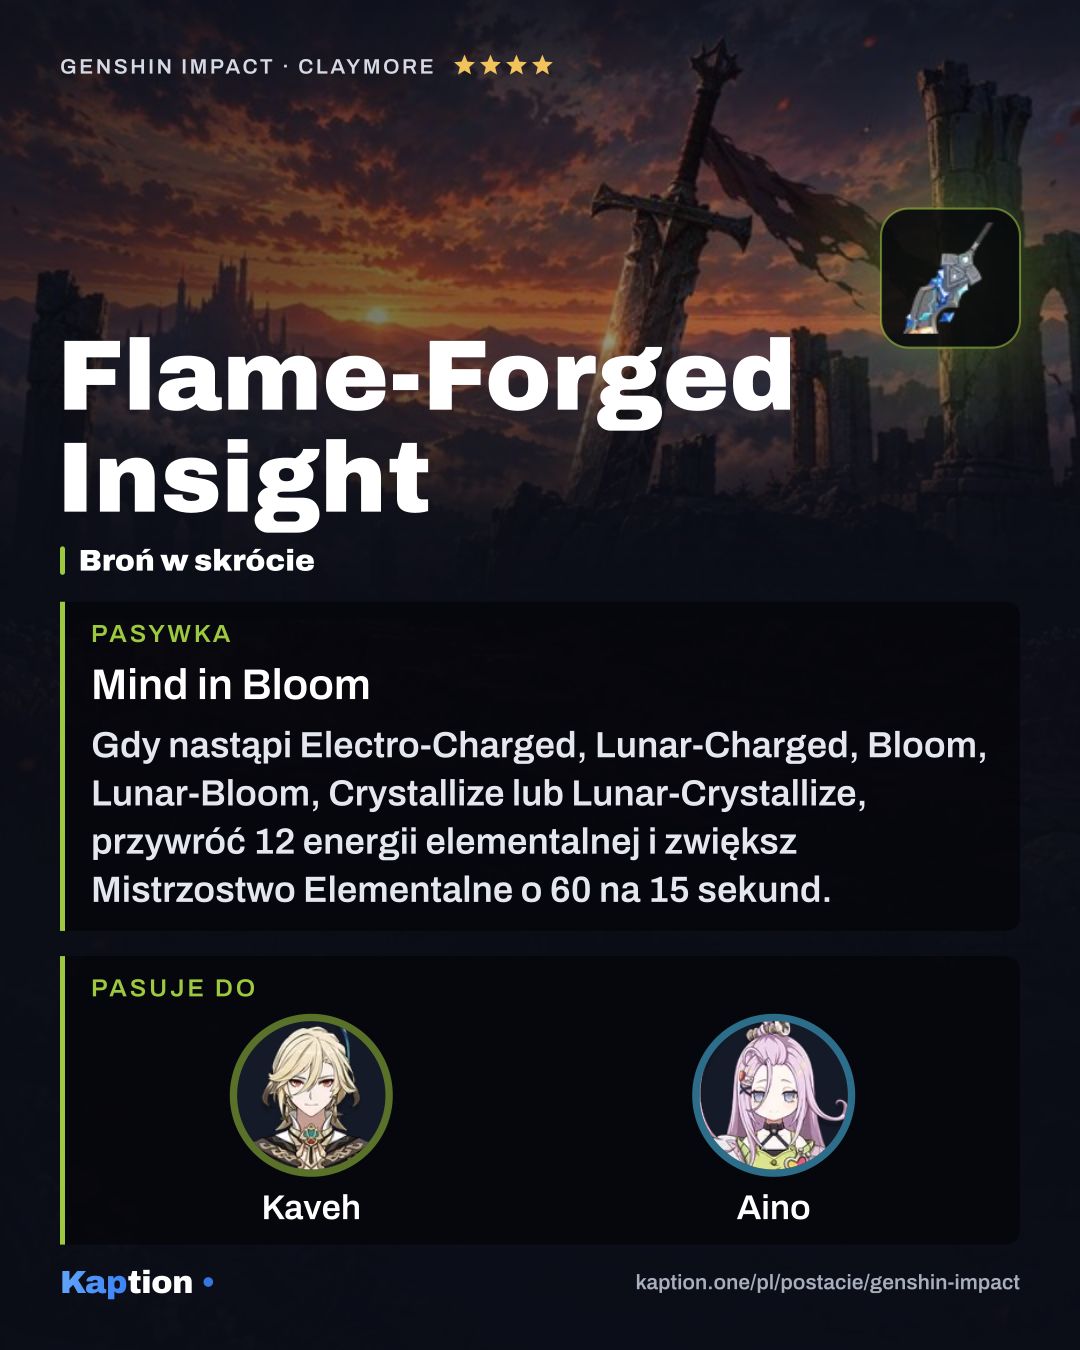
Favonius Greatsword is the first weapon choice: CRIT Hits have a chance to generate particles that restore Energy. Makhaira Aquamarine converts some of Aino's Elemental Mastery into ATK and shares part of that bonus with nearby teammates. Flame-Forged Insight restores Energy and gives Elemental Mastery when one of its listed reactions is triggered, including Bloom and Lunar-Charged.
Leveling priority
A sensible leveling order for this build is Burst first, Skill second and Normal Attack last. The Burst keeps dealing Hydro DMG after you switch, while the Skill deals its damage during Aino's field time. Raise Normal Attack later if you use it often.
For ascension, you need Mora, Portable Bearing, Precision Kuuvahki Stamping Die and the Varunada Lazurite Sliver, Fragment, Chunk and Gemstone. You also need Broken Drive Shaft, Reinforced Drive Shaft and Precision Drive Shaft.
Talents use those three Drive Shaft materials as well, along with Mora, Teachings of Elysium, Guide to Elysium, Philosophies of Elysium, Silken Feather and Crown of Insight. Taking all three talents to their maximum uses three Crown of Insight.
Constellations worth it
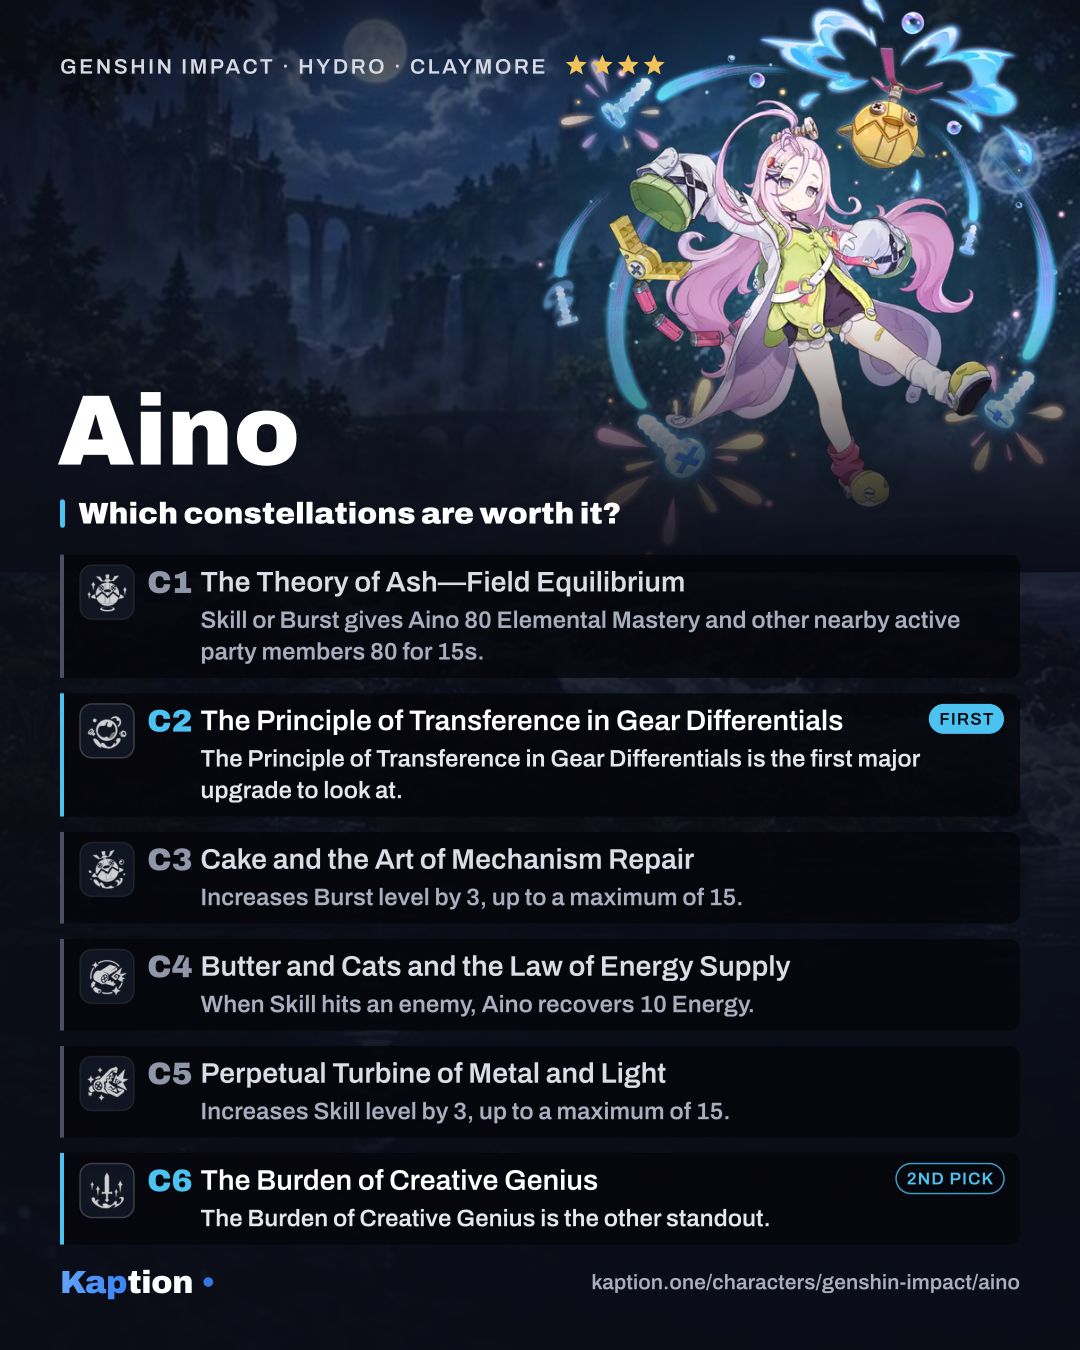
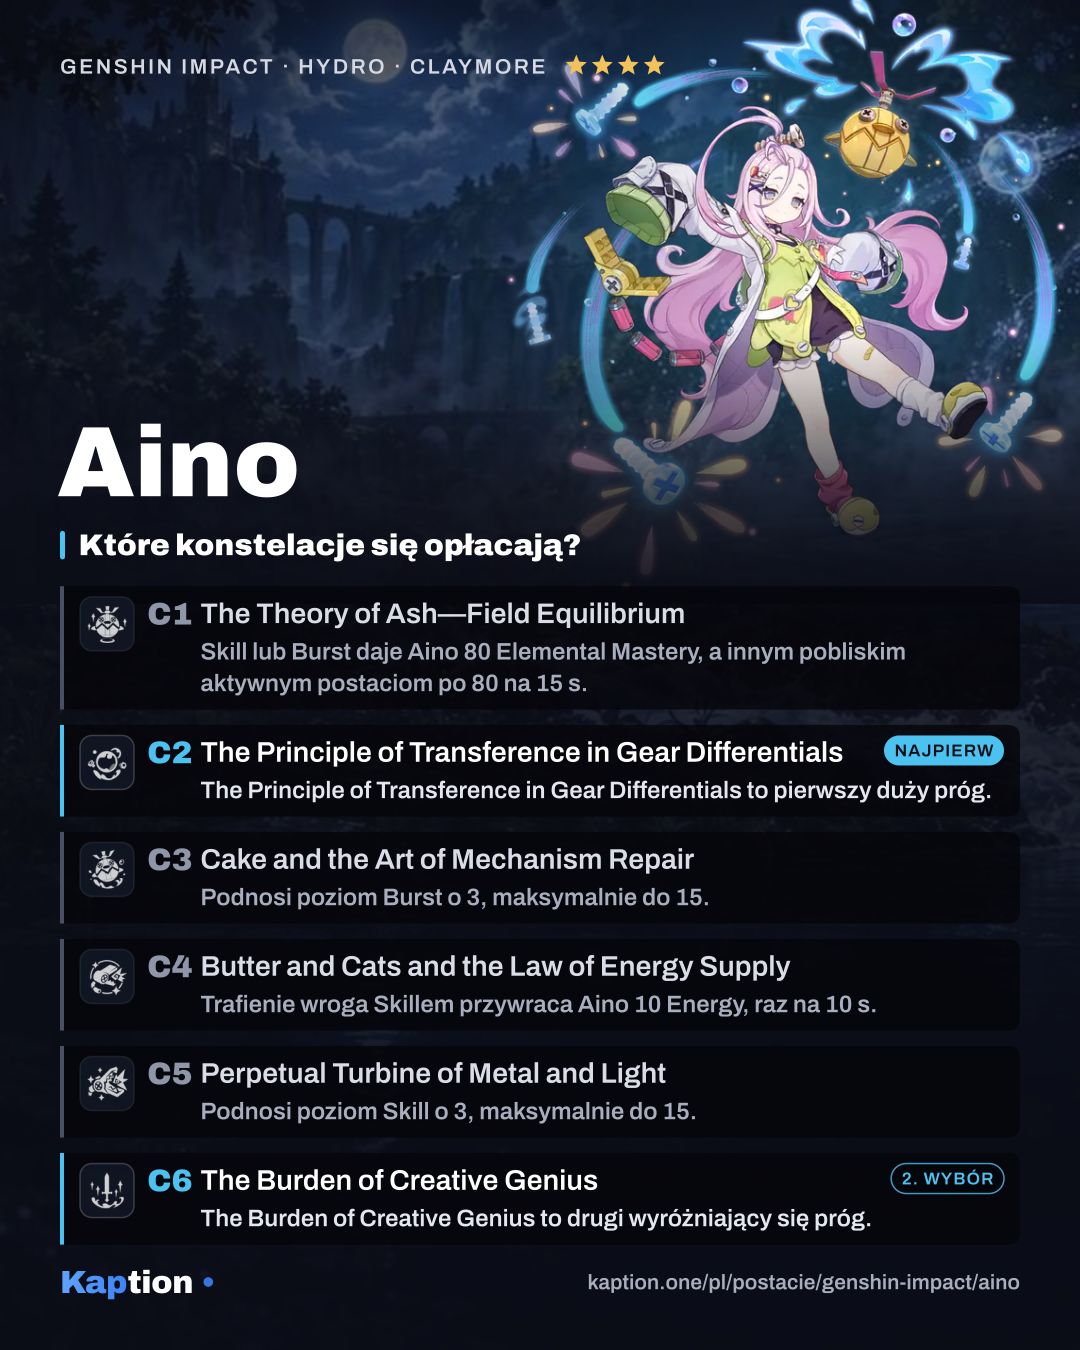
The Principle of Transference in Gear Differentials is the first major upgrade to look at. While Aino is off-field and her Burst zone is active, an active teammate's attack can make the device fire an extra AoE Hydro water ball. It deals damage equal to 25% of Aino's ATK and 100% of her Elemental Mastery, counts as Burst DMG and can trigger once every 5 seconds.
The Burden of Creative Genius is the other standout. For 15 seconds after Aino uses her Burst, nearby active characters' Electro-Charged, Bloom, Lunar-Charged, Lunar-Bloom and Lunar-Crystallize DMG rises by 15%. Ascendant Gleam adds another 20%.
The Theory of Ash—Field Equilibrium gives Aino 80 Elemental Mastery after her Skill or Burst and gives other nearby active party members 80 for 15 seconds. Butter and Cats and the Law of Energy Supply restores 10 Energy when her Skill hits, once every 10 seconds. C3 and C5 add three levels to Burst and Skill respectively. If you are stopping before C6, leaving C3 through C5 unopened is reasonable; constellations unlock in order.
Common mistakes
Don't stay on Aino just to use Claymore attacks while the rest of the team is waiting. Put the device down and switch to the character you want to use on-field. With C2, Aino must be off-field for the extra water ball to trigger.
Don't ignore Energy Recharge in pursuit of damage stats. If the Burst is not ready when you need it, try an Energy Recharge sands or Favonius Greatsword. Conversely, don't discard Elemental Mastery: it contributes to Aino's Burst DMG and to the extra C2 hit.
Don't equip duplicate Gleaming Moon effects expecting them to stack. Also check whether the party has Ascendant Gleam before counting on the stronger Burst shots or the extra C6 reaction bonus.