






























Guide
How the kit works
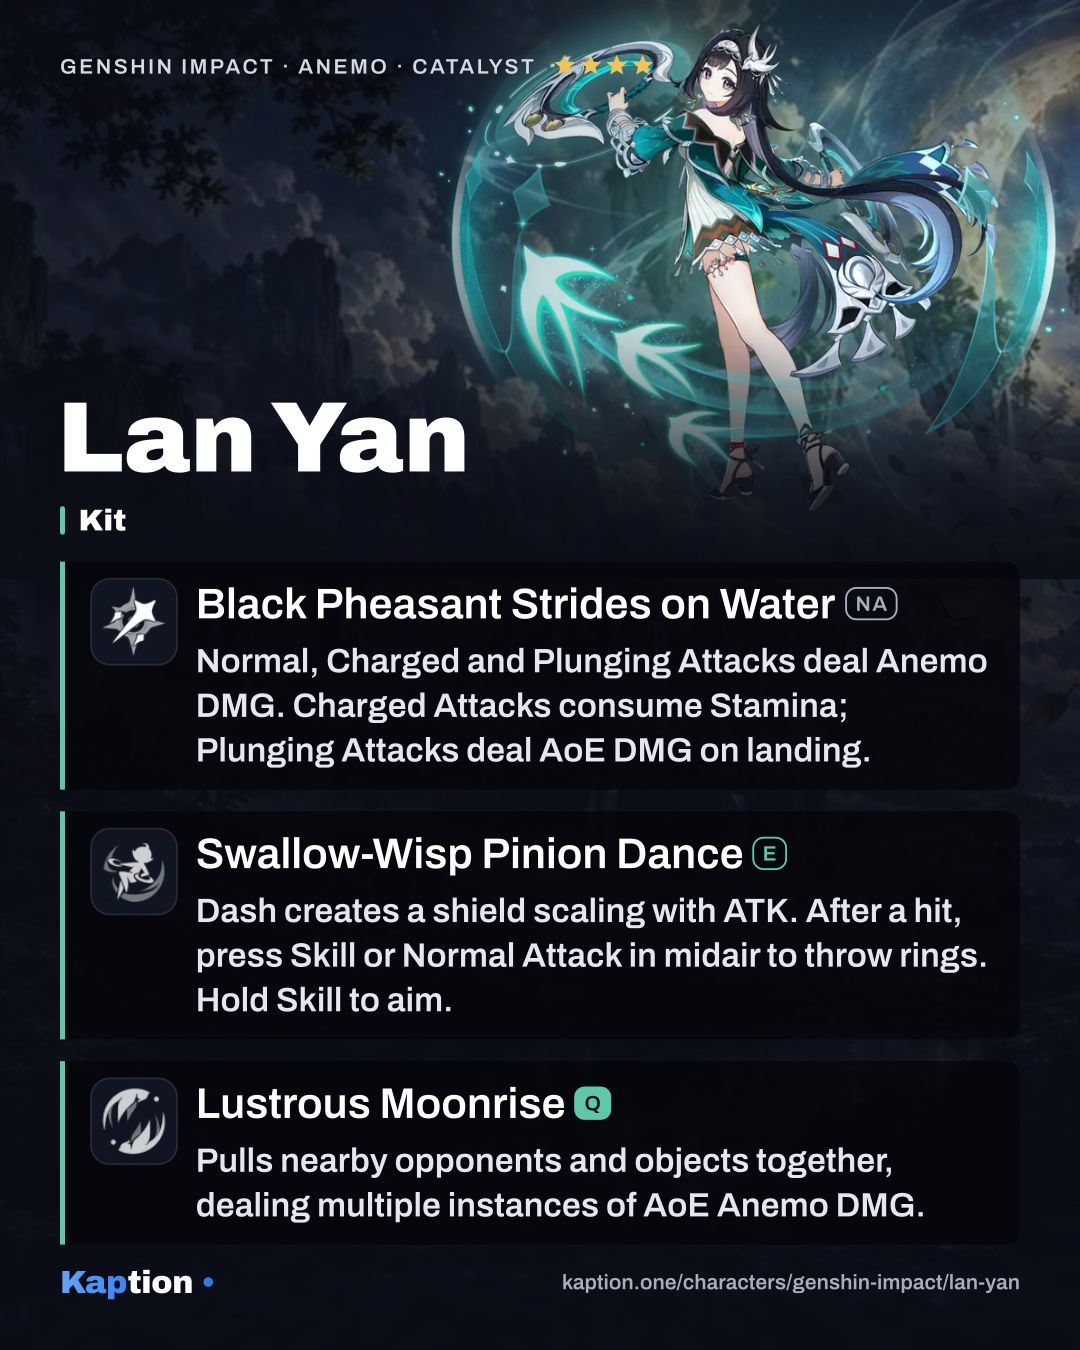
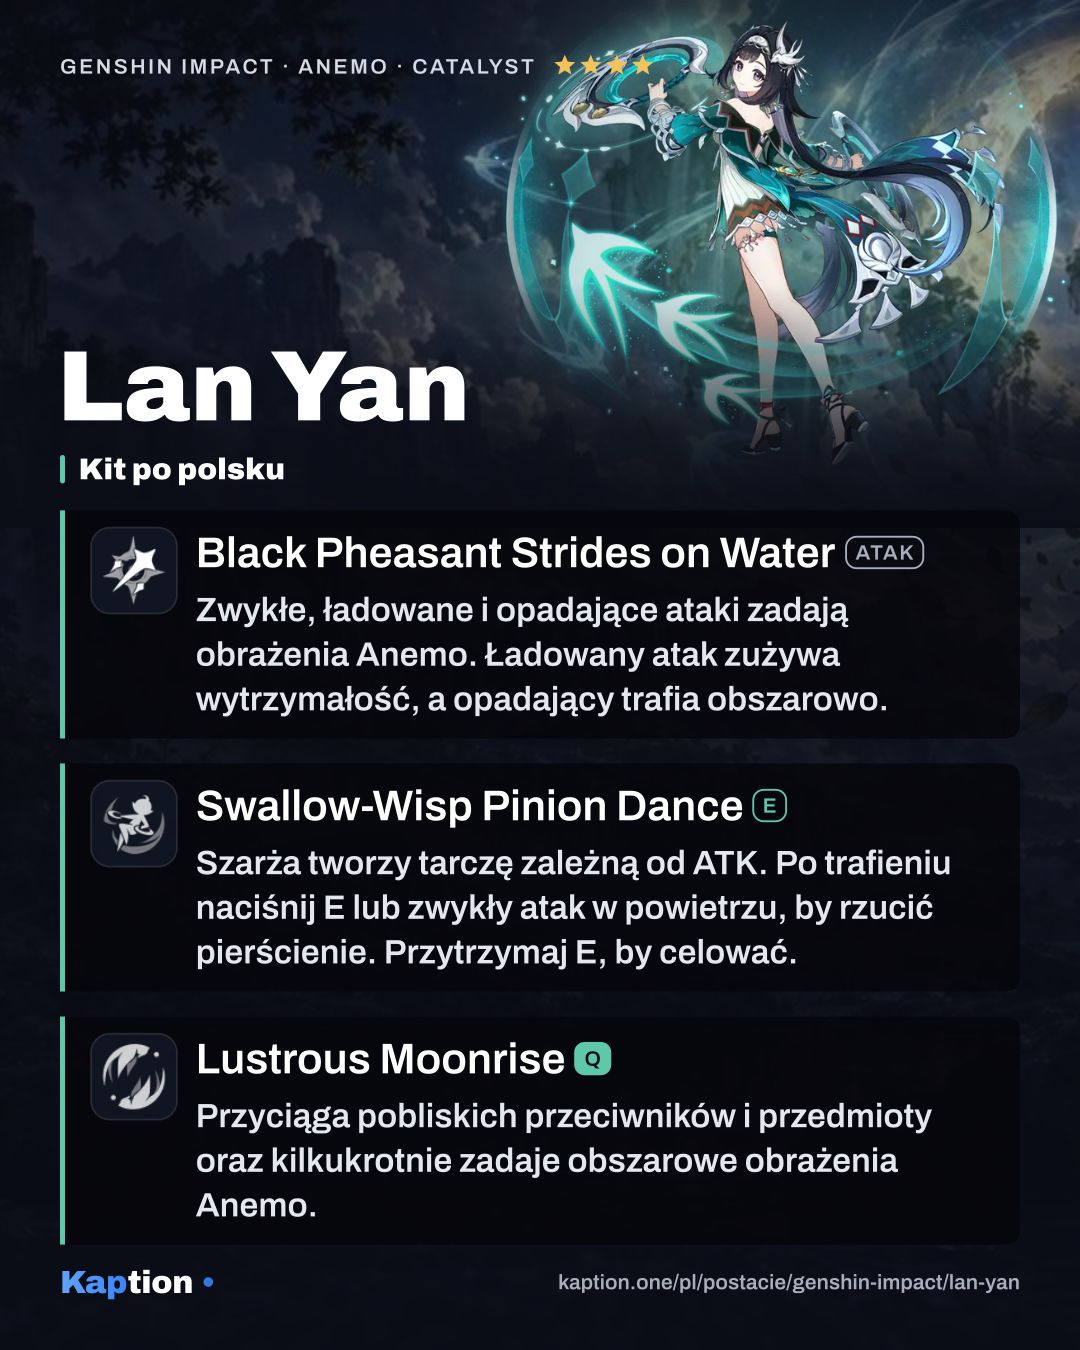
Start by putting Hydro, Pyro, Cryo or Electro on an enemy if you want the shield to absorb that element. Use Swallow-Wisp Pinion Dance to create the shield and dash forward. Hold the Skill if you need to aim the dash. Contact with a target sends Lan Yan back into the air.
While she is airborne from the Skill, press the Skill or Normal Attack again to throw the rings. On hit, they spin between nearby opponents twice and deal Anemo damage. You need to make that follow-up input rather than assume the throw happens automatically.
Four Sealing Divination Charms lets the dash convert the shield when it interacts with one of the four listed elements. The converted shield absorbs that element's damage with 250% efficiency. The rings also deal extra damage of that element equal to 50% of their original damage. Without conversion, the shield has 250% absorption efficiency against Anemo damage.
Use Lustrous Moonrise when you want to pull nearby opponents and objects together. It deals several instances of AoE Anemo damage. Skyfeather Evil-Subduing Charm increases Skill damage by 309% of Lan Yan's Elemental Mastery and Burst damage by 774% of it.
Black Pheasant Strides on Water (NA) gives her up to four Anemo Normal Attacks. Her Charged Attack consumes Stamina and throws a ring, while her Plunging Attack deals AoE Anemo damage on impact.
Build and why
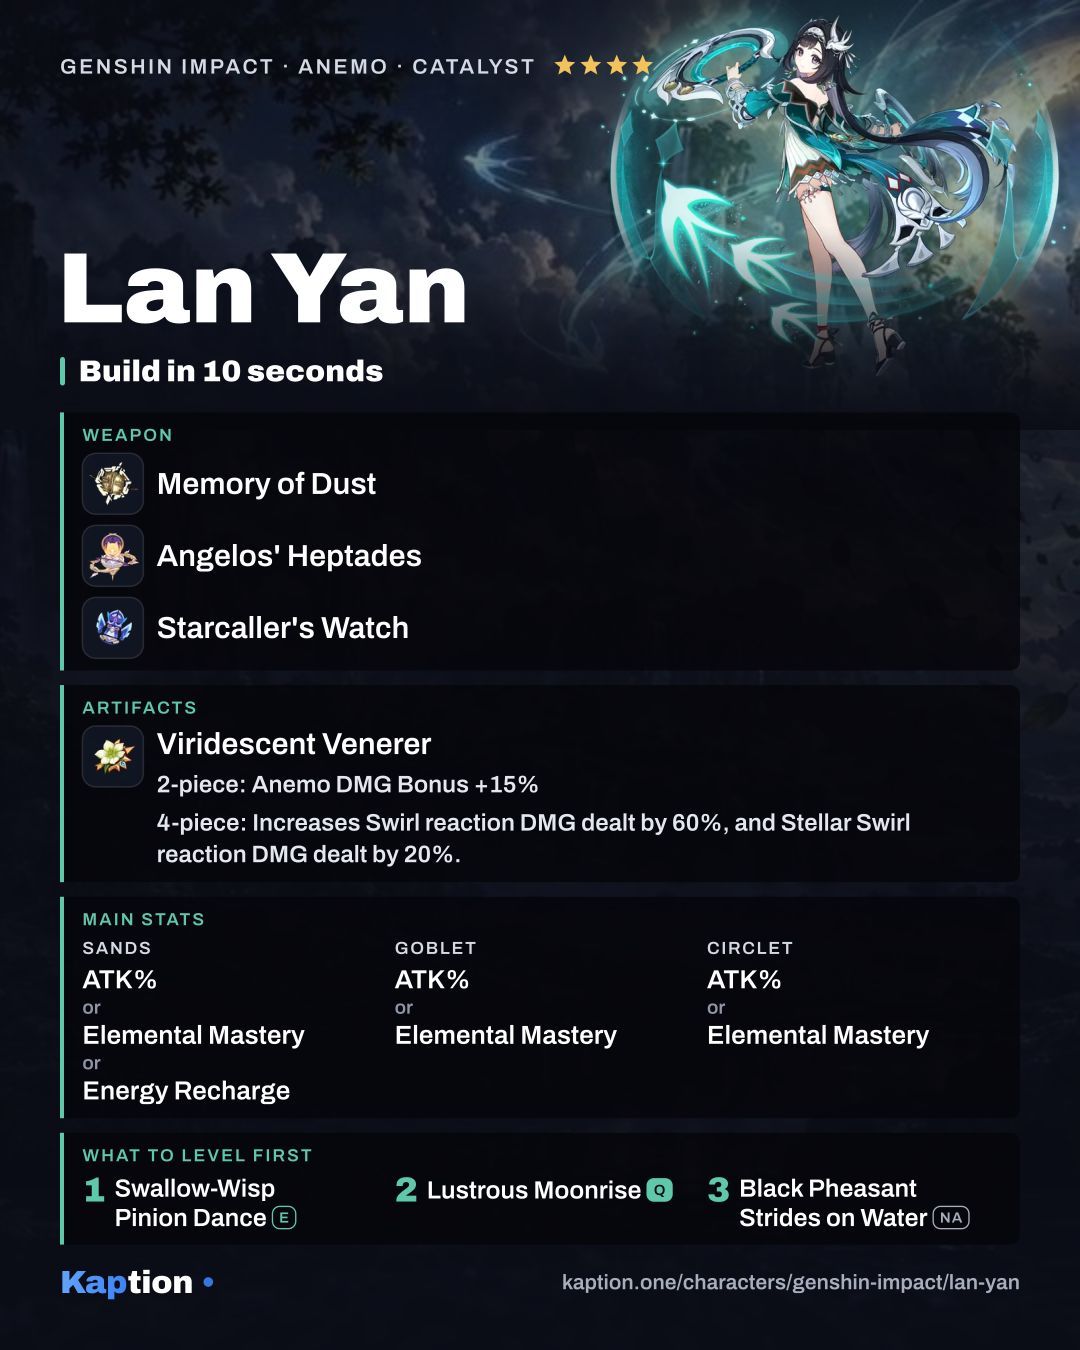
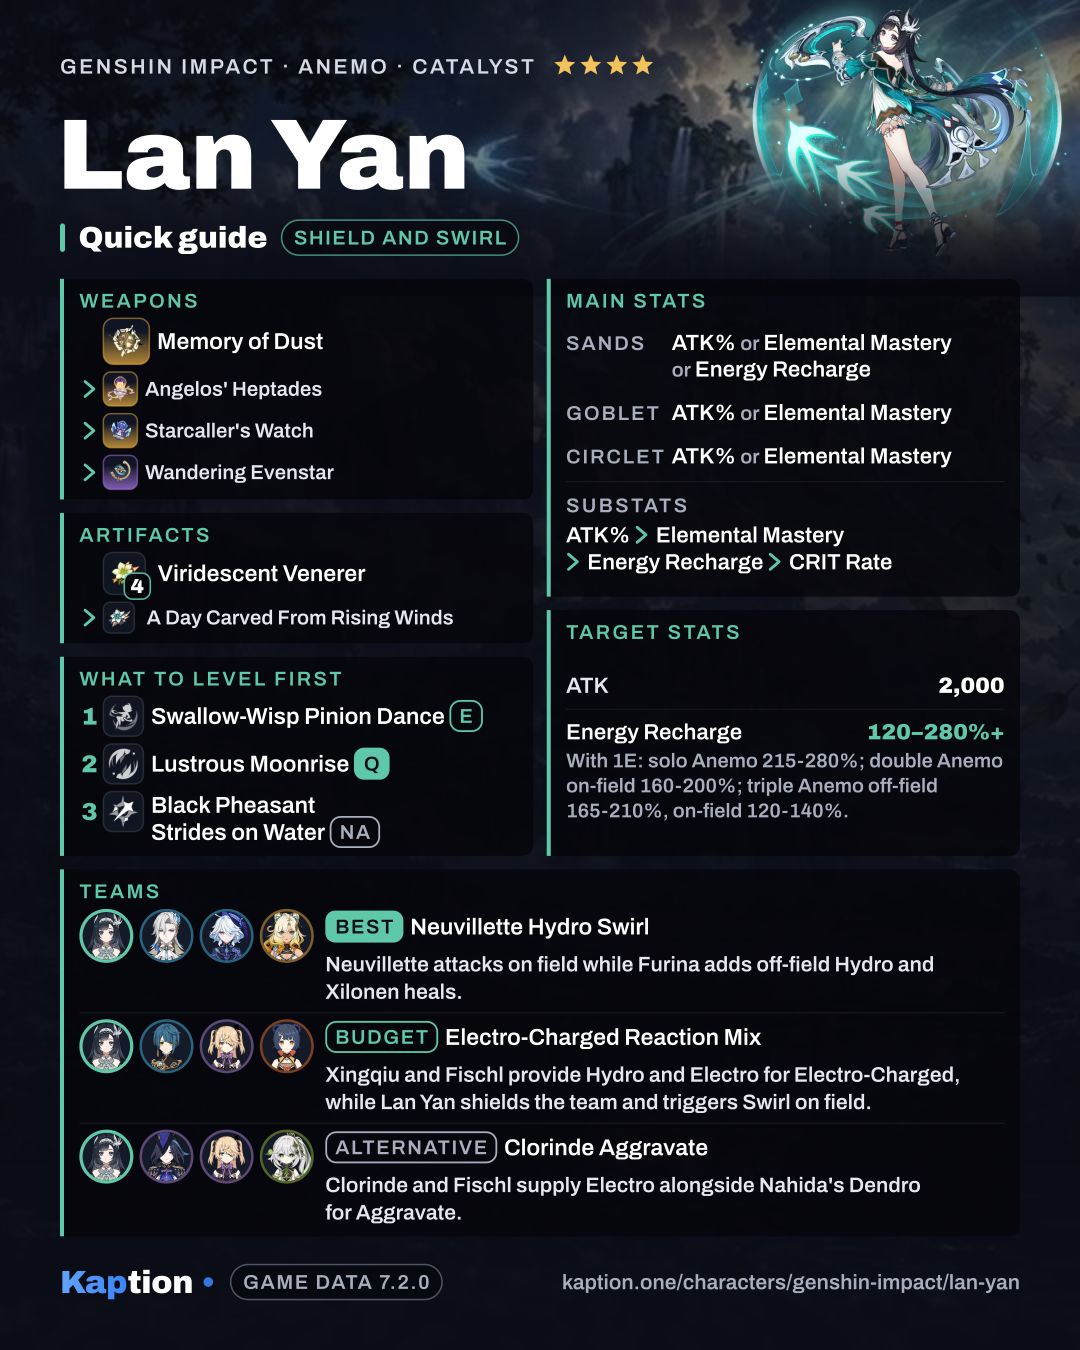
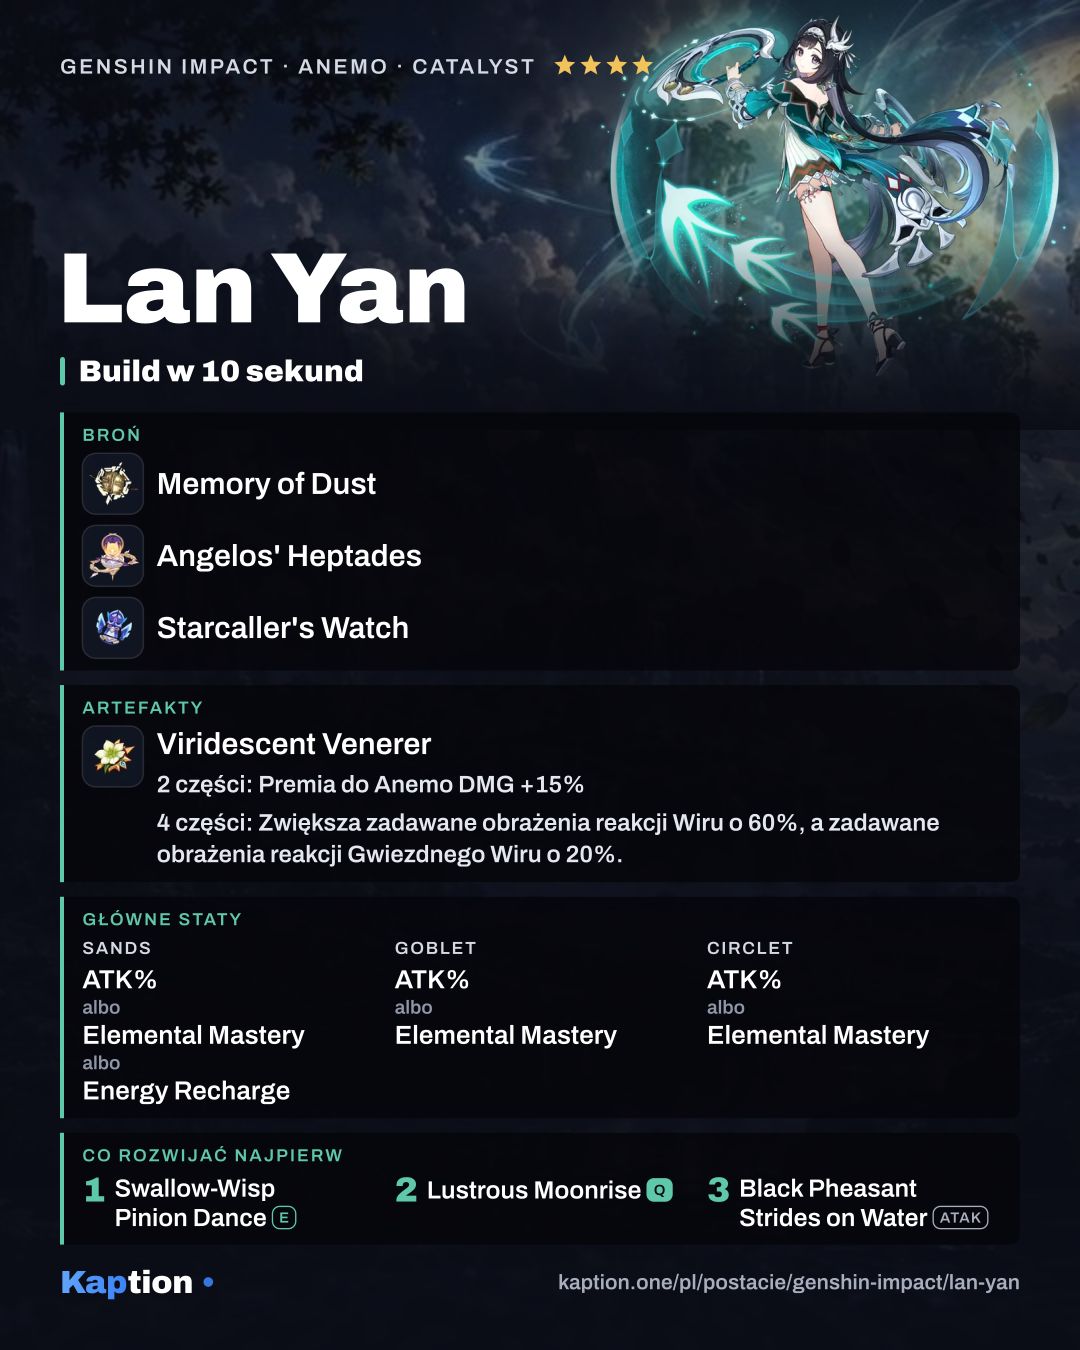
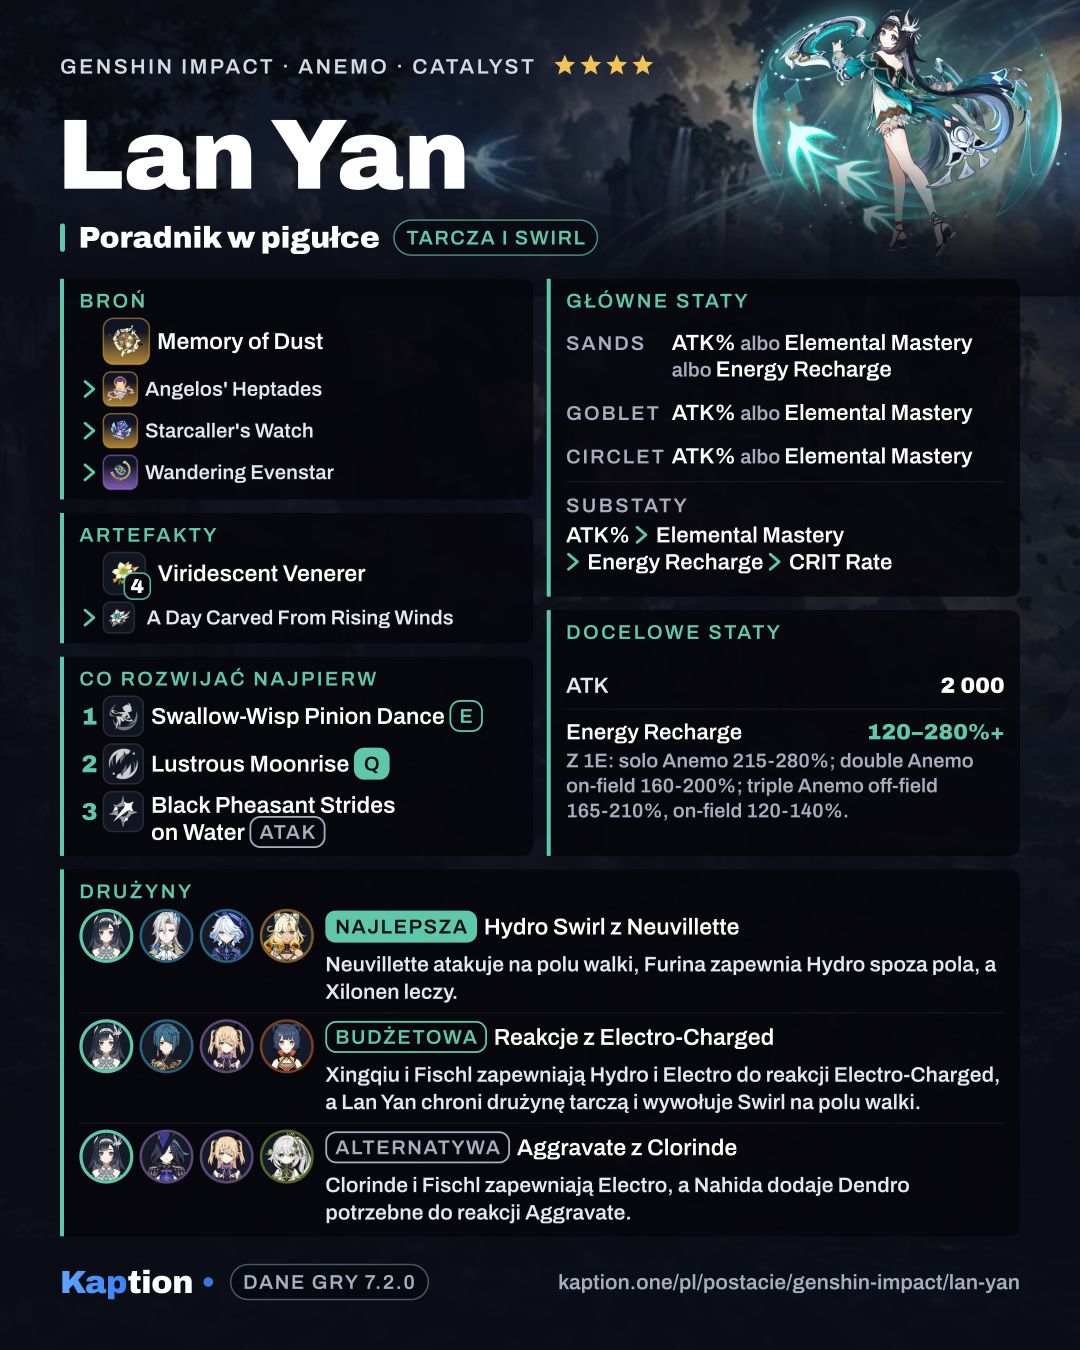
Use four pieces of Viridescent Venerer for team support. They increase Swirl damage by 60% and reduce the opponent's RES to the infused element by 40% for 10 seconds. Swirl the element your damage dealer uses.
Scroll of the Hero of Cinder City is another support option. After Lan Yan triggers a reaction related to Anemo, it gives nearby party members a 12% Elemental DMG Bonus for the elements involved for 15 seconds. Shimenawa's Reminiscence is an option if she stays on field and attacks: its four-piece effect consumes 15 Energy on Skill use, if she has enough, to boost Normal, Charged and Plunging Attack damage by 50% for 10 seconds.
Four pieces of A Day Carved From Rising Winds give ATK after a hit. Alternatively, two pieces of Gladiator's Finale and two of Gilded Dreams give ATK and Elemental Mastery. The four-piece Gladiator's Finale Normal Attack bonus does not apply to Catalyst users.
Choose ATK Percentage, Elemental Mastery or Energy Recharge on the sands. For the goblet and circlet, use ATK Percentage or Elemental Mastery. Prioritize substats in this order: ATK Percentage, Elemental Mastery, Energy Recharge, then CRIT Rate. ATK strengthens the shield, while Elemental Mastery increases Skill and Burst damage through her passive. Energy Recharge helps with Burst availability.
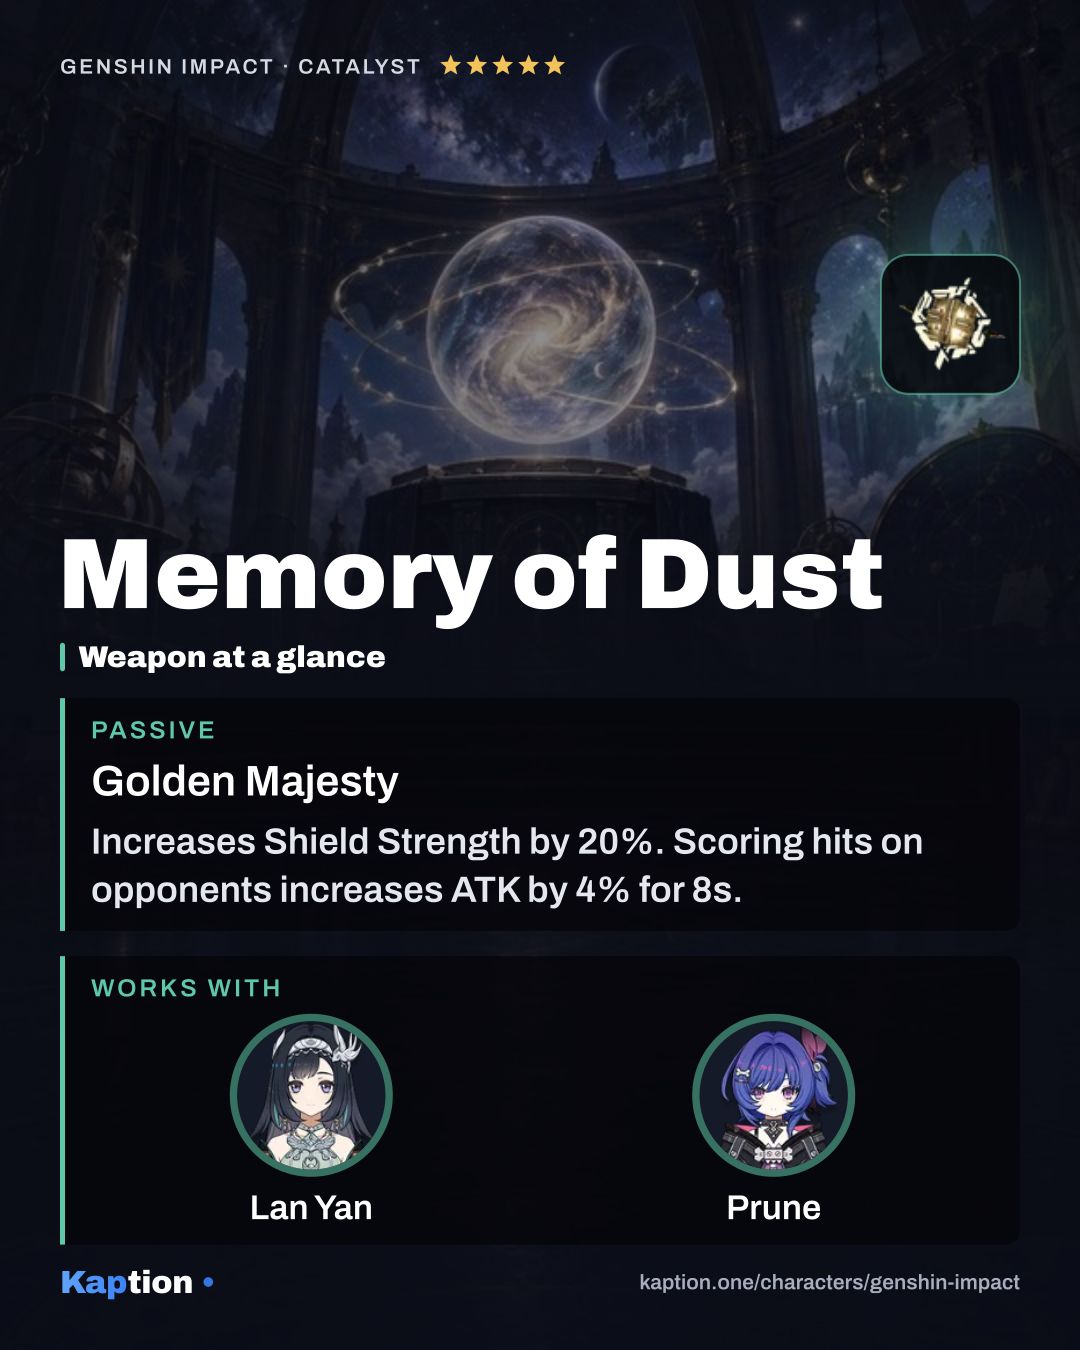
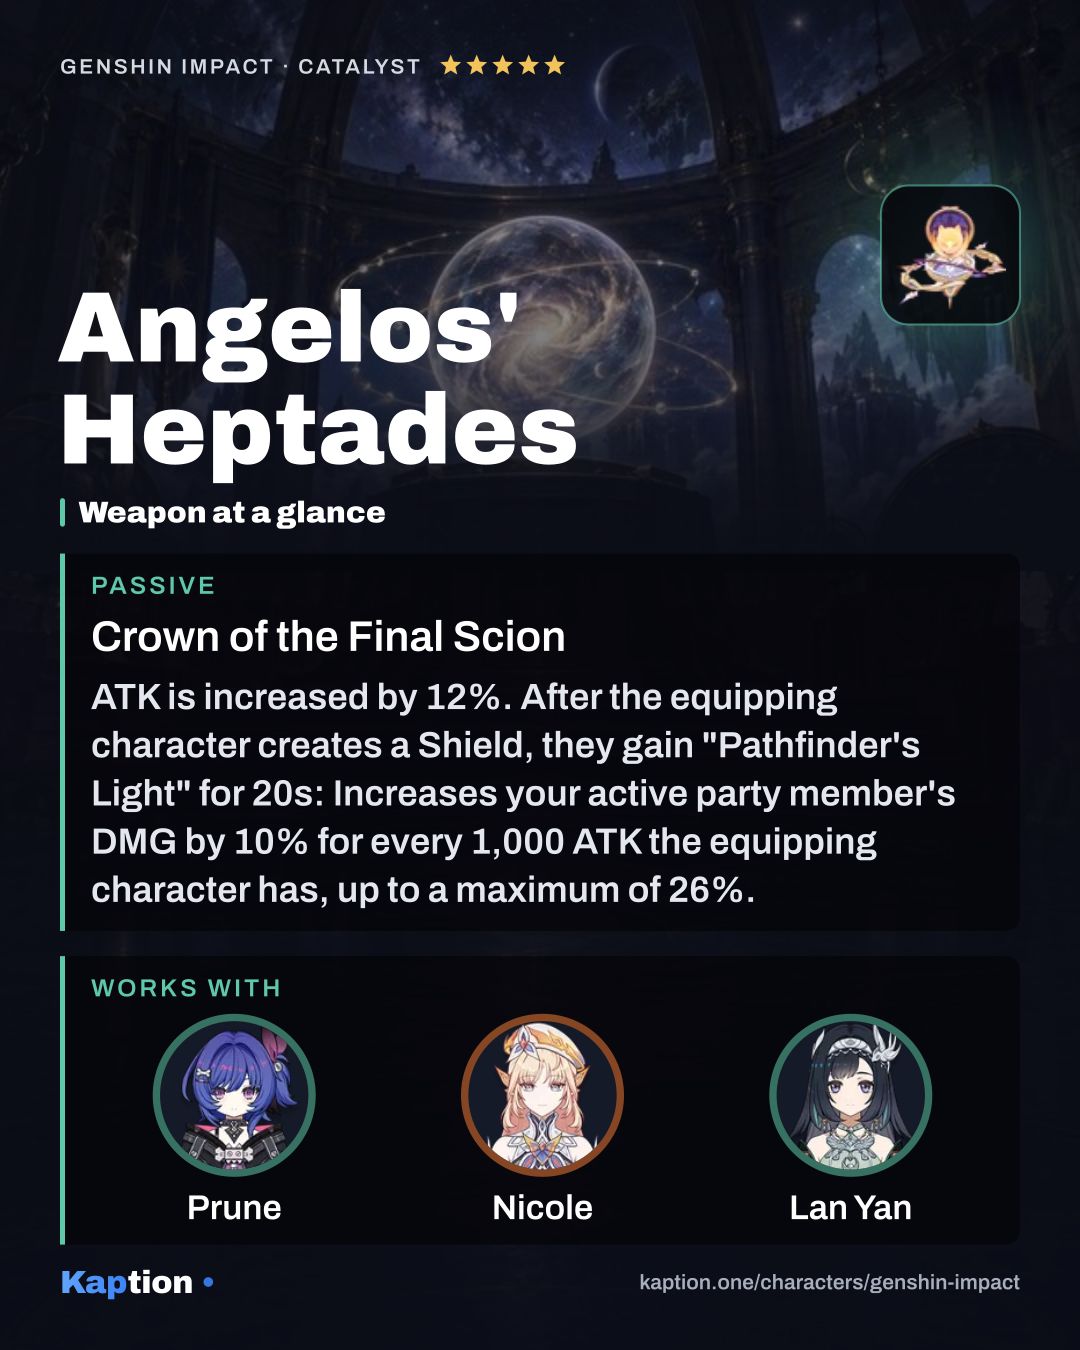
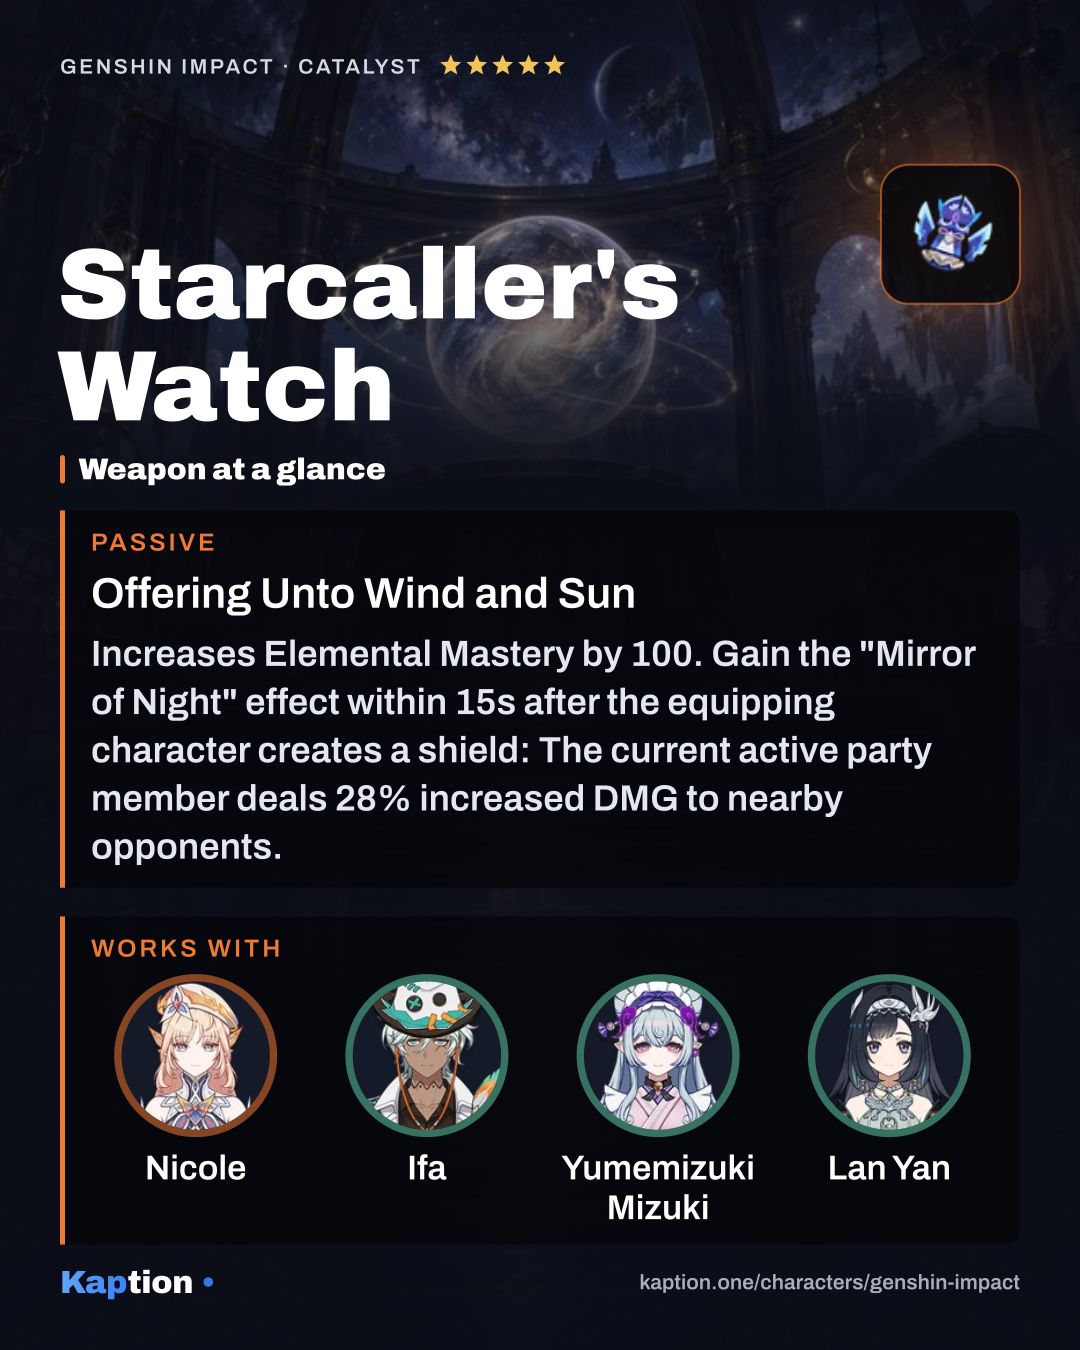
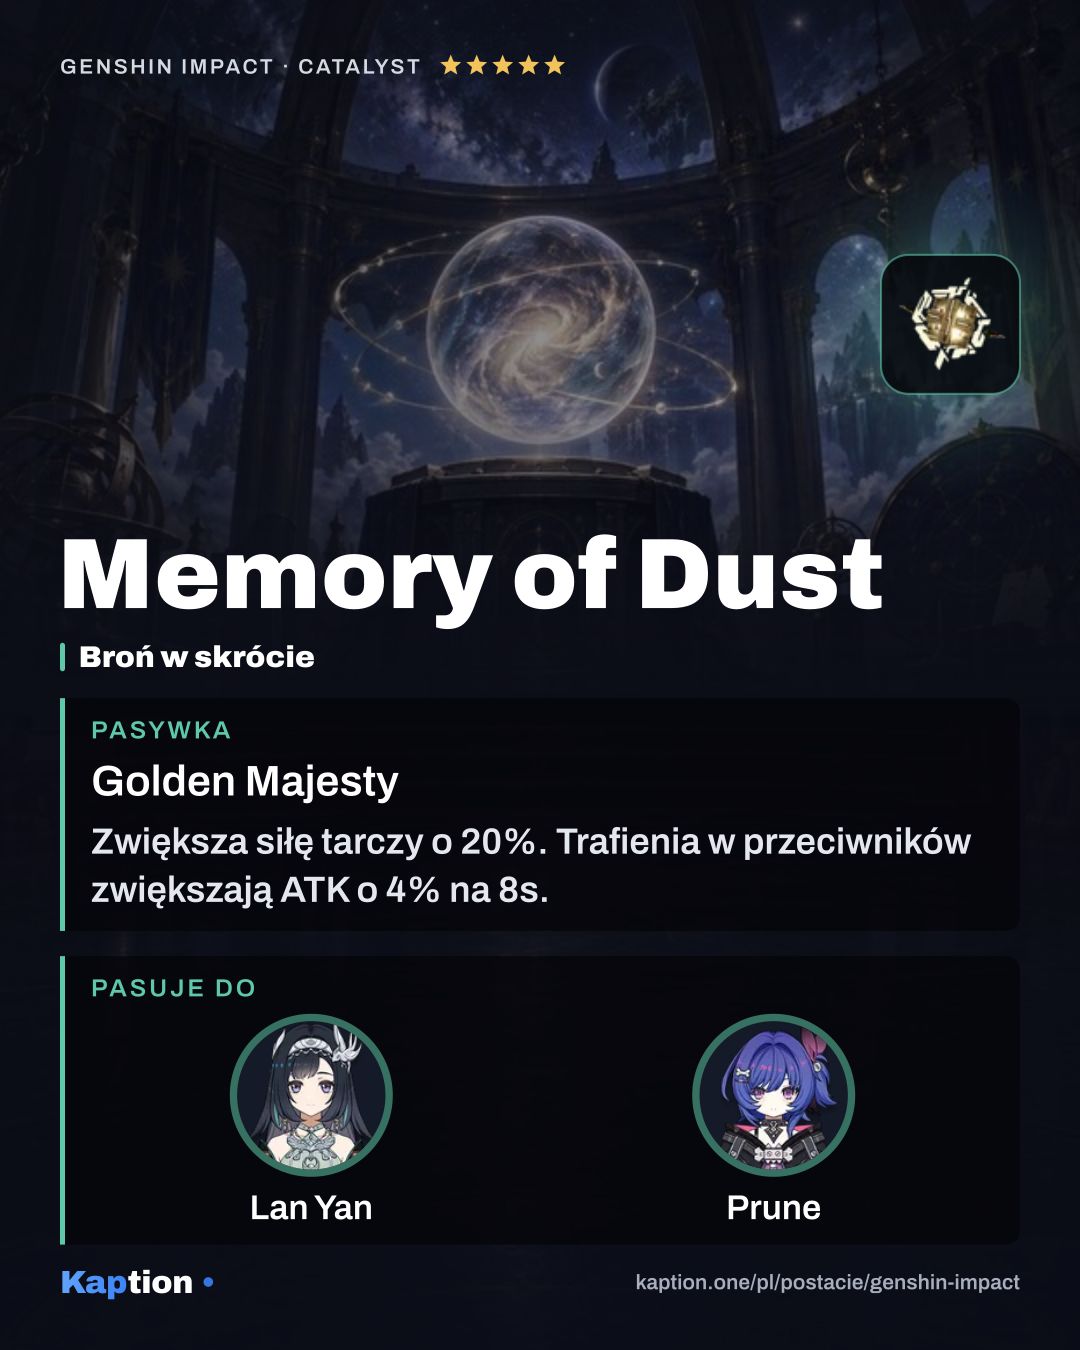
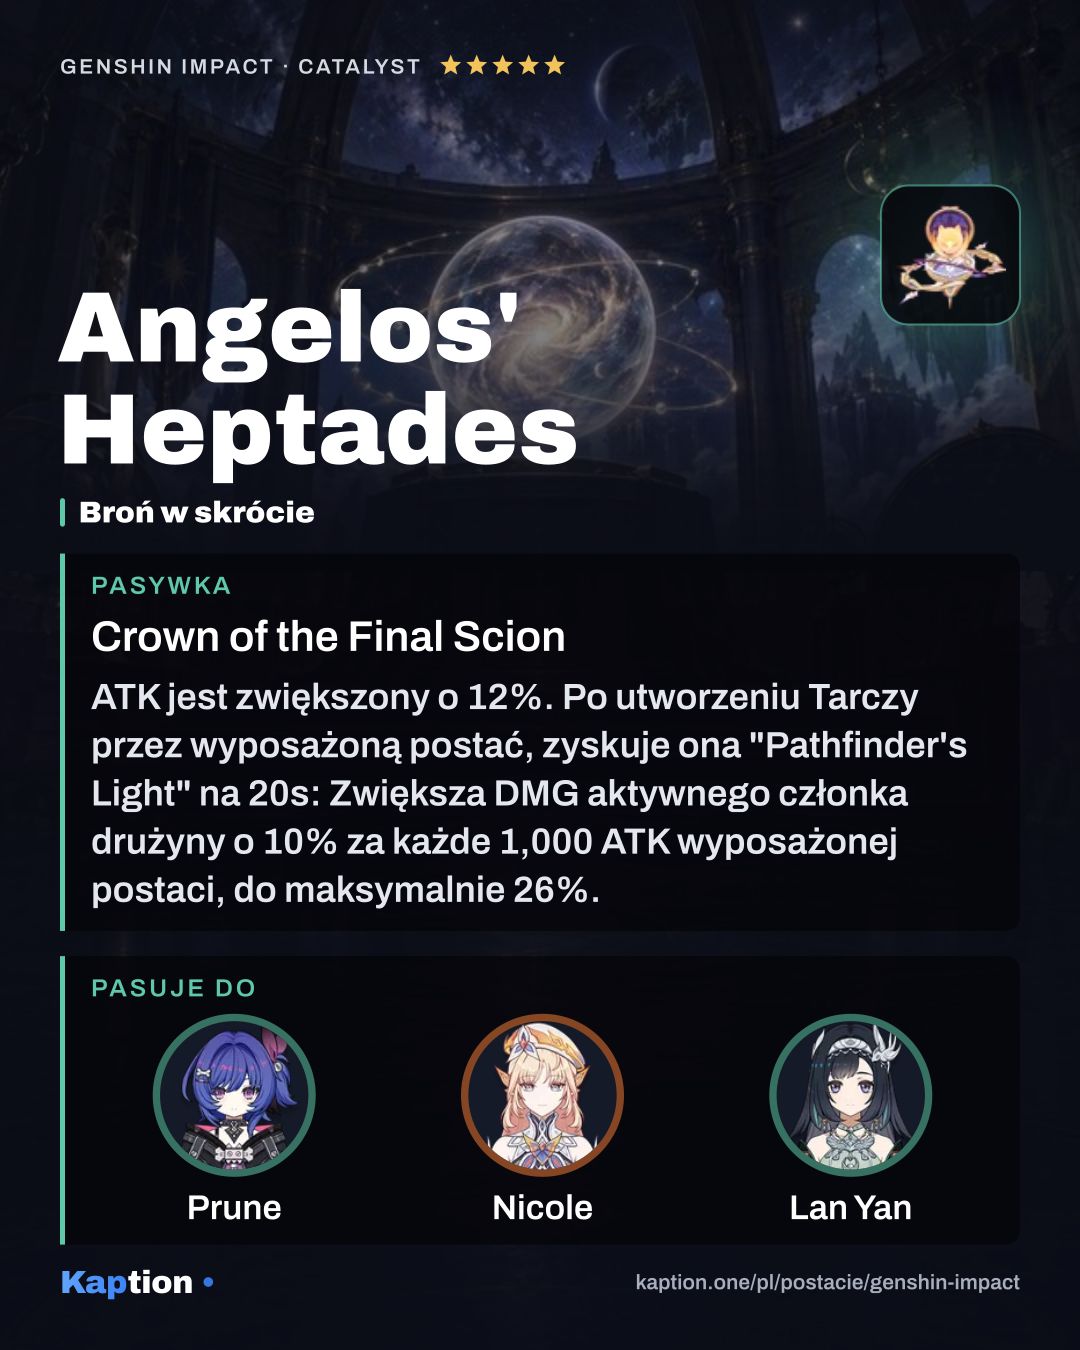
Weapon rankings differ between guides. Angelos' Heptades increases ATK and, after Lan Yan creates a shield, boosts the active character's damage based on her ATK. Starcaller's Watch gives 100 Elemental Mastery and a shield-triggered damage boost against nearby opponents. Another guide ranks Memory of Dust first; its ATK effect suits her shield scaling.
For other support options, Thrilling Tales of Dragon Slayers gives the character switched in 24% ATK for 10 seconds. Favonius Codex can generate Energy particles on CRIT Hits, making CRIT Rate useful with it.
Leveling priority
A practical order is Swallow-Wisp Pinion Dance first, Lustrous Moonrise second and Black Pheasant Strides on Water (NA) last. The Skill is the source of her shield and rings, while the Burst supplies grouping and damage. Her Normal Attacks are less important if she mainly appears to support the team.
For ascension, collect Mora, Clearwater Jade, Vayuda Turquoise Sliver, Vayuda Turquoise Fragment, Vayuda Turquoise Chunk, Vayuda Turquoise Gemstone and Gold-Inscribed Secret Source Core. You also need Whopperflower Nectar, Shimmering Nectar and Energy Nectar.
Talent upgrades use Mora and the same three Nectar materials, along with Teachings of Diligence, Guide to Diligence, Philosophies of Diligence, Eroded Sunfire and Crown of Insight. The listed materials for all talents include three Crown of Insight, so you do not need to spend all three if you leave her Normal Attacks at a lower level.
Constellations worth it
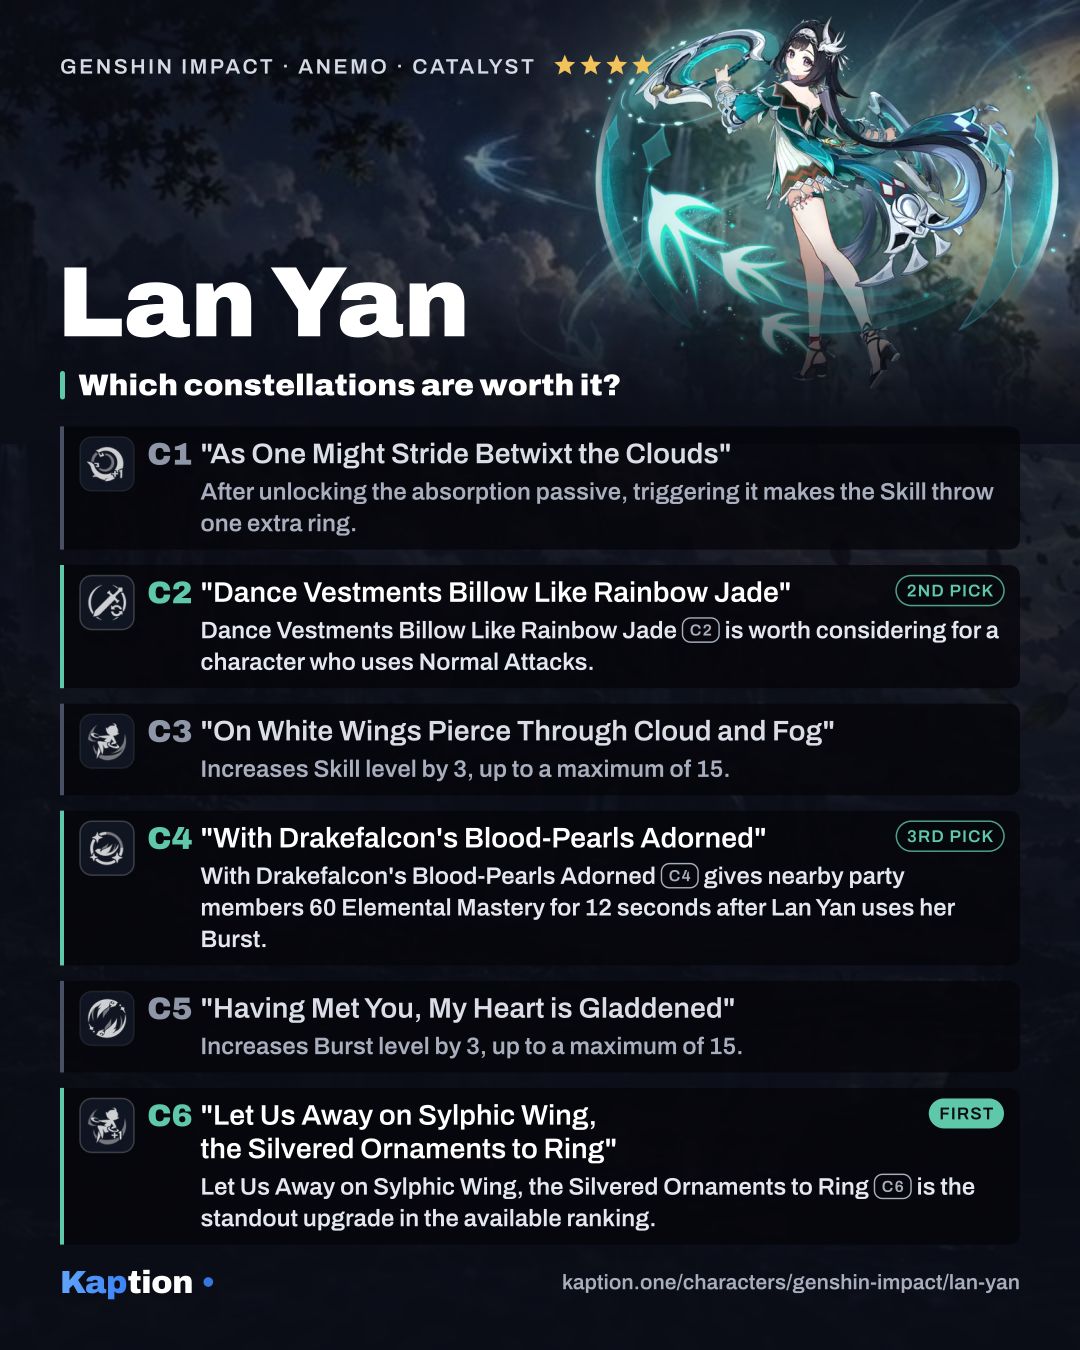
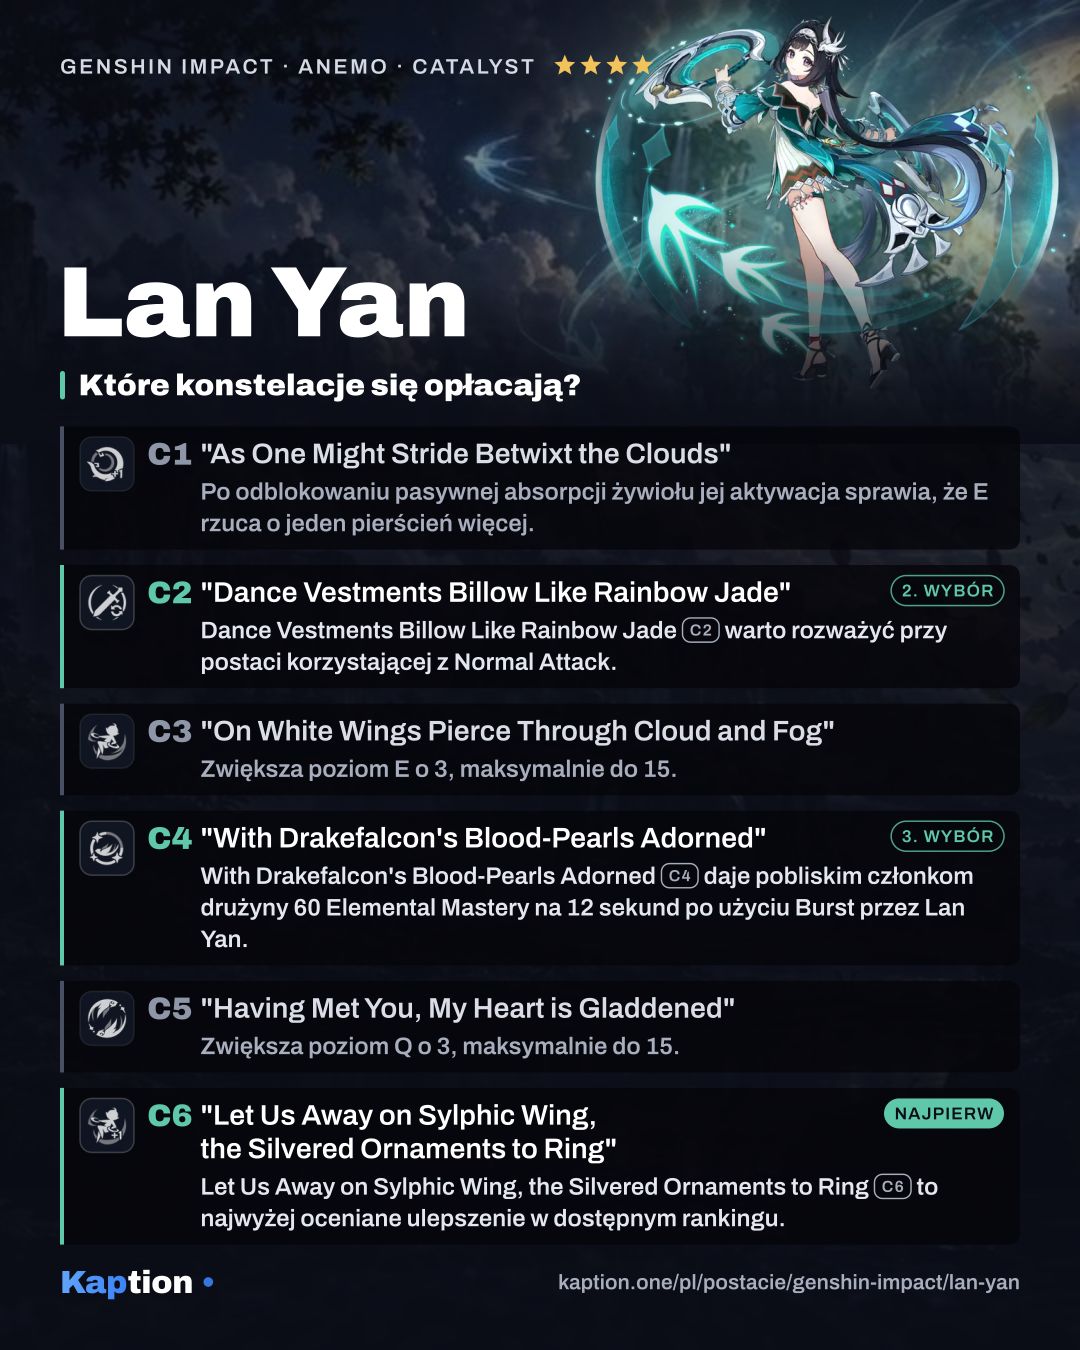
Let Us Away on Sylphic Wing, the Silvered Ornaments to Ring (C6) is the standout upgrade in the available ranking. It gives the Skill one additional charge, giving you another use of the move that creates her shield.
Dance Vestments Billow Like Rainbow Jade (C2) is worth considering for a character who uses Normal Attacks. While the shield is active, an active character's damaging Normal Attack restores 40% of its absorption, up to the original maximum. This can happen once every two seconds, so it cannot restore a shield that is no longer active.
With Drakefalcon's Blood-Pearls Adorned (C4) gives nearby party members 60 Elemental Mastery for 12 seconds after Lan Yan uses her Burst. That is useful to consider in a team that benefits from Elemental Mastery.
C1 adds another ring after the Skill triggers Elemental Absorption, while C3 and C5 raise the Skill and Burst levels respectively. You can play her shield and grouping role without chasing those upgrades. Her base kit already provides both.
Teams
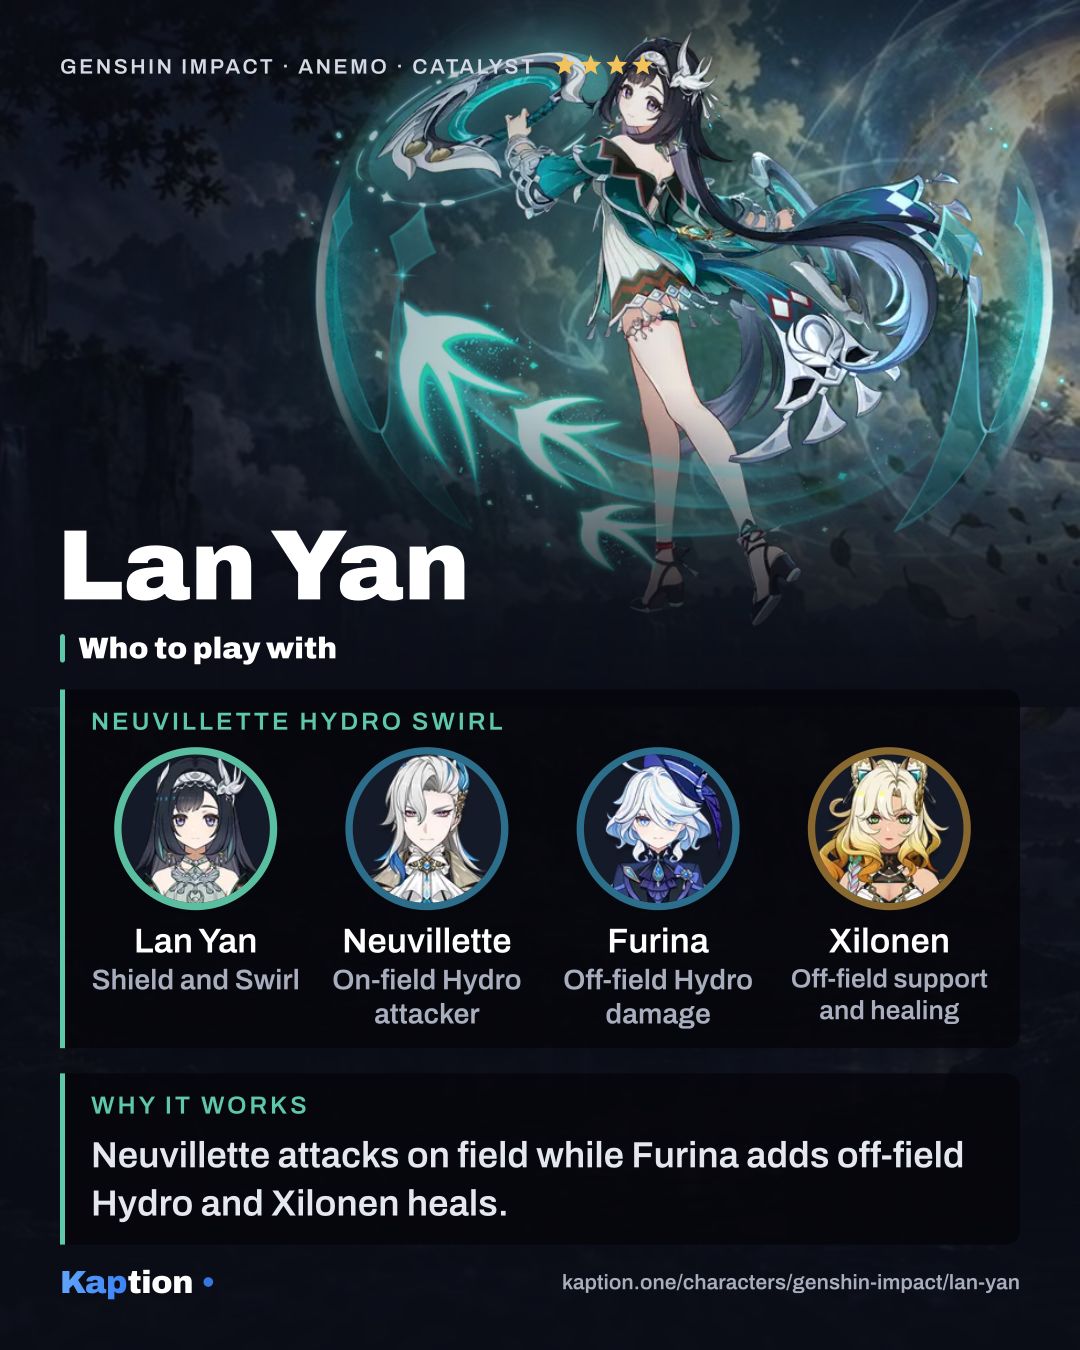
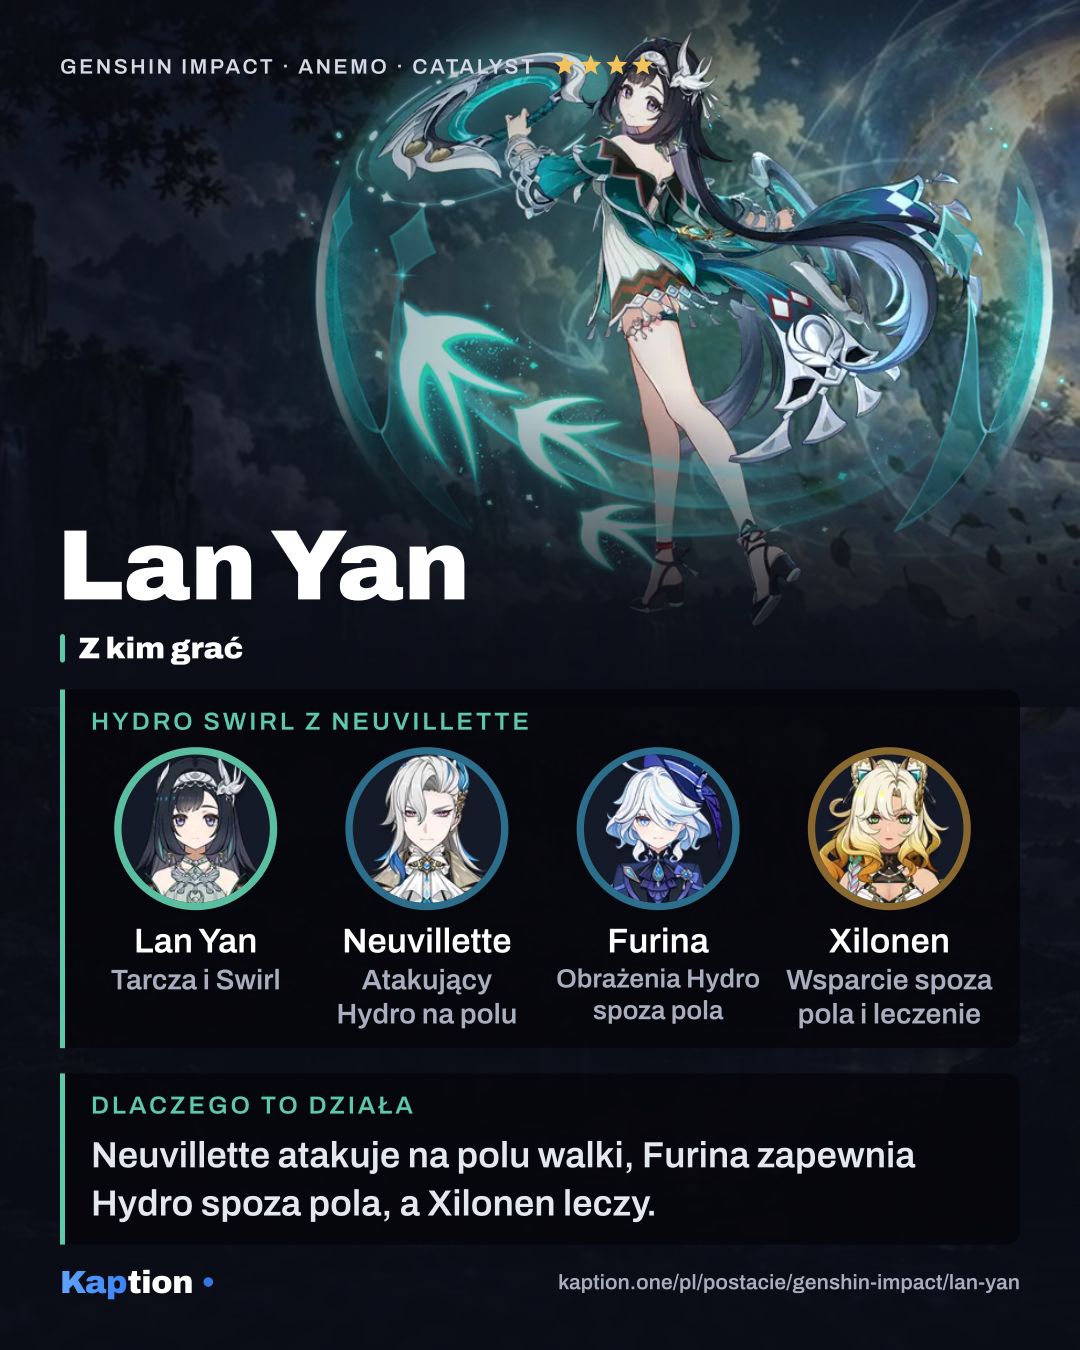
Start with a damage dealer who appreciates a shield, then add an element Lan Yan can absorb and Swirl. Neuvillette is one named Hydro partner; Lan Yan can protect him and, with Viridescent Venerer, reduce Hydro RES after a Hydro Swirl.
An Anemo-focused team is another option: Faruzan and Wanderer are named partners. Lan Yan still supplies her shield and grouping there, although an Anemo teammate alone does not give her one of the four elements needed for shield conversion.
Common mistakes
Do not build HP expecting it to strengthen Lan Yan's shield. Its absorption scales with ATK. Elemental Mastery has a different job: her passive uses it to increase Skill and Burst damage.
Do not forget the ring follow-up after the Skill dash connects. Press the Skill or Normal Attack while Lan Yan is airborne from that move. If you want an absorbed element, check what the dash interacts with rather than assuming the shield will always convert.
With Viridescent Venerer, do not assume an Anemo hit alone lowers every resistance. You need to trigger Swirl, and the resistance reduction applies to the infused element. Also, C2 restores absorption only while the shield is active; it is not a replacement for creating a new shield.
Watch your Energy when using Shimenawa's Reminiscence. Its four-piece effect can spend 15 Energy on Skill use, which may leave less available for your Burst.