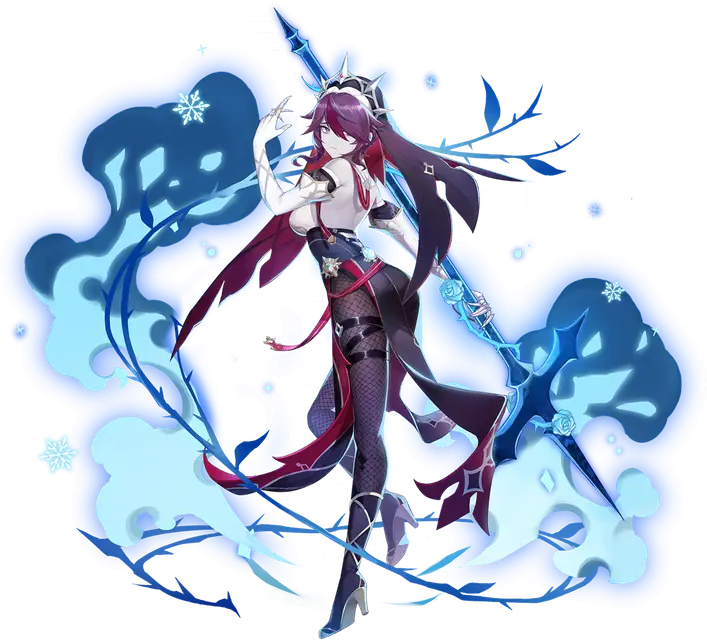

























































Guide
How the kit works
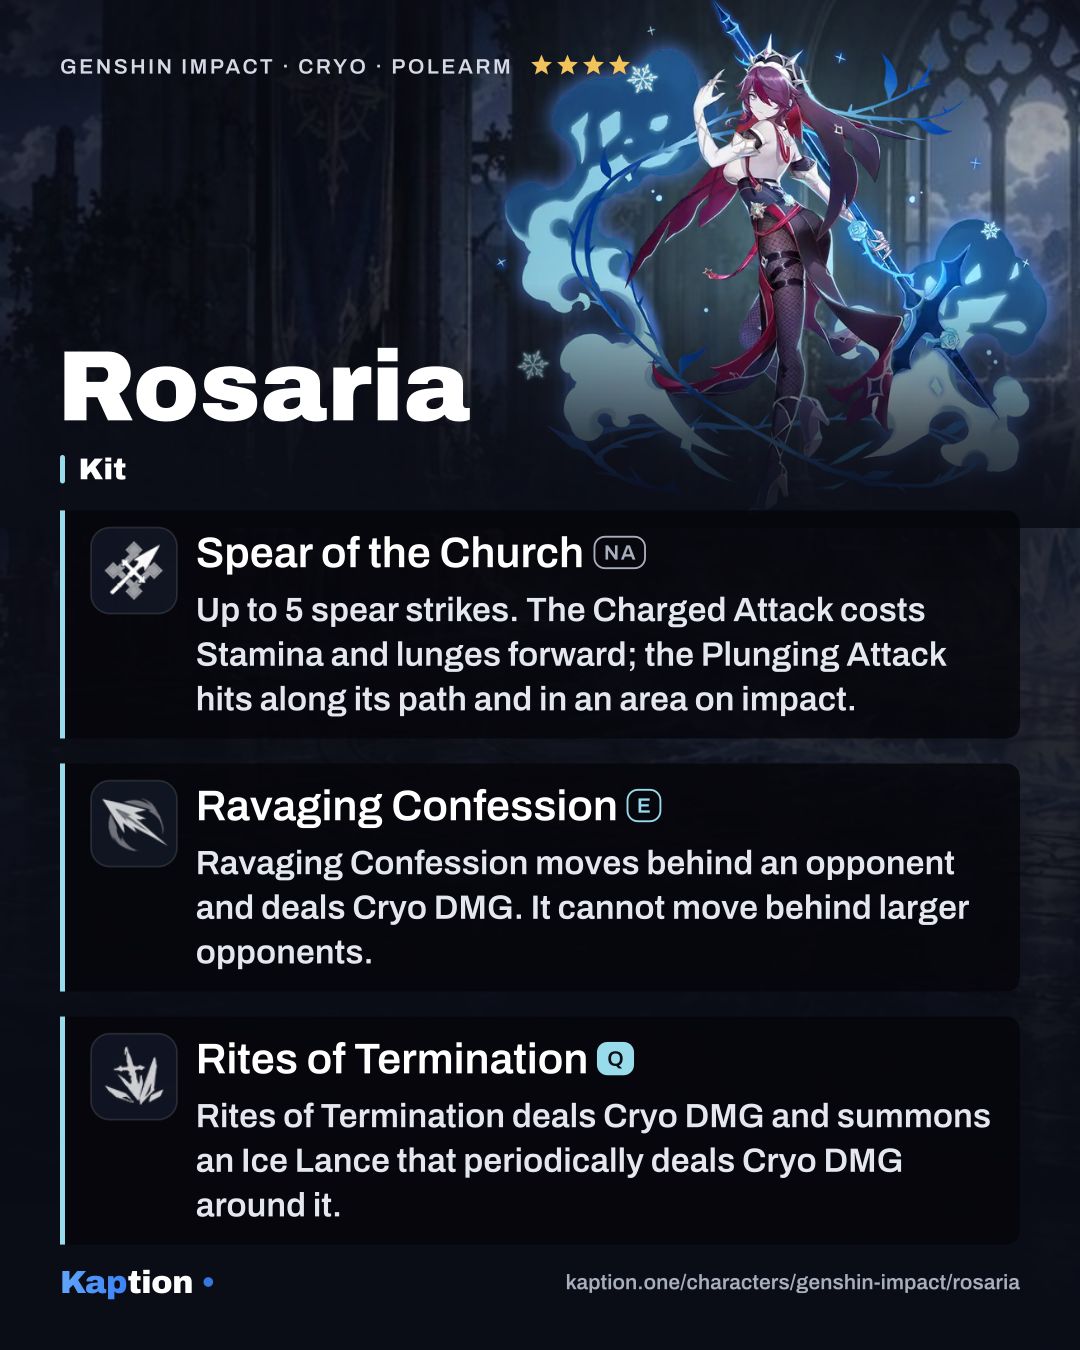
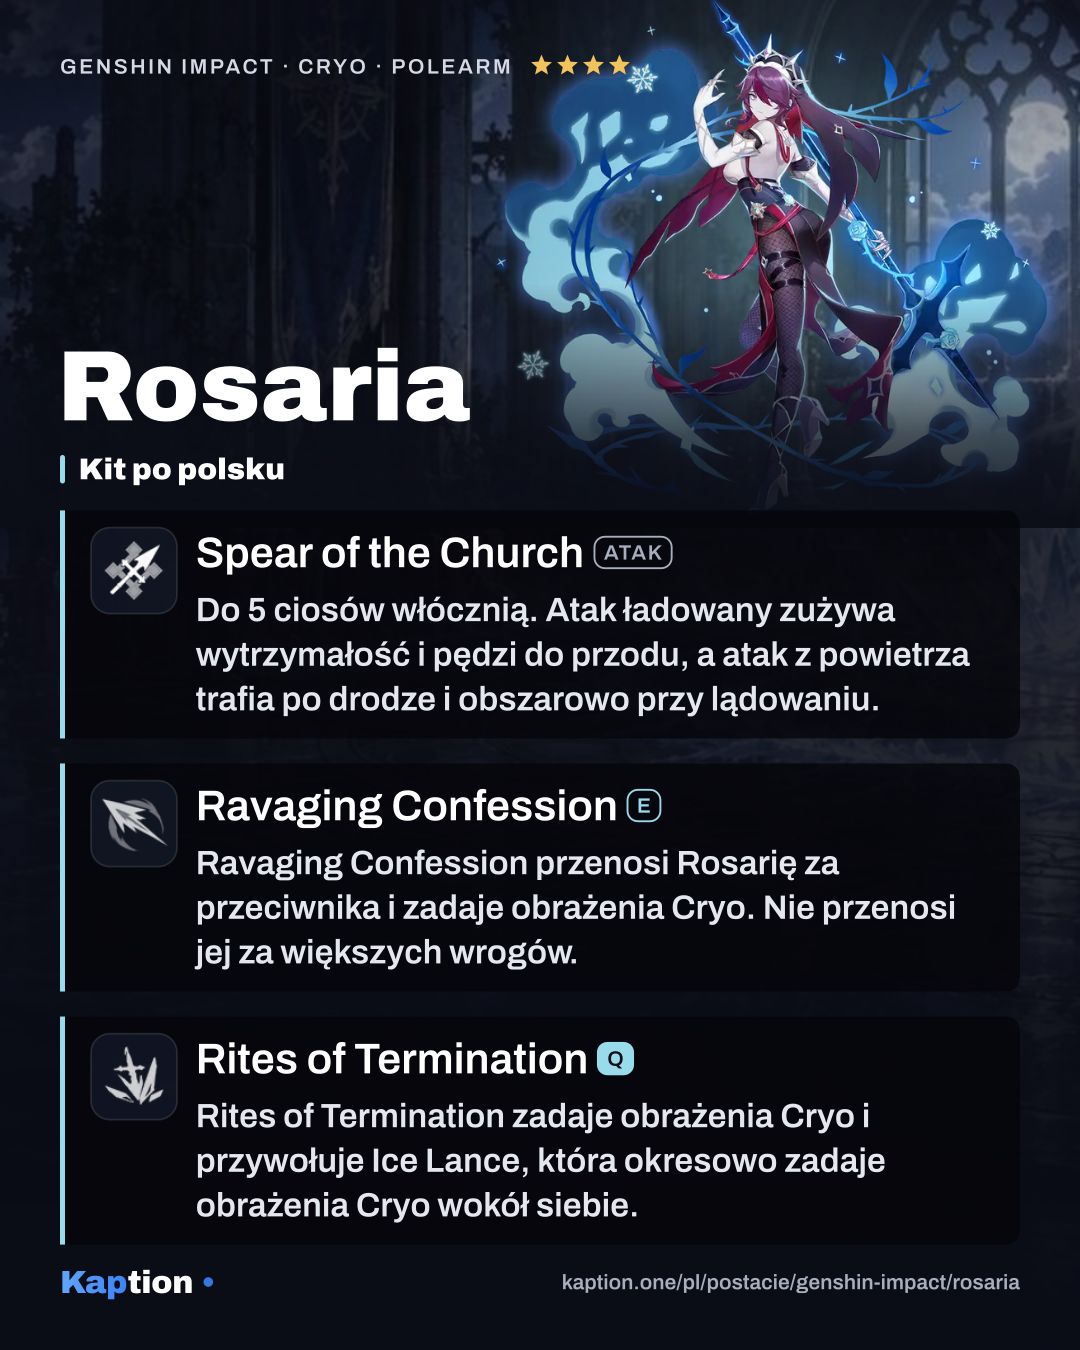
Start with Ravaging Confession. Rosaria moves behind an opponent and strikes them with Cryo damage, although she cannot move behind larger opponents this way. If the attack hits from behind, Regina Probationum gives her 12% CRIT Rate for 5 seconds.
Follow with Rites of Termination. Its initial slash and Ice Lance strike both deal Cryo damage, and the lance then deals periodic Cryo damage around it. Casting the burst activates Shadow Samaritan: nearby teammates gain CRIT Rate equal to 15% of Rosaria's CRIT Rate for 10 seconds, up to a 15% bonus. Rosaria herself does not receive it.
Using the skill from behind before the burst lets the short CRIT Rate increase contribute to that cast. Spear of the Church (NA) has up to five consecutive strikes; its charged attack consumes Stamina to lunge forward. These attacks are available when you need them, but the skill and burst are the focus of this build.
Outside combat, Night Walk increases party Movement SPD by 10% from 18:00 to 06:00. It does not work in Domains, Trounce Domains or Spiral Abyss, and Swift Stride effects do not stack.
Build and why
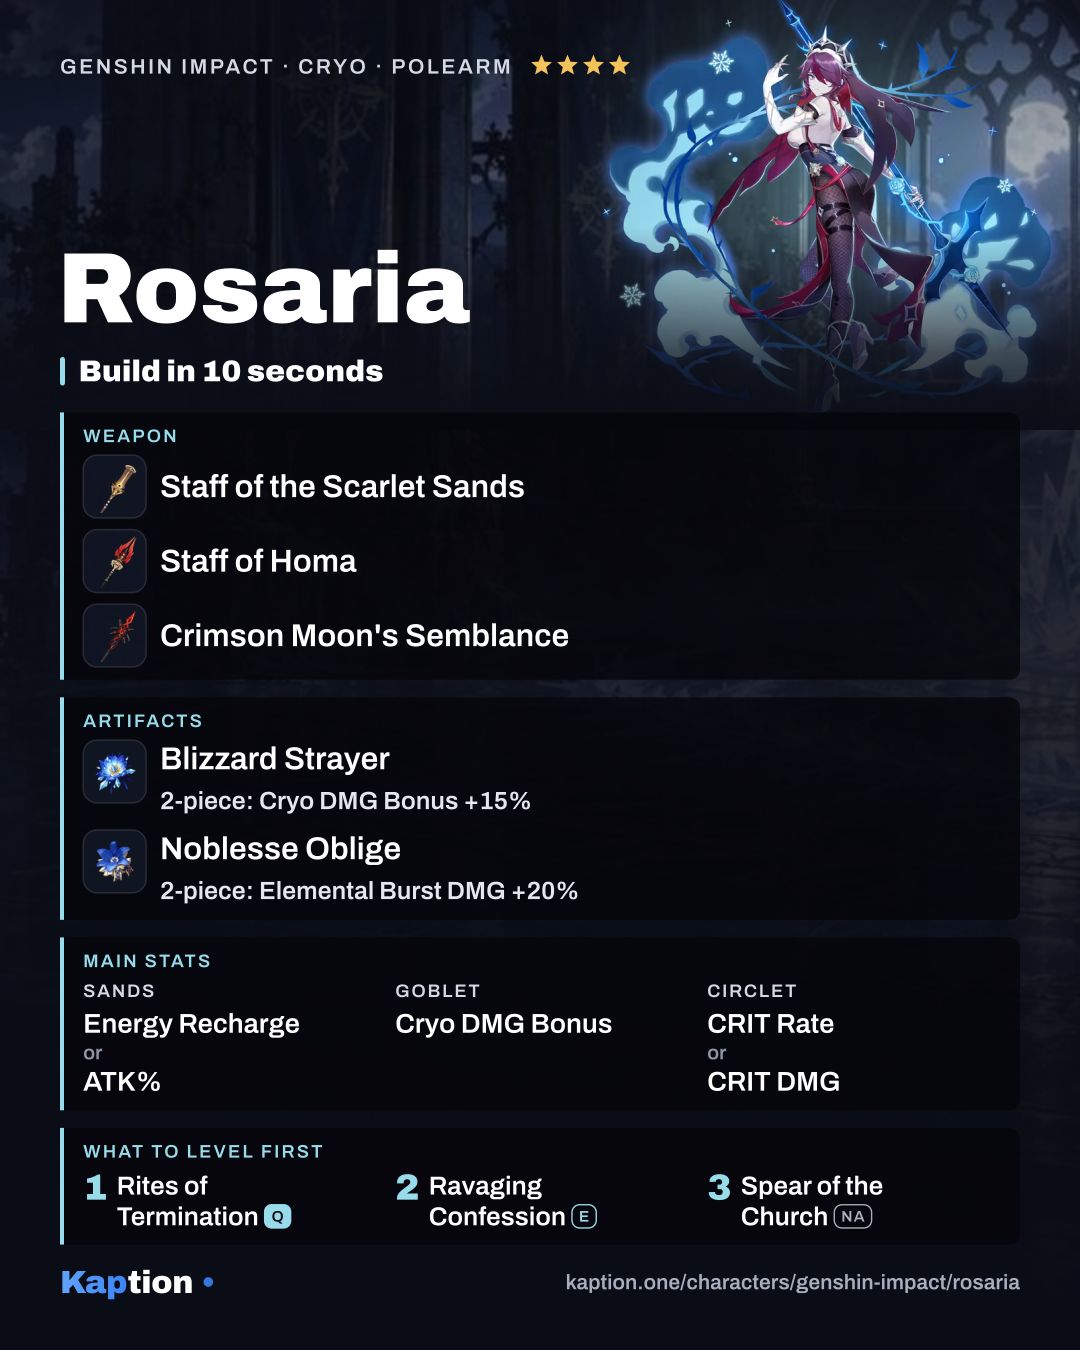
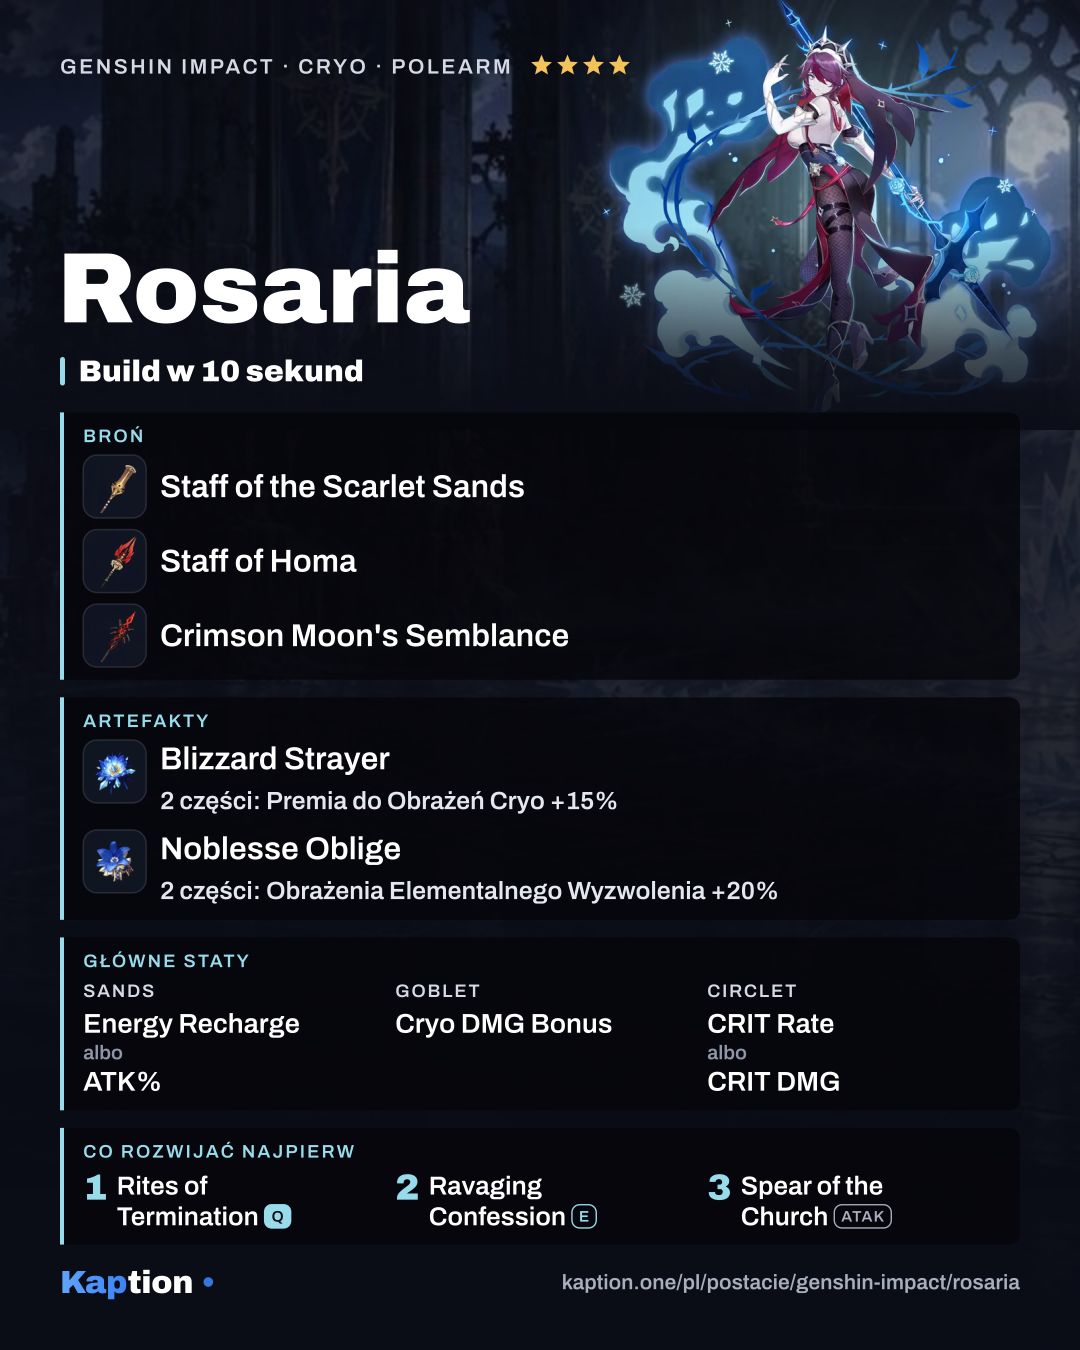
For a Melt team, consider four pieces of Gilded Dreams. After an Elemental Reaction, it grants ATK for other party members with Rosaria's element and Elemental Mastery for those with a different element. Four pieces of Blizzard Strayer are an option when opponents are affected by Cryo or Frozen: they give CRIT Rate against those targets.
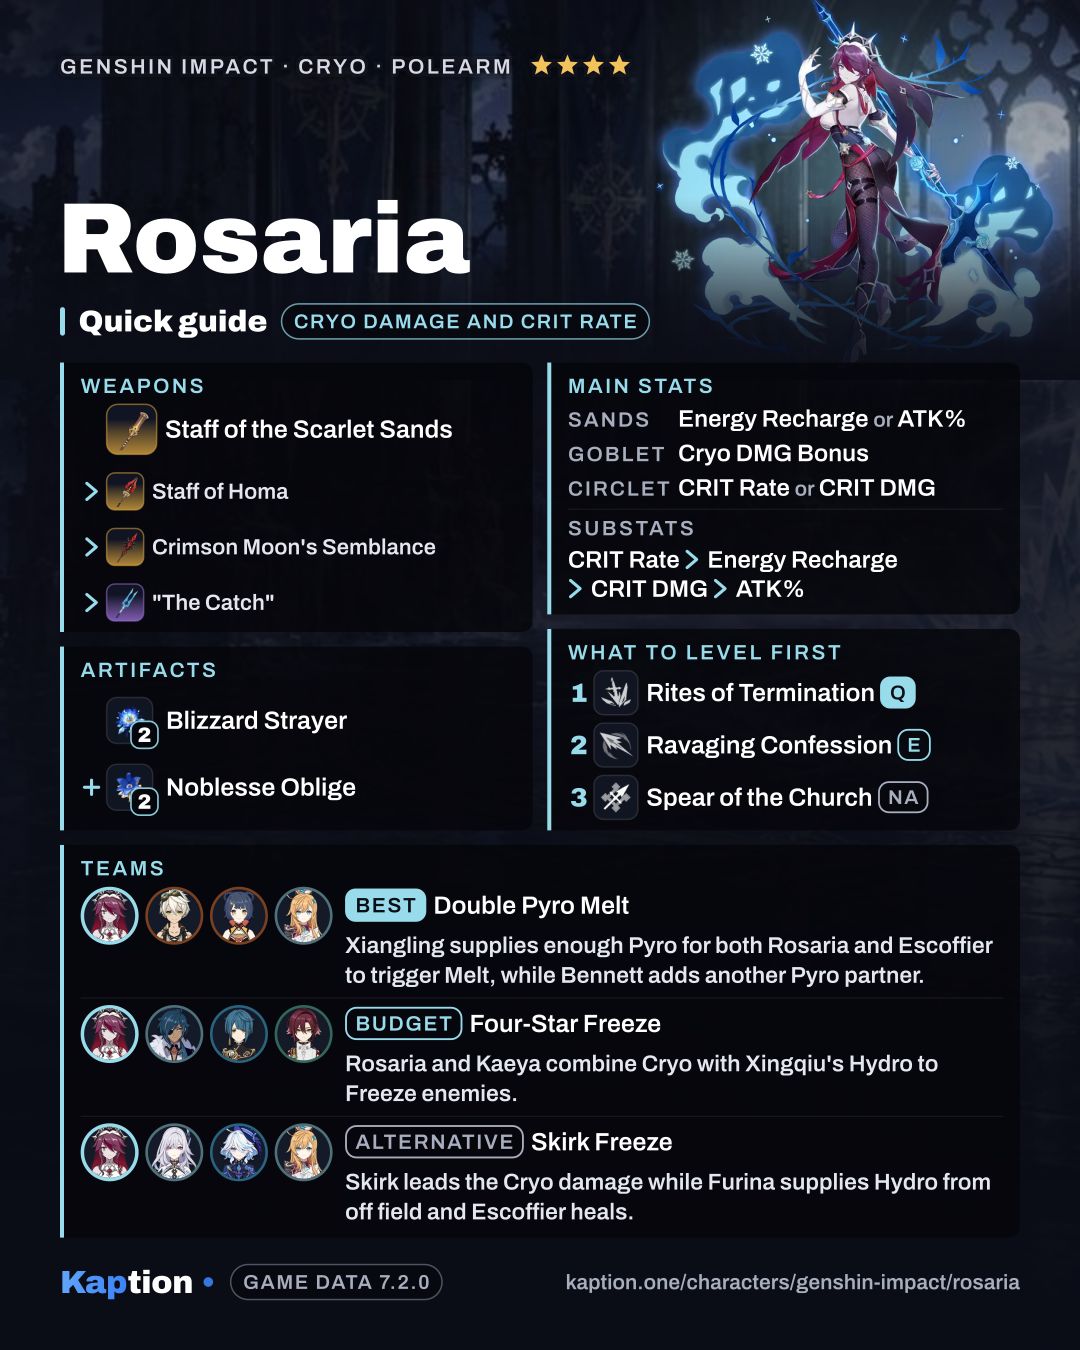
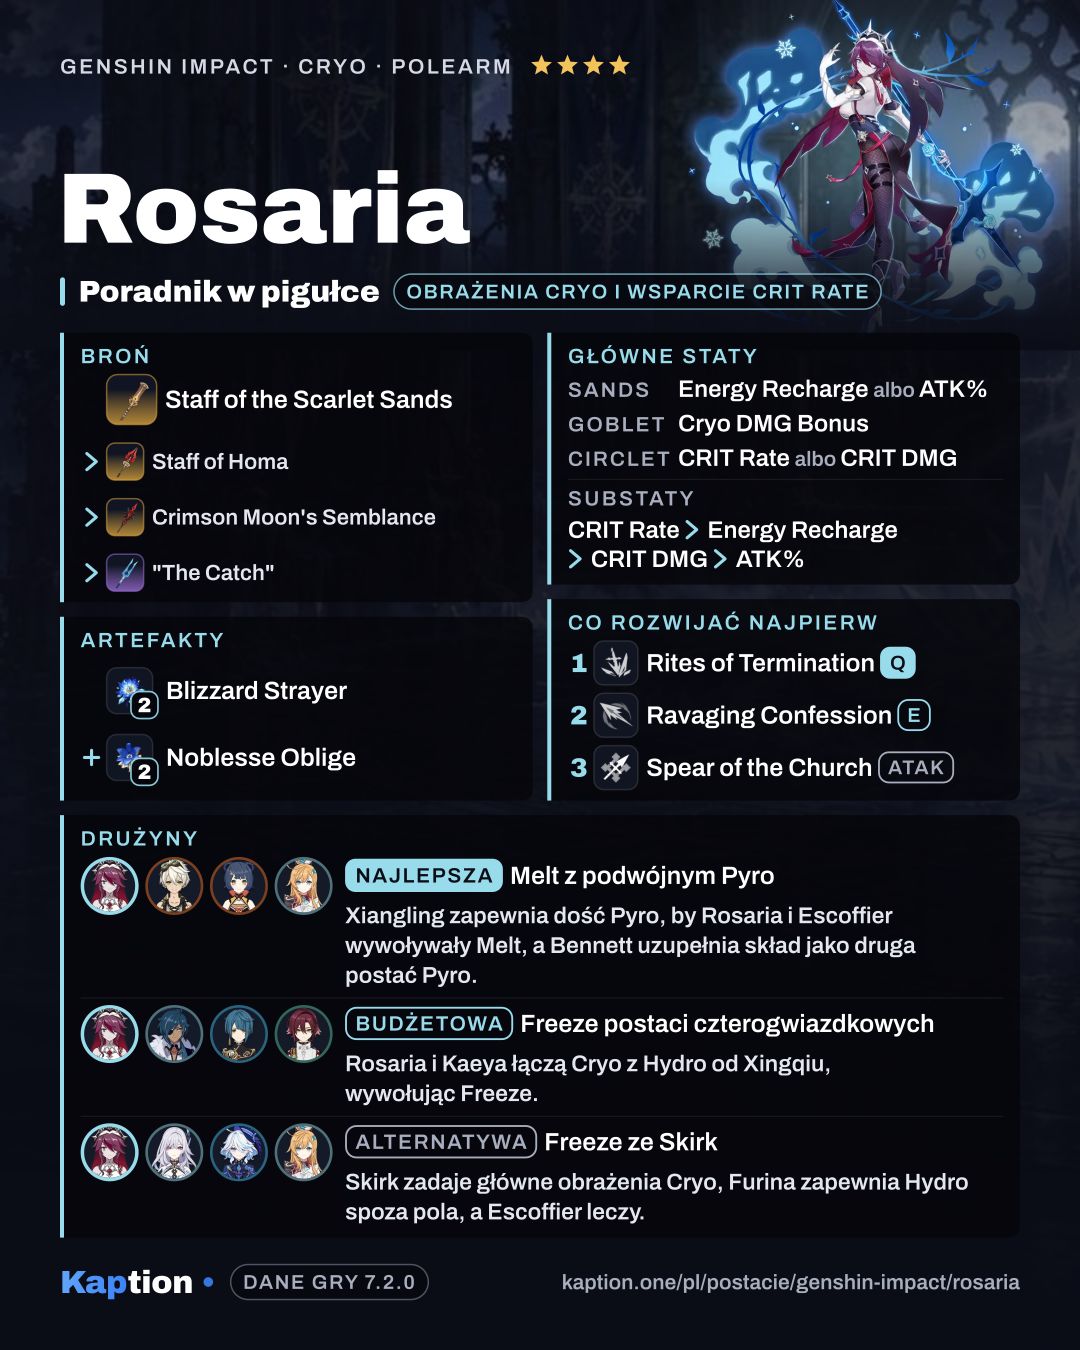
For burst damage, four pieces of Emblem of Severed Fate turn Energy Recharge into an Elemental Burst DMG bonus. Four pieces of Noblesse Oblige are a team-focused alternative: the burst increases party ATK by 20% for 12 seconds, but the set effect cannot stack. Two pieces each of Blizzard Strayer and Noblesse Oblige are a simpler Cryo and burst damage combination.
Use Energy Recharge or ATK Percentage on the sands, Cryo DMG Bonus on the goblet, and CRIT Rate or CRIT DMG on the circlet. For substats, prioritize CRIT Rate, then Energy Recharge, CRIT DMG and ATK Percentage. CRIT Rate improves the party buff, while Energy Recharge helps Rosaria cast her burst more often.
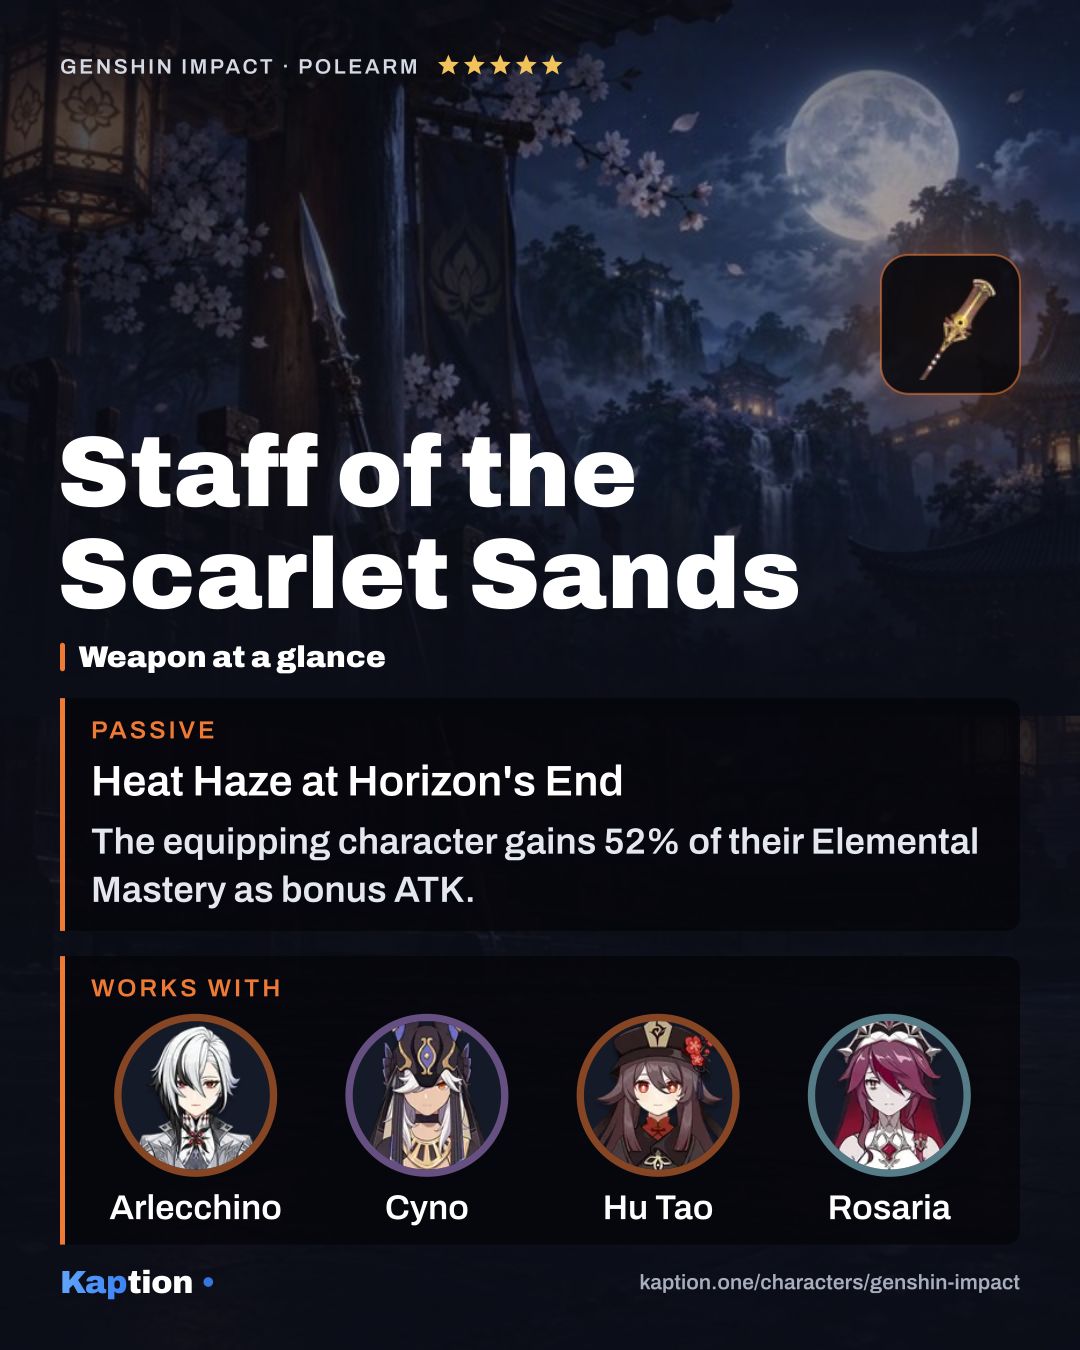
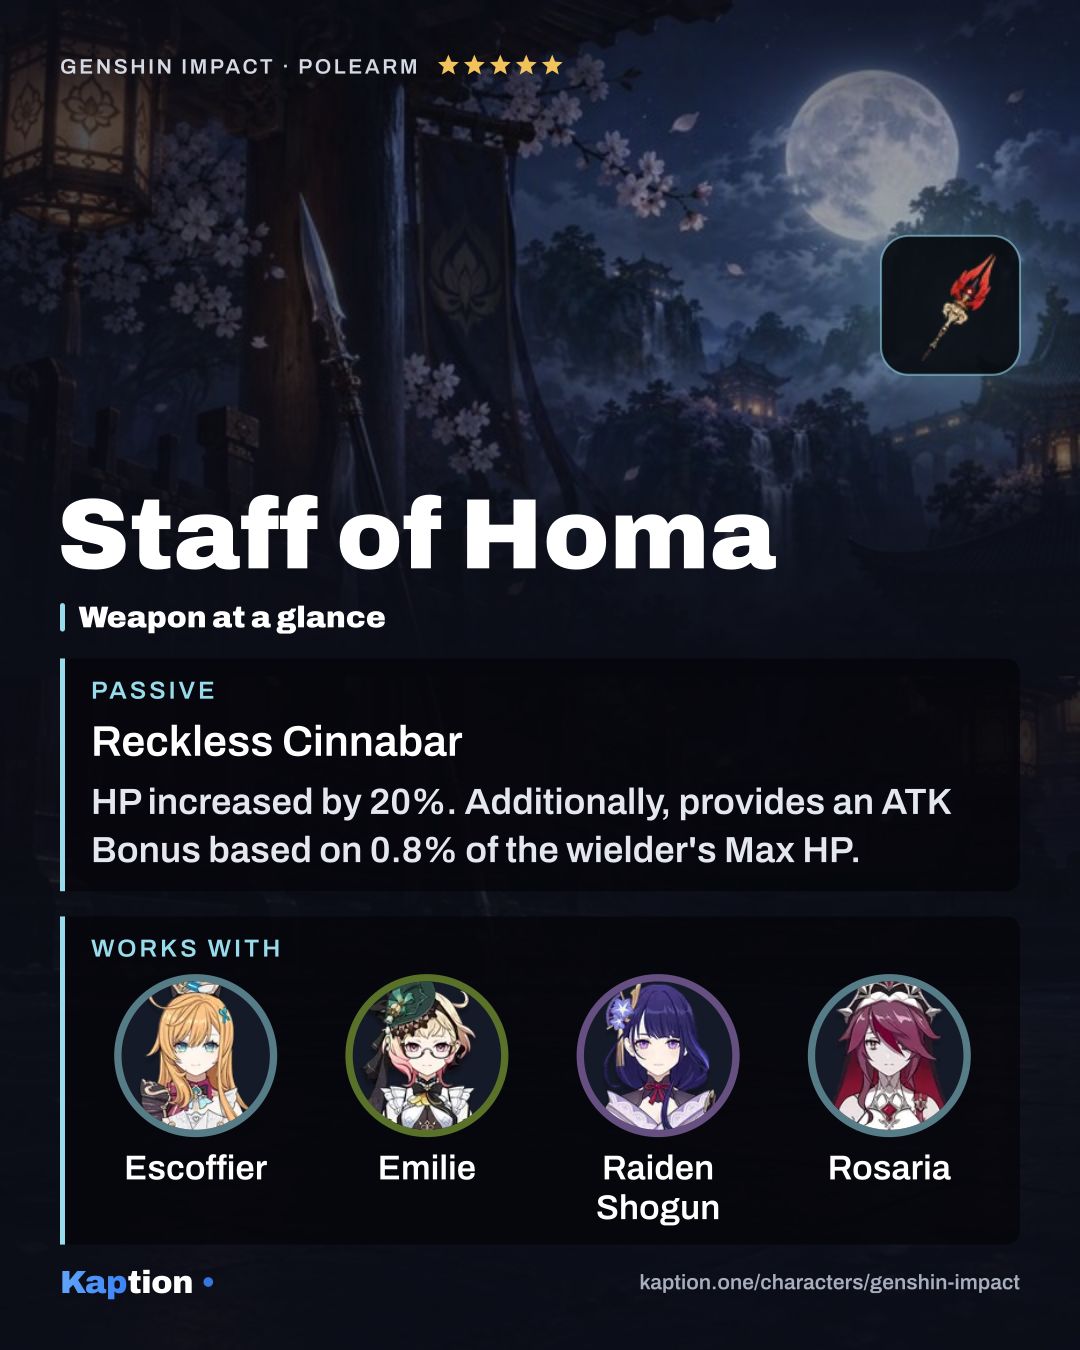
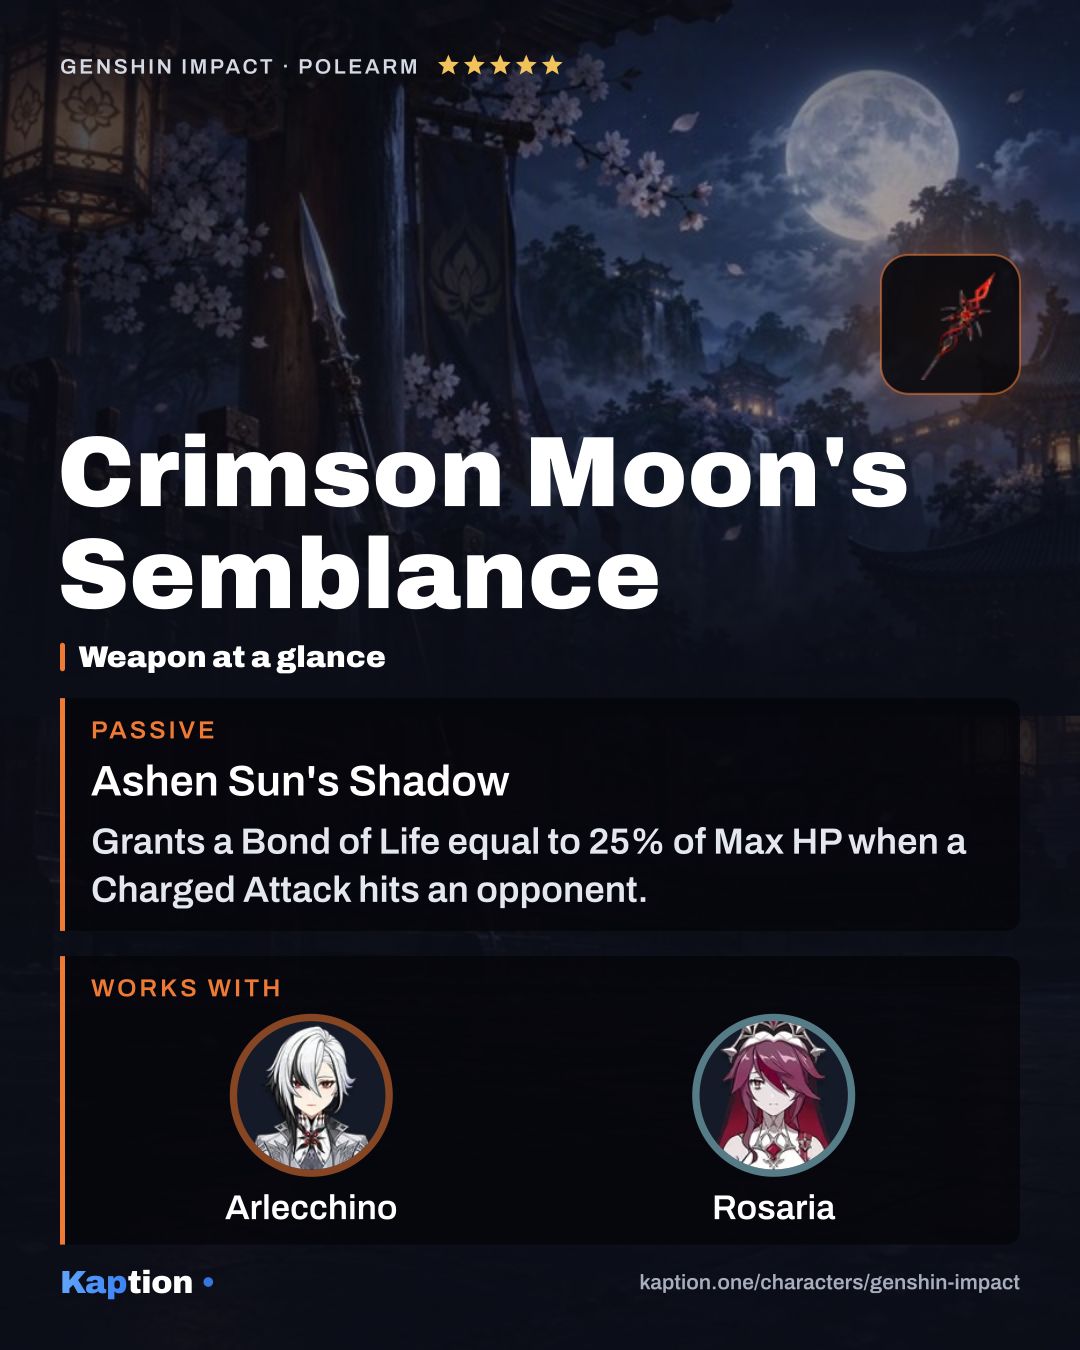
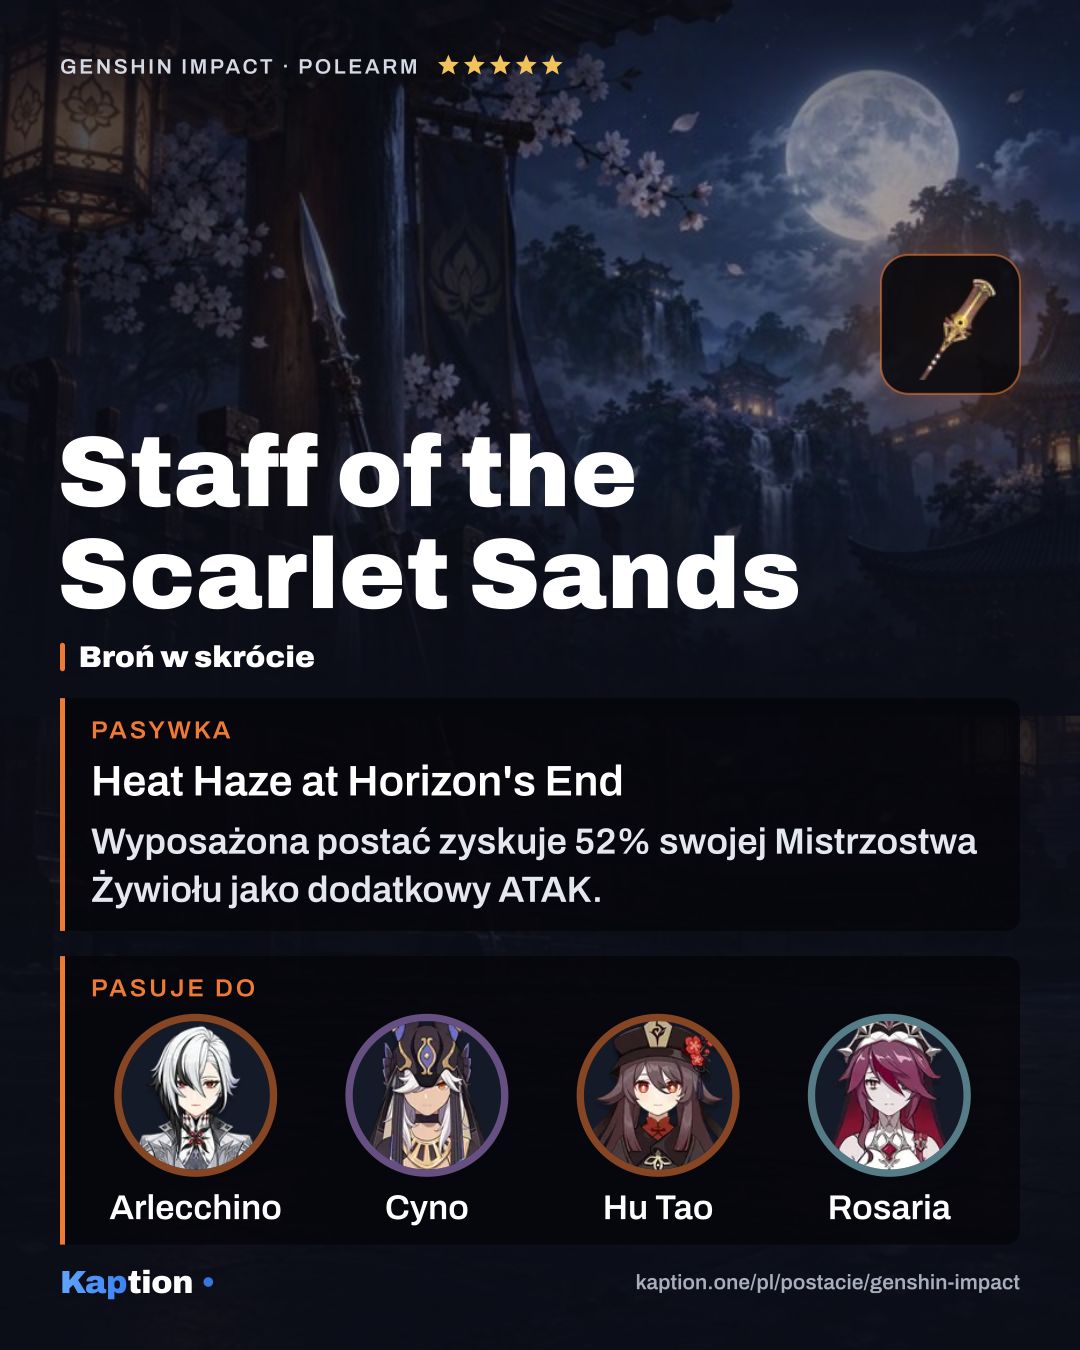
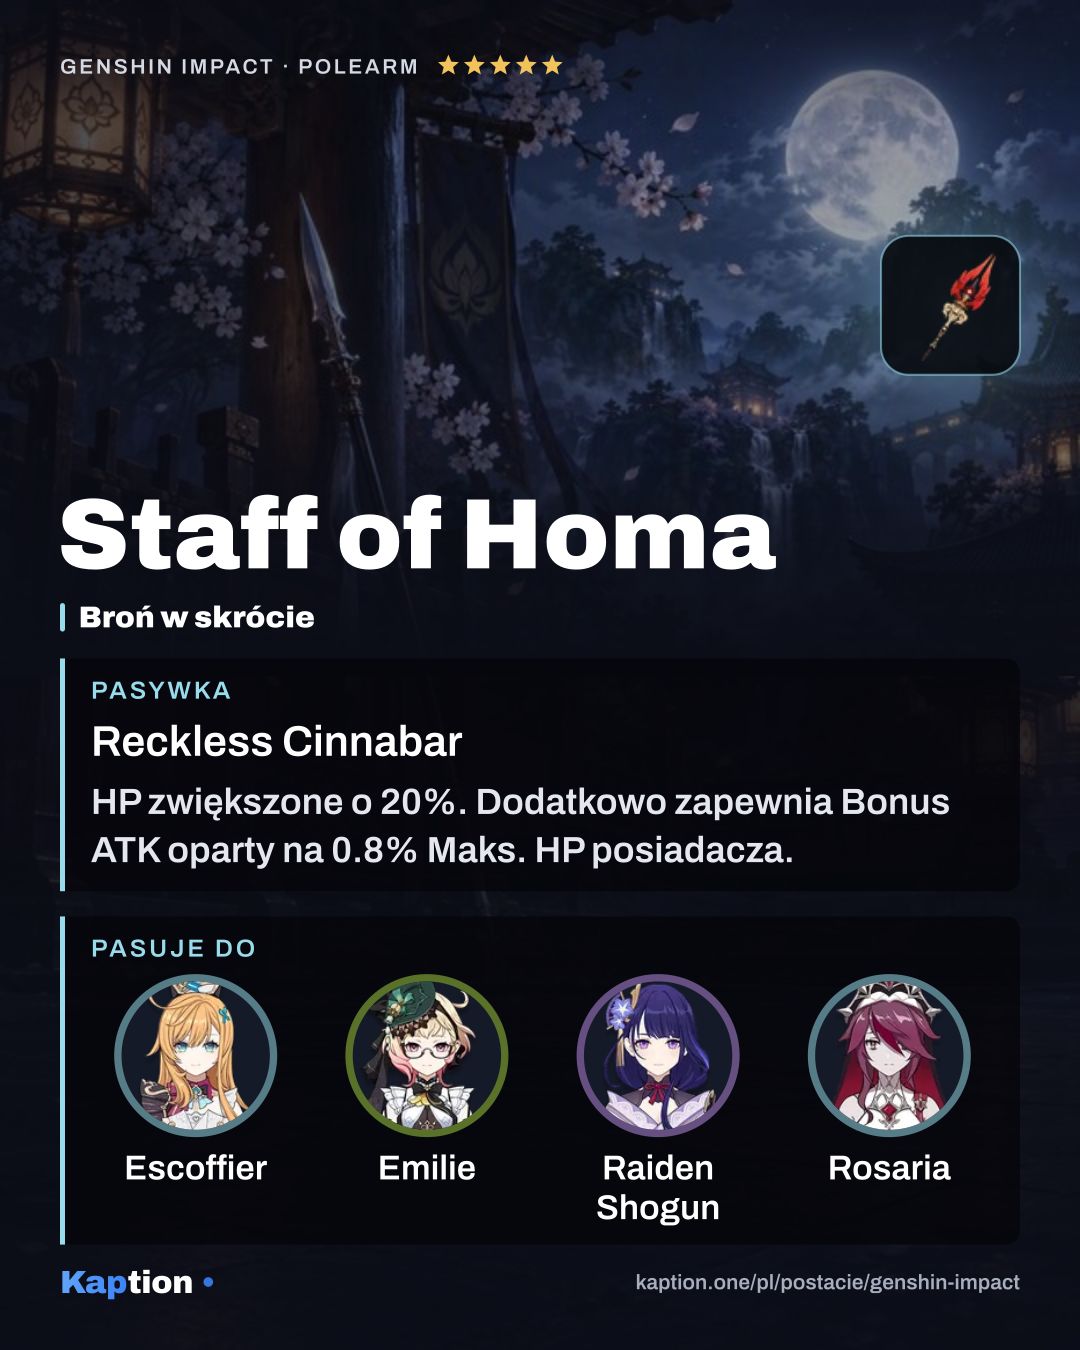
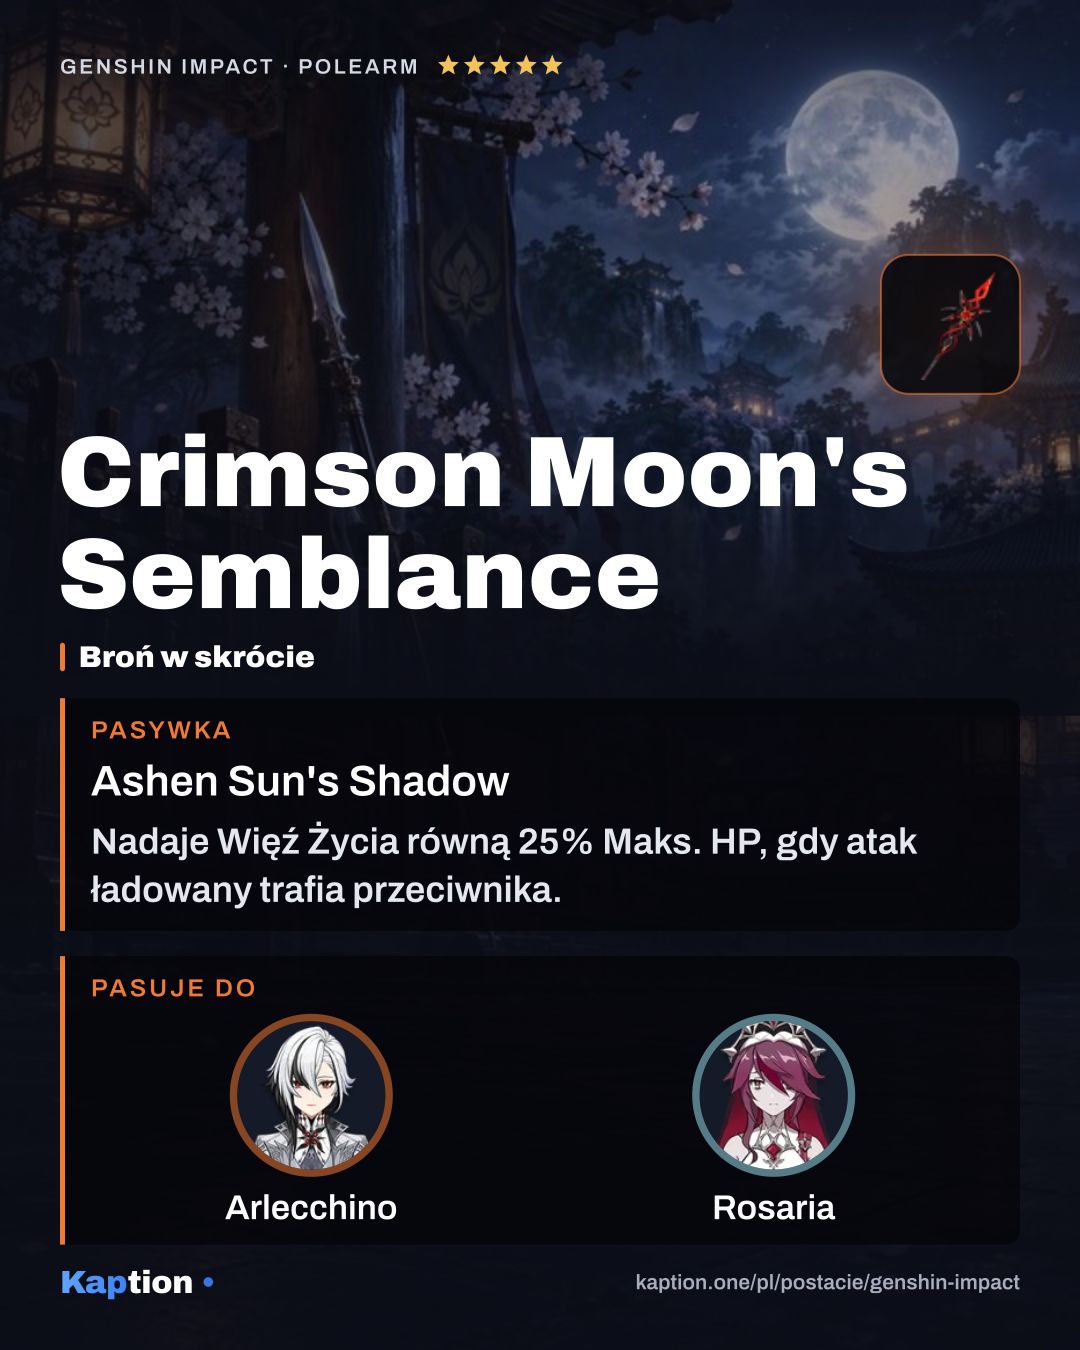
Staff of the Scarlet Sands is the first weapon choice: it converts Elemental Mastery into ATK and adds further conversion when the skill hits. Staff of Homa gives an ATK bonus based on Max HP. Crimson Moon's Semblance grants a Bond of Life after a charged hit and gives a DMG Bonus while that Bond is present.
For other options, The Catch increases burst damage and burst CRIT Rate. Favonius Lance has a chance to generate Energy-restoring particles on a CRIT Hit.
Leveling priority
For this burst-focused setup, level Rites of Termination first: it covers both the initial hits and the Ice Lance's periodic damage. Ravaging Confession is a good second priority for its Cryo damage. Leave Spear of the Church (NA) until later unless you regularly use Rosaria's attacks.
For ascension, gather Valberry, Hoarfrost Core, Mora and the Shivada Jade Sliver, Shivada Jade Fragment, Shivada Jade Chunk and Shivada Jade Gemstone materials. You also need Recruit's Insignia, Sergeant's Insignia and Lieutenant's Insignia.
Talent upgrades use the same Insignia materials, plus Teachings of Ballad, Guide to Ballad, Philosophies of Ballad, Shadow of the Warrior, Mora and Crown of Insight. Fully leveling all three talents takes three Crown of Insight.
Constellations worth it
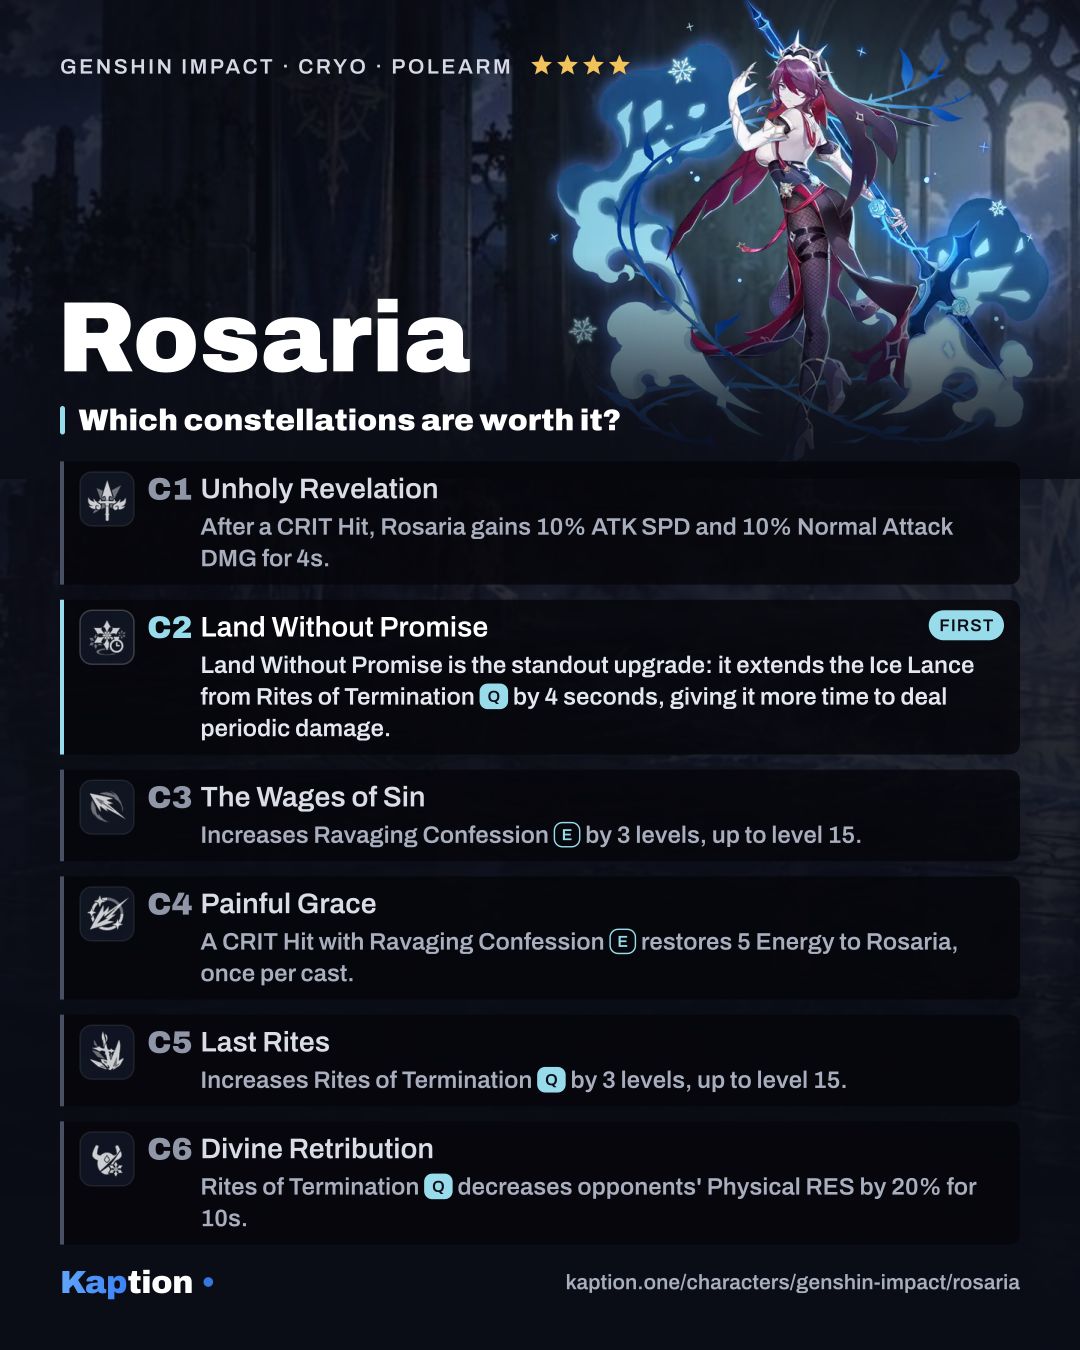
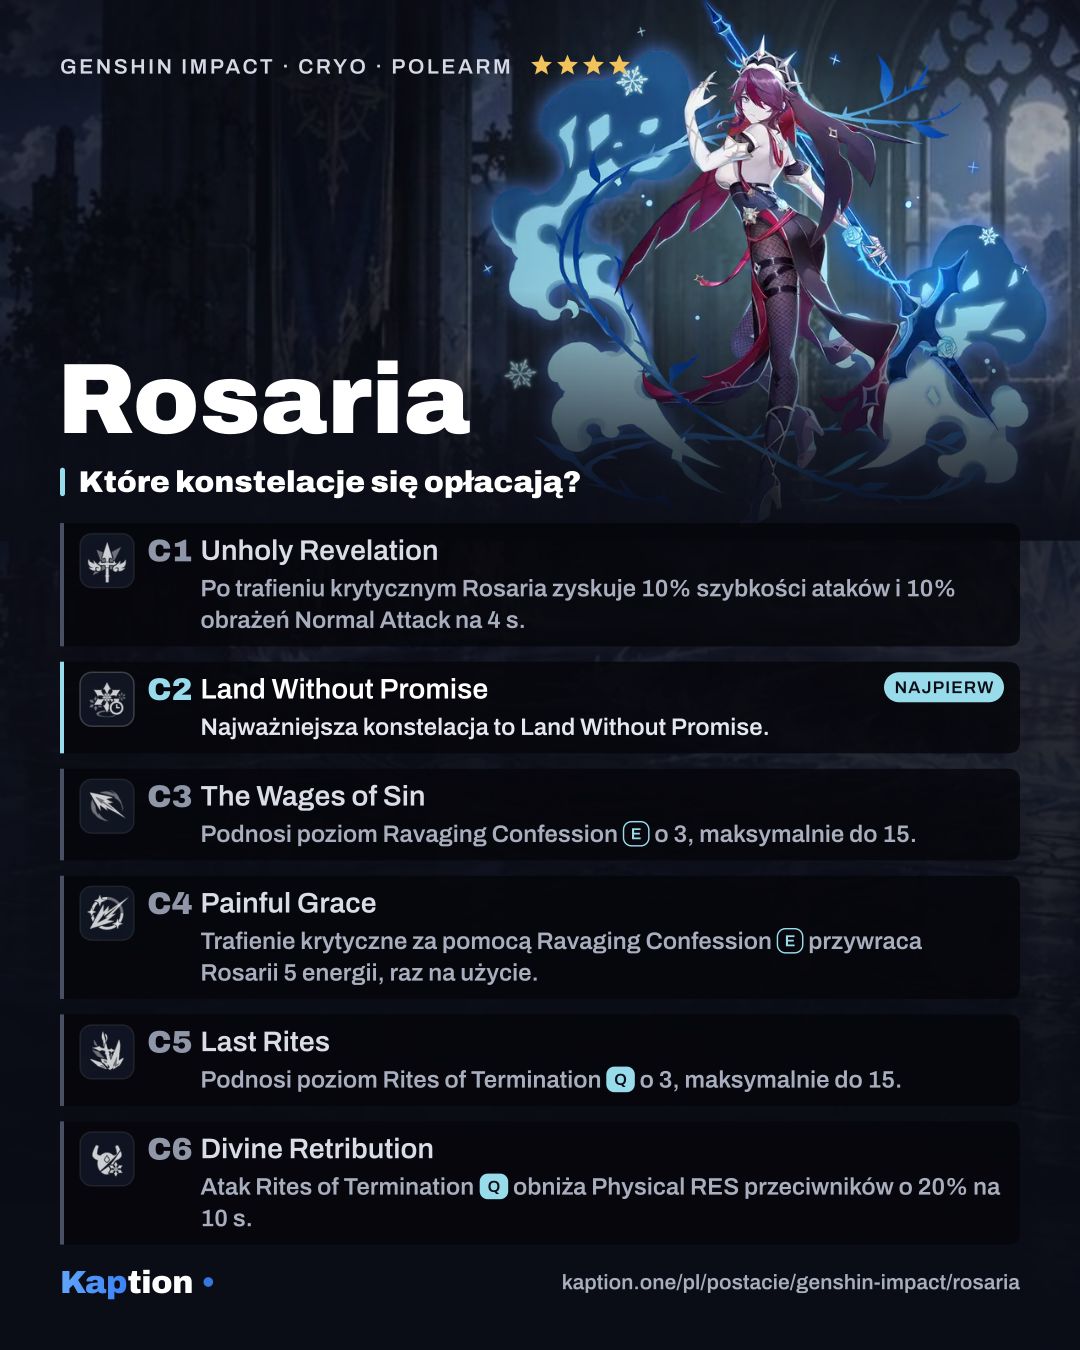
Land Without Promise is the standout upgrade: it extends the Ice Lance from Rites of Termination by 4 seconds, giving it more time to deal periodic damage.
Painful Grace is worth considering for Energy. A CRIT Hit from Ravaging Confession restores 5 Energy to Rosaria, once per skill cast. Divine Retribution is useful to consider in a Physical team because the burst's attack reduces opponents' Physical RES by 20% for 10 seconds.
Unholy Revelation improves ATK SPD and Normal Attack DMG for 4 seconds after a CRIT Hit, so you can place less value on it if Rosaria rarely uses normal attacks. The Wages of Sin adds three skill levels, while Last Rites adds three burst levels. Both raise damage, but neither changes the way you use the kit.
Teams
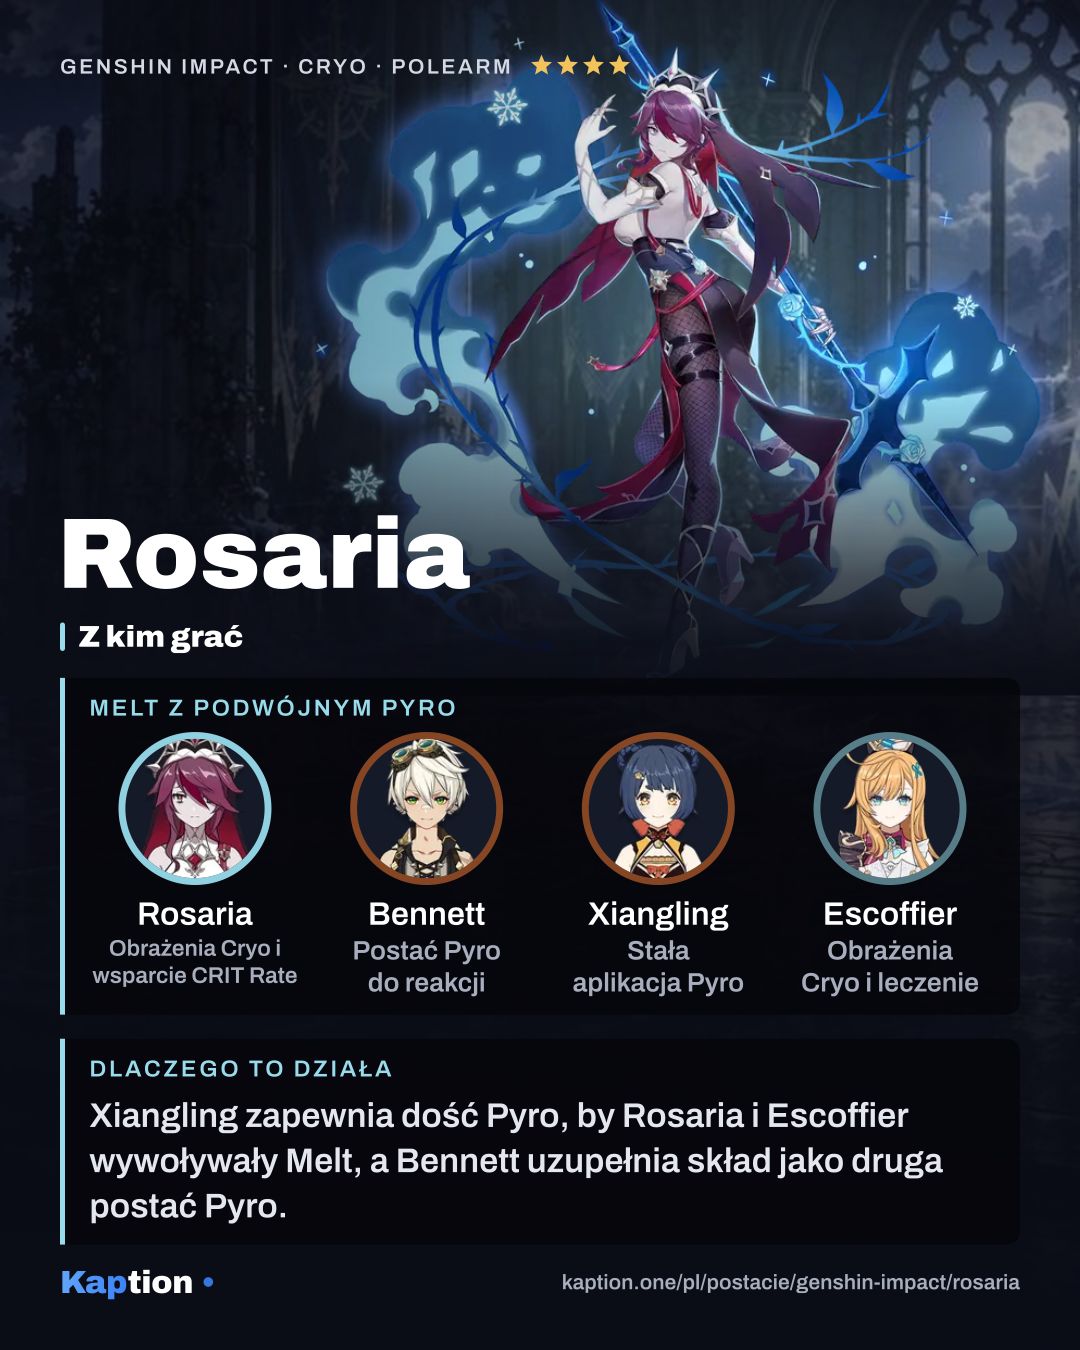
For a Cryo-focused team, Escoffier is a Cryo healer, Furina brings Hydro and can act off-field, and Kaedehara Kazuha brings Anemo and Swirl. Rosaria adds her own Cryo damage and shares CRIT Rate when she casts her burst.
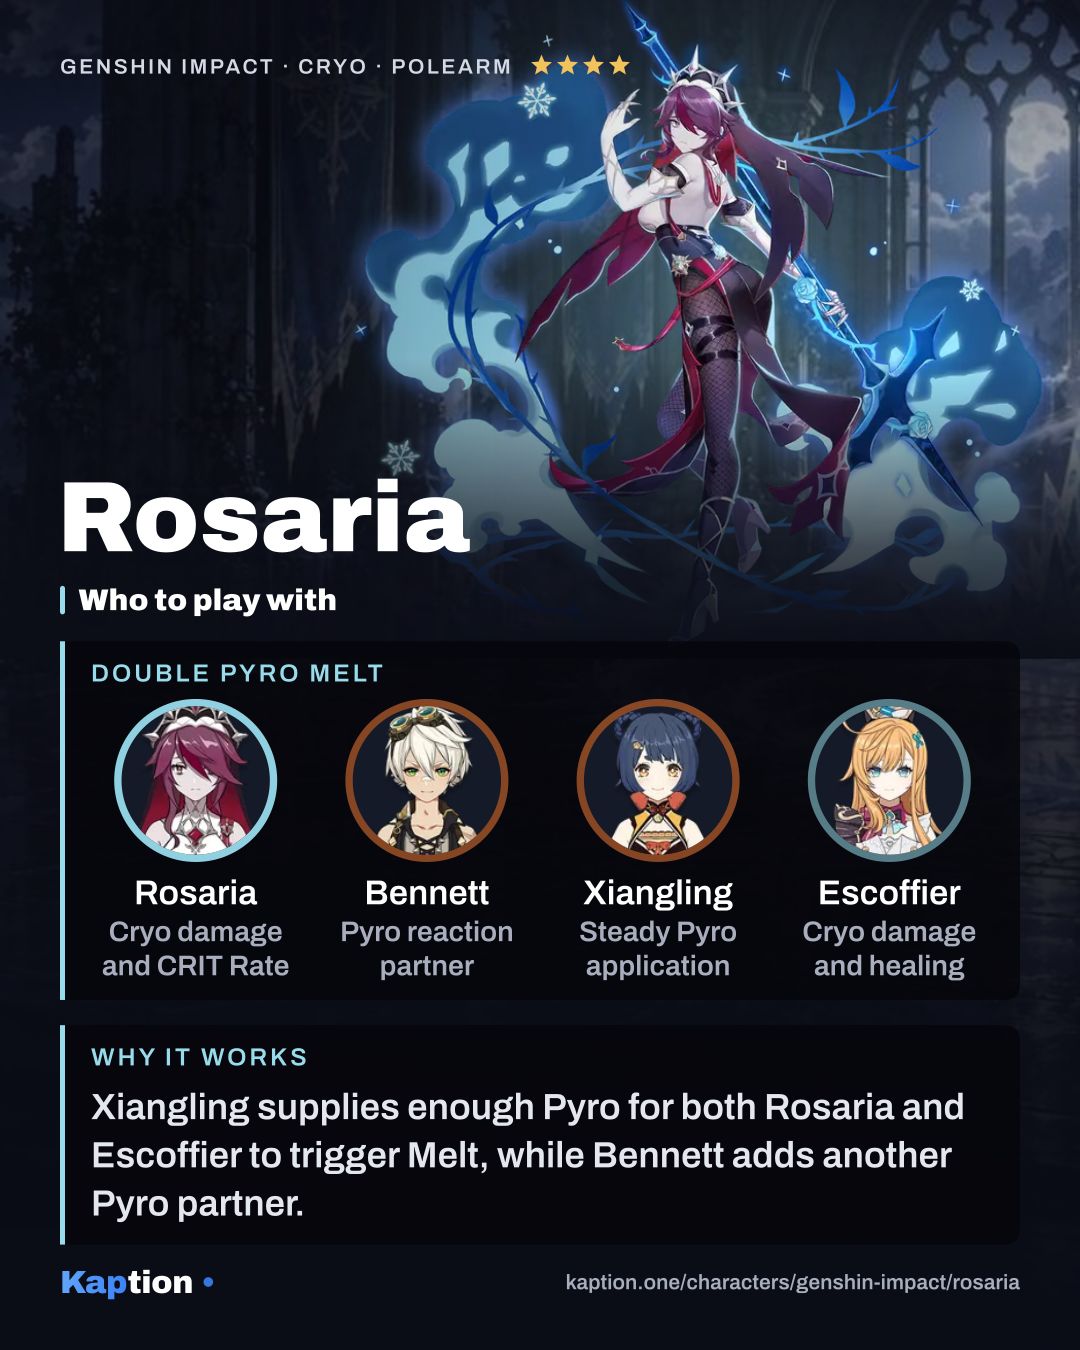
For a Melt setup, Bennett and Xiangling are Pyro options alongside Rosaria. Choose the remaining slot around what the team needs, such as healing or another source of damage. If you use her sixth constellation with a Physical damage dealer, time the burst so that character can attack while the Physical RES reduction is active.
Common mistakes
Do not assume Ravaging Confession always places Rosaria behind the target. Against larger opponents it cannot do that, and Regina Probationum requires a hit from behind. If you want its CRIT Rate bonus for the team buff, cast Rites of Termination while the bonus is still active.
Do not neglect Energy Recharge just to chase CRIT Rate. The shared bonus only arrives when you cast the burst and is capped at 15%. Also avoid doubling up on four-piece Noblesse Oblige for the same ATK effect, since it cannot stack.
Finally, remember where the Ice Lance is hitting. Its blasts damage nearby opponents, so try to cast it where the fight will take place rather than leaving enemies outside its reach.