






























Guide
How the kit works
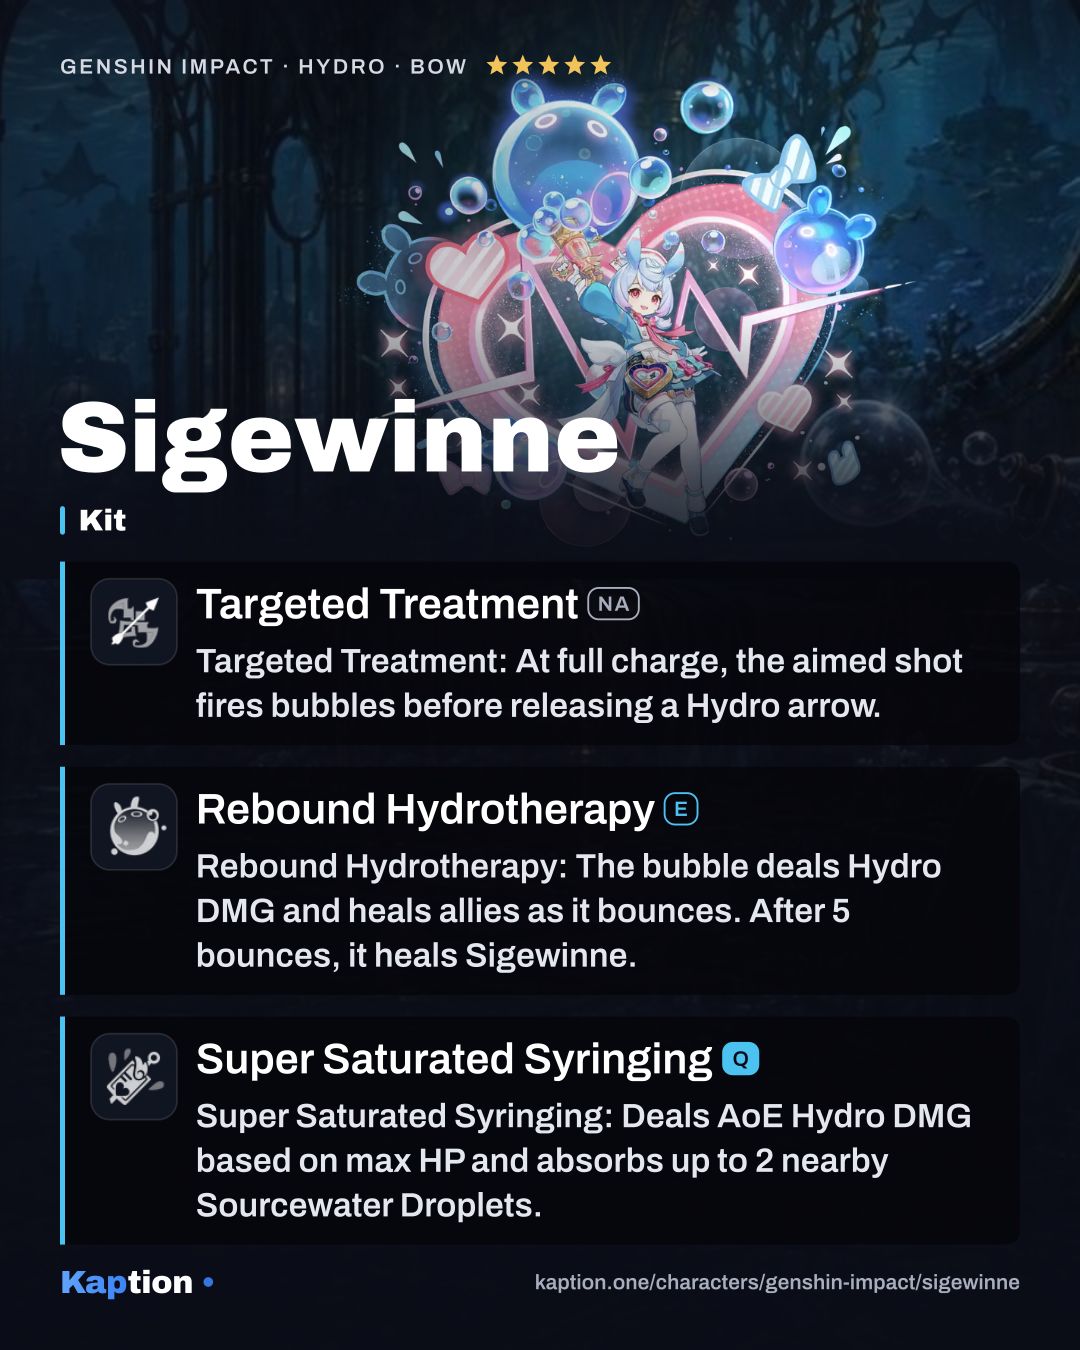
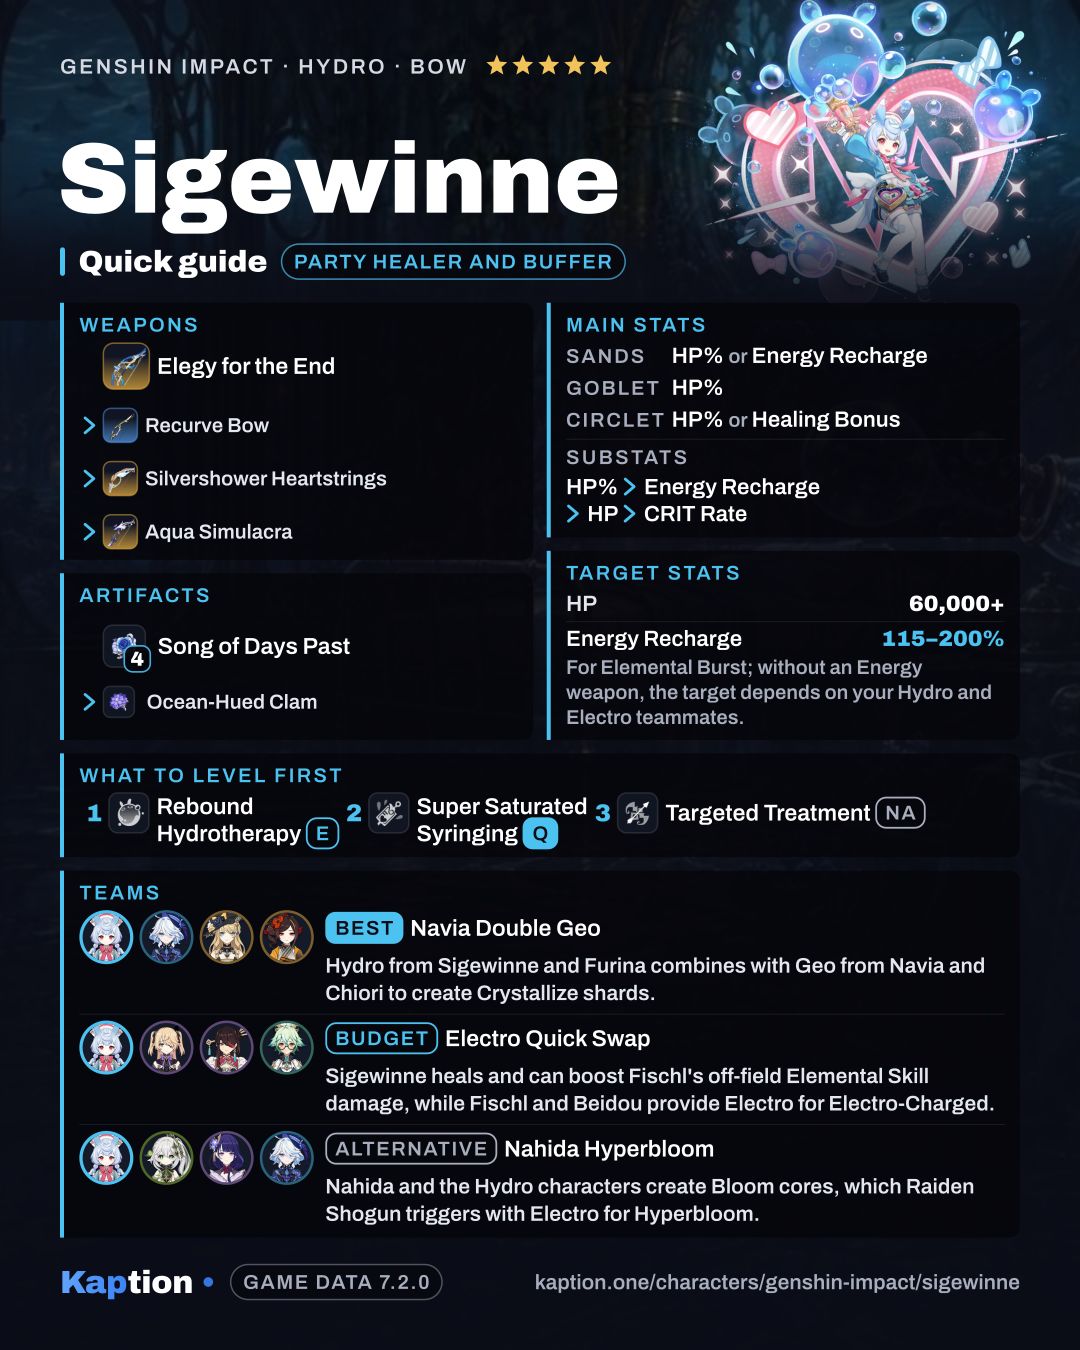
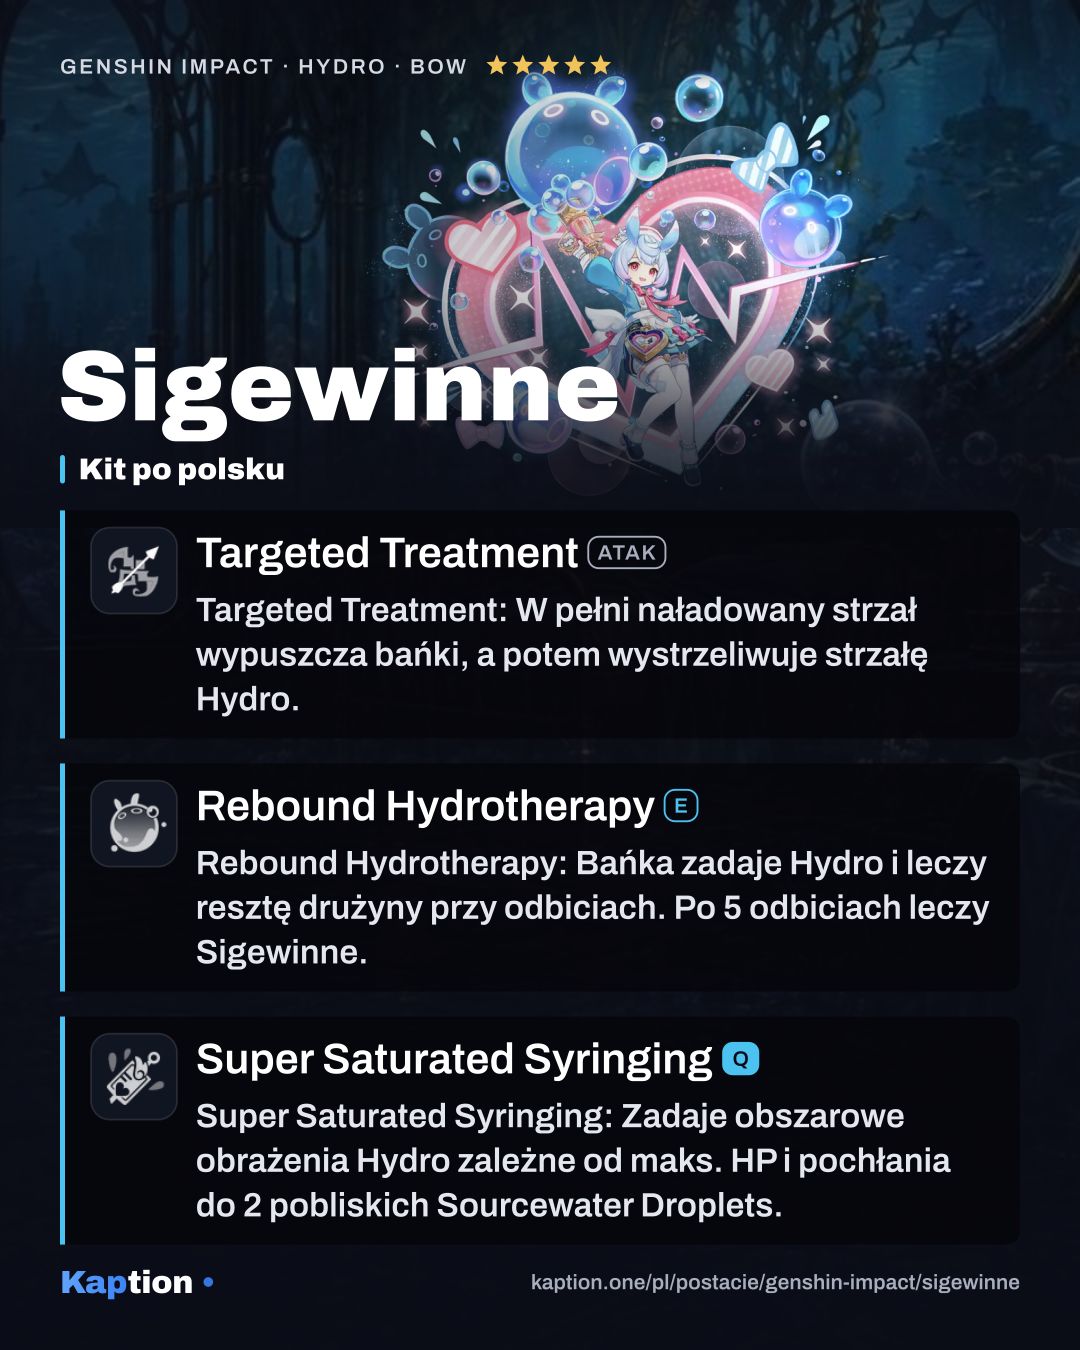
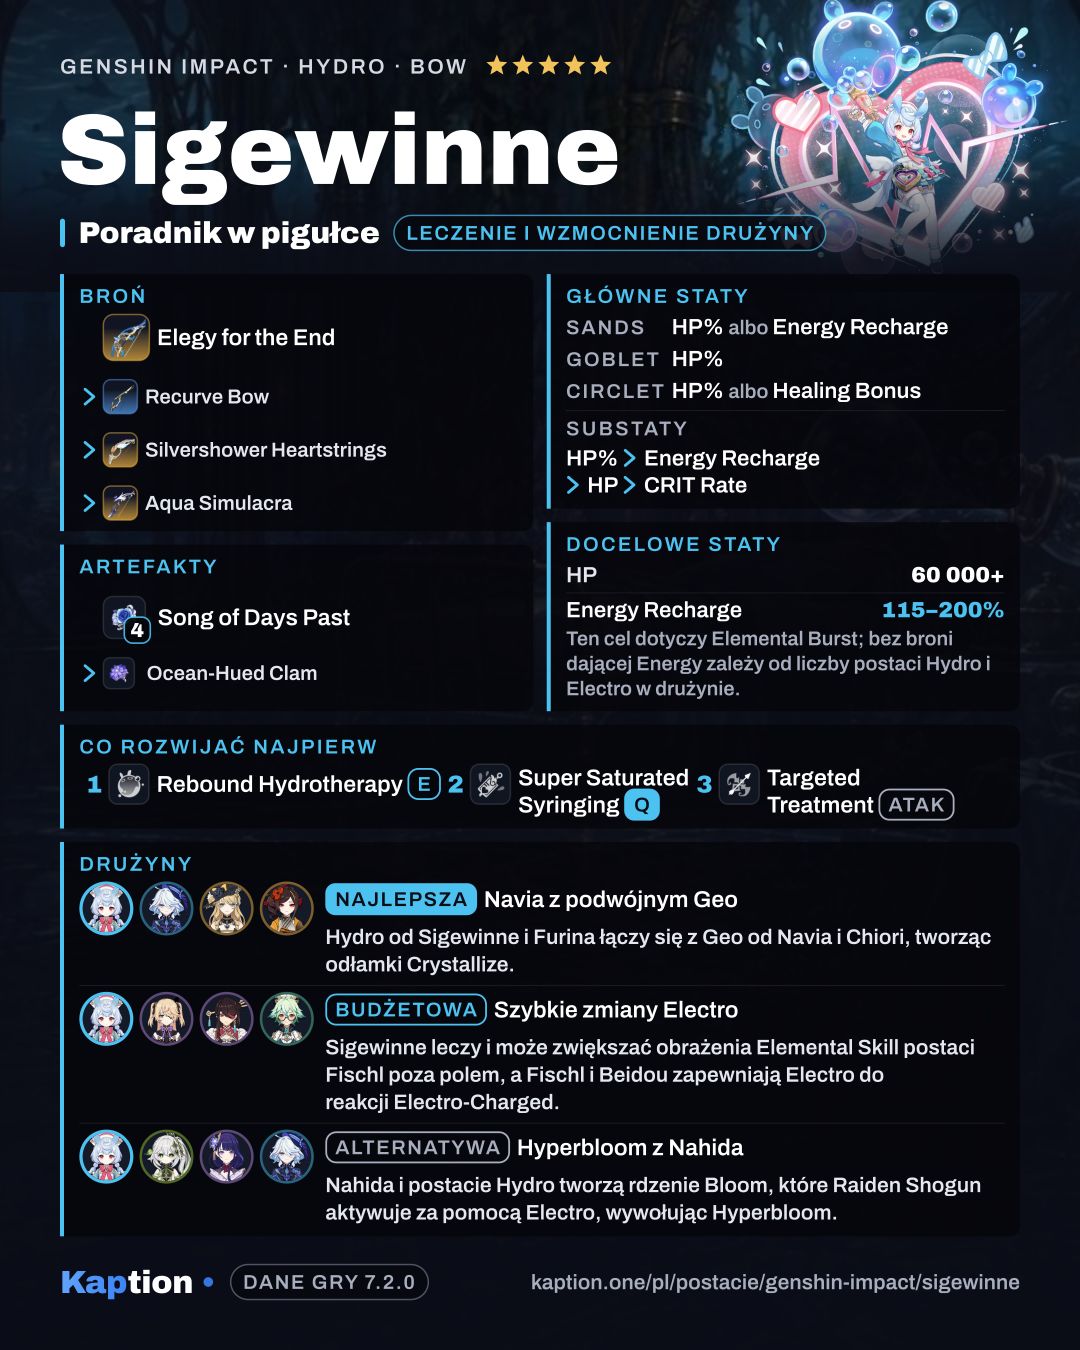
Start with Rebound Hydrotherapy. Its Bolstering Bubblebalm bounces between nearby enemies, dealing Hydro damage and healing nearby party members other than Sigewinne. After five bounces it disappears and heals Sigewinne herself. With no enemies nearby, it still bounces in place.
Hold the Skill to grow the bubble by up to two size tiers. Each tier adds 5% damage and healing, but the bubble loses one tier per bounce until it reaches its normal size. Large bubbles can also trap weaker enemies. Only one of Sigewinne’s Bubblebalms can exist at a time.
Using the Skill activates Requires Appropriate Rest for 18 seconds. It gives Sigewinne 8% Hydro DMG Bonus and 10 Convalescence stacks. Each damaging off-field Elemental Skill hit from another party member consumes one stack and gains damage. The bonus rises by 80 for every 1,000 max HP above 30,000, up to 2,800.
The Skill also creates two Sourcewater Droplets. Each one Sigewinne collects gives her a Bond of Life equal to 10% of her max HP. Clearing that Bond restores one Elemental Energy per 2,000 HP cleared, up to five Energy. Detailed Diagnosis, Thorough Treatment increases her outgoing healing based on the party’s current Bonds of Life, up to 30%.
Use Super Saturated Syringing for AoE Hydro damage in front of Sigewinne. It also absorbs up to two nearby Sourcewater Droplets. Targeted Treatment (NA) is less central to this support rotation, though its fully charged shots and Mini-Stration Bubbles deal Hydro damage.
Build and why
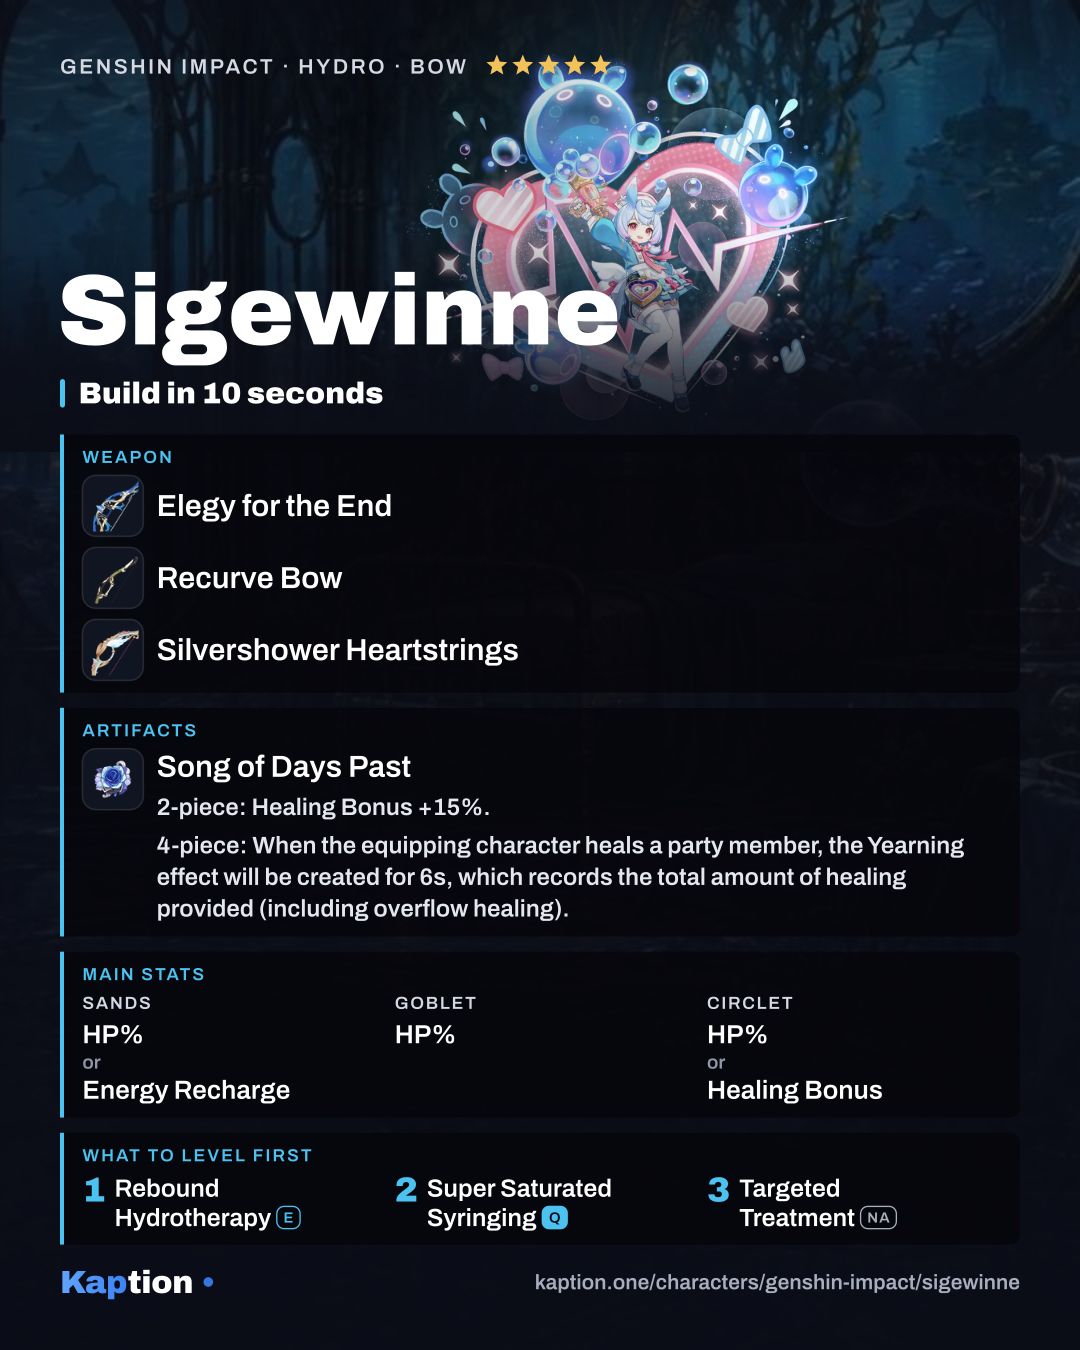
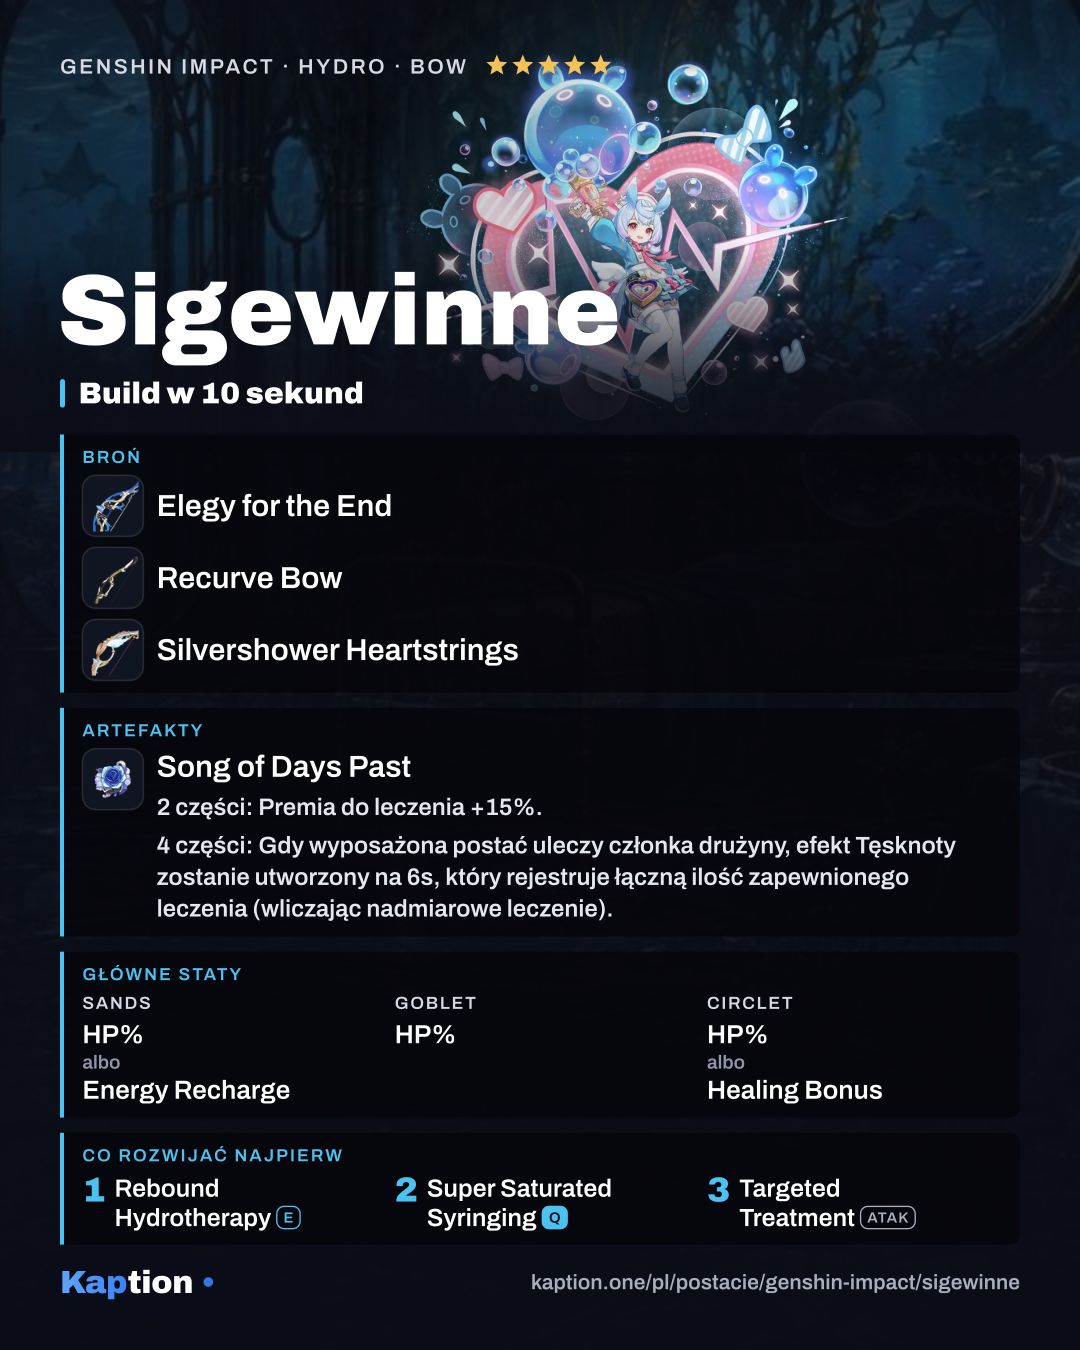
A good support option is four pieces of Song of Days Past. It gives Healing Bonus and records healing, including overflow. After six seconds, 8% of the recorded amount is added to eligible hits by the active character, for up to five hits or 10 seconds. The recording limit is 15,000 healing.
Four pieces of Ocean-Hued Clam are another option. Its Sea-Dyed Foam records healing for three seconds, then deals damage based on 90% of that healing. It can record up to 30,000 HP, including overflow. For a simpler HP setup, combine two pieces of Tenacity of the Millelith with two of Vourukasha’s Glow for a total of 40% HP. Four-piece Tenacity instead gives the team ATK and Shield Strength for three seconds when the Skill hits.
Use HP Percentage on the goblet and usually on the sands and circlet. Energy Recharge is an option on the sands if you need the Burst more often; Healing Bonus works on the circlet if you want more healing. For substats, look for HP Percentage, then Energy Recharge, HP and CRIT Rate.
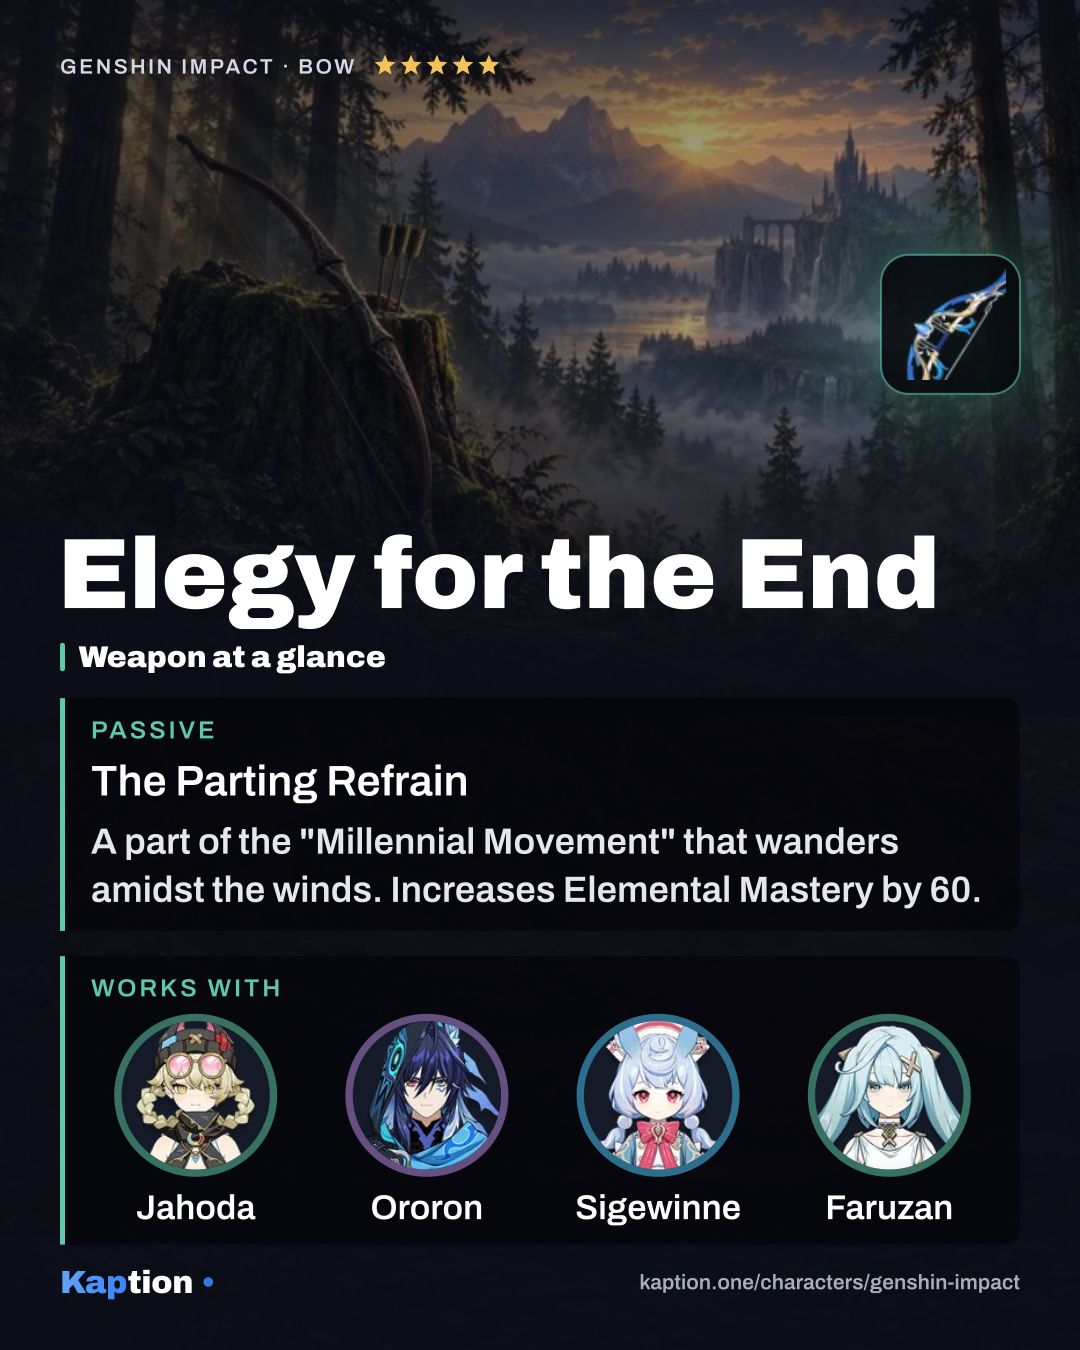
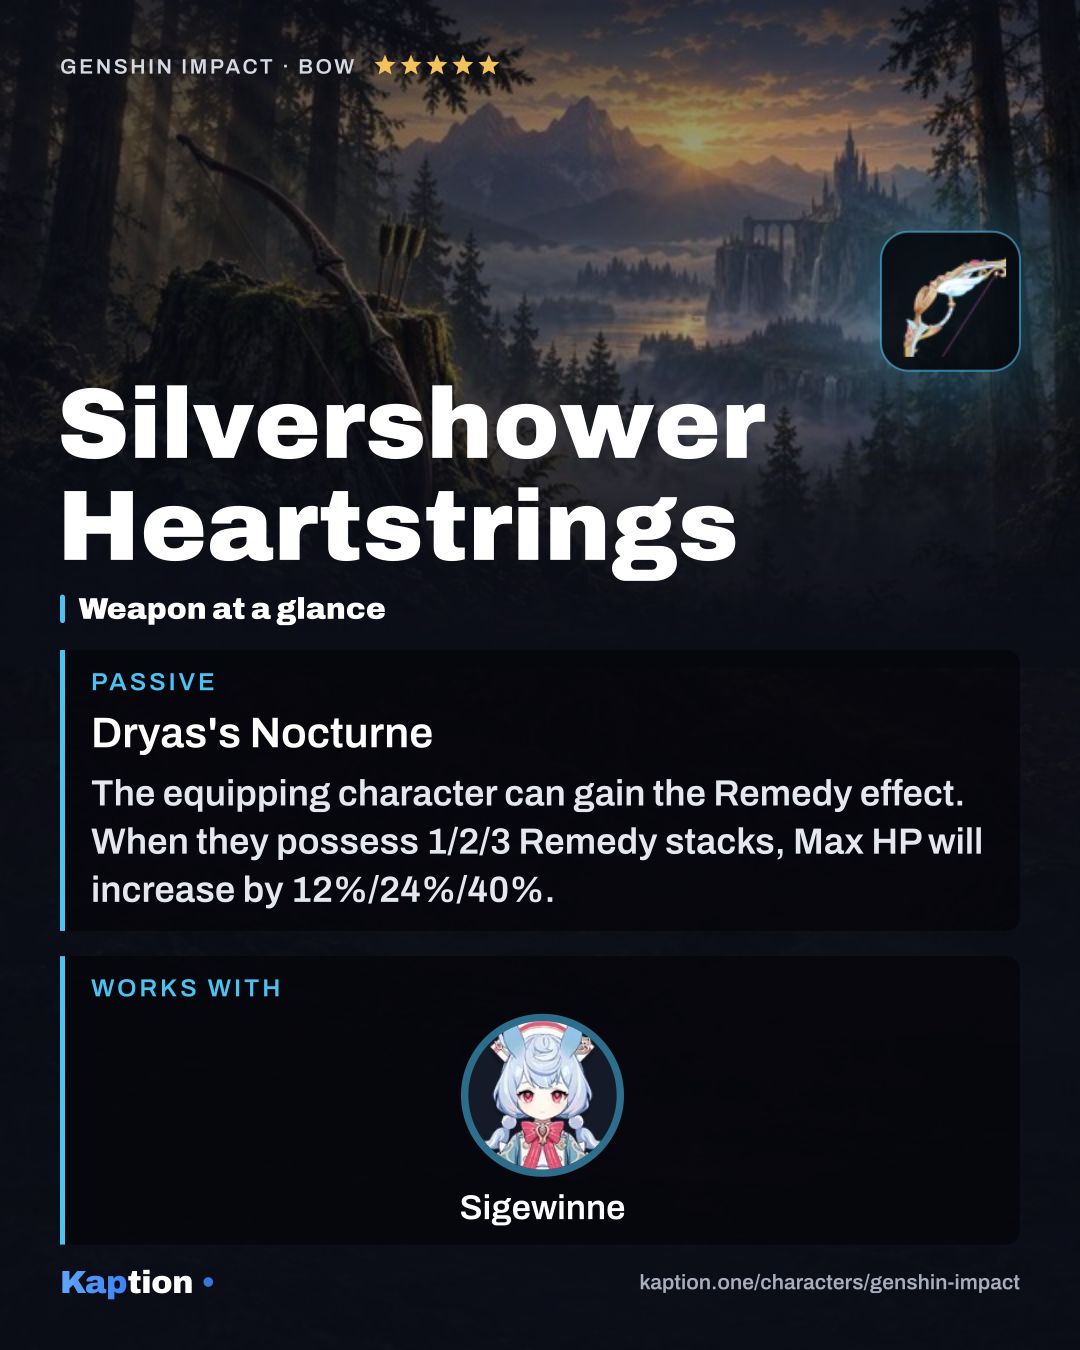
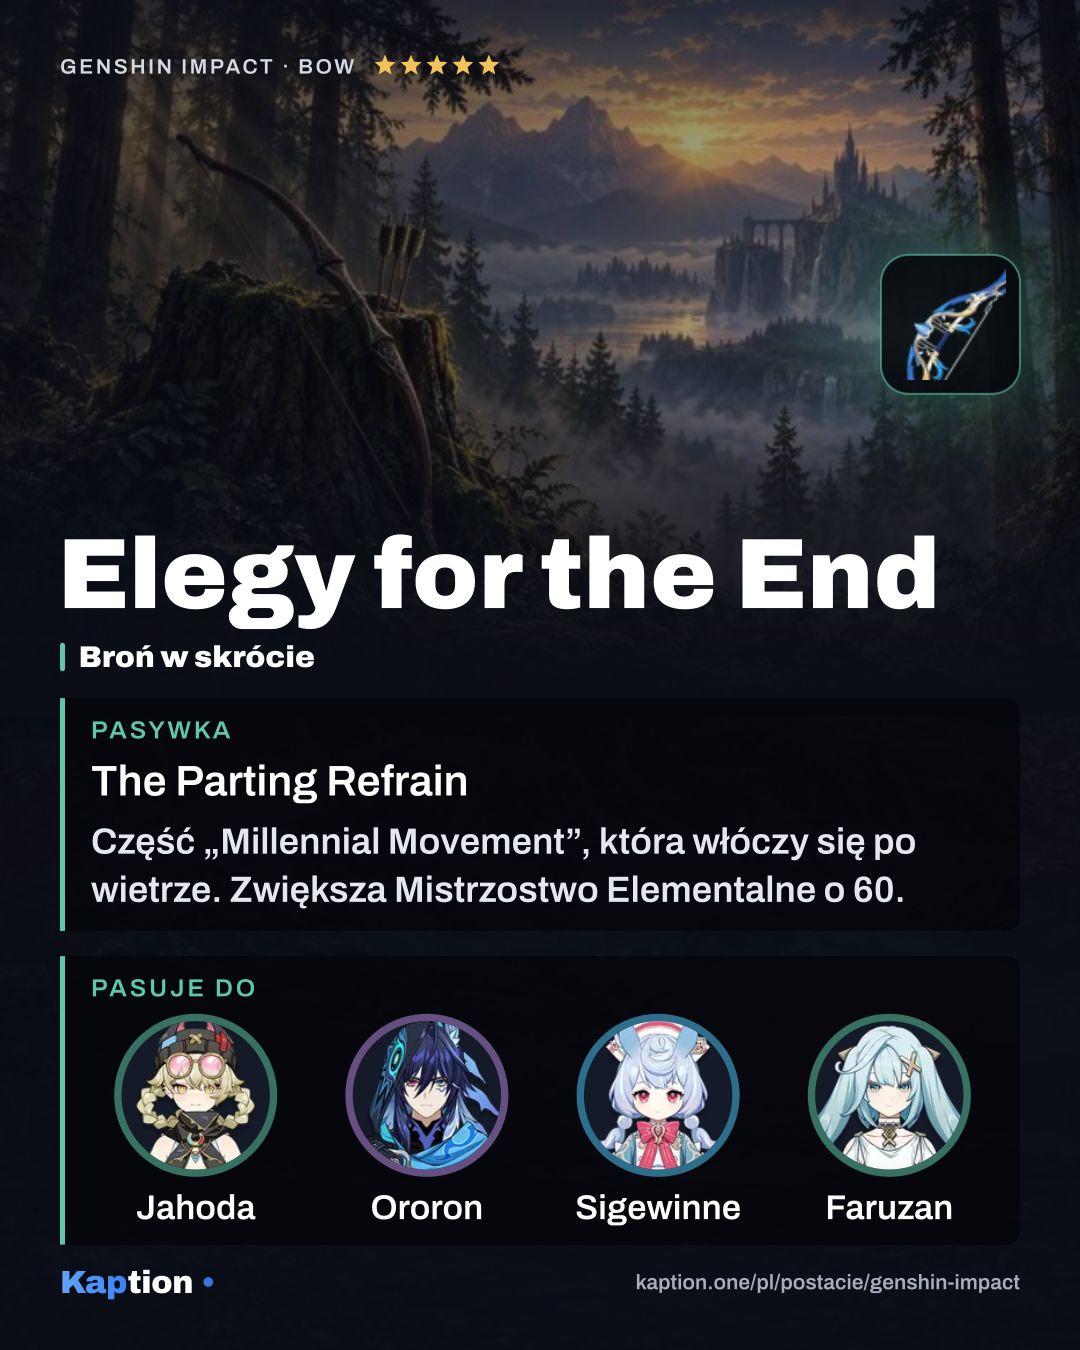
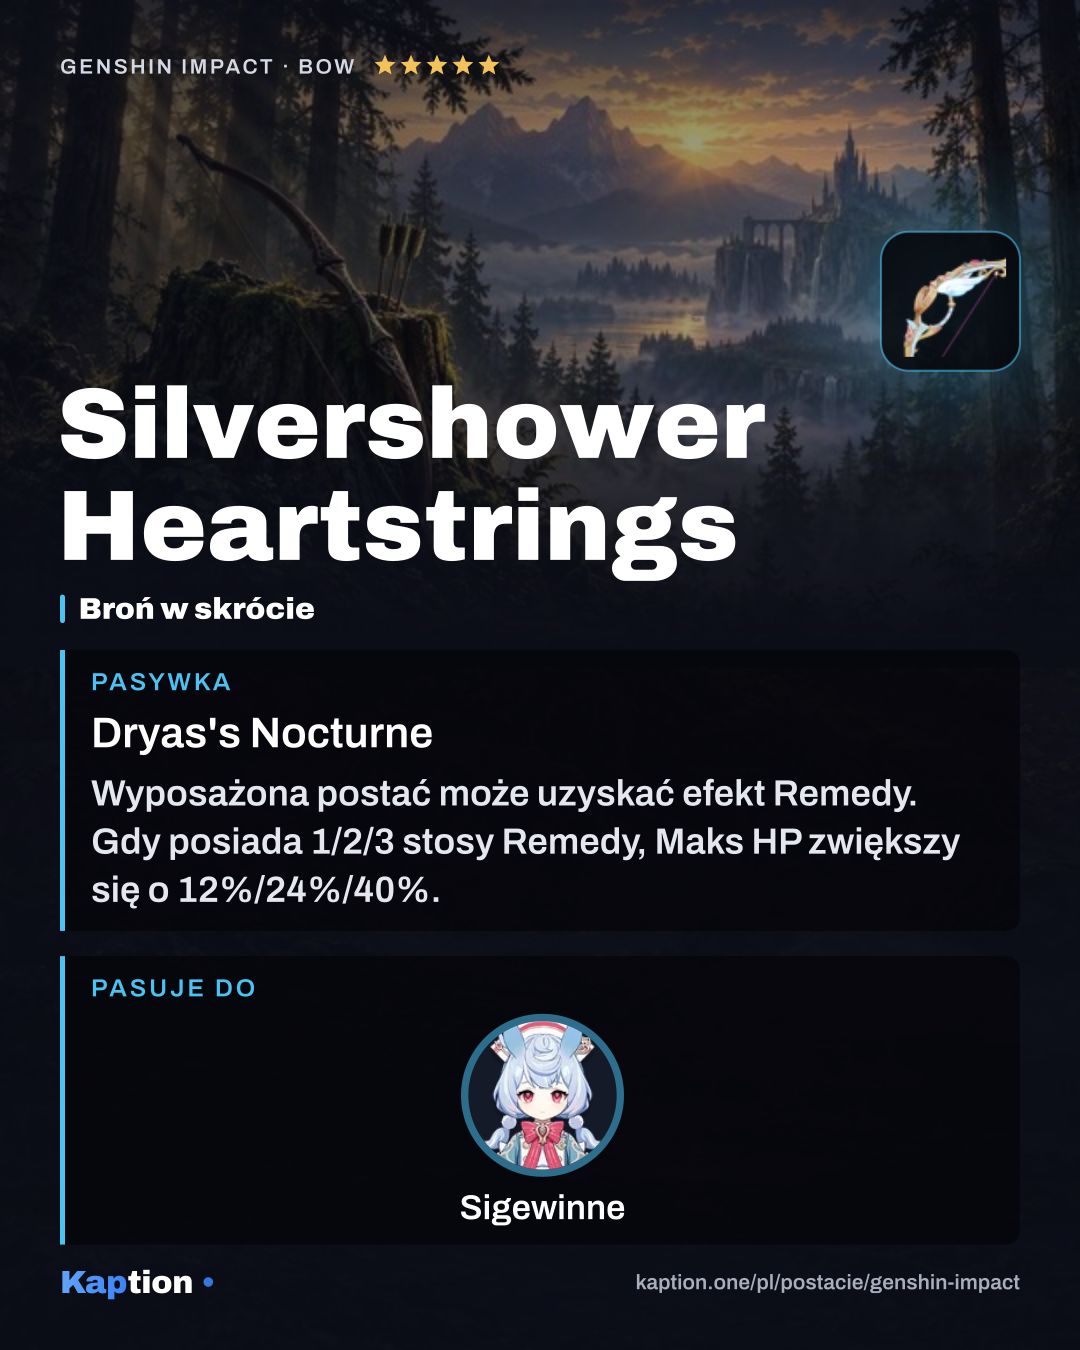
Silvershower Heartstrings is the first weapon to consider. Its stacks raise max HP, with stacks available from using a Skill, increasing Bond of Life and healing. Elegy for the End is another option: it gives Elemental Mastery and gains stacks when the Skill or Burst hits, even off-field.
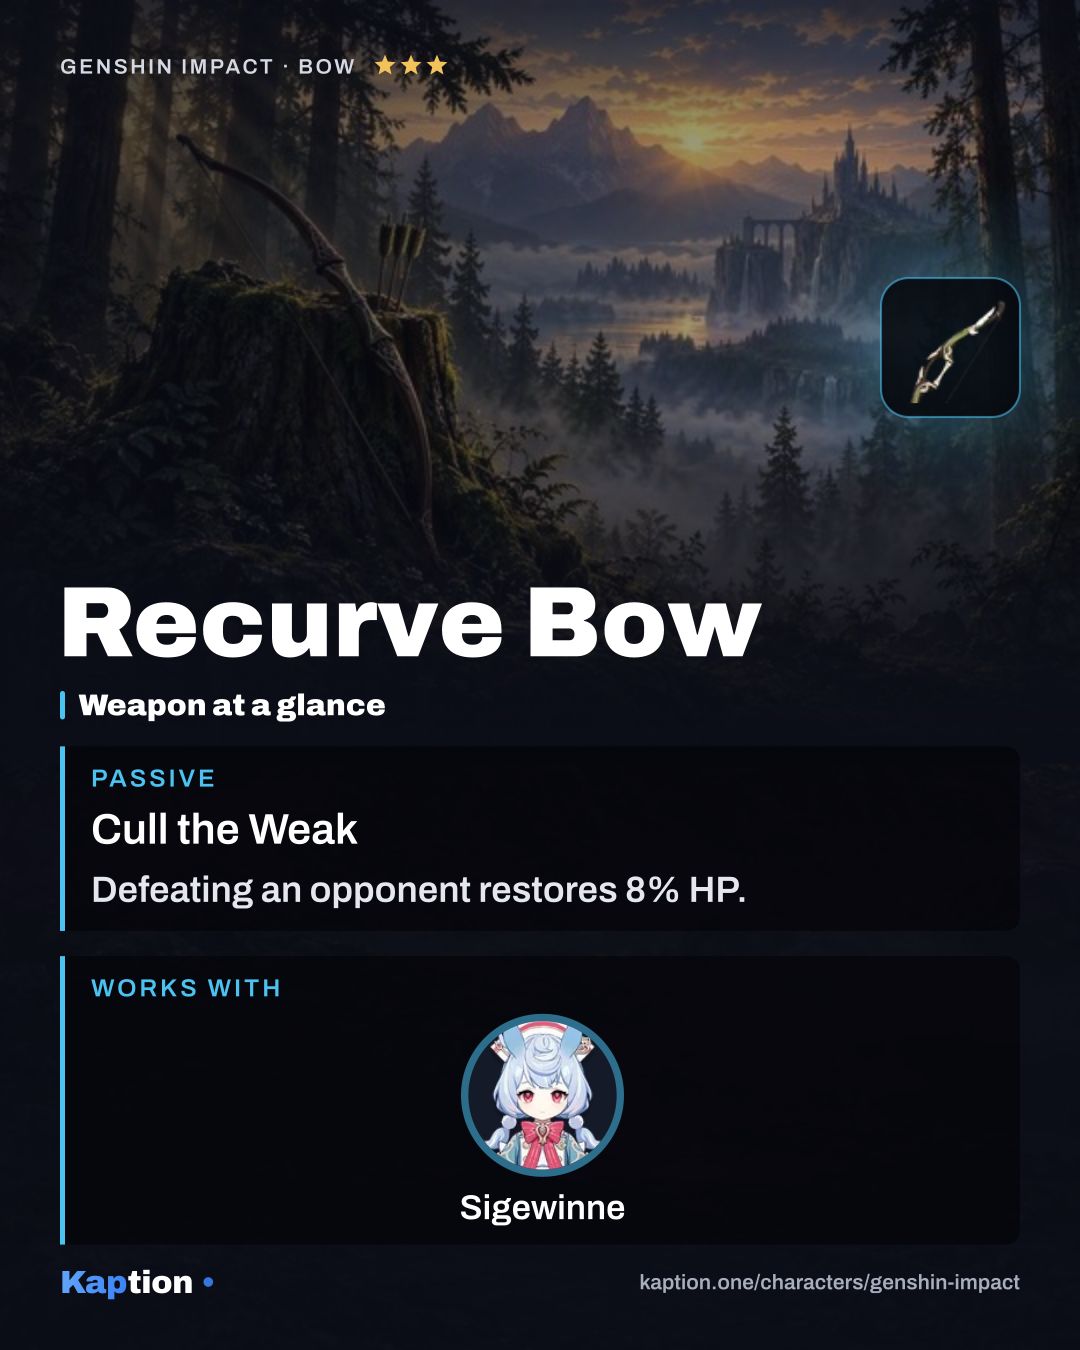
Recurve Bow is an alternative whose passive restores Sigewinne’s HP when she defeats an opponent. Aqua Simulacra gives 16% HP and increases the wielder’s damage when enemies are nearby. Favonius Warbow is worth considering for Energy; its passive needs CRIT hits, so CRIT Rate becomes more useful.
Leveling priority
A practical leveling order is Rebound Hydrotherapy first, then Super Saturated Syringing, with Targeted Treatment (NA) last. The Skill supplies the party healing you use regularly; the Burst is the next damage source to improve. Normal Attacks matter less in this support setup.
For ascension, gather Mora, Romaritime Flower, the Varunada Lazurite Sliver, Fragment, Chunk and Gemstone, plus Transoceanic Pearl, Transoceanic Chunk, Xenochromatic Crystal and Water That Failed To Transcend.
Talents need Mora, Teachings of Equity, Guide to Equity, Philosophies of Equity, the three Transoceanic and Xenochromatic materials, Lightless Eye of the Maelstrom and Crown of Insight. Maxing all three talents takes three Crowns of Insight.
Constellations worth it
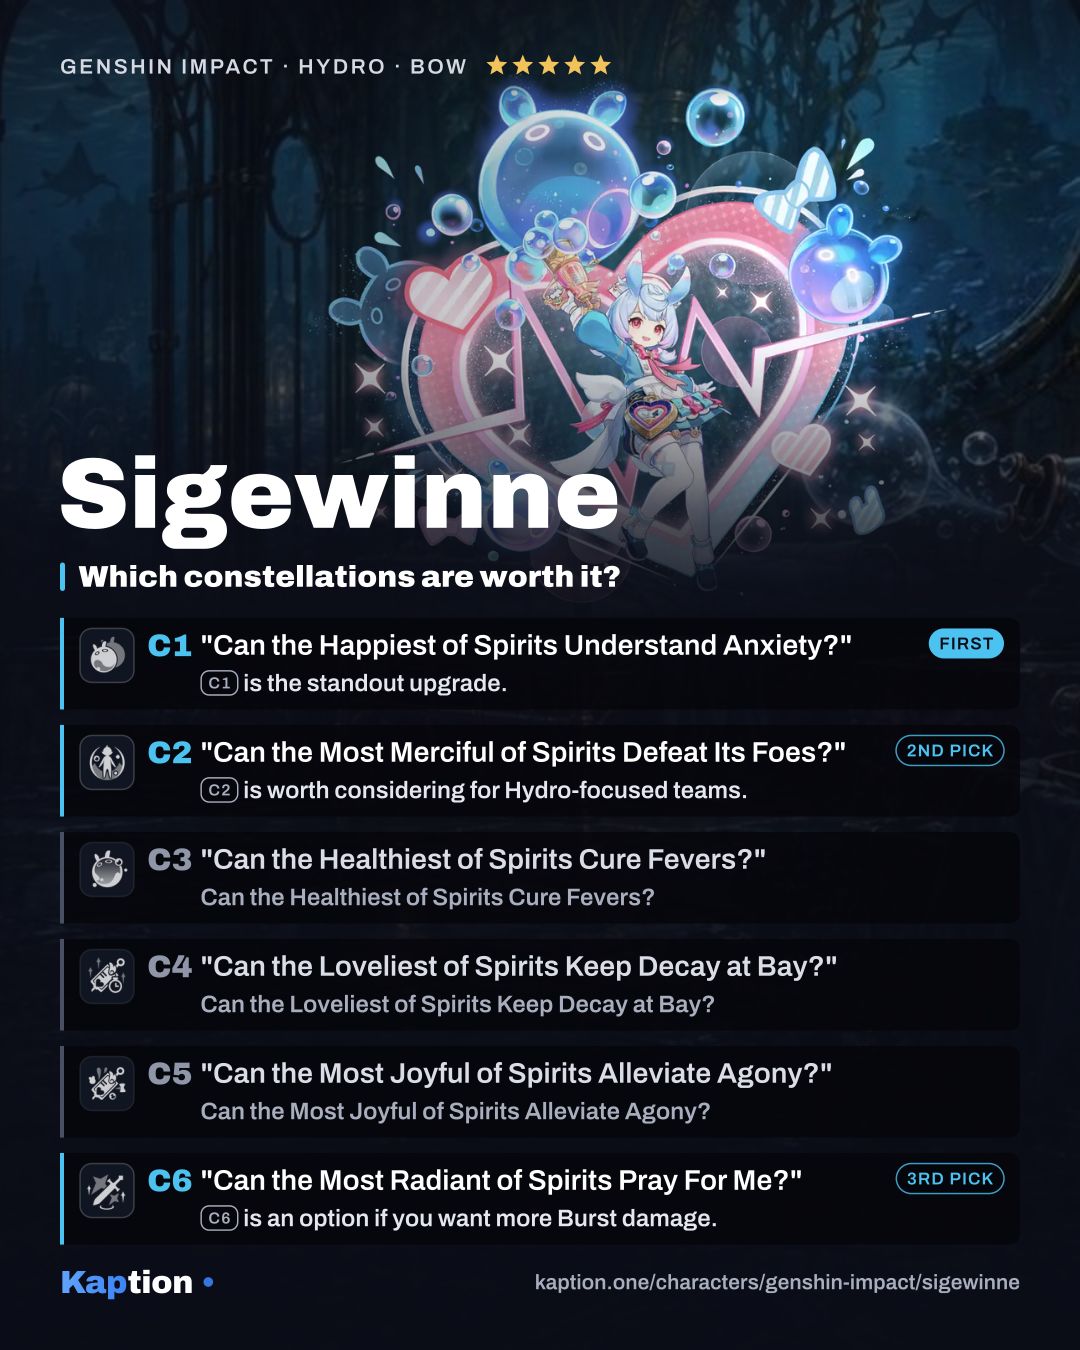
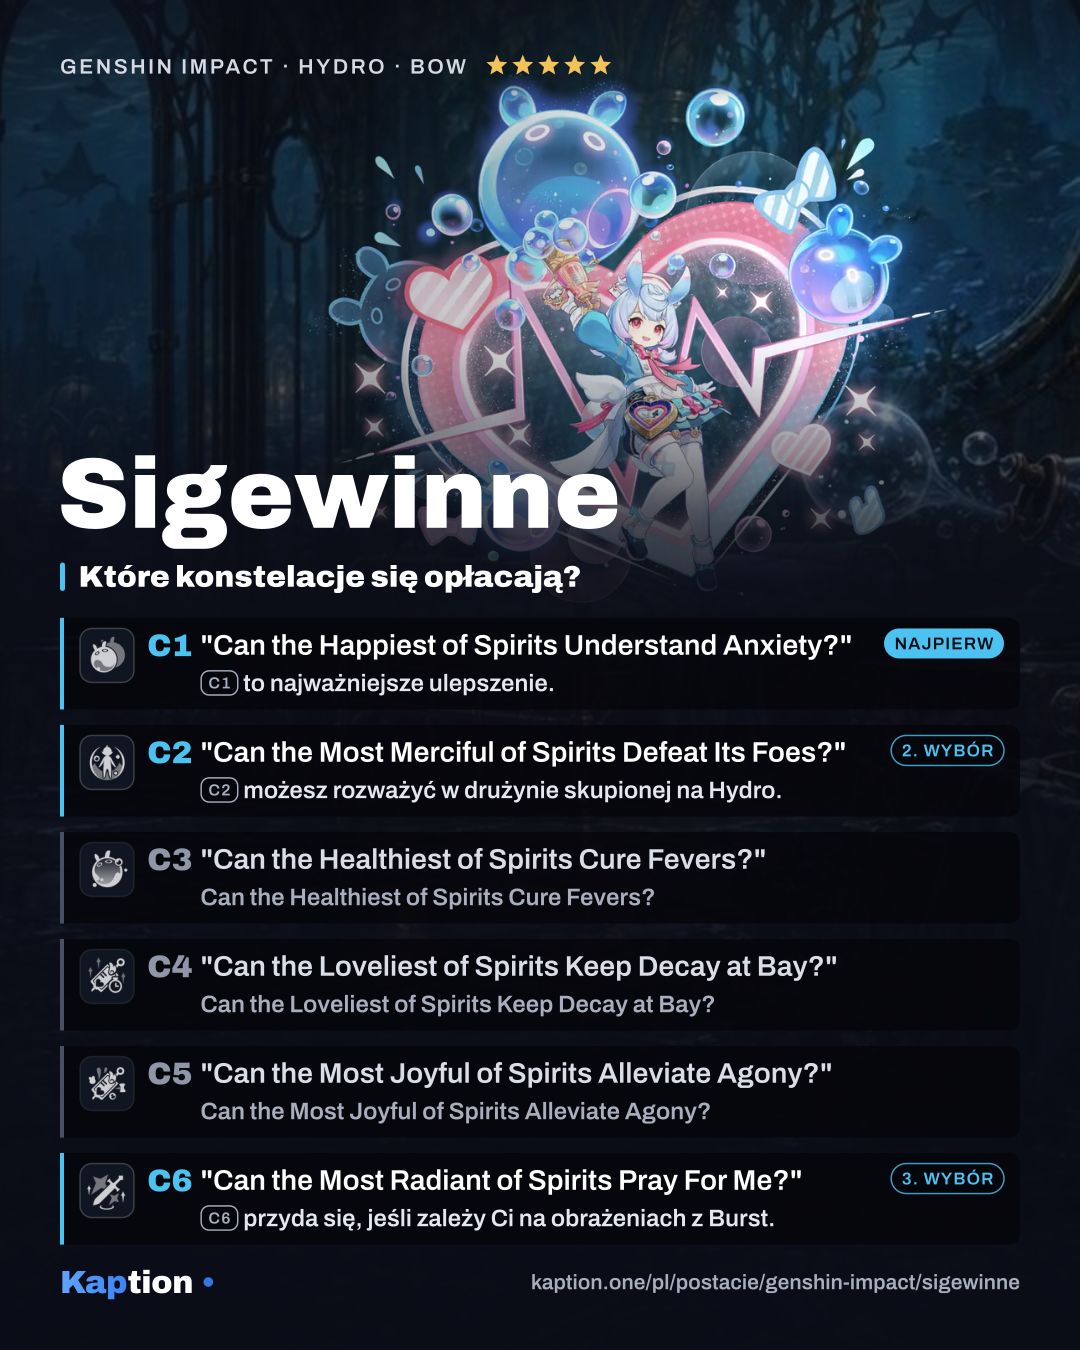
Can the Happiest of Spirits Understand Anxiety? (C1) is the standout upgrade. The Bubblebalm gains three extra bounces, and its first three bounces no longer shrink a large bubble. Each bounce also adds a Convalescence stack. Its damage bonus rises to 100 per 1,000 max HP above 30,000, with a 3,500 cap.
Can the Most Merciful of Spirits Defeat Its Foes? (C2) is worth considering for Hydro-focused teams. The Skill and Burst create a temporary shield while Sigewinne uses them, and their hits reduce an opponent’s Hydro RES by 35% for eight seconds.
Can the Most Radiant of Spirits Pray For Me? (C6) is an option if you want more Burst damage. When Sigewinne heals, it gives her Burst CRIT Rate and CRIT DMG based on her max HP for 15 seconds. You can leave the later constellations aside if the healing and off-field Skill bonus are what you need.
Teams
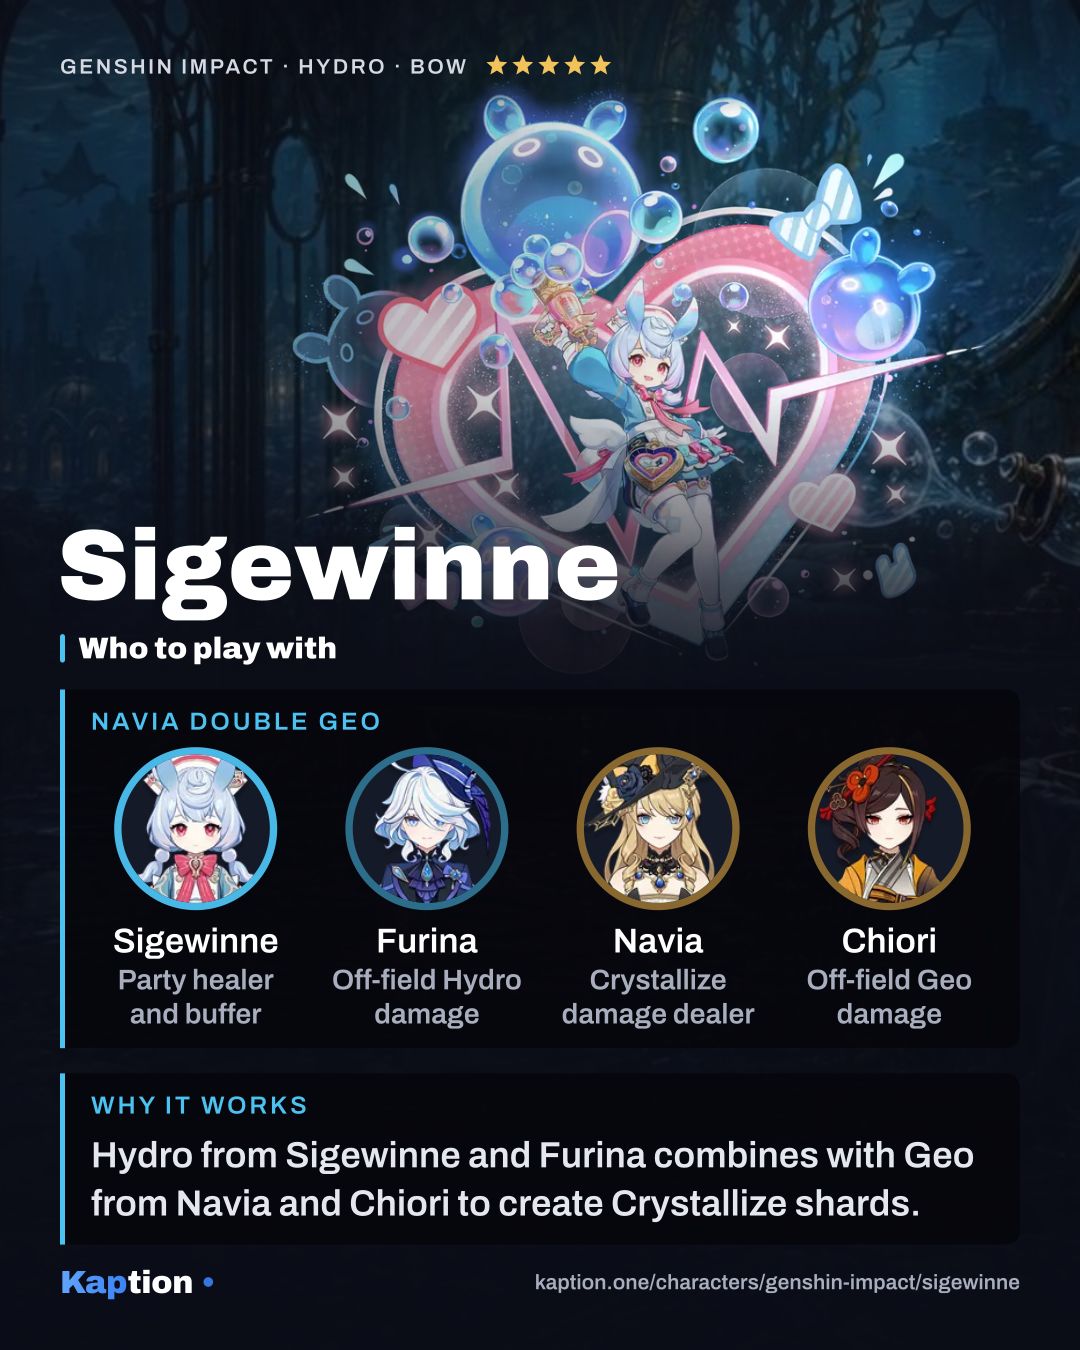
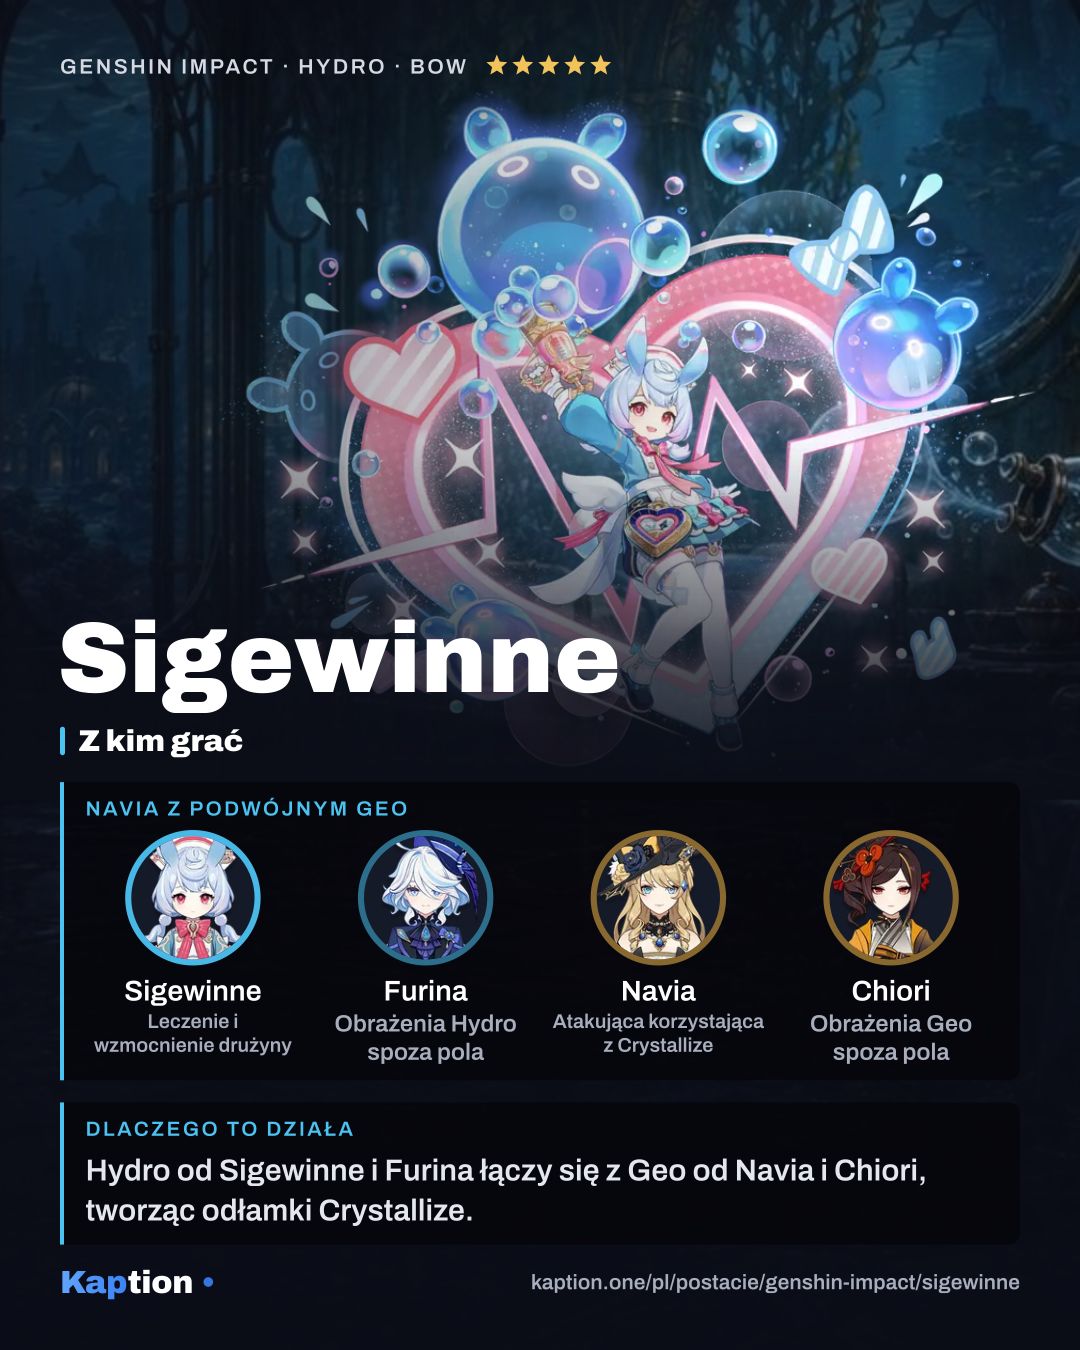
Furina is a good second Hydro teammate and an off-field option. Sigewinne can heal the party while leaving field time to another character. Build the rest of the team around the damage you want, including a teammate whose off-field Elemental Skill can spend Convalescence stacks.
Fischl is an Electro off-field option. Nahida adds Dendro to a Hydro and Electro team, while Kaedehara Kazuha is an Anemo option for Swirl. Their exact slots depend on the rest of the team; Sigewinne’s own contribution remains healing, Hydro damage and the bonus to eligible off-field Skill hits.
For a Hydro-focused setup, Neuvillette or Kamisato Ayato are options named alongside her. Sigewinne’s C2 becomes relevant here because its Hydro RES reduction applies after her Skill or Burst hits.
Common mistakes
Do not expect Convalescence to boost every attack. It applies to damaging Elemental Skills from other party members while they are off-field, and each qualifying hit consumes a stack.
Do not judge the bubble’s healing solely by what happens to Sigewinne at the start. Its bounces heal the other nearby party members; she gets her own heal when it disappears after the final bounce.
Do not sacrifice all your HP for Energy Recharge or Healing Bonus without checking the result. Max HP feeds both the Skill’s healing and the Convalescence bonus. Also remember that collecting Droplets creates Bond of Life; the Energy comes when that Bond is cleared, not when the Droplets are collected.