








































Guide
How the kit works
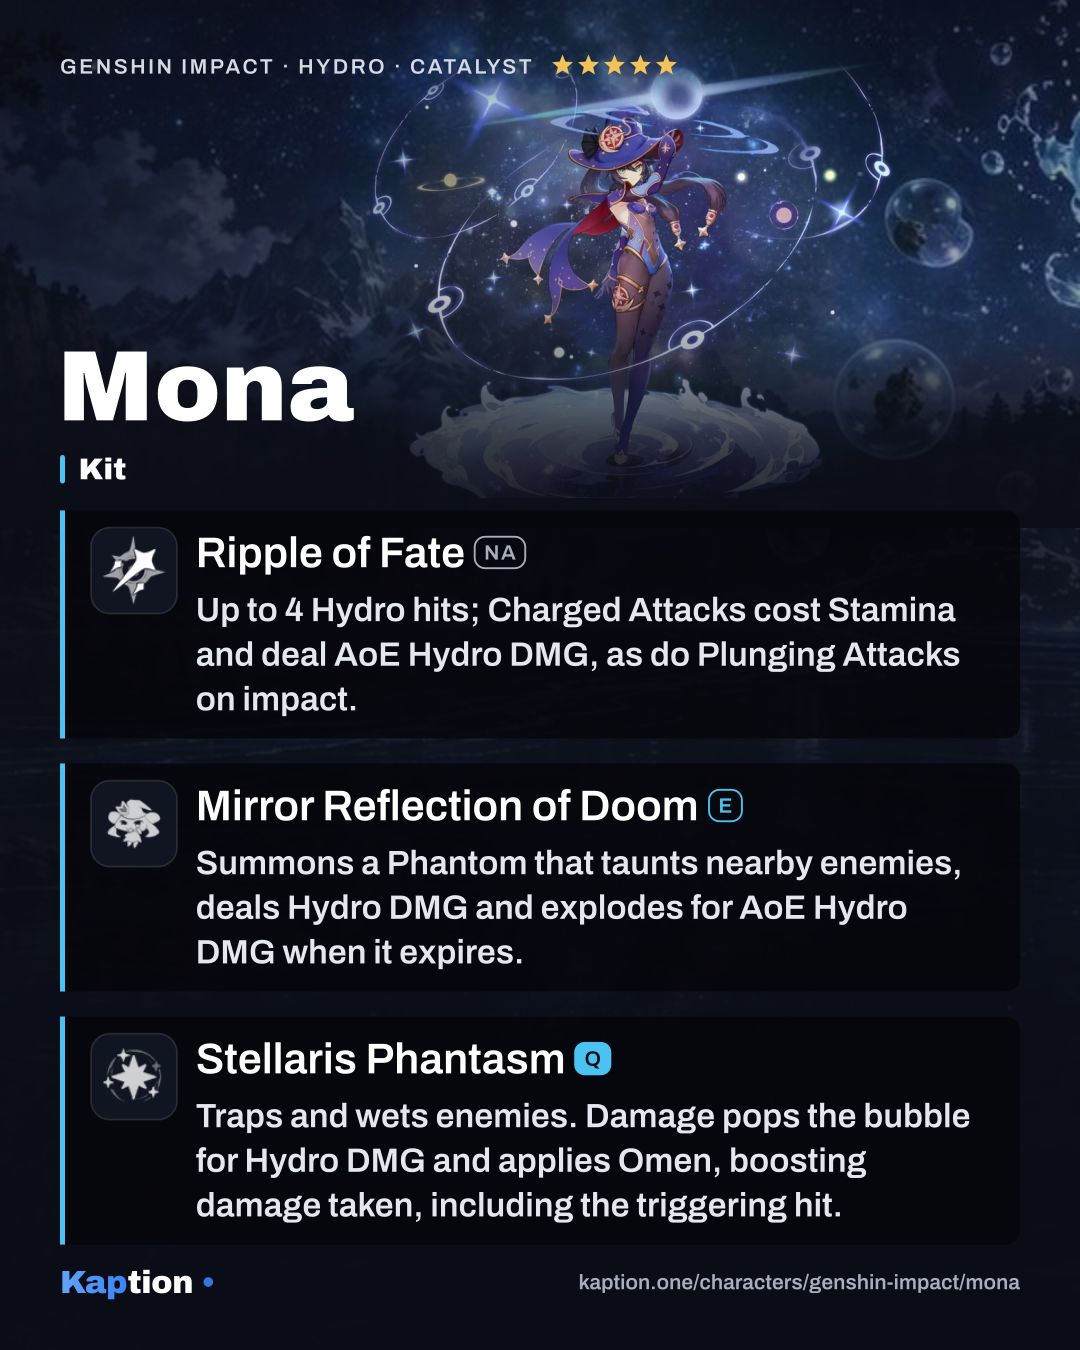
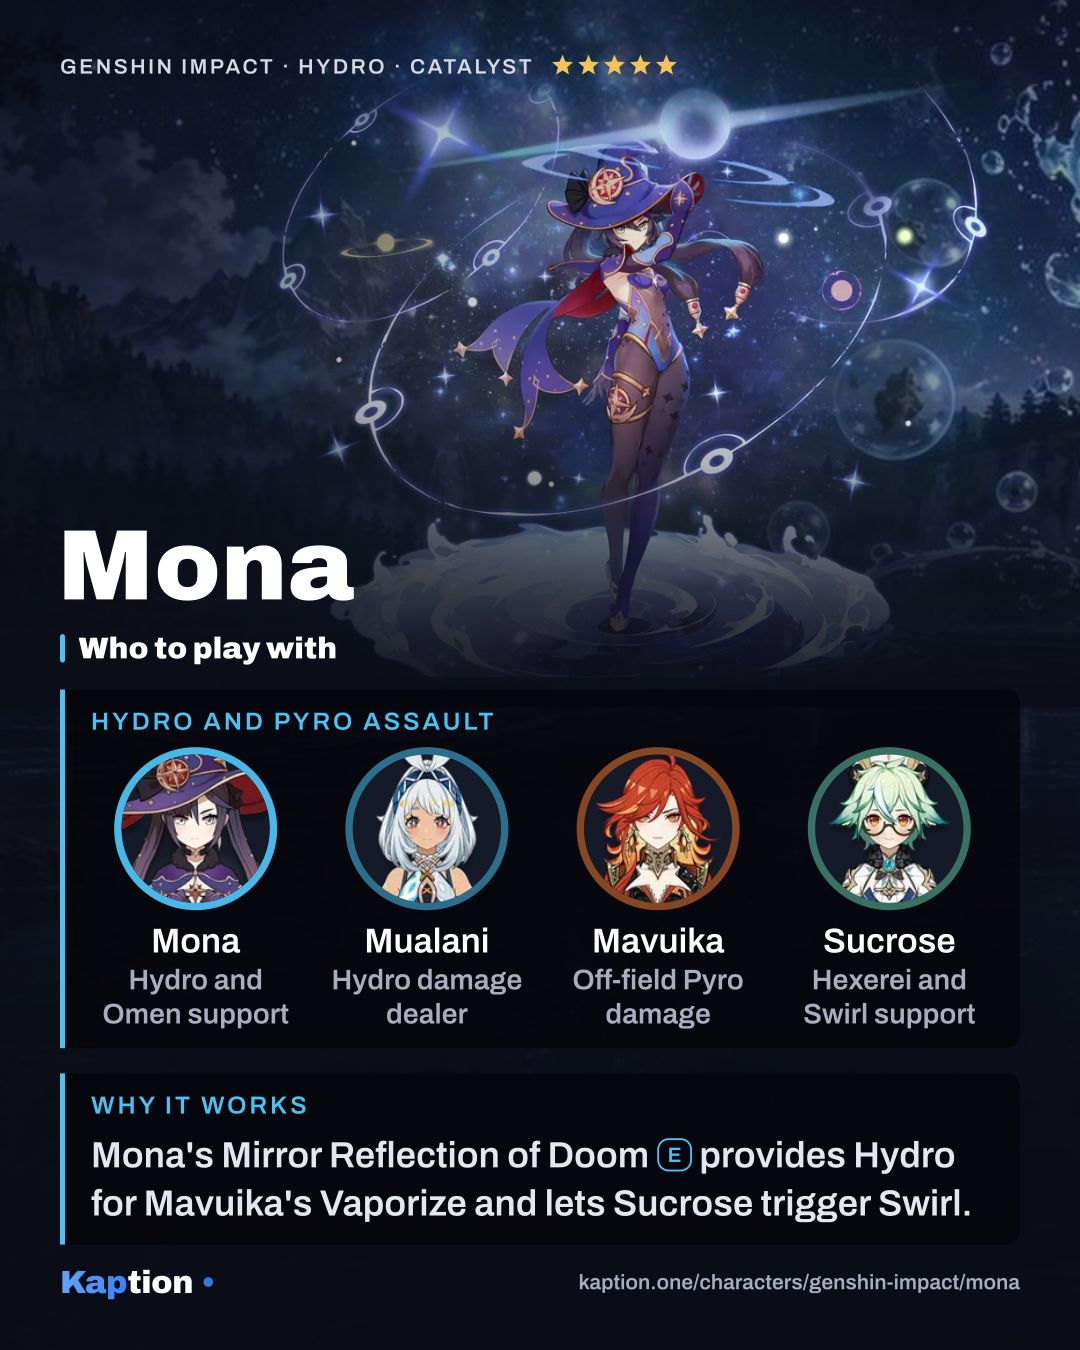
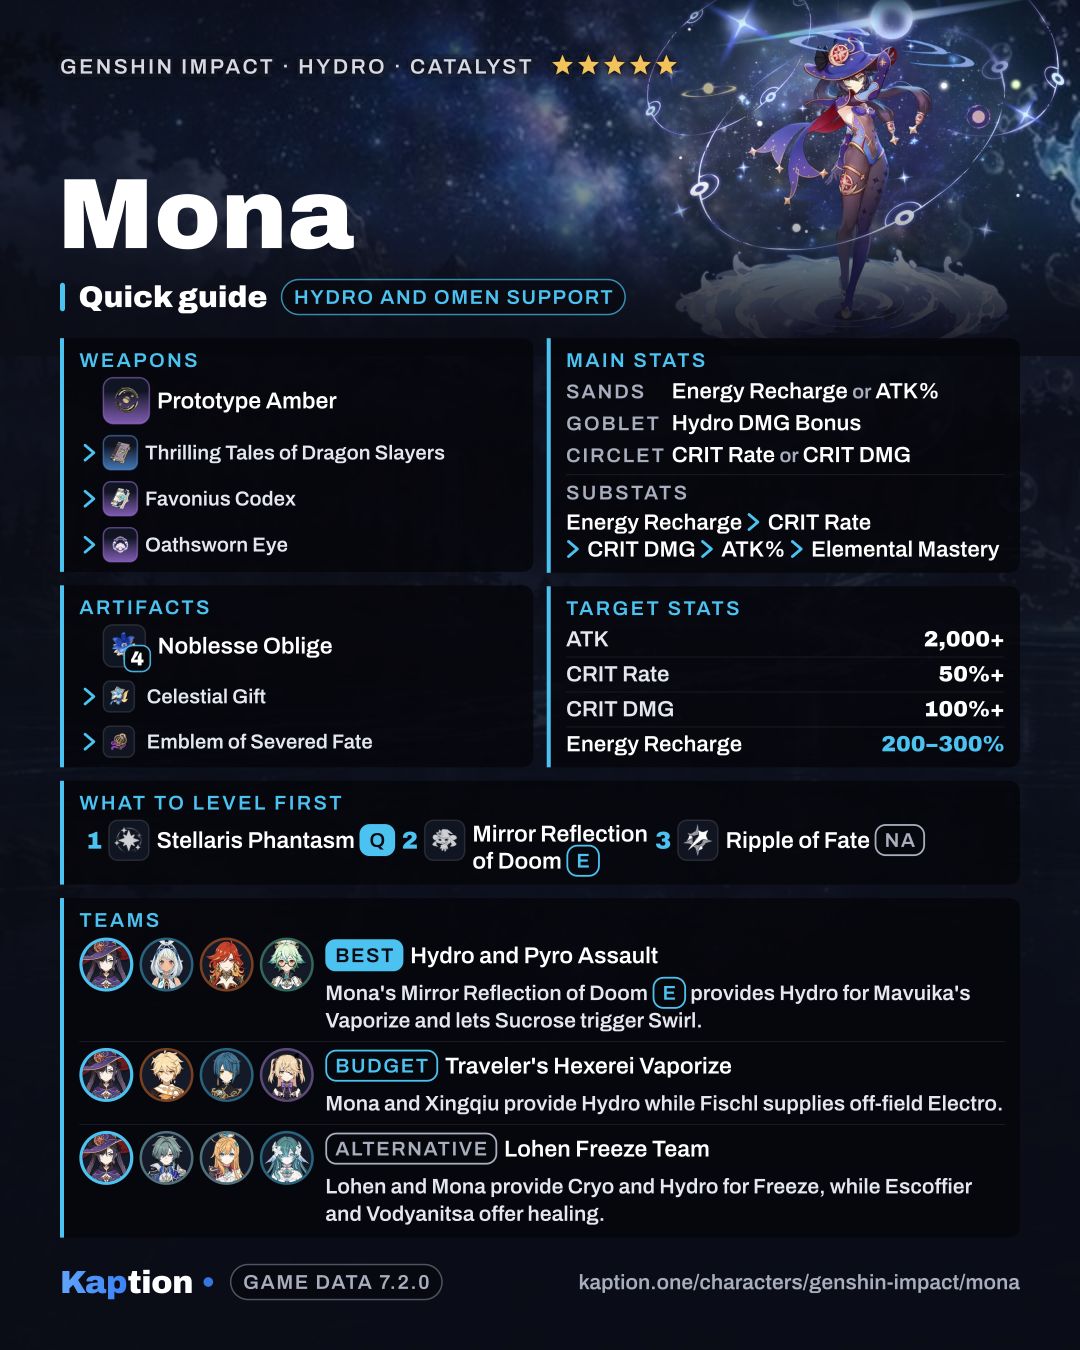
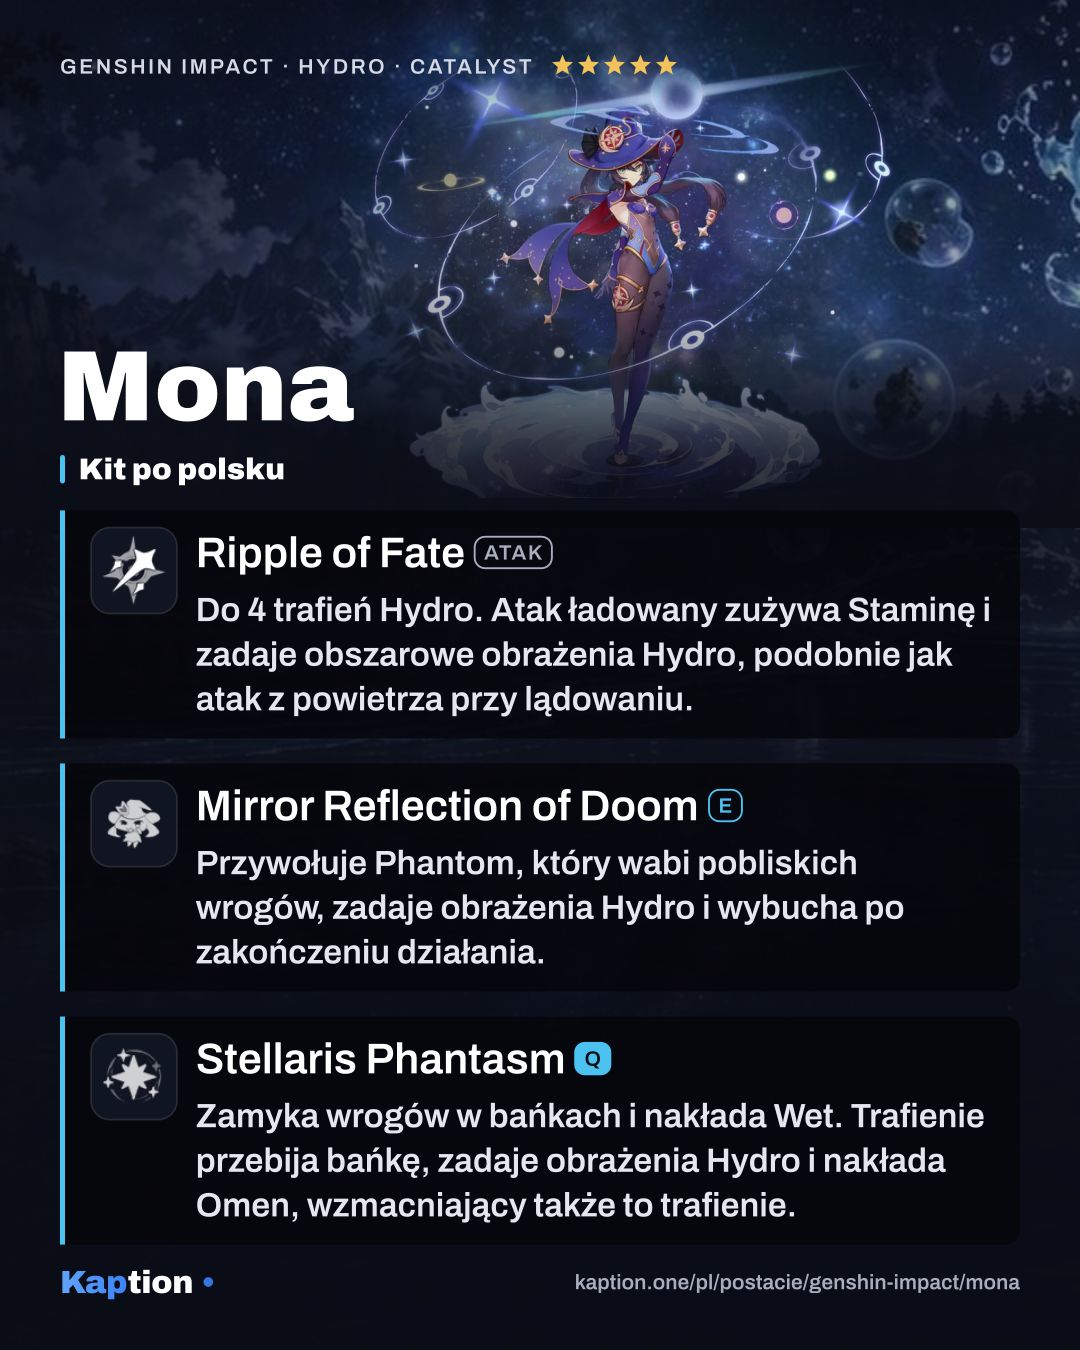
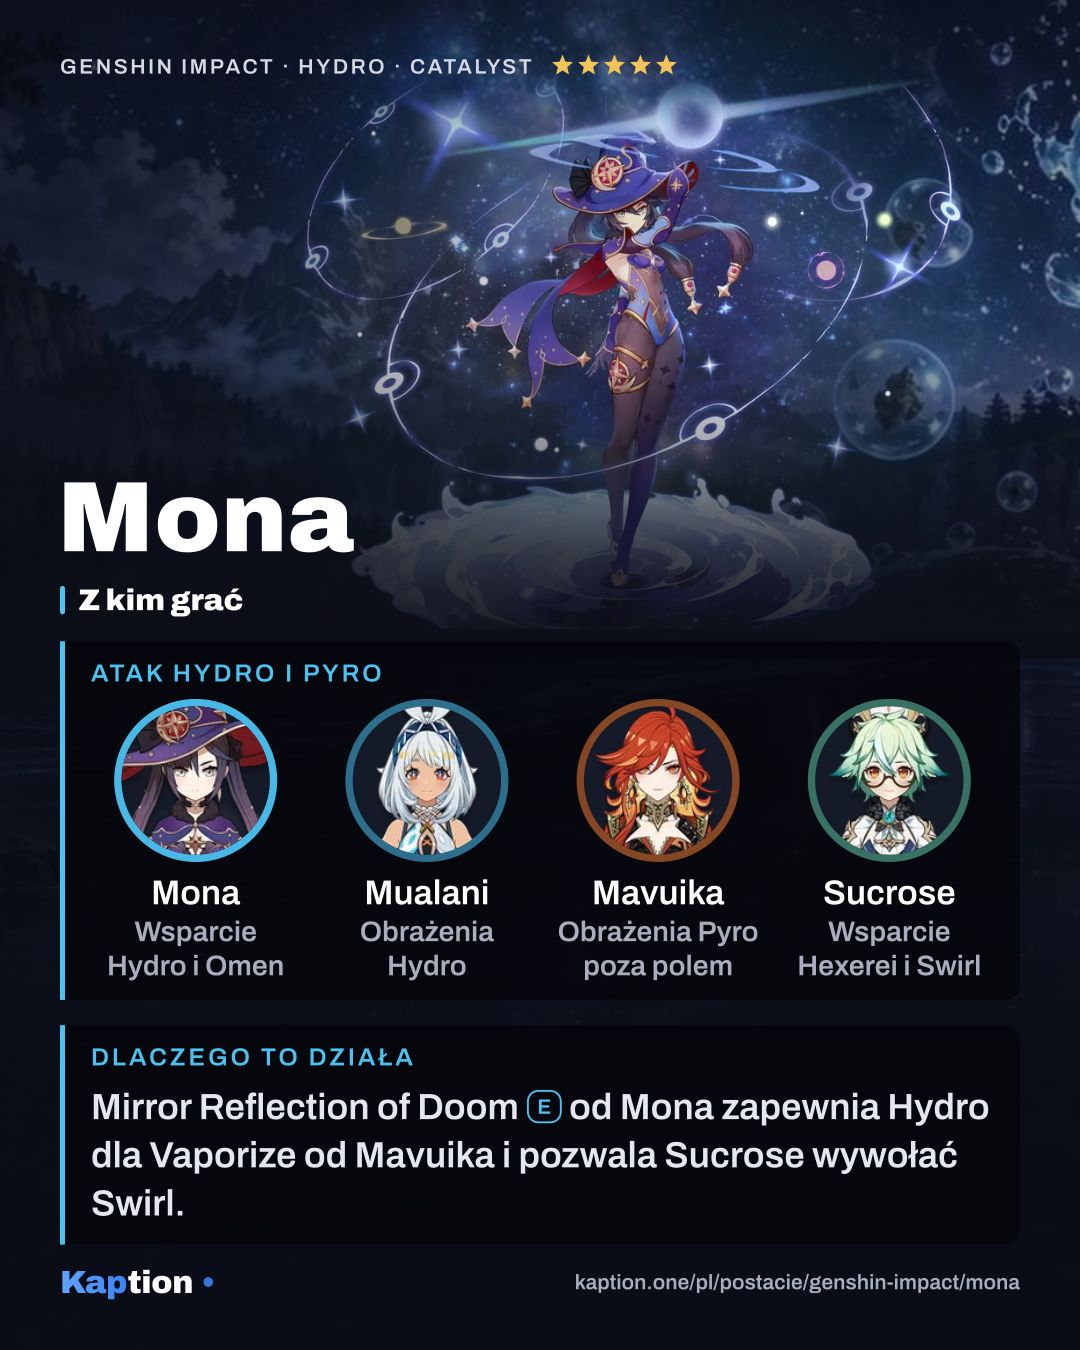
Start with Mirror Reflection of Doom to create a Phantom. It taunts nearby opponents and repeatedly deals Hydro damage, then explodes for AoE Hydro damage when its duration ends. Holding the Skill moves Mona backward before creating it. Only one Phantom from this Skill can exist at a time.
Use Stellaris Phantasm to apply Illusory Bubble in a large area. The Bubble makes opponents Wet and immobilizes weaker ones. When a bubbled opponent takes damage, the Bubble breaks, deals Hydro damage and applies Omen. The attack that breaks it also gets the damage bonus, so follow the Burst with an attack from the character you want to benefit.
Ripple of Fate (NA) gives Mona up to four Hydro Normal Attacks. Her Charged Attack costs Stamina and deals AoE Hydro damage after a short cast. Illusory Torrent is her alternate sprint: it consumes Stamina, travels over water and makes nearby opponents Wet when she reappears. After two seconds of sprinting near opponents, her passive creates a Phantom lasting two seconds; its explosion deals 50% of the Skill Phantom's explosion damage.
After completing her Witch's Homework and having at least two Hexerei characters in the party, Mona gains stacks when her Normal or Charged Attacks hit. Another party member's Vaporize consumes them for 5% more reaction damage per stack, up to three stacks. Her attacks can also extend Omen by two seconds per trigger, up to eight seconds.
Build and why
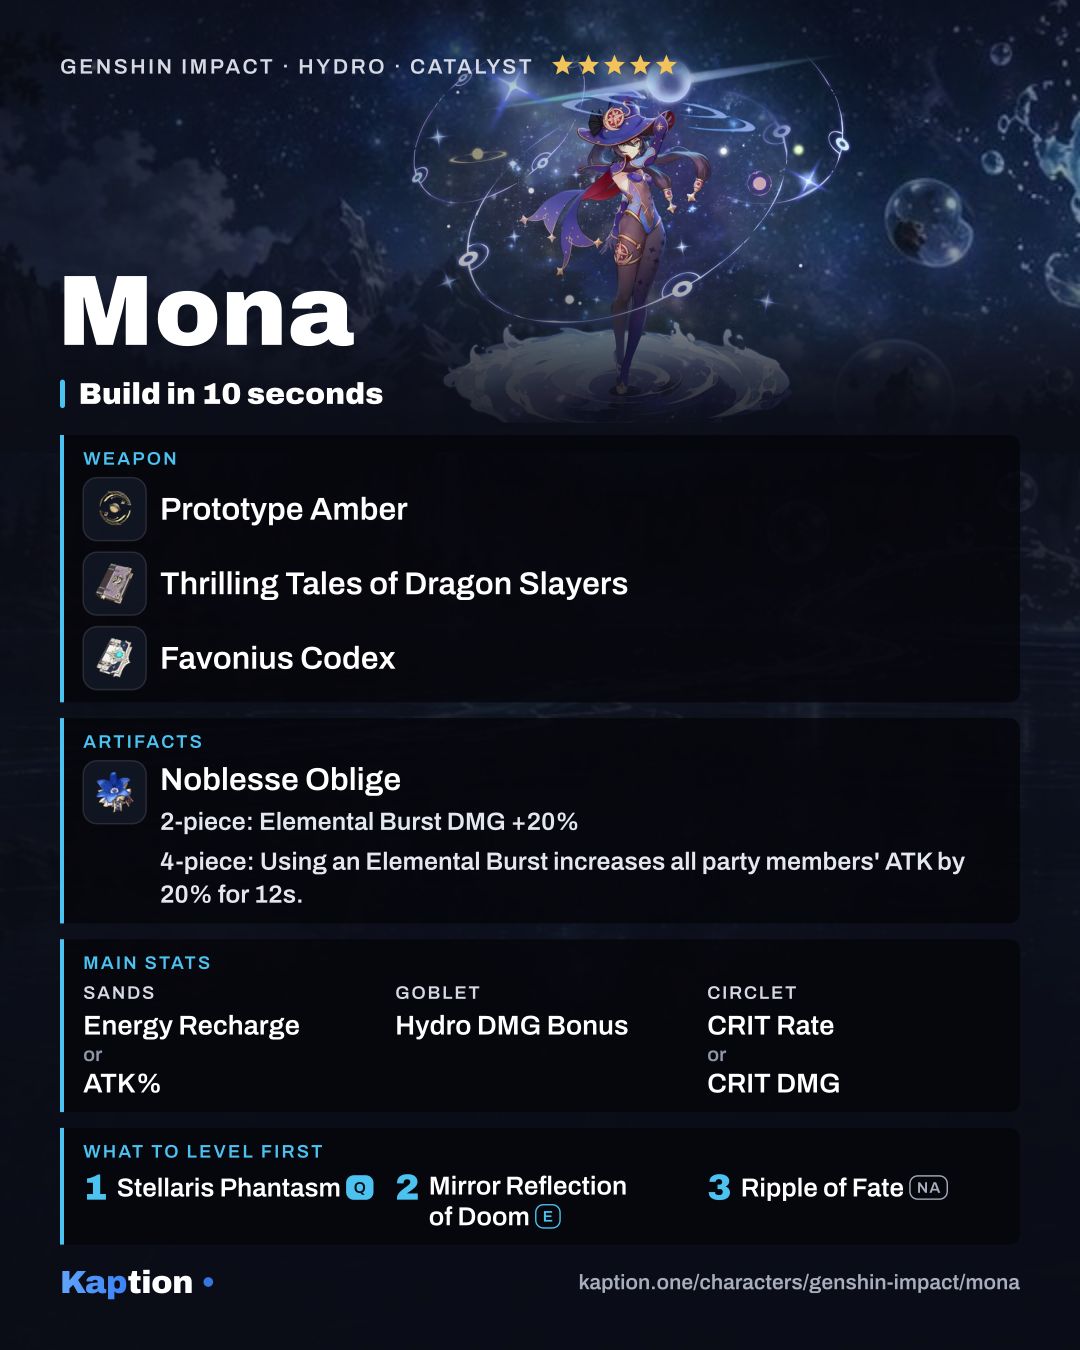
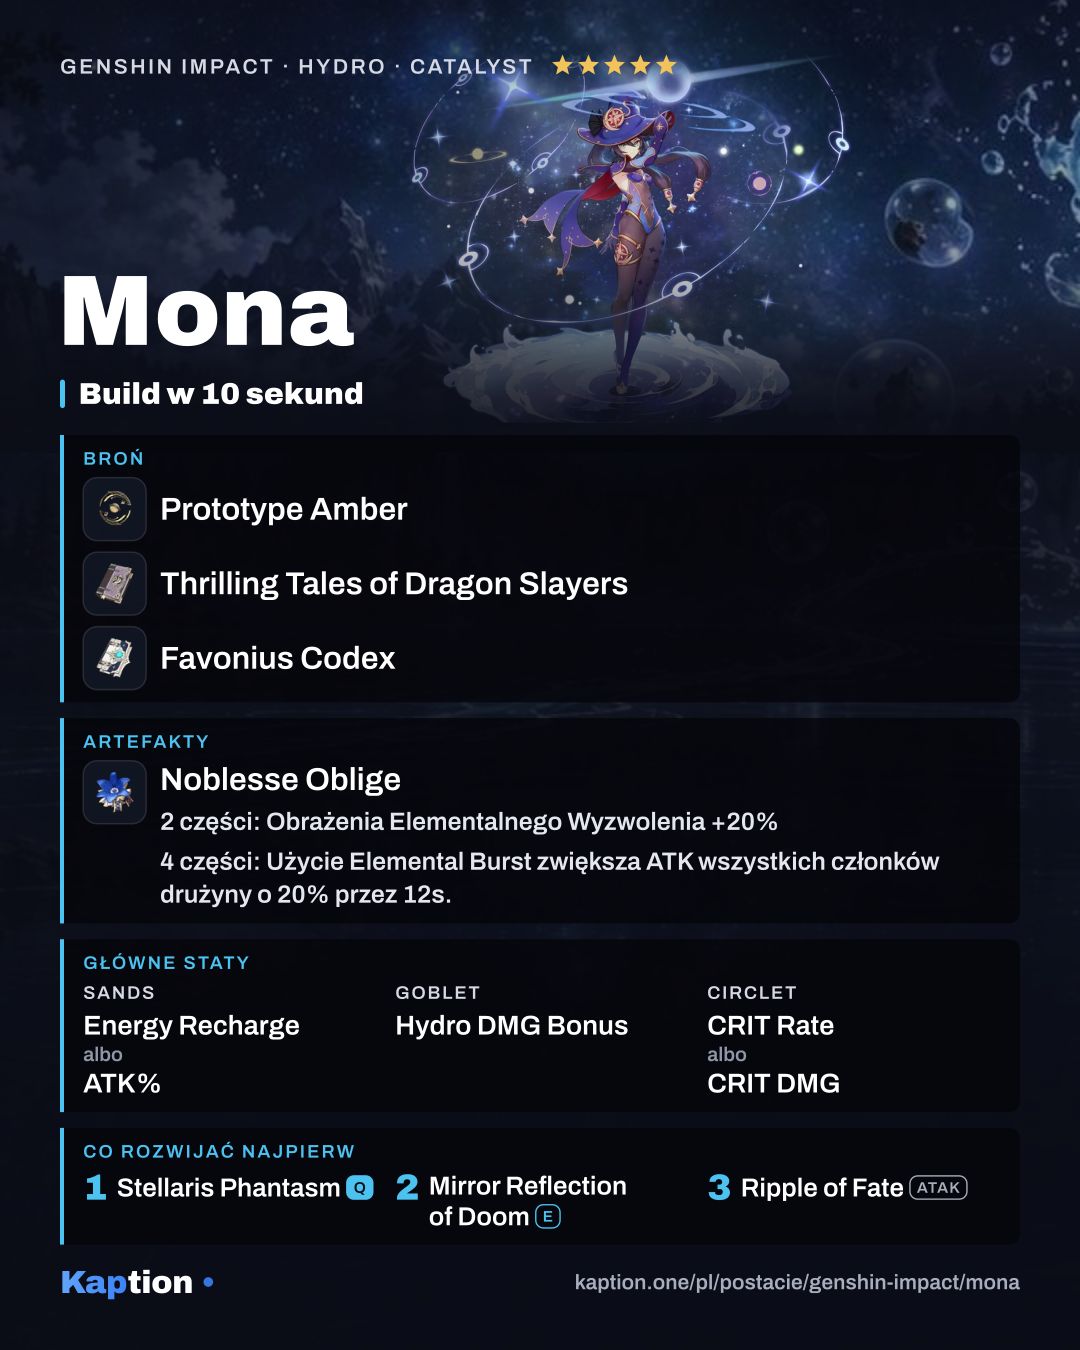
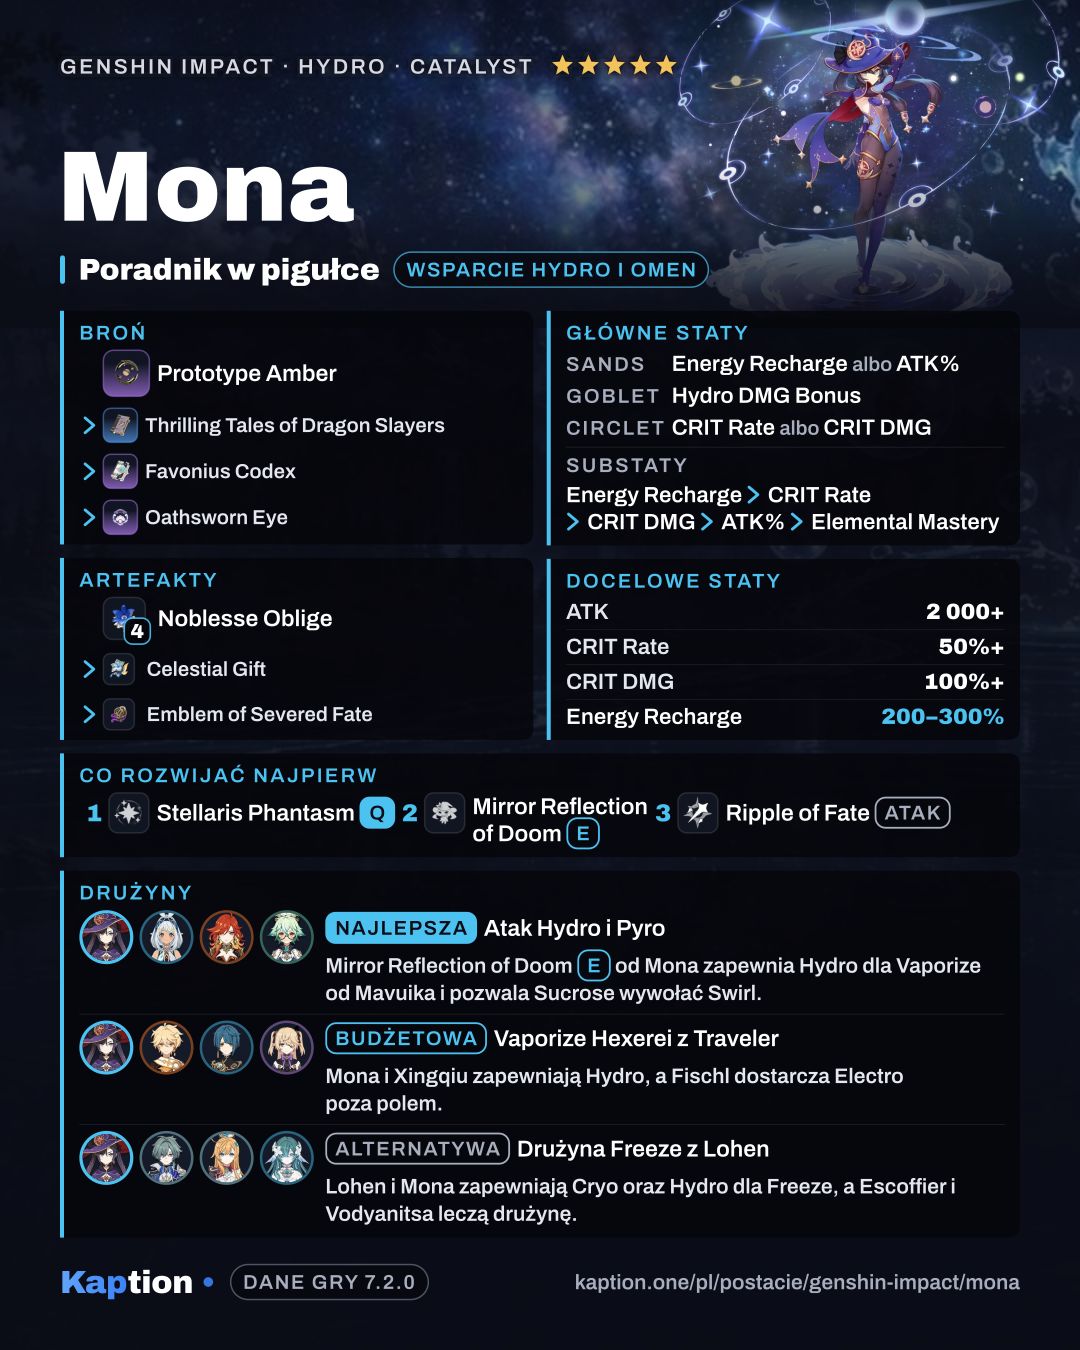
For team support, use four pieces of Noblesse Oblige. Its two-piece bonus adds 20% Burst damage, and using the Burst with four pieces gives the party 20% ATK for 12 seconds. The four-piece effect does not stack, so check whether another teammate already carries it.
Four pieces of Celestial Gift are another option. After Mona completes her Witch's Homework, using her Skill gives nearby party members 20% Hydro DMG Bonus for 20 seconds. With Hexerei: Secret Rite active, the effect instead gives 40% bonuses for Mona's element and the active character's element; bonuses for the same element do not stack. Tenacity of the Millelith is useful for its team ATK bonus when the Skill hits. For Mona's own Burst damage, consider four pieces of Emblem of Severed Fate.
Pick Energy Recharge or ATK Percentage on the sands, Hydro DMG Bonus on the goblet and CRIT Rate or CRIT DMG on the circlet. Look for Energy Recharge first in substats, followed by CRIT Rate, CRIT DMG, ATK Percentage and Elemental Mastery. Mona gains Hydro DMG Bonus equal to 20% of her Energy Recharge rate.
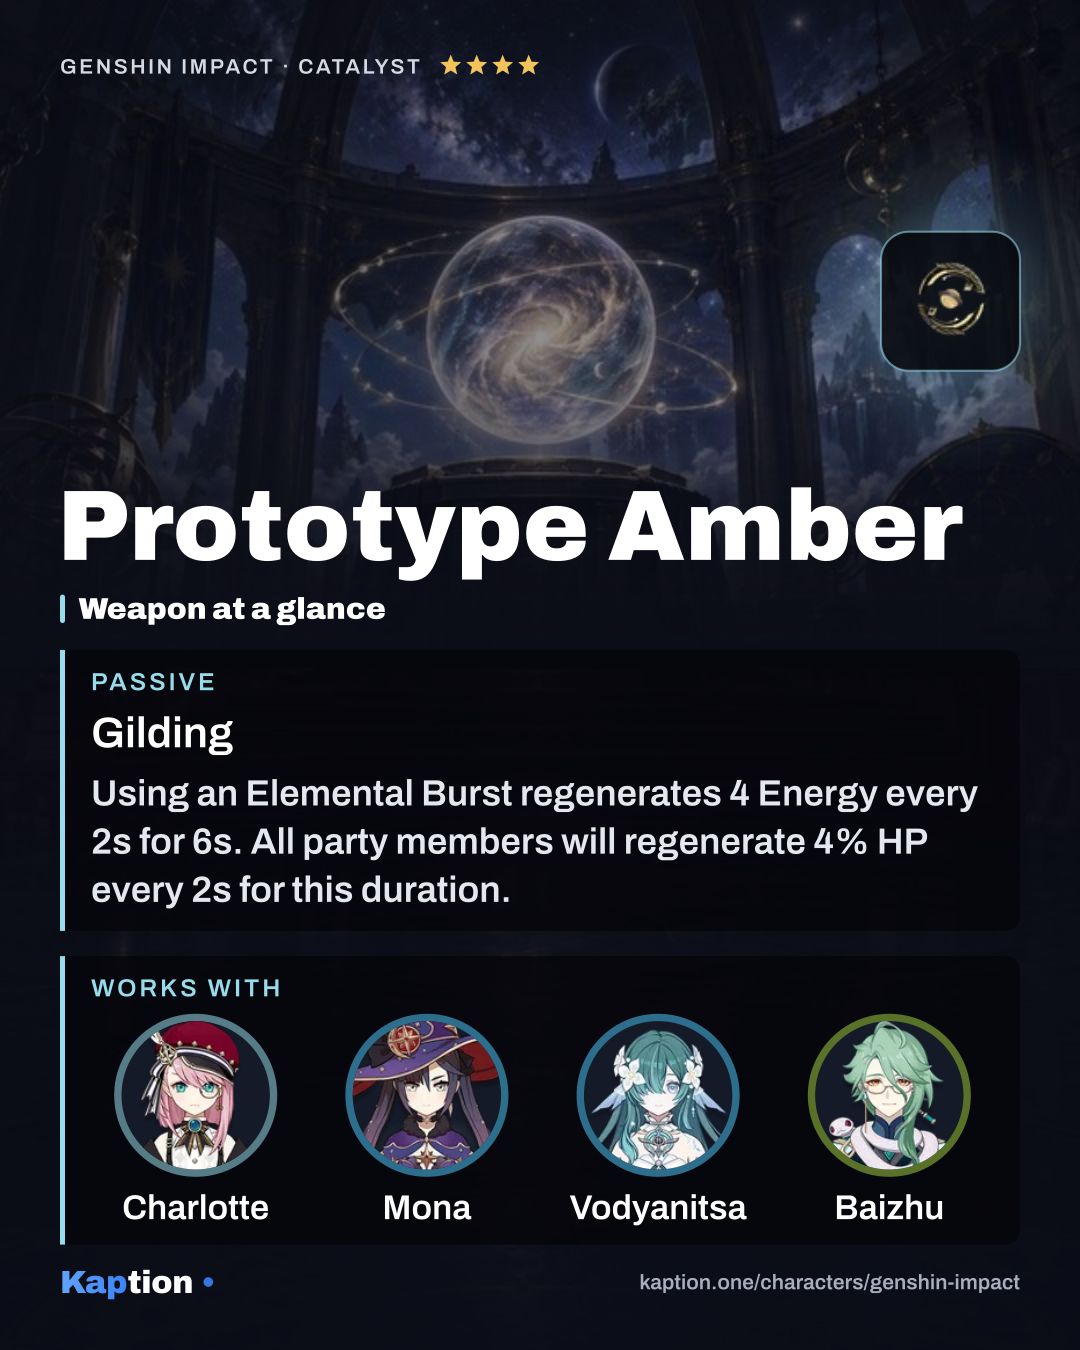
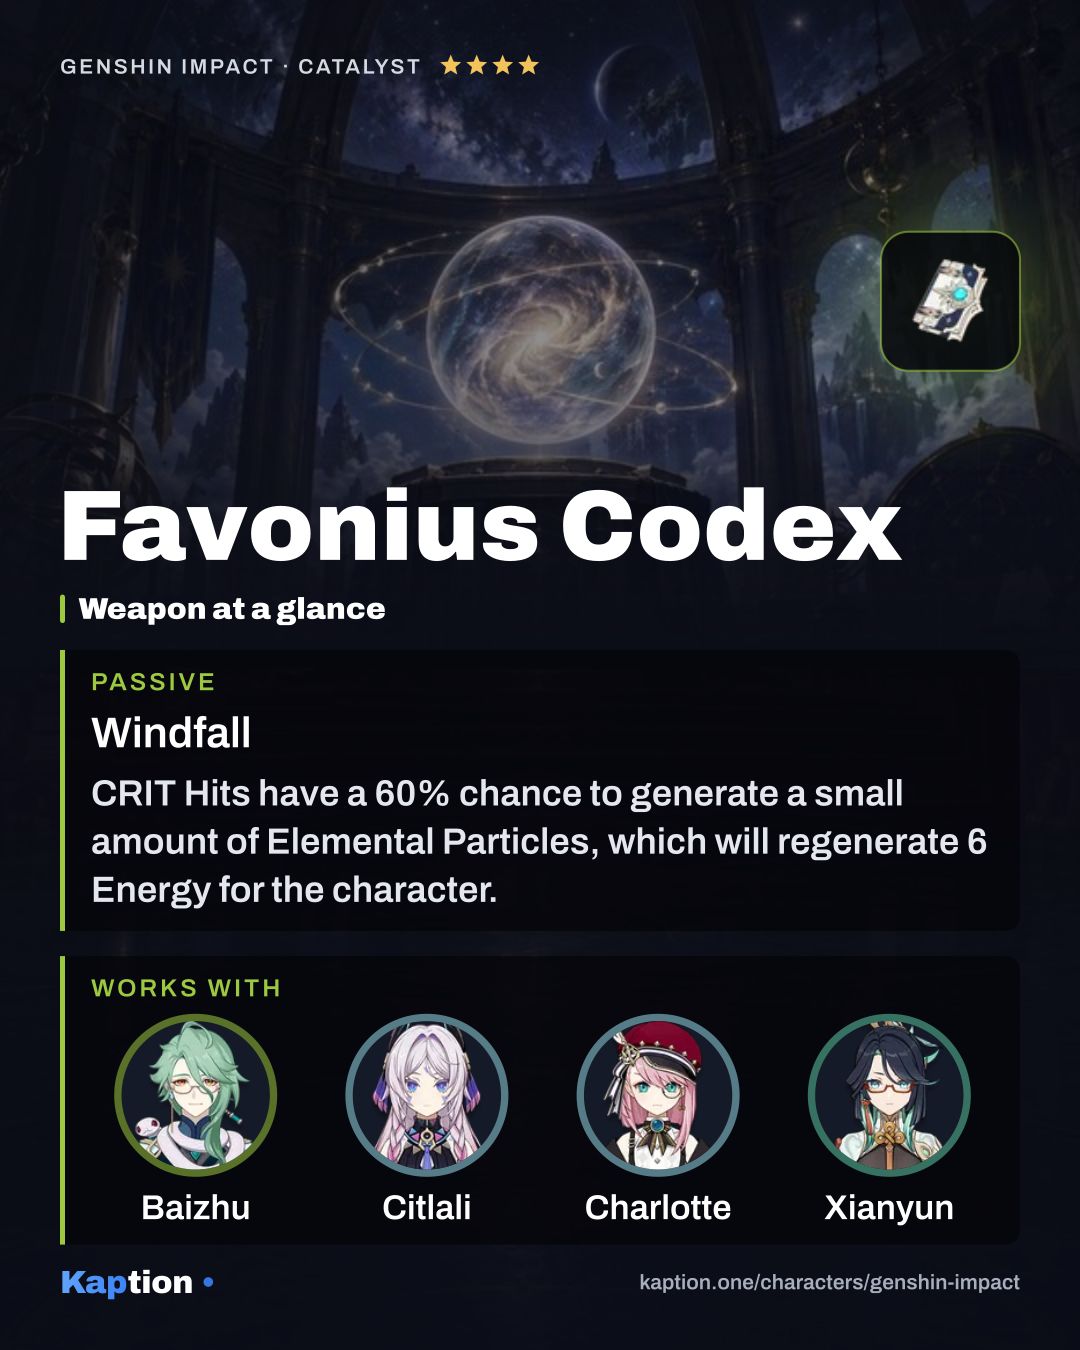
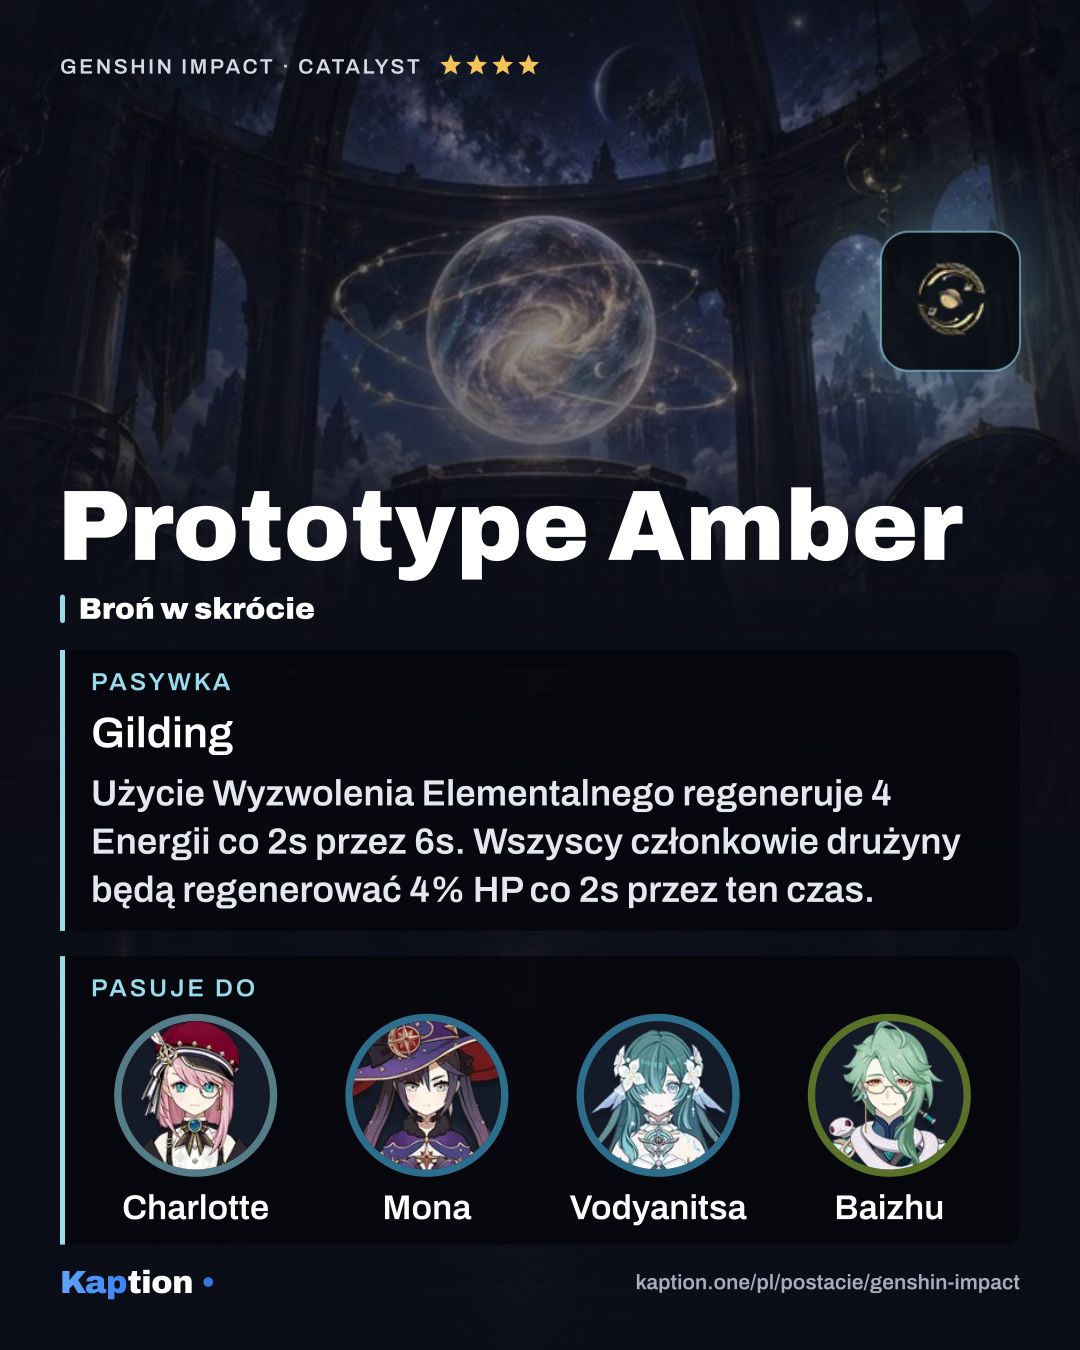
Thrilling Tales of Dragon Slayers gives the incoming character 24% ATK for 10 seconds when Mona switches out. Favonius Codex can generate particles on a CRIT hit, so give Mona some CRIT Rate if you use it. Prototype Amber is an option for restoring Mona's Energy and healing the party after her Burst.
Leveling priority
For a support build, I would level Stellaris Phantasm first because the Burst applies Omen and deals Hydro damage when the Bubble breaks. Level Mirror Reflection of Doom next for the Phantom's damage. Leave Ripple of Fate (NA) until later if Mona spends little time attacking on the field; move it up if you use her attacks often.
For ascension, collect Philanemo Mushroom and Cleansing Heart, along with Varunada Lazurite Sliver, Varunada Lazurite Fragment, Varunada Lazurite Chunk and Varunada Lazurite Gemstone. You also need Whopperflower Nectar, Shimmering Nectar, Energy Nectar and Mora.
For talents, gather Teachings of Resistance, Guide to Resistance and Philosophies of Resistance, plus the same three Nectar materials, Ring of Boreas and Mora. Crown of Insight is needed for the final talent level. Mona also has a 25% chance to refund a portion of the materials when she crafts Weapon Ascension Materials.
Constellations worth it
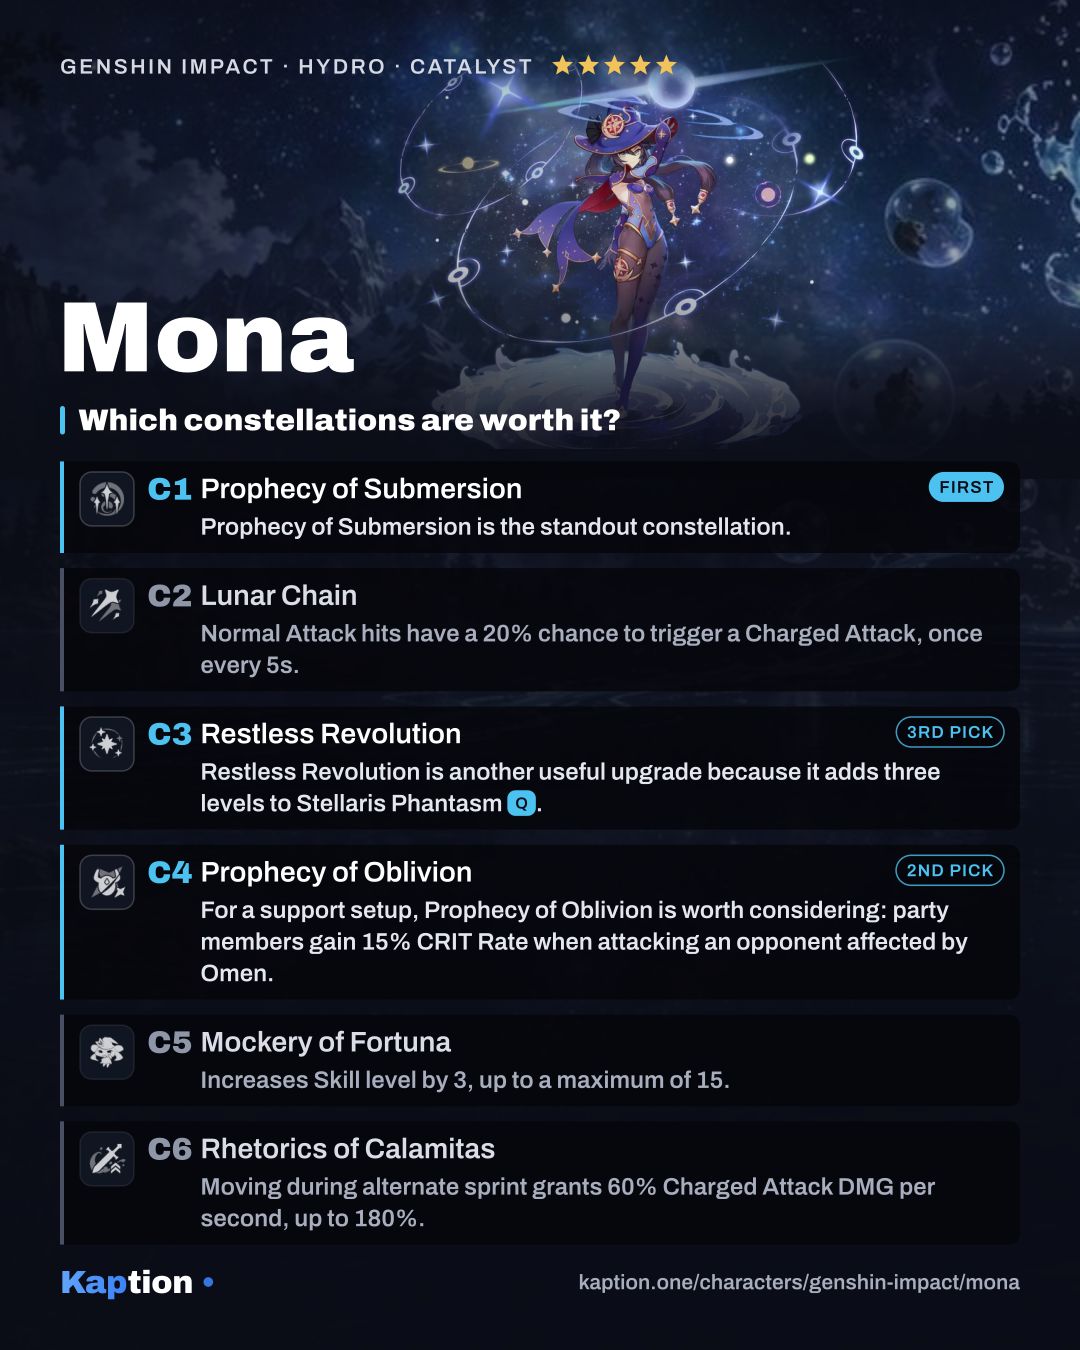
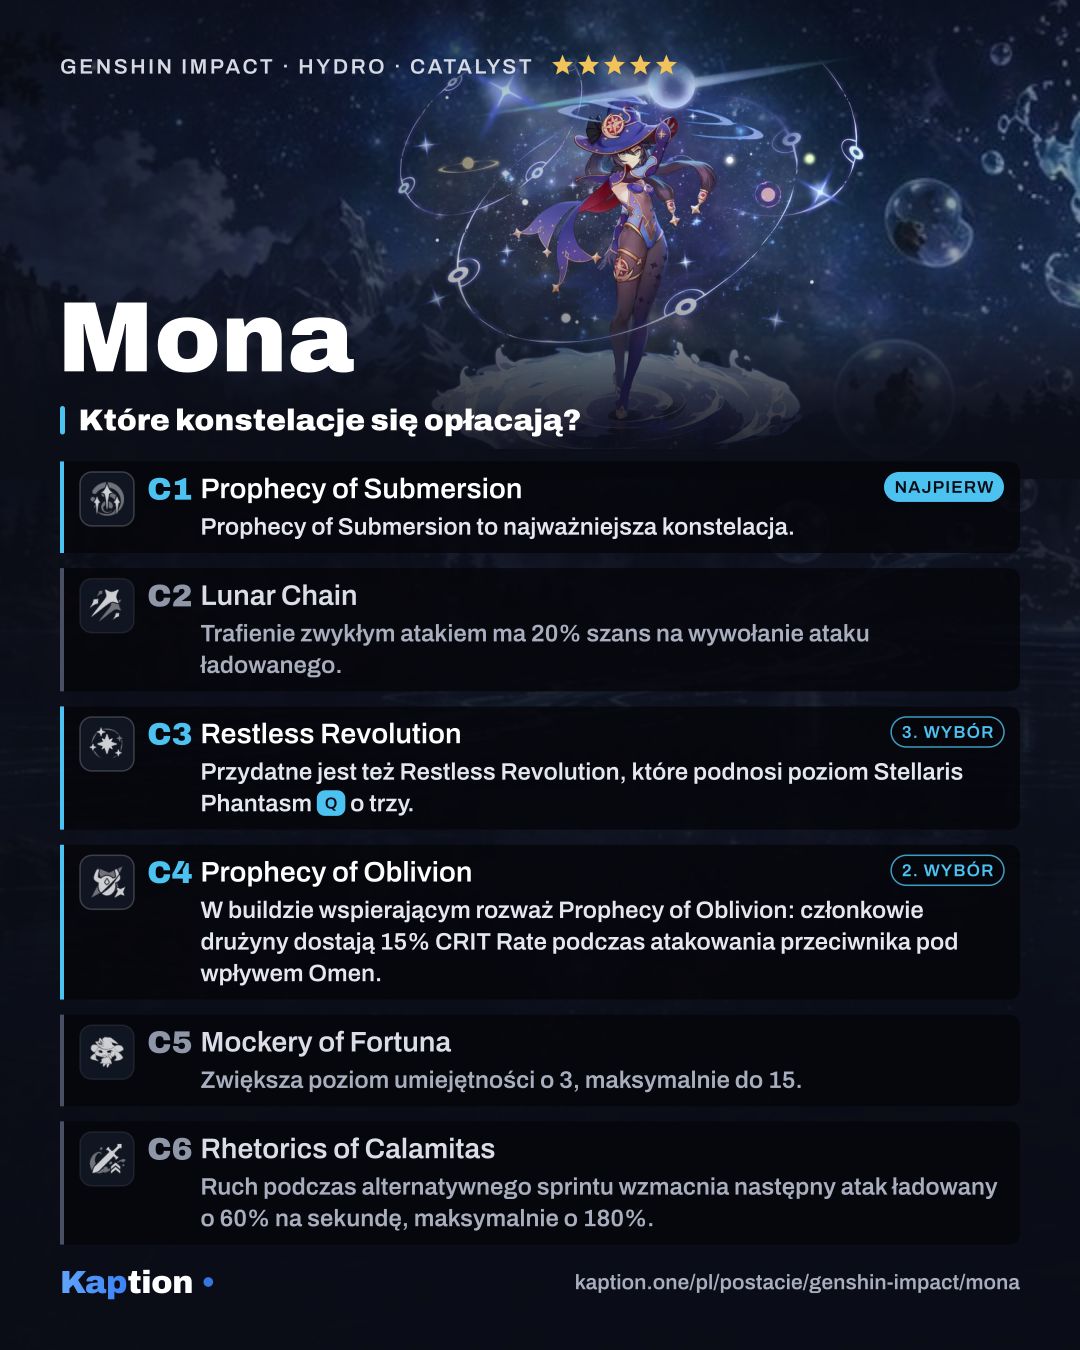
Prophecy of Submersion is the standout constellation. When a party member hits an opponent affected by Omen, it strengthens several Hydro-related reactions for eight seconds. Vaporize and Electro-Charged damage, for example, increase by 15%, while Frozen duration is extended by 15%.
For a support setup, Prophecy of Oblivion is worth considering: party members gain 15% CRIT Rate when attacking an opponent affected by Omen. Restless Revolution is another useful upgrade because it adds three levels to Stellaris Phantasm.
Lunar Chain has a 20% chance to follow a Normal Attack hit with a Charged Attack, once every five seconds. Rhetorics of Calamitas boosts the next Charged Attack after time spent moving in Illusory Torrent. Both matter less if you switch Mona out quickly. Mockery of Fortuna adds three Skill levels, so it is less relevant if your focus is the Burst's team benefit.
Common mistakes
Do not cast Stellaris Phantasm and then leave the Bubble untouched. An opponent must take damage for the Bubble to break and apply Omen. Plan who attacks next, especially with Thrilling Tales of Dragon Slayers equipped, because its ATK bonus goes to the character who takes the field.
Do not ignore Energy Recharge while chasing damage stats. Mona's passive also turns part of it into Hydro DMG Bonus. If you use Favonius Codex, remember that its particle effect needs a CRIT hit. Check your teammates' artifact sets too: two copies of the Noblesse Oblige four-piece effect do not stack.
Do not expect the Hexerei attack effects without completing Mona's Witch's Homework and meeting the party requirement. Her stacks boost Vaporize triggered by other party members, not a Vaporize attributed to Mona.