

































Guide
How the kit works
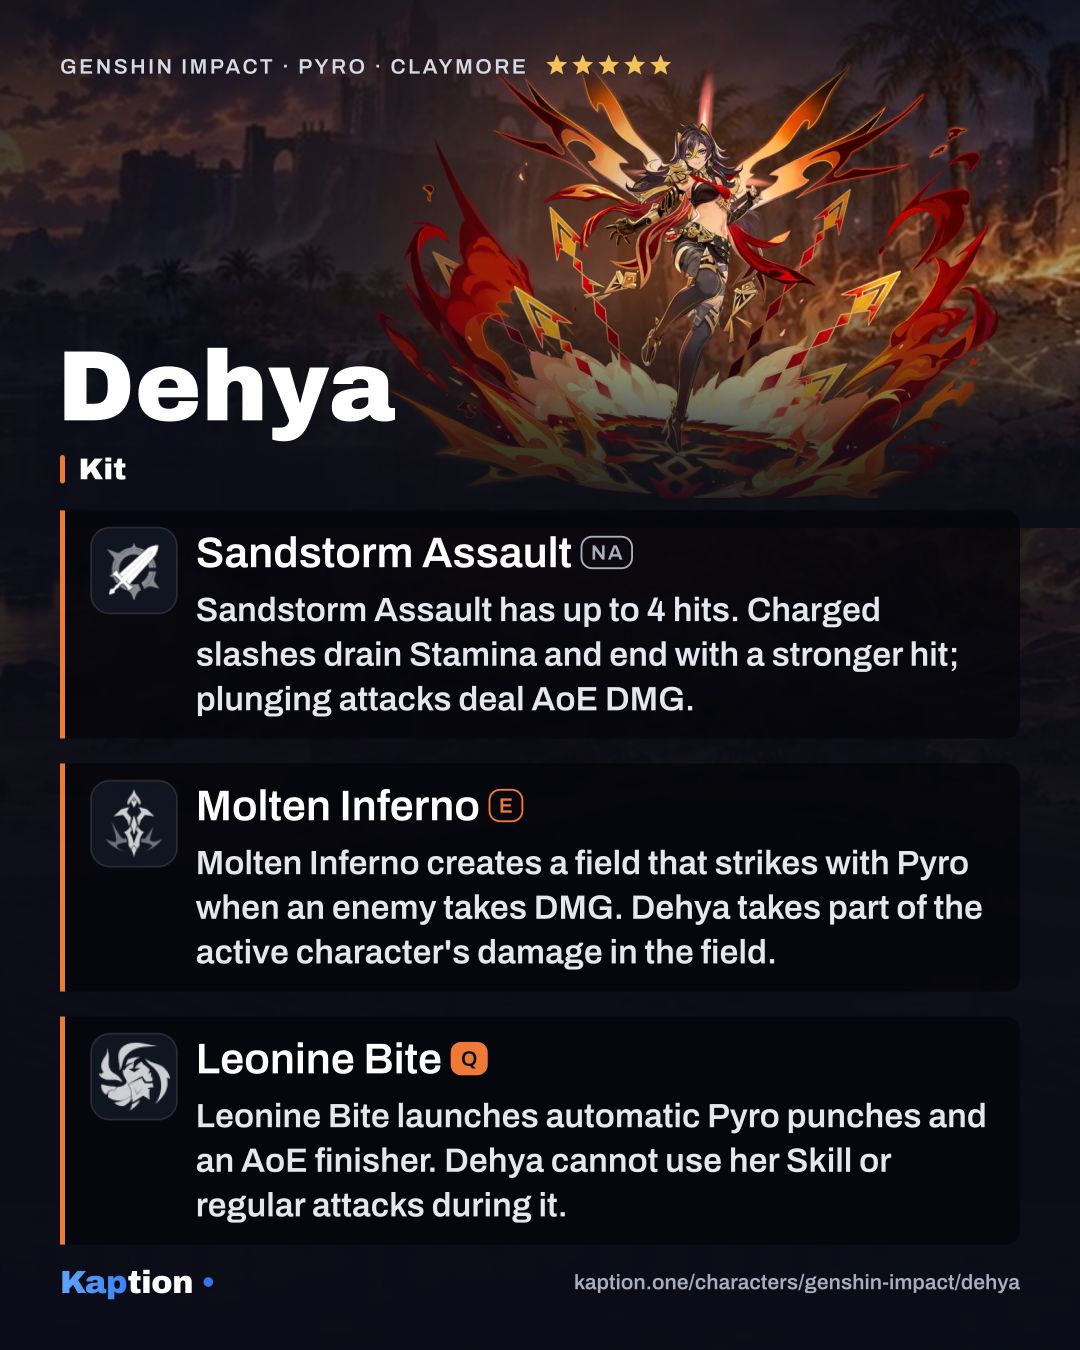
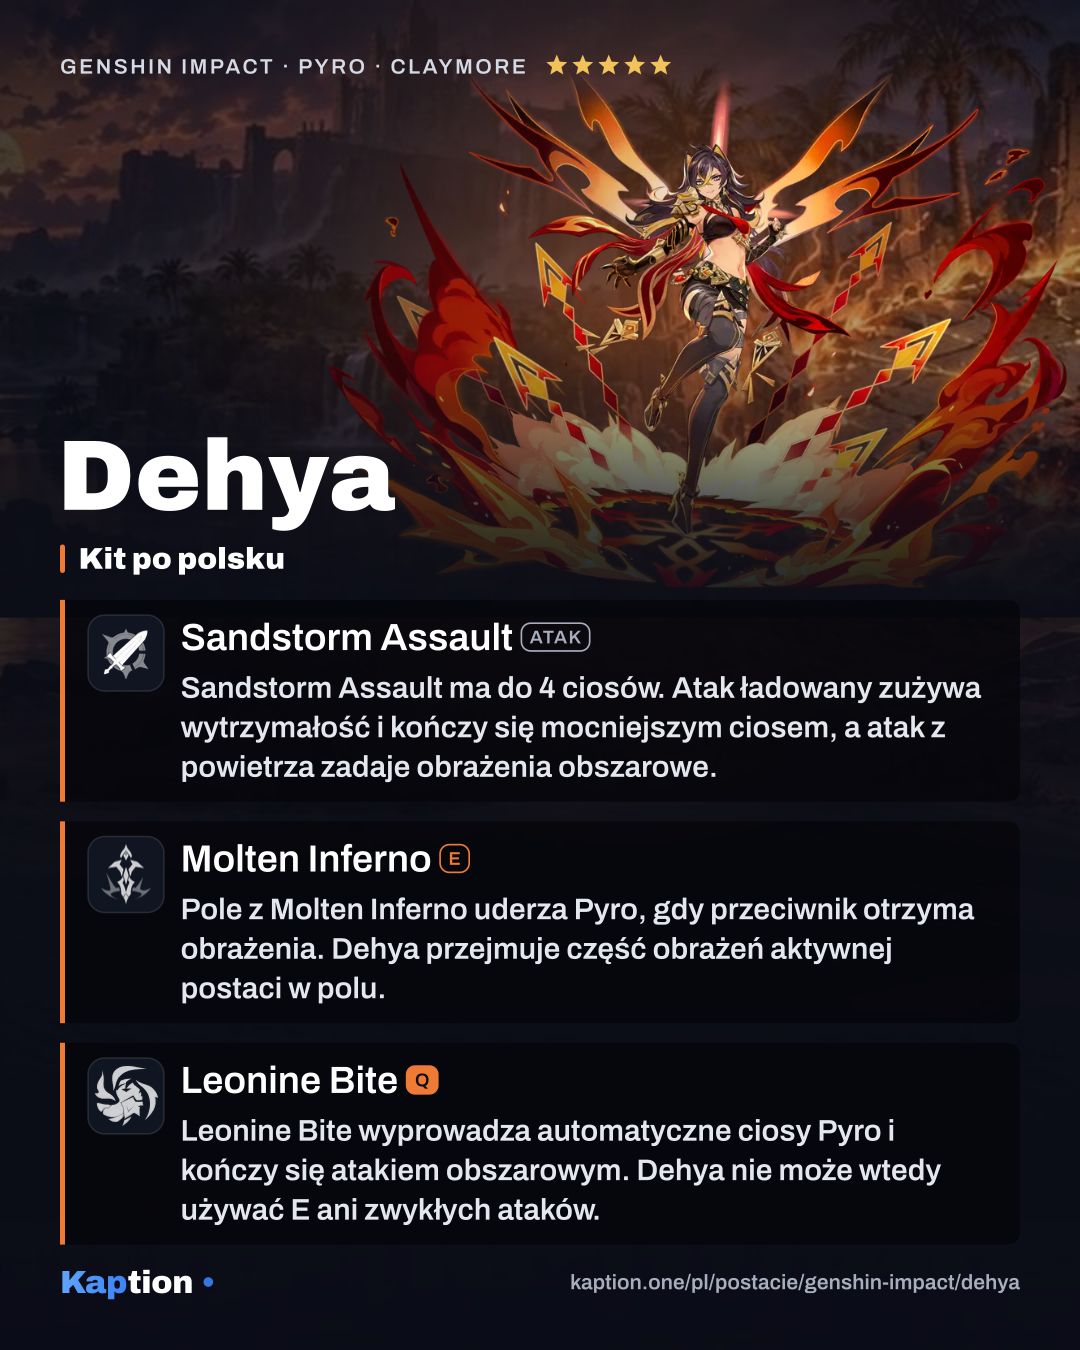
Start with Molten Inferno. If Dehya has no Fiery Sanctum active, she deals AoE Pyro damage and creates one. When an enemy inside takes damage, the field follows up with a coordinated AoE Pyro attack, at most once every 2.5 seconds. You can then switch to the teammate you want to protect.
Use the Skill again to move the field with Ranging Flame. The new field keeps the old field's remaining duration rather than starting a fresh one, and you can reposition it only once during that field's duration. Only one of Dehya's fields can exist at a time.
Cast Leonine Bite when you want Dehya to attack on field. It retrieves her existing field and restores one with the saved remaining duration after the Burst ends. During the Burst, press Roaring Barrage within 0.4 seconds of each punch to speed up the next one. Normal, Charged and Plunging Attacks and the Skill are unavailable in this state.
The initial field also grants an extra interruption-resistance effect for 9 seconds, with an 18-second interval between activations. After retrieving the field, Dehya takes 60% less redirected damage for 6 seconds. If her HP falls below 40%, she heals herself; that recovery can trigger once every 20 seconds.
Build and why
For a field-support build, try four pieces of Tenacity of the Millelith. Skill hits give nearby teammates 20% ATK and 30% Shield Strength for 3 seconds, including when Dehya is off field. Four pieces of Scroll of the Hero of Cinder City are another option: after Dehya triggers a Pyro-related reaction, teammates gain a 12% Elemental DMG Bonus for the elements involved for 15 seconds.
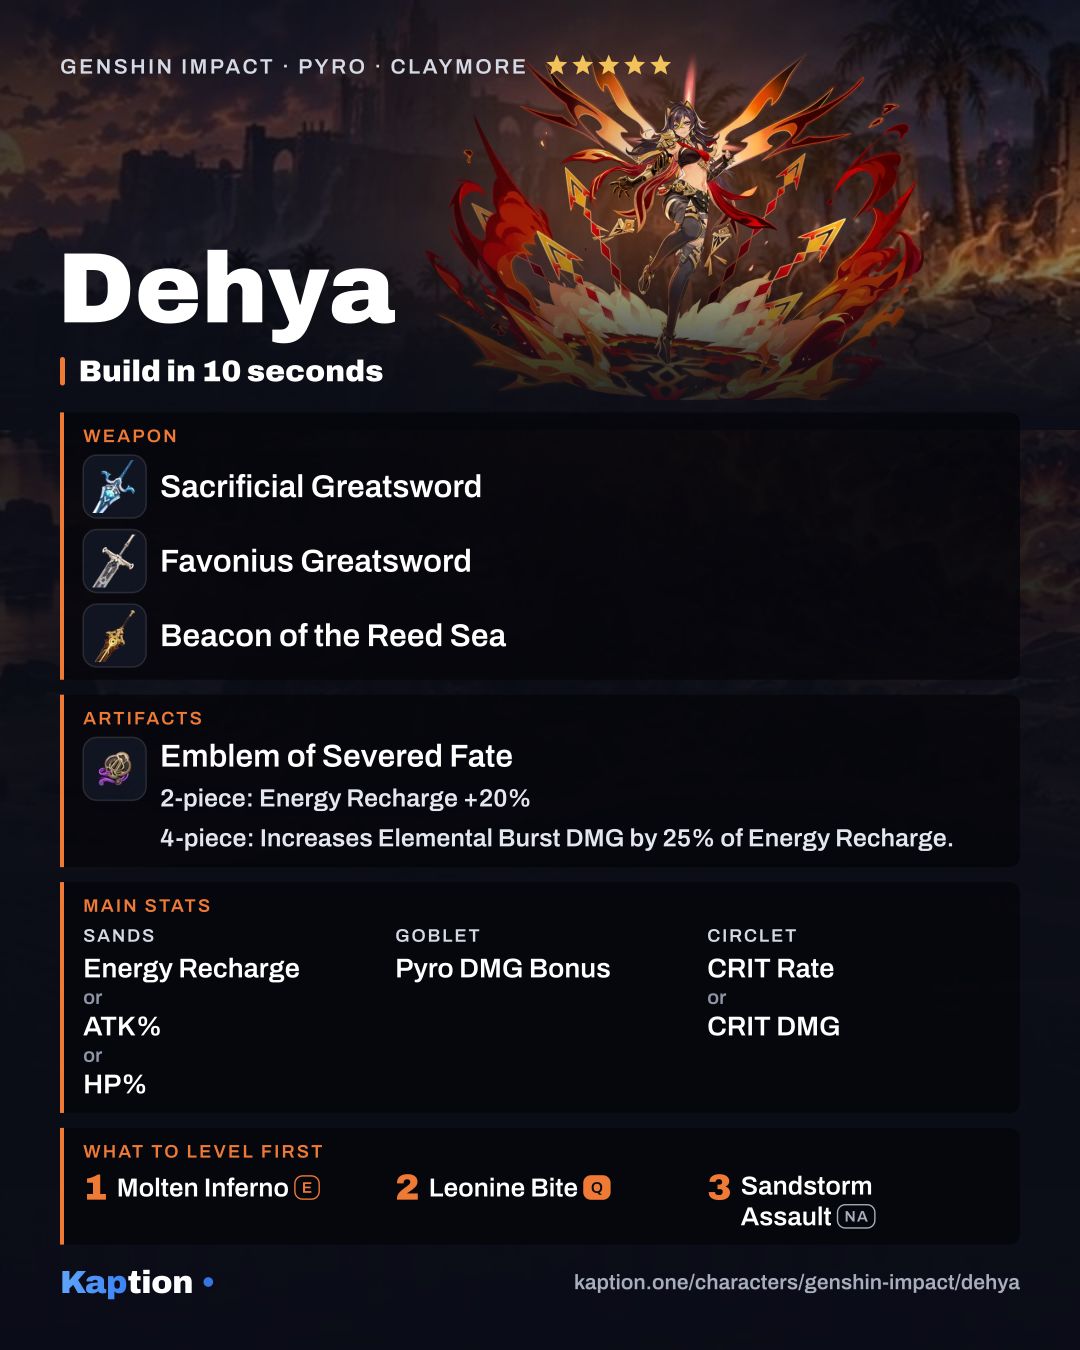
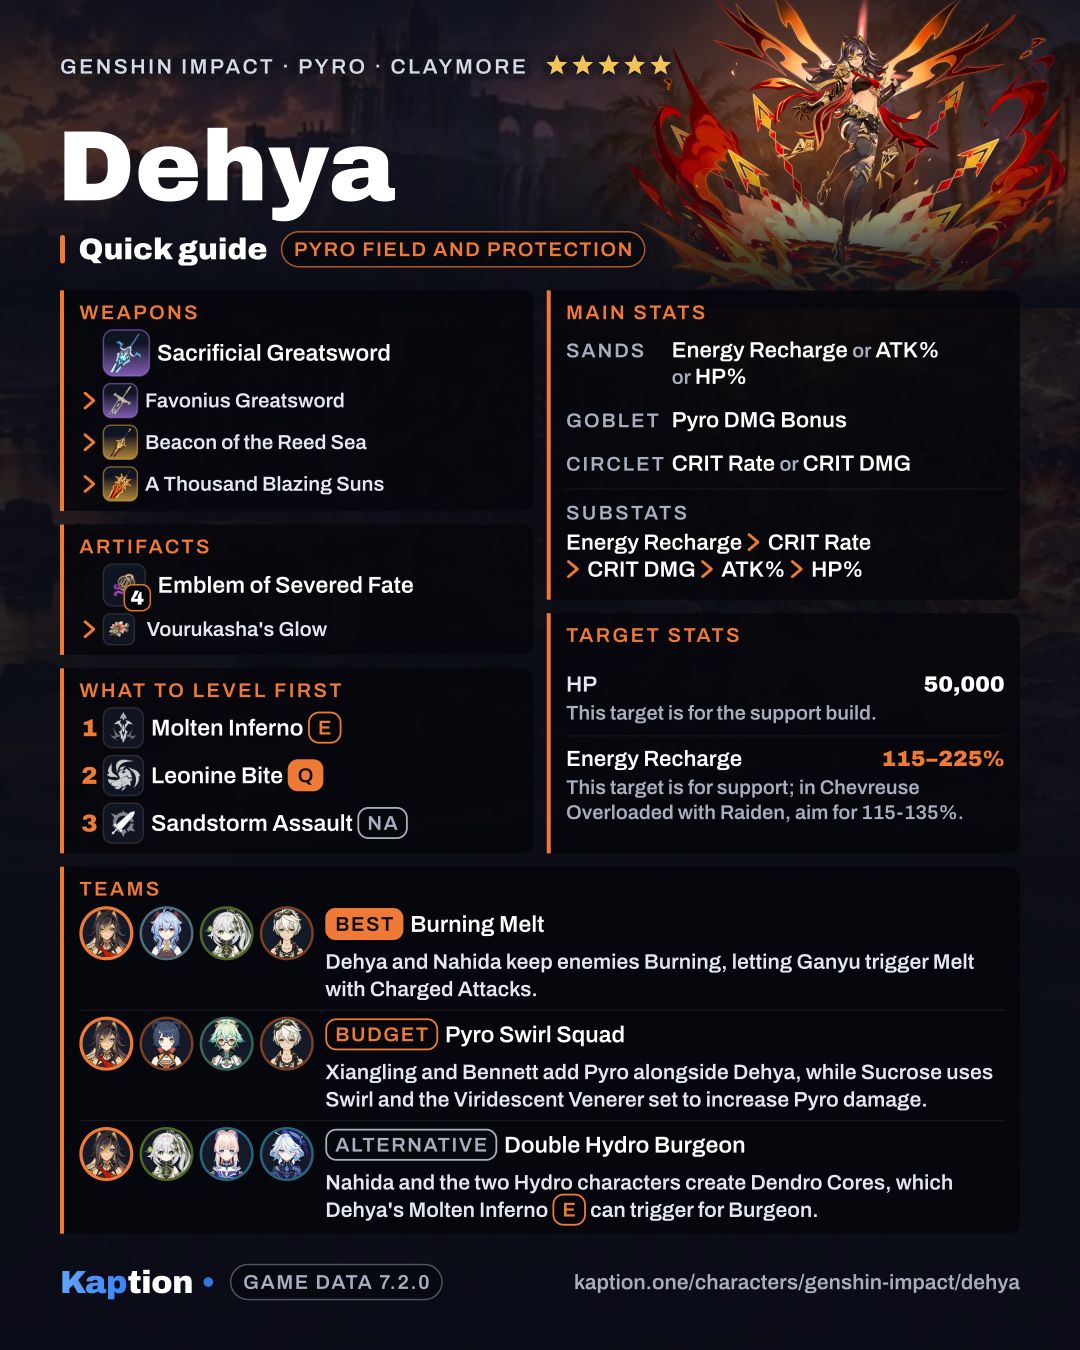
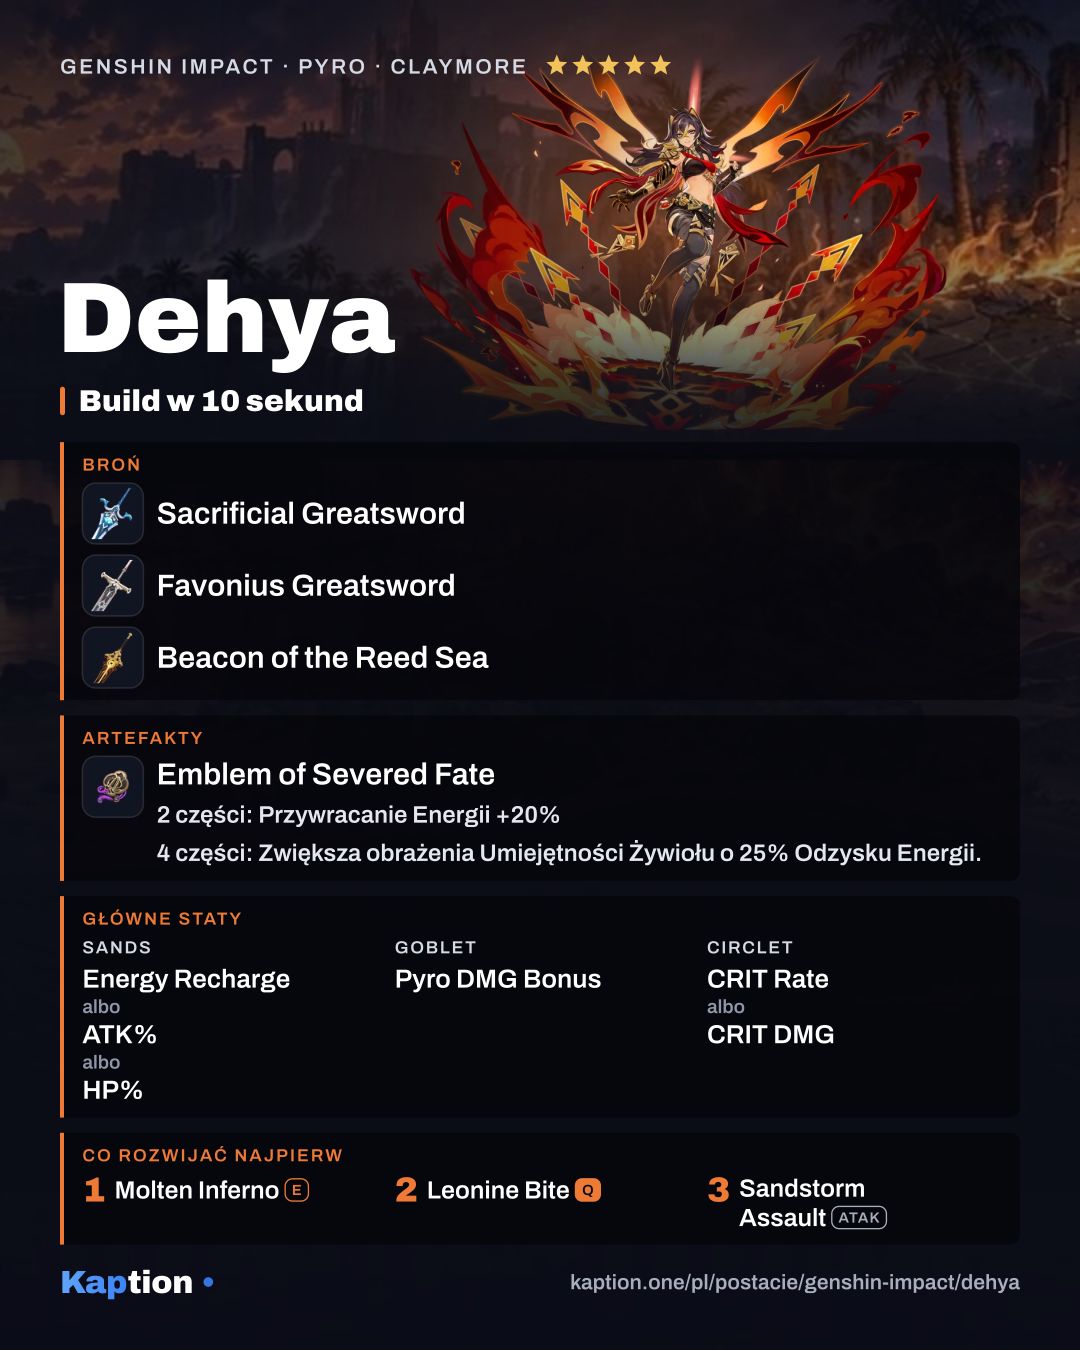
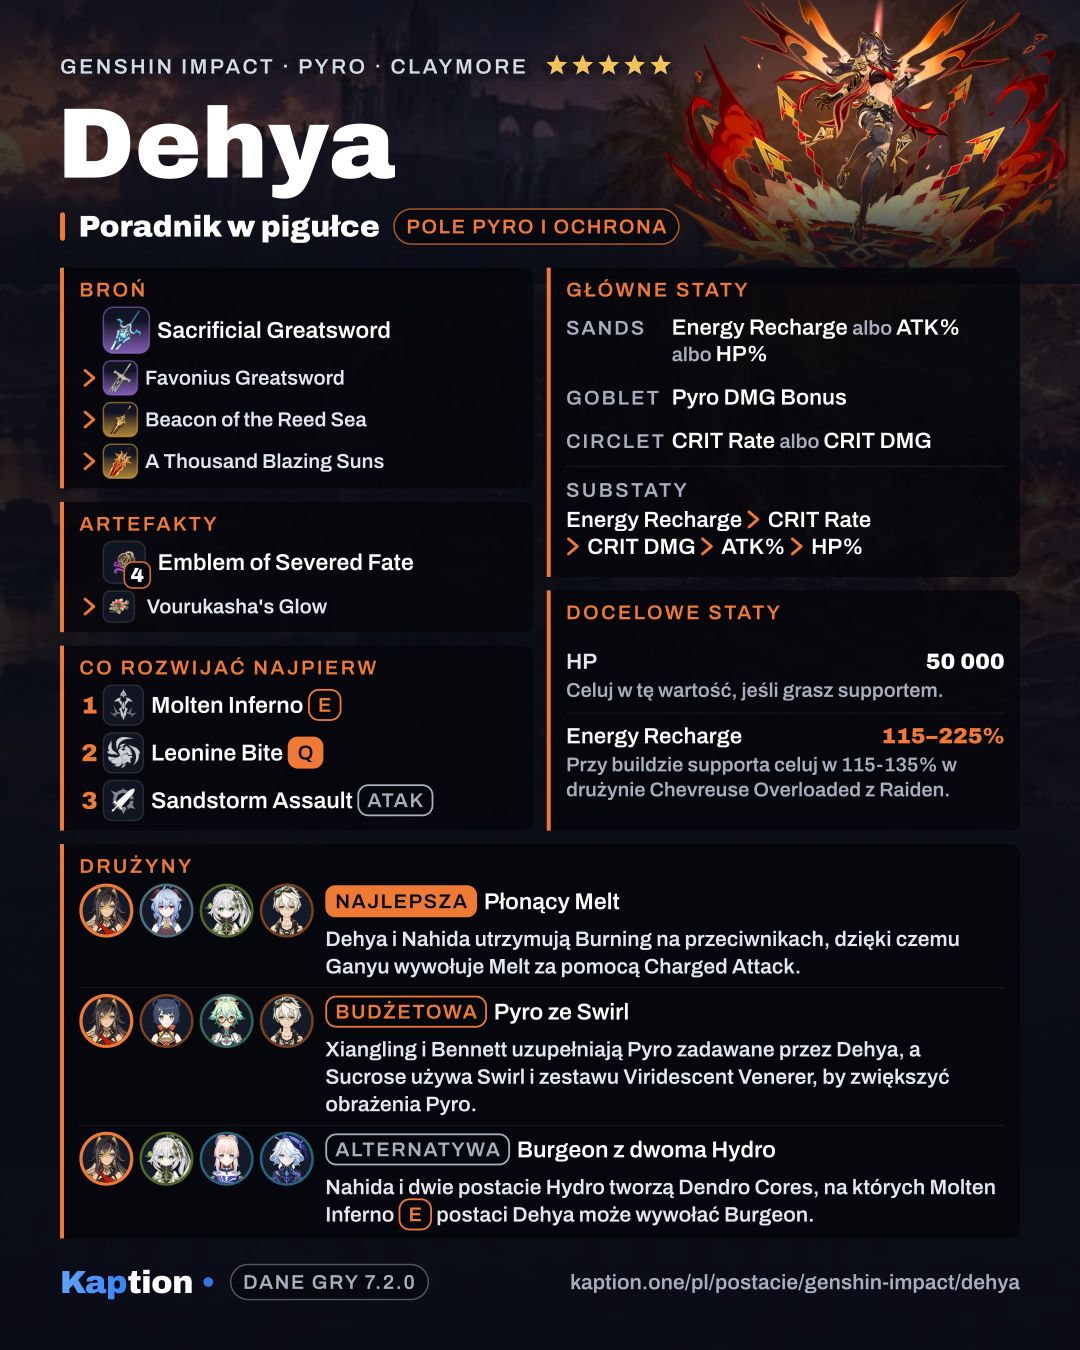
For Burst damage, consider four pieces of Emblem of Severed Fate. Its Energy Recharge helps with the Burst, and its four-piece effect converts 25% of that stat into Burst DMG Bonus, up to 75%. Vourukasha's Glow is another damage option: it raises HP and boosts Skill and Burst damage, with its bonus increasing when Dehya takes damage, even off field.
On a damage build, use Energy Recharge, ATK Percentage or HP Percentage on the sands, Pyro DMG Bonus on the goblet, and CRIT Rate or CRIT DMG on the circlet. For substats, look for Energy Recharge first, followed by CRIT Rate, CRIT DMG, ATK Percentage and HP Percentage.
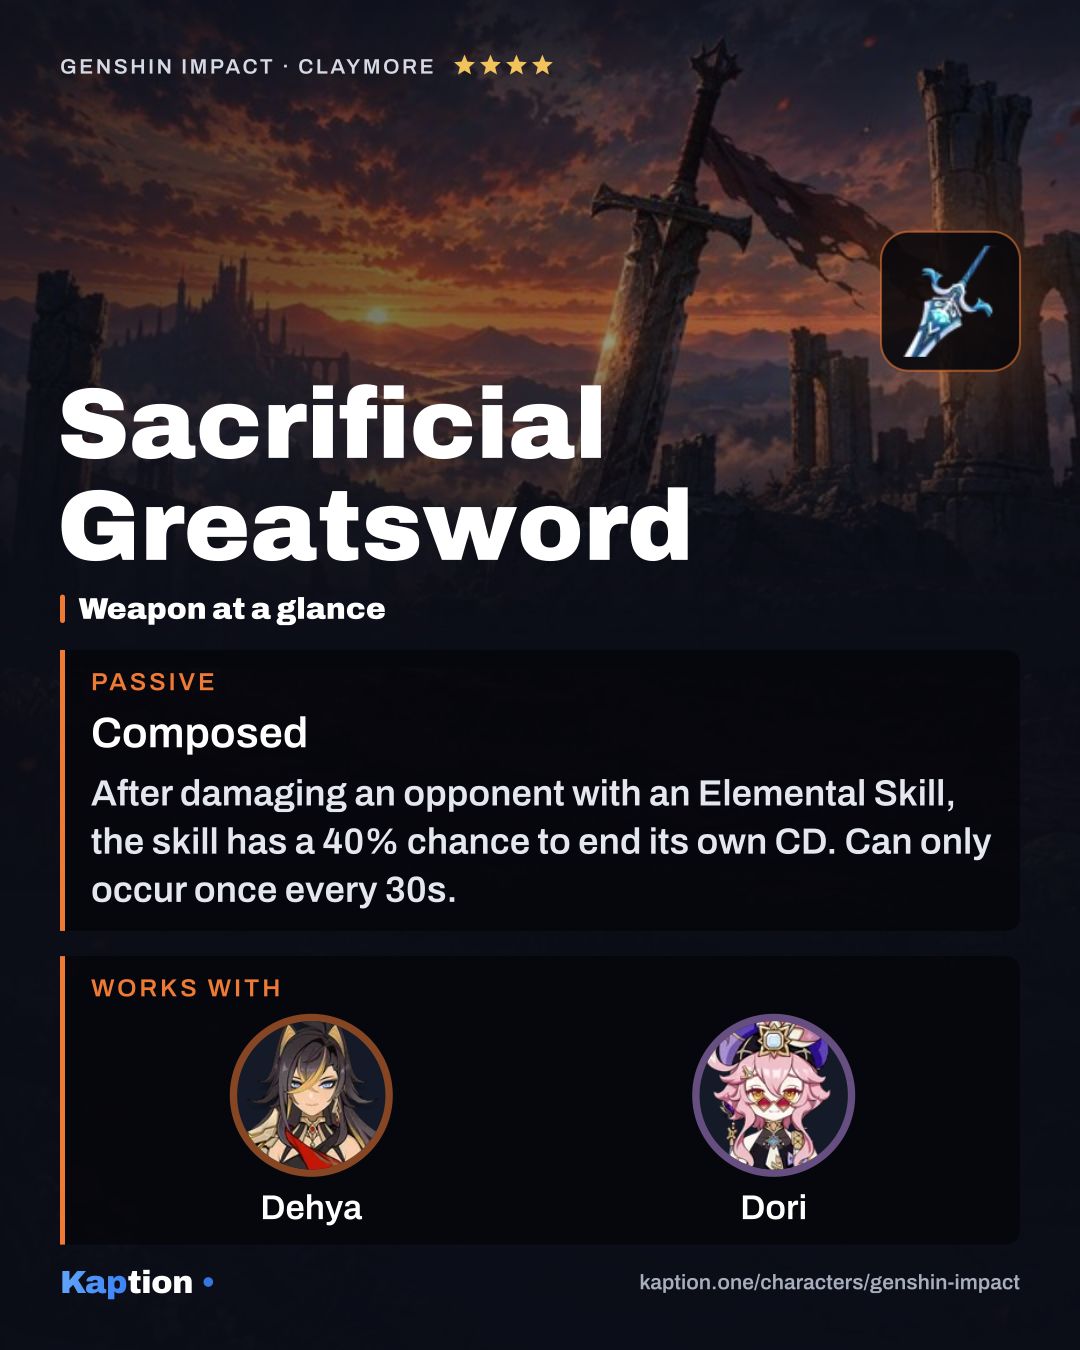
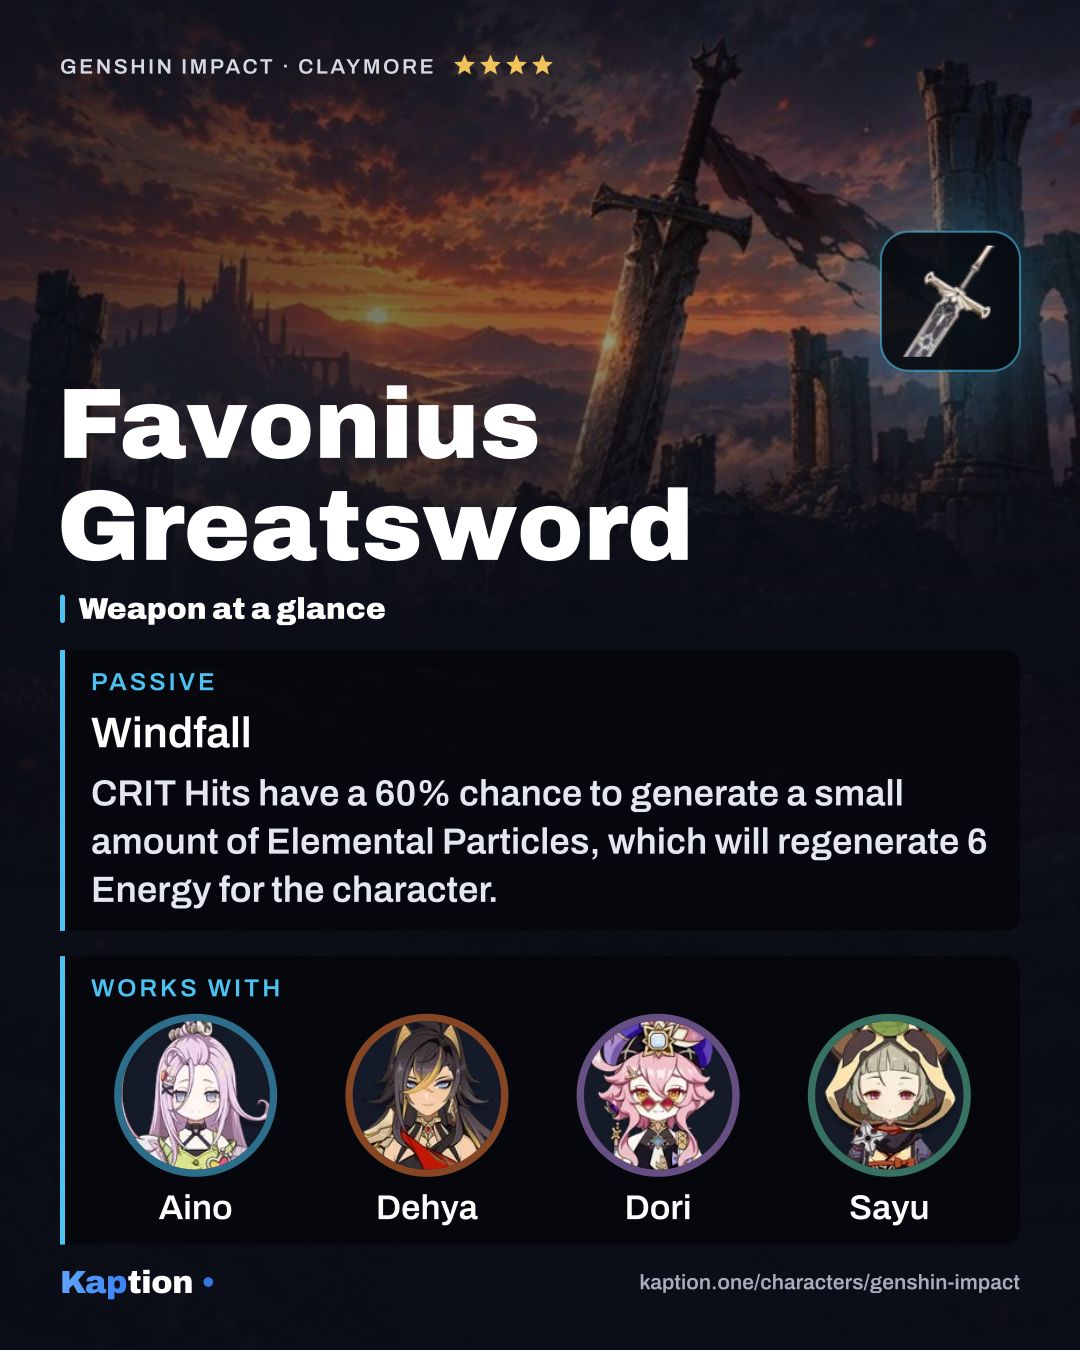
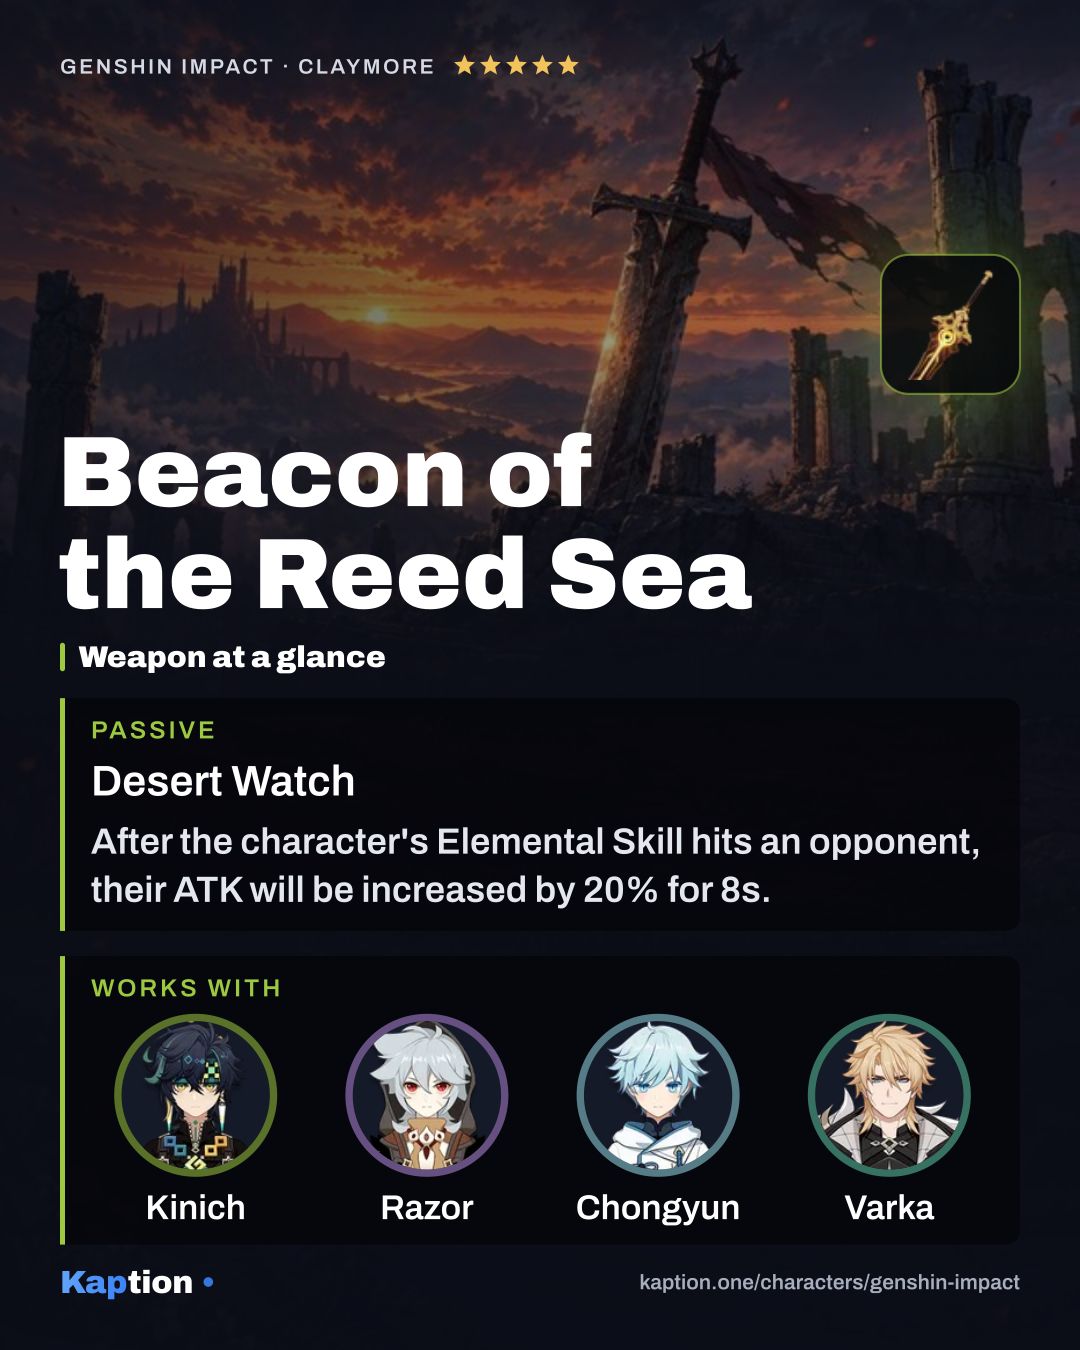
For field support, Sacrificial Greatsword has a 40% chance to reset the Skill's cooldown after it deals damage, once every 30 seconds. Favonius Greatsword is another option: CRIT Hits have a 60% chance to generate particles, once every 12 seconds, so give Dehya some CRIT Rate. For damage, Beacon of the Reed Sea gives ATK after Skill hits and after taking damage, plus Max HP when she has no shield.
Leveling priority
For a field-support build, level Molten Inferno first: its coordinated attacks are the part of the kit your team uses while Dehya is off field. Level Leonine Bite next if you use her Burst. For a build centered on Burst damage, it is reasonable to reverse those two priorities.
Leave Sandstorm Assault (NA) until last. The Burst uses its own automatic attacks instead of normal attacks, so raising the normal attack talent does not improve those punches.
For ascension, you need Mora, Sand Grease Pupa, Light Guiding Tetrahedron and the Agnidus Agate materials: Sliver, Fragment, Chunk and Gemstone. You also need Faded Red Satin, Trimmed Red Silk and Rich Red Brocade.
The talent upgrades use Mora, Teachings of Praxis, Guide to Praxis, Philosophies of Praxis, the same three red materials, Puppet Strings and Crown of Insight. Raising all three talents to their maximum uses three Crowns of Insight.
Constellations worth it
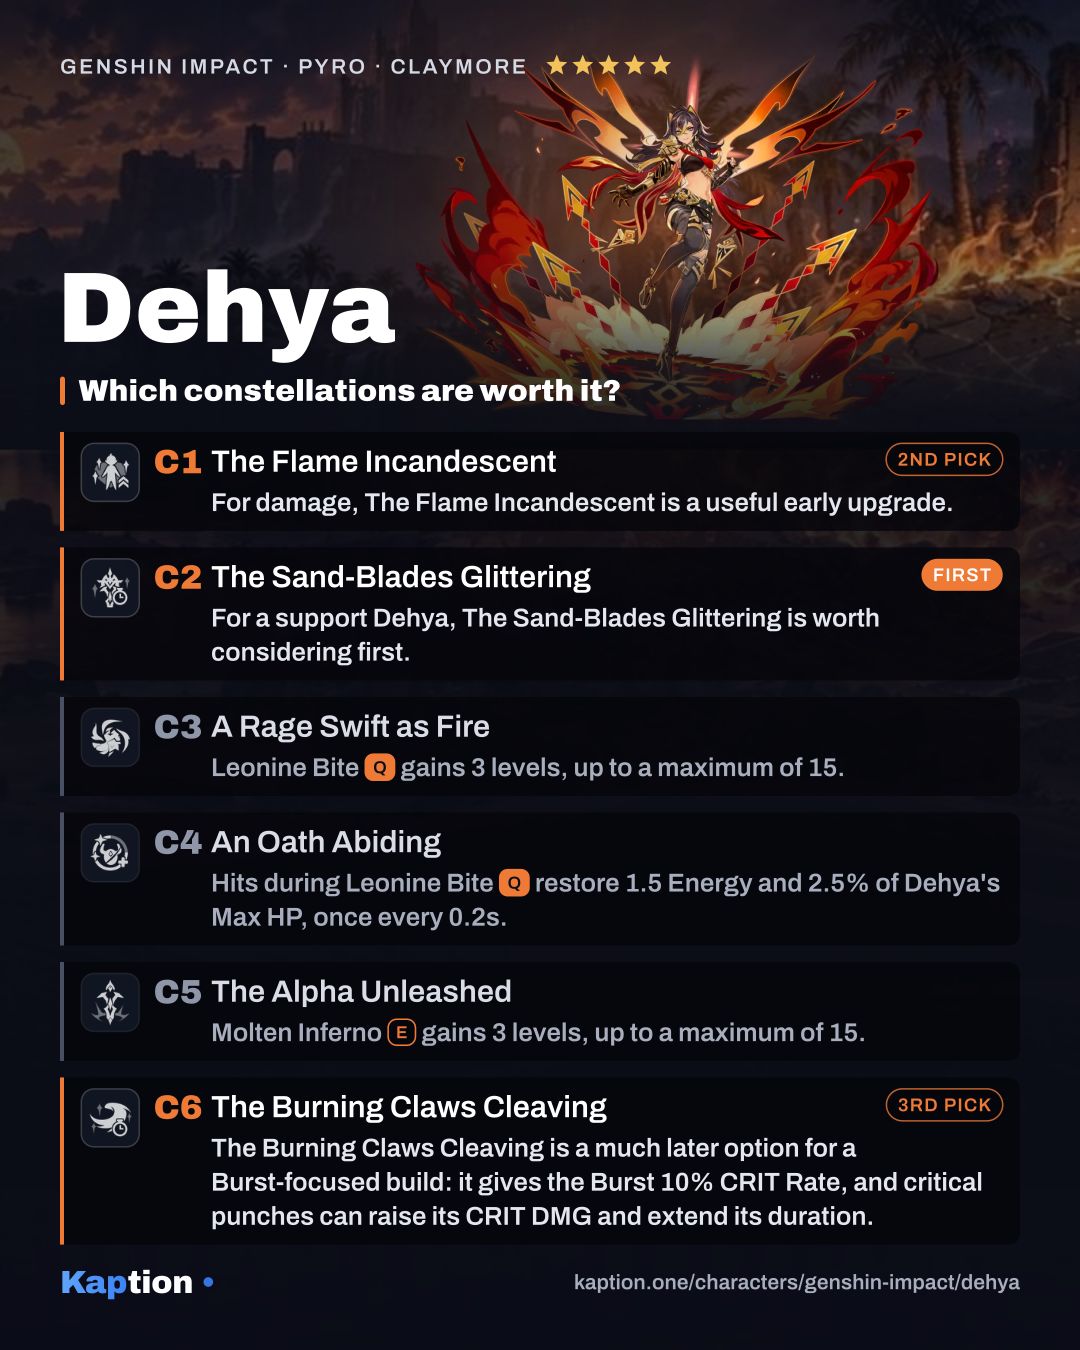
For a support Dehya, The Sand-Blades Glittering is worth considering first. Ranging Flame adds 6 seconds to the recreated field's duration. While the field exists, an attack on the active character inside it also raises the damage of its next coordinated attack by 50%.
For damage, The Flame Incandescent is a useful early upgrade. It adds 20% Max HP and gives both Molten Inferno and Leonine Bite extra damage based on that HP. The Burning Claws Cleaving is a much later option for a Burst-focused build: it gives the Burst 10% CRIT Rate, and critical punches can raise its CRIT DMG and extend its duration.
You can stop before those later upgrades if the base kit does what you need. A Rage Swift as Fire and The Alpha Unleashed add talent levels, while An Oath Abiding restores Dehya's Energy and HP when Burst attacks hit. Consider them mainly if you want those specific improvements.
Teams
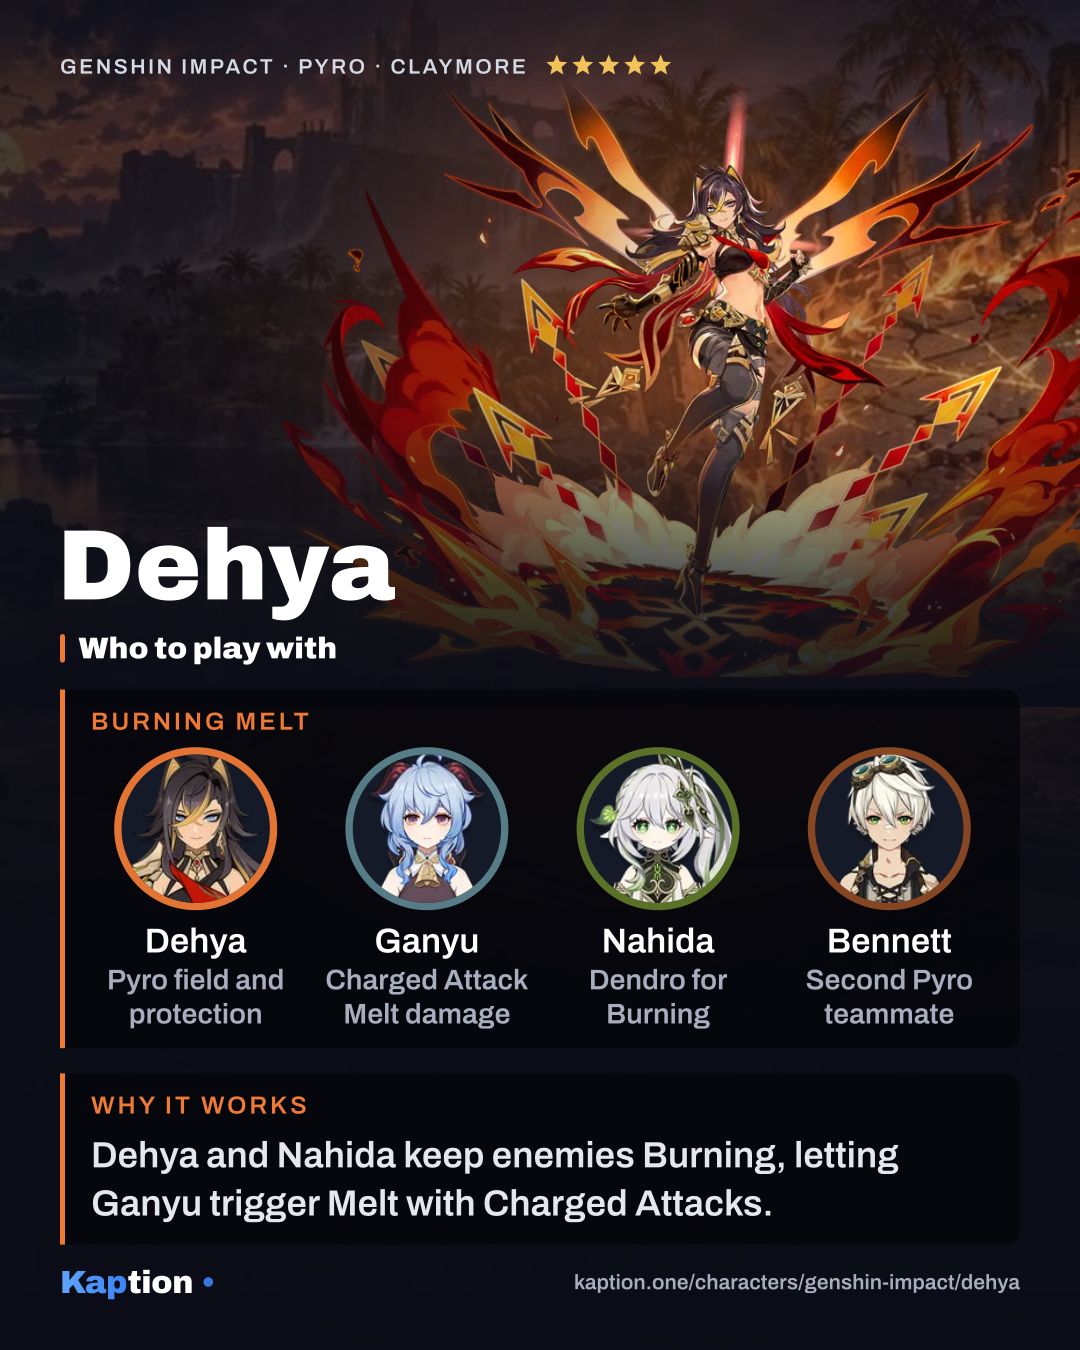
Pair Dehya with an on-field teammate who benefits from resistance to interruption and can fight inside Fiery Sanctum. Her field also supplies Pyro attacks while that teammate is active. Remember that its damage redirection has a limit based on Dehya's Max HP, and her own recovery does not heal the rest of the party.
Common mistakes
Do not expect the second use of Molten Inferno to refresh the field's full duration. Use it to move the field where the active character can stay inside it, and watch the remaining time. Even if Sacrificial Greatsword resets the cooldown, the recreated field still inherits the previous field's remaining duration.
Do not treat the field as complete protection. Damage still reaches the active character, and Dehya takes the redirected portion over 10 seconds. Bring healing when the team needs it, and do not rely on Dehya's self-heal to restore anyone else's HP.
During Leonine Bite, do not wait to use Roaring Barrage until the punches are over. Press it shortly after each punch to speed up the next. Also avoid building only for Normal Attack damage if the Burst is your focus: its punches are separate from Sandstorm Assault (NA).
Finally, match the artifact set to the job. Tenacity of the Millelith supports teammates through Skill hits, while Emblem of Severed Fate is aimed at Dehya's Burst damage. A damage build also needs enough Energy Recharge to make use of that Burst.