








































Guide
How the kit works
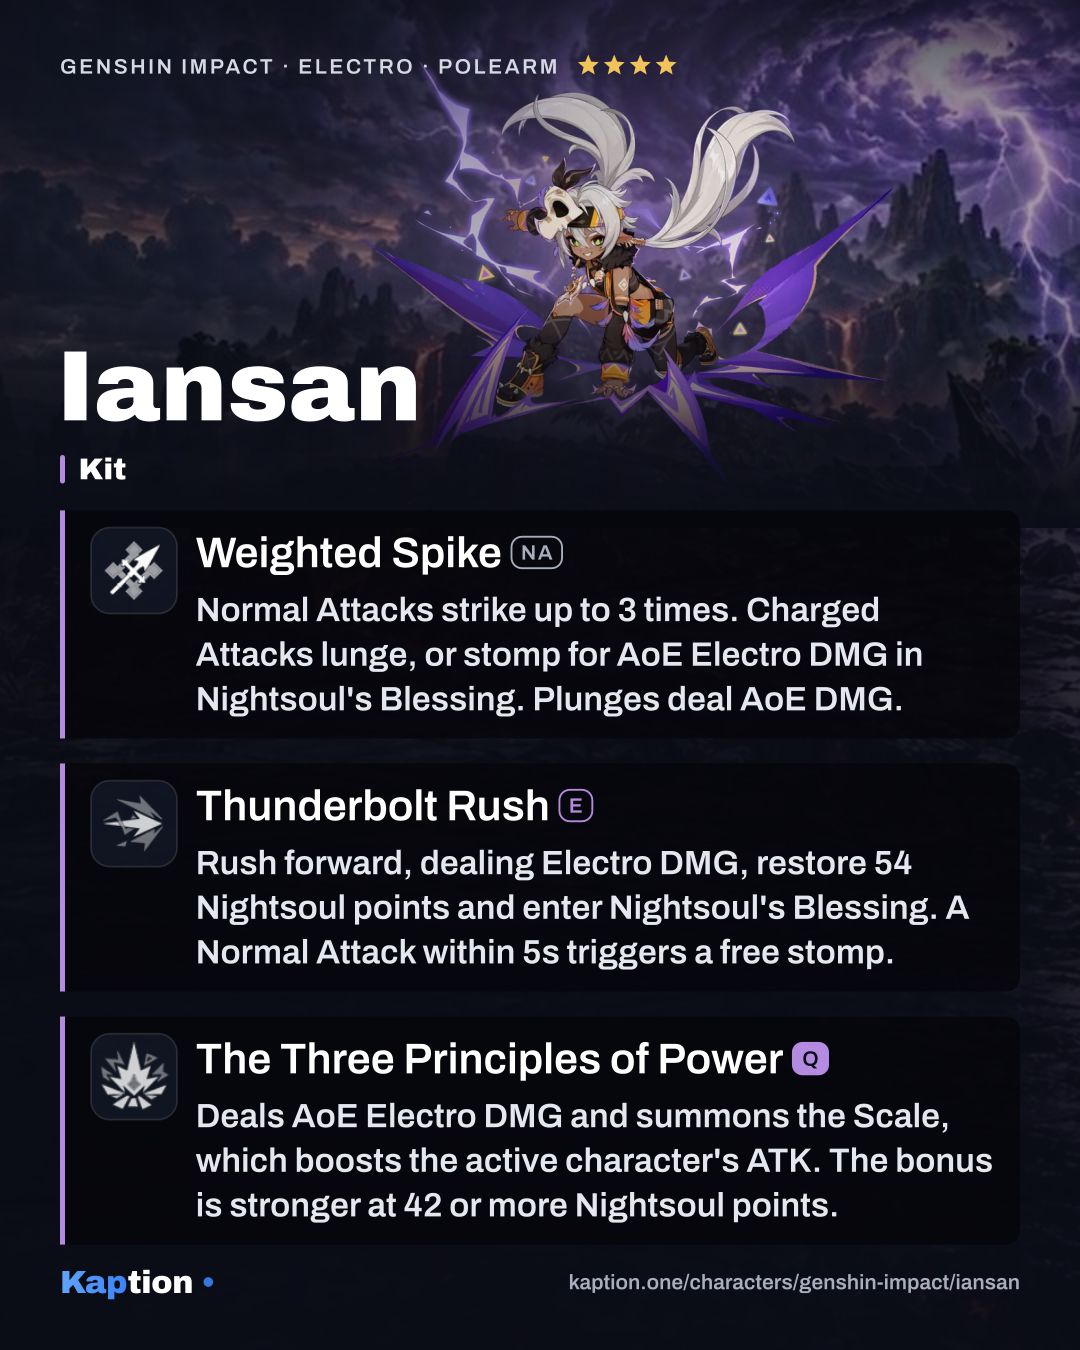
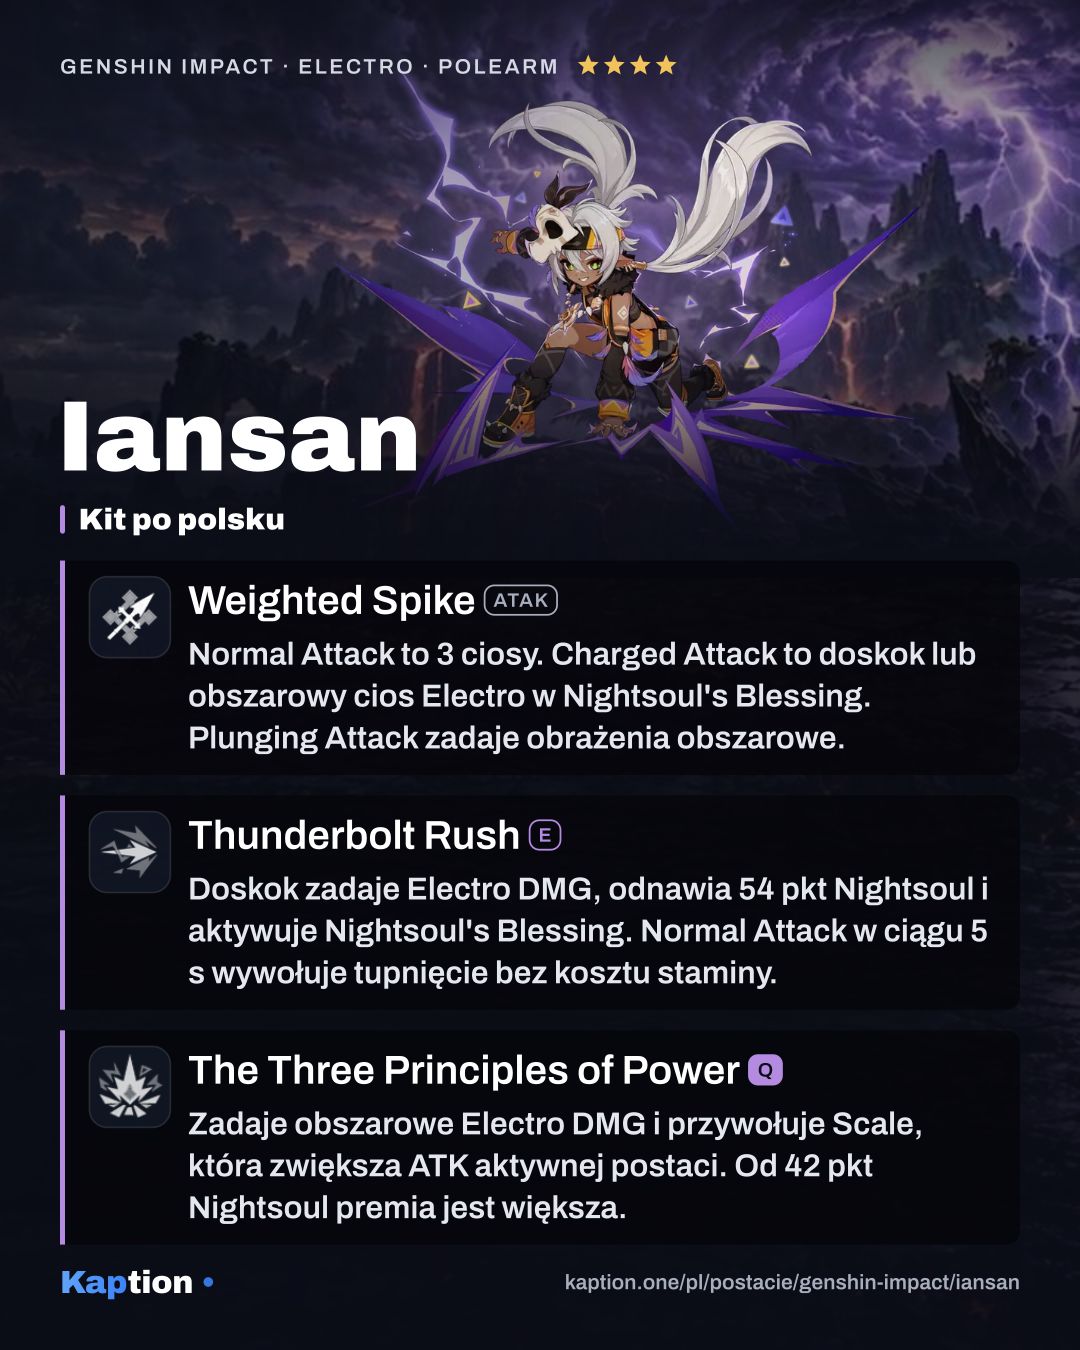
Start with Thunderbolt Rush. Iansan charges forward, deals Electro DMG, gains 54 Nightsoul points and enters Nightsoul’s Blessing. Within the next 5 seconds, use a Normal Attack to trigger a quick Swift Stormflight stomp without spending Stamina. The stomp needs to hit an opponent.
That hit activates Enhanced Resistance Training for 15 seconds: Iansan gains 20% ATK and an extra Nightsoul point when the Scale restores points. If the active character consumes or restores Nightsoul points, the extra points on the next Scale restoration rise to 4. This increase can occur once every 2.8 seconds.
Use The Three Principles of Power to deal AoE Electro DMG, gain 15 Nightsoul points and bring out the Scale. Below 42 points, its ATK bonus depends on both Iansan’s points and ATK. At 42 or more, the stronger bonus depends on her ATK alone. Switch to your damage dealer and move: the Scale checks how far that character moved and restores points each second accordingly.
A nearby party member’s Nightsoul Burst activates Kinetic Energy Gradient Test for 10 seconds. During that time, restoring at least 1 Nightsoul point heals the active character for 60% of Iansan’s ATK, up to once every 2.8 seconds. The Scale leaves when Nightsoul’s Blessing ends; using the Skill again also ends that state.
Build and why
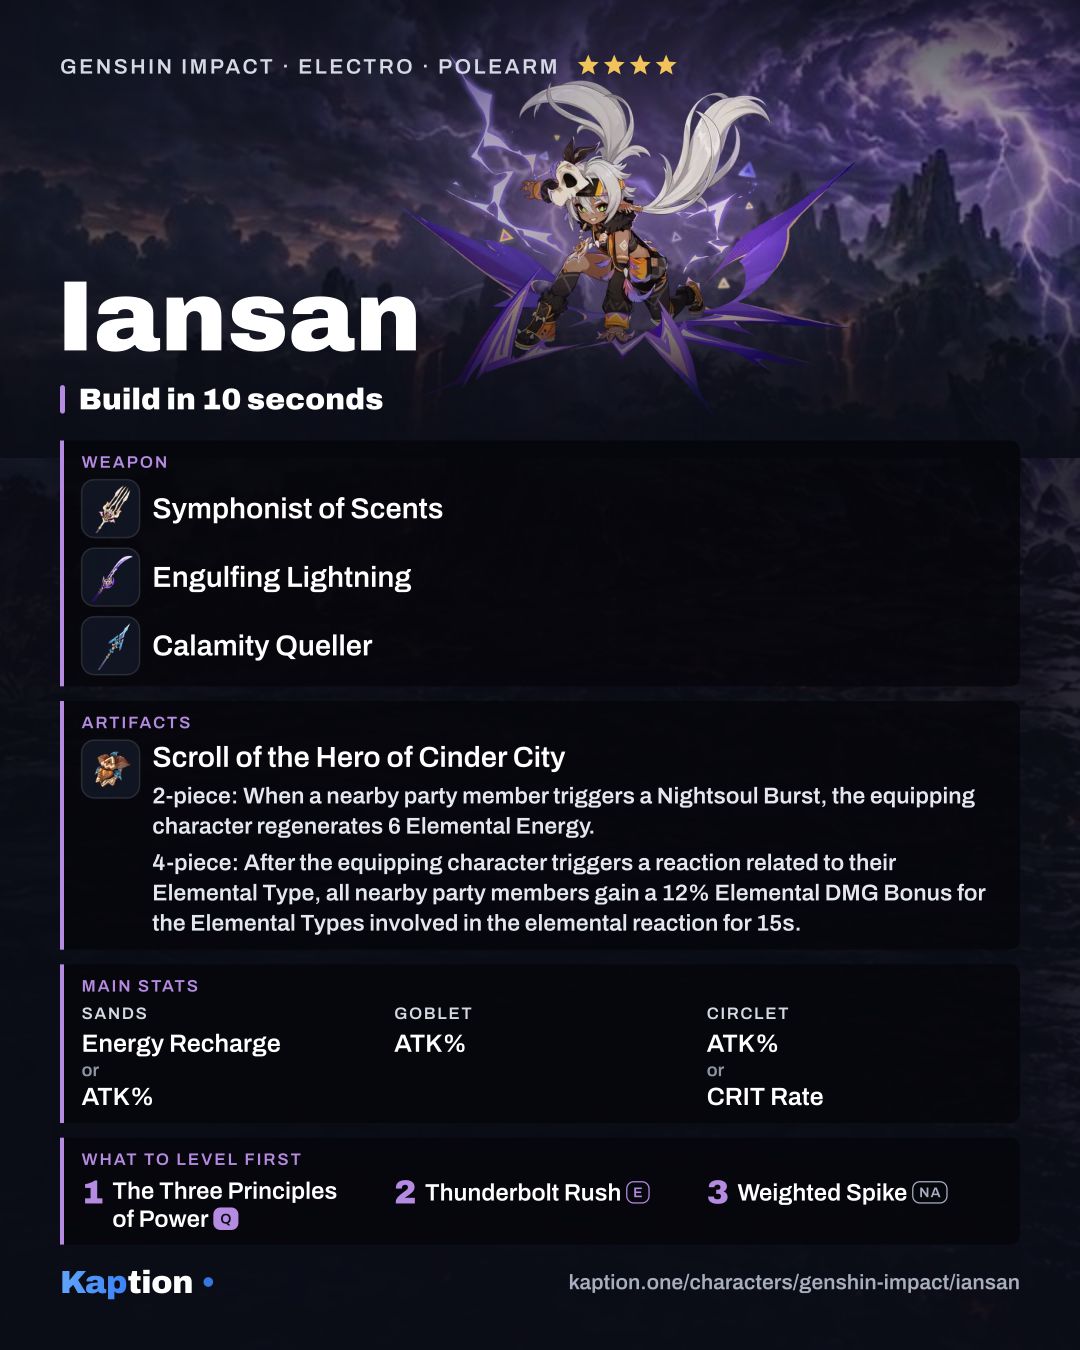
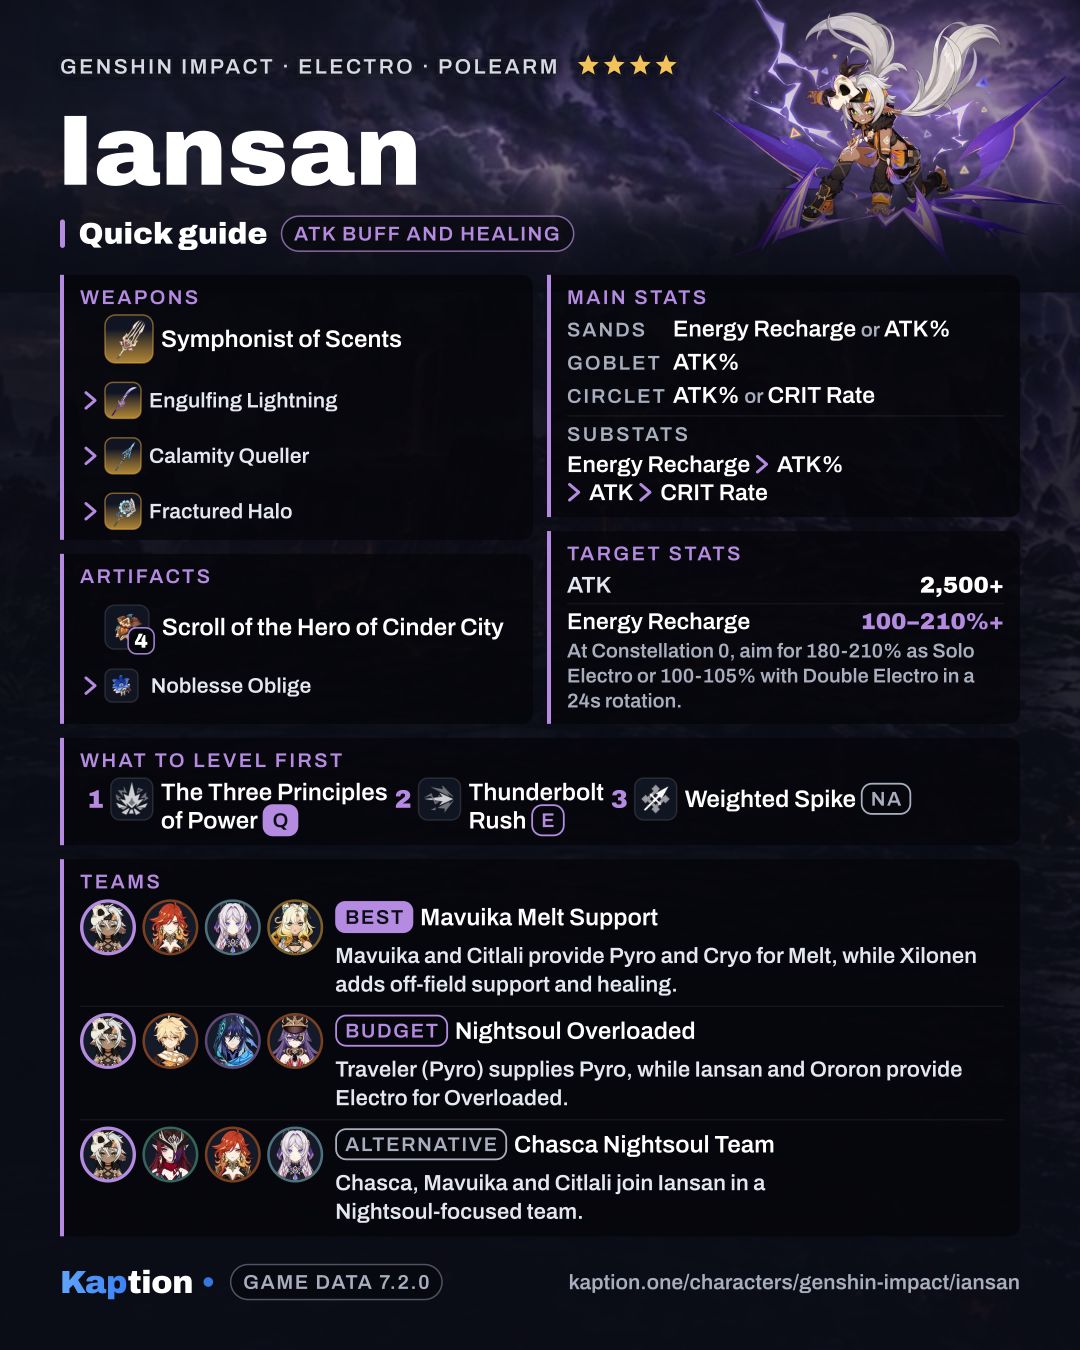
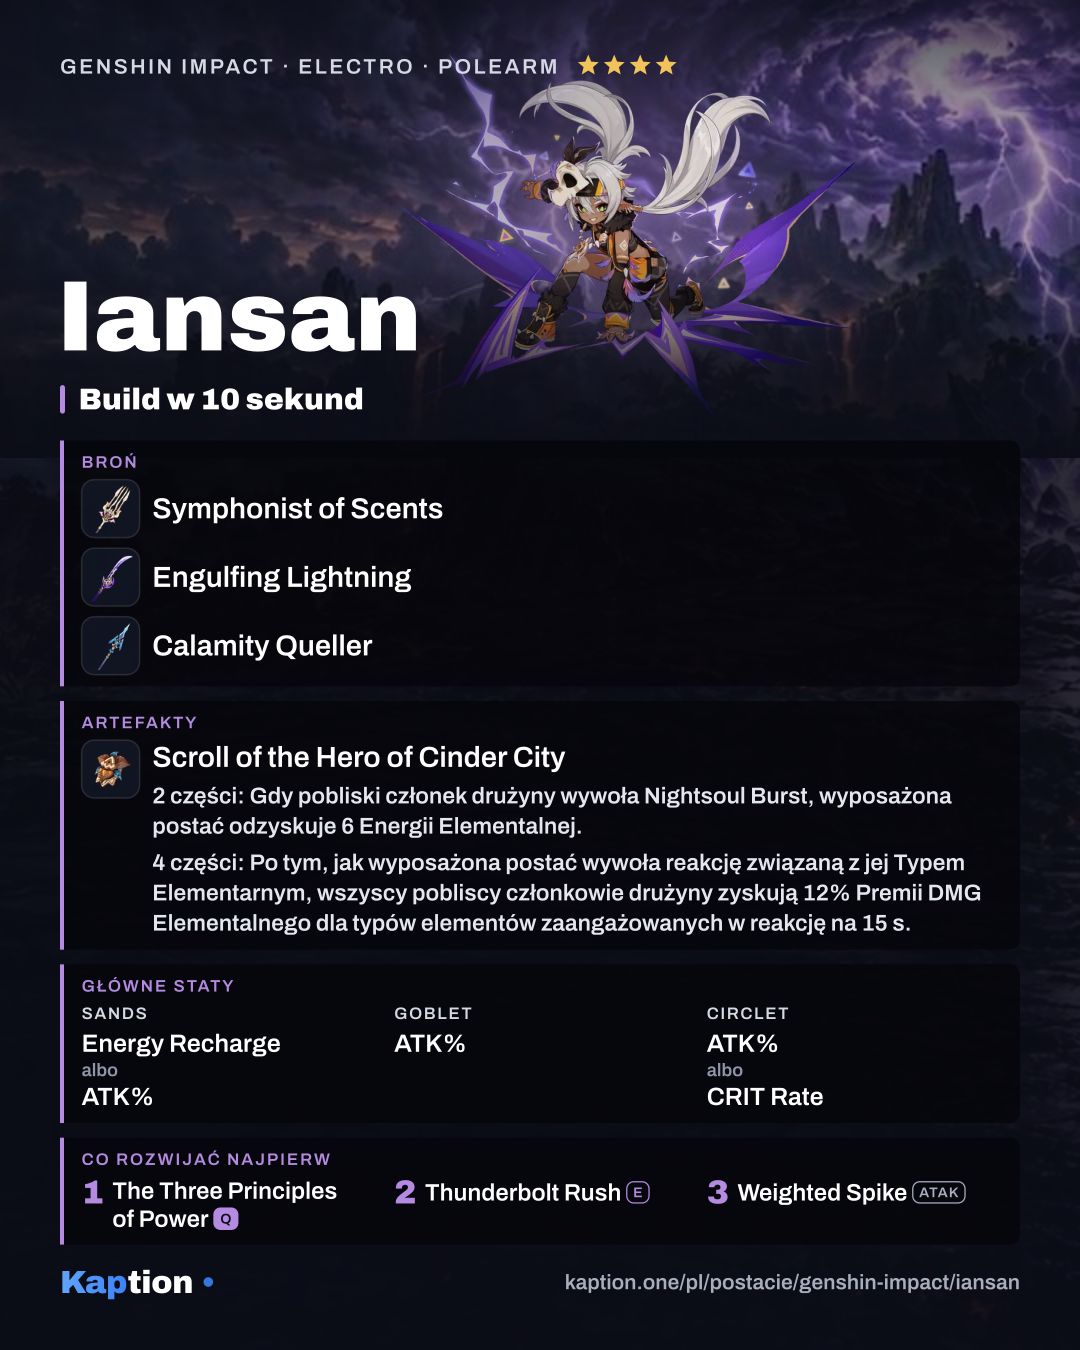
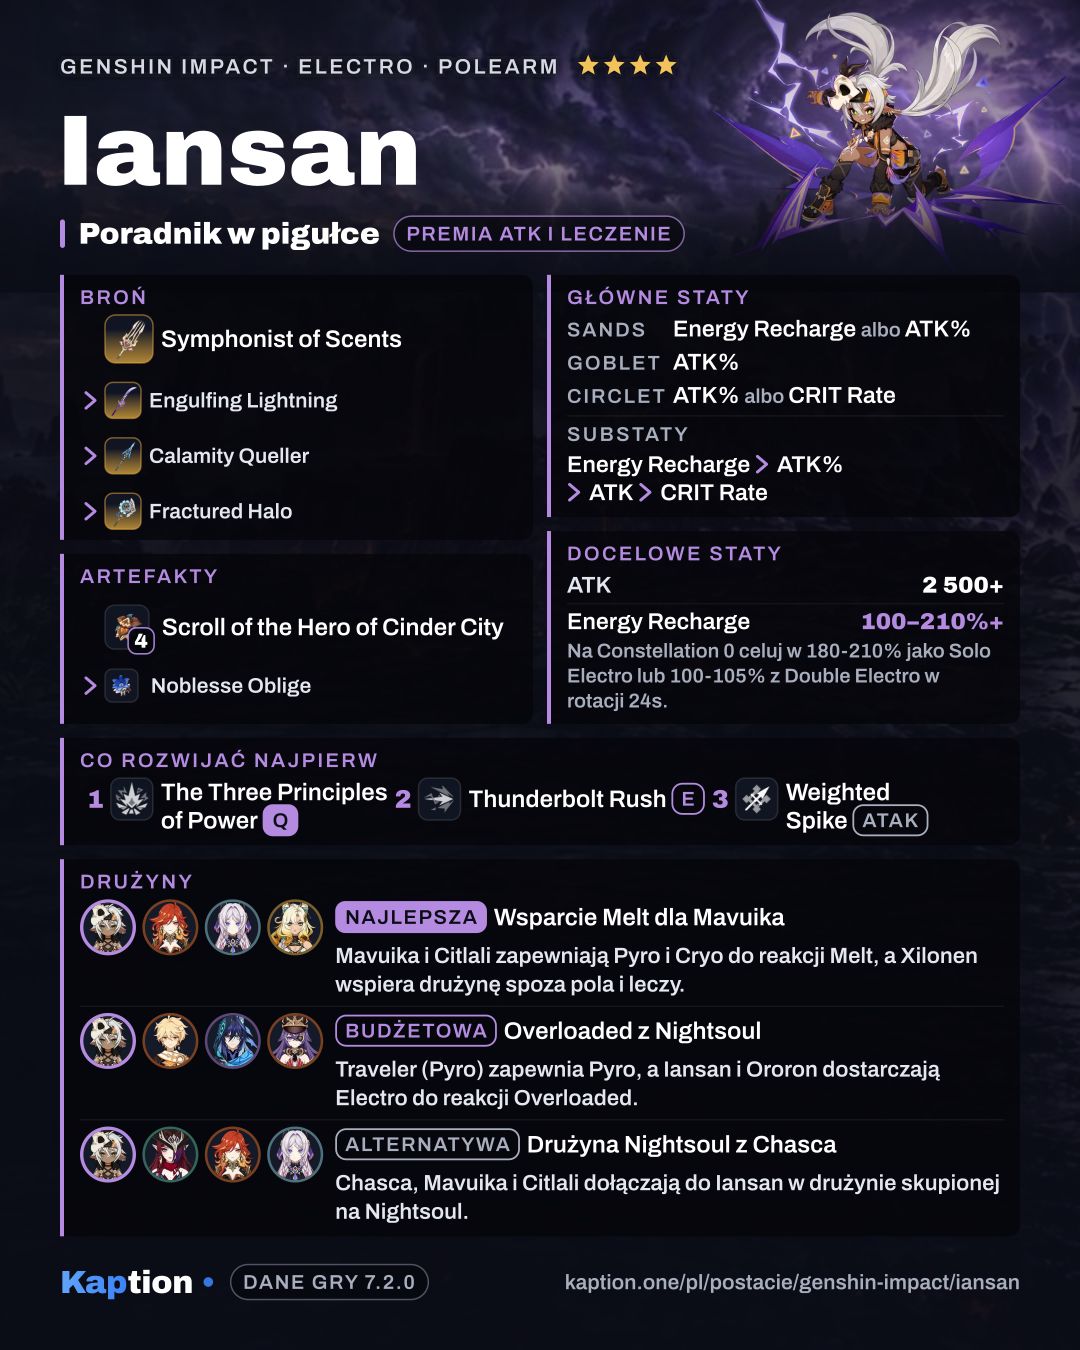
Use four pieces of Scroll of the Hero of Cinder City. After Iansan triggers an Electro-related reaction, the set gives nearby party members a 12% Elemental DMG Bonus for the elements involved for 15 seconds. If she is in Nightsoul’s Blessing, it adds 28% for 20 seconds. Its two-piece effect also restores 6 Energy when a nearby party member triggers a Nightsoul Burst. Bonuses from copies of the same set do not stack.
Four pieces of Noblesse Oblige are an alternative: using the Burst gives the party 20% ATK for 12 seconds. For a Lunar Reaction team, consider Silken Moon’s Serenade, which grants party Elemental Mastery according to the party’s Moonsign. A two-piece mix of Gladiator’s Finale and Emblem of Severed Fate gives ATK and Energy Recharge.
Choose Energy Recharge or ATK Percentage on the sands, ATK Percentage on the goblet, and ATK Percentage or CRIT Rate on the circlet. For substats, look for Energy Recharge first, followed by ATK Percentage, ATK and CRIT Rate. ATK supports the Scale and healing; Energy Recharge helps you use the Burst regularly. CRIT Rate is useful for triggering Favonius Lance.
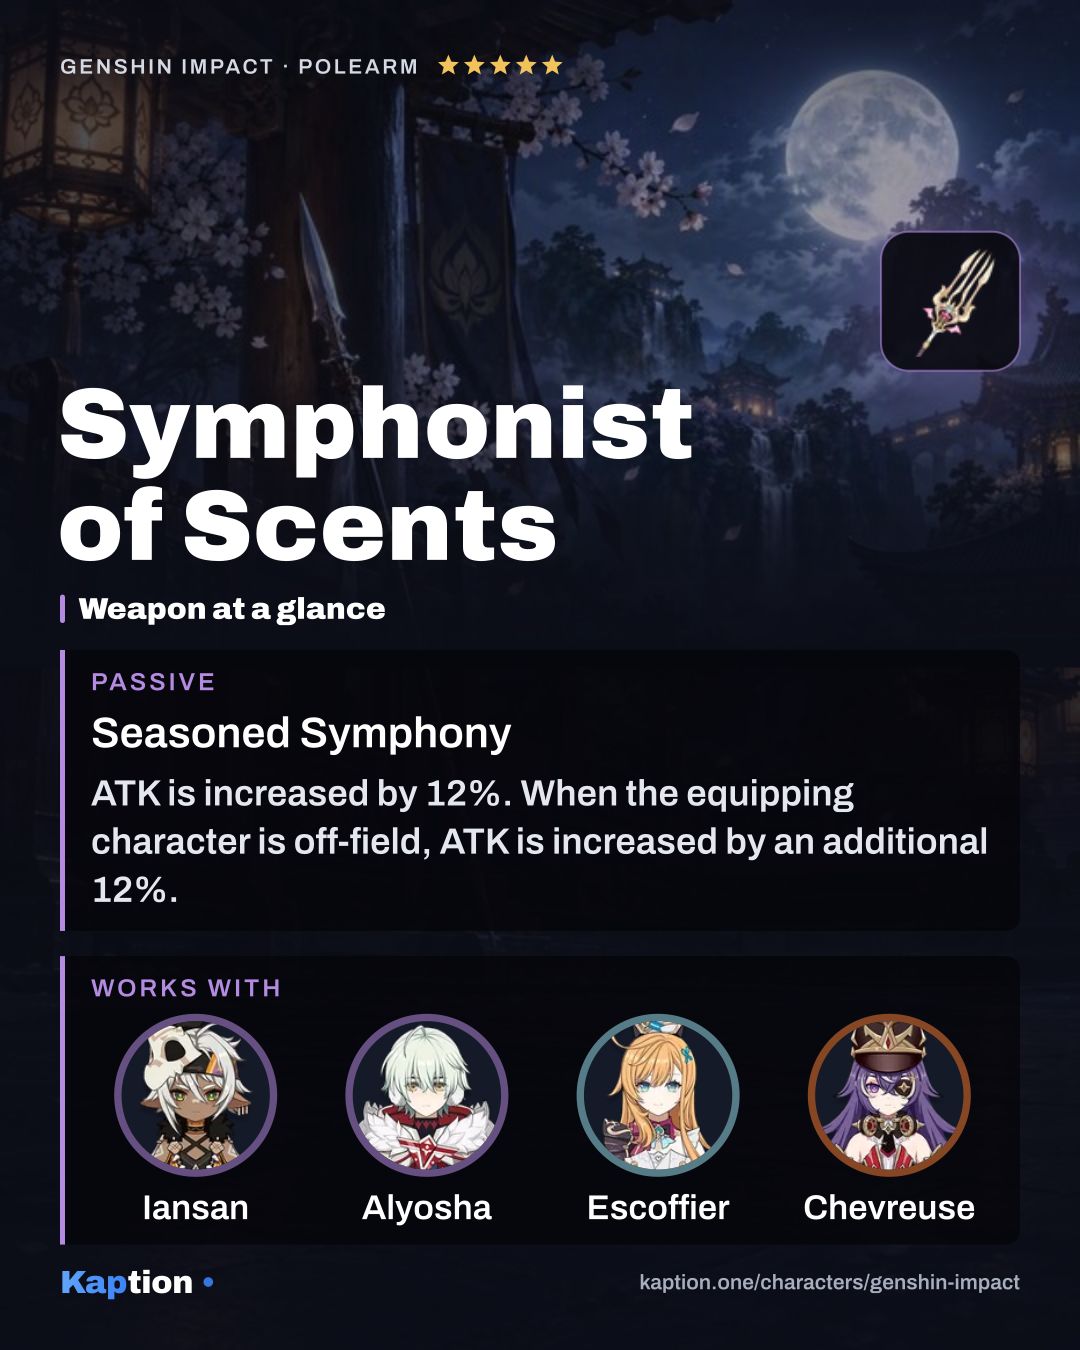
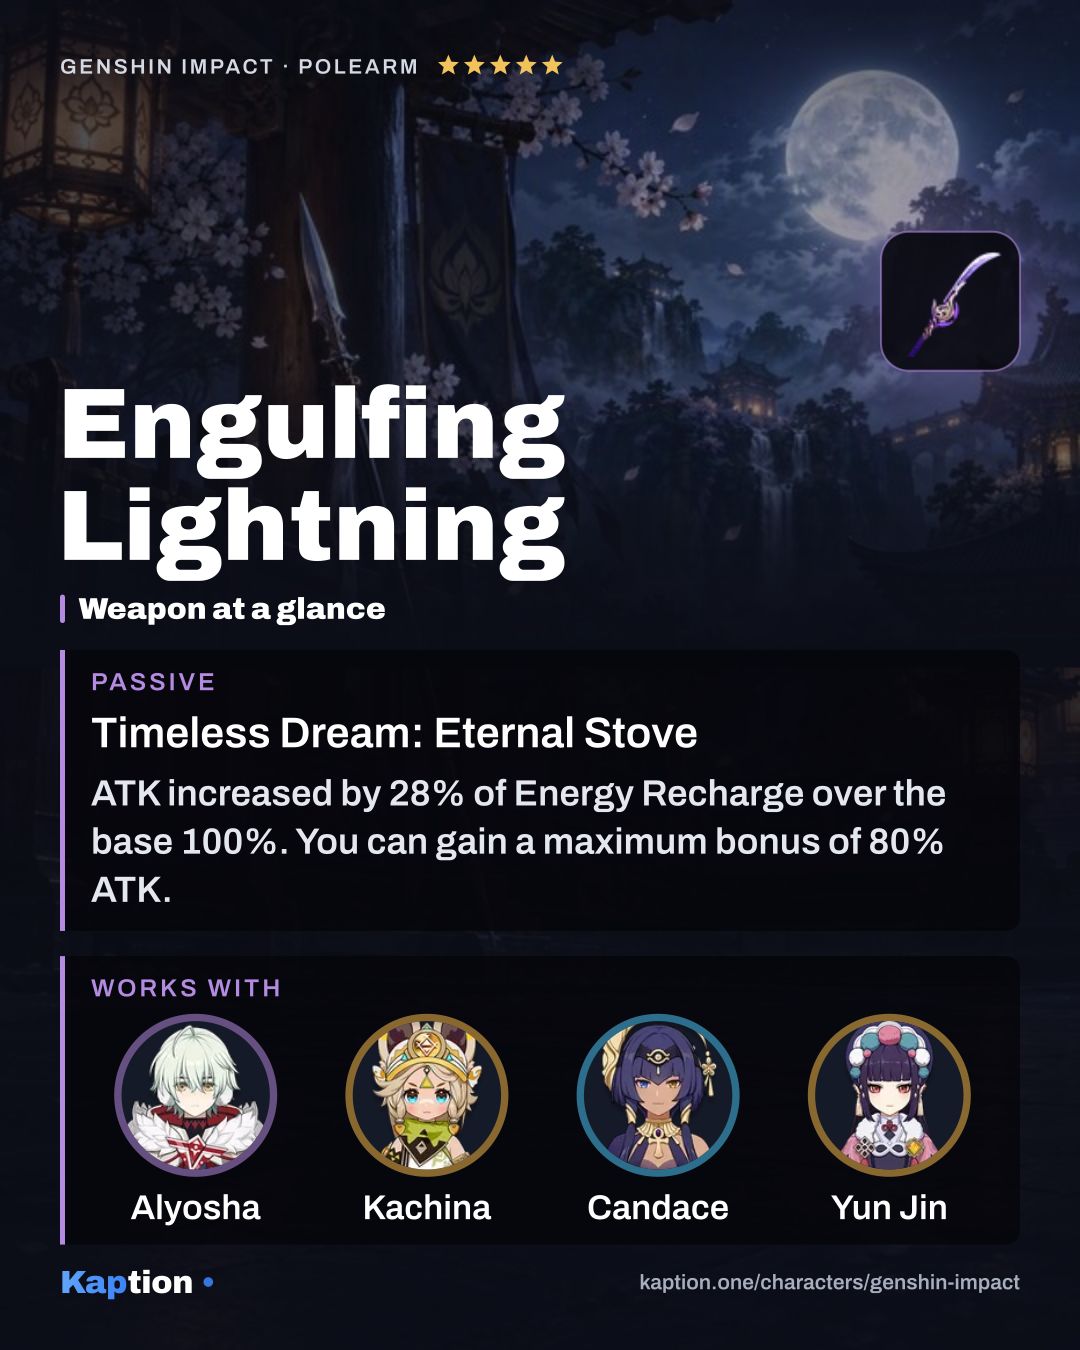
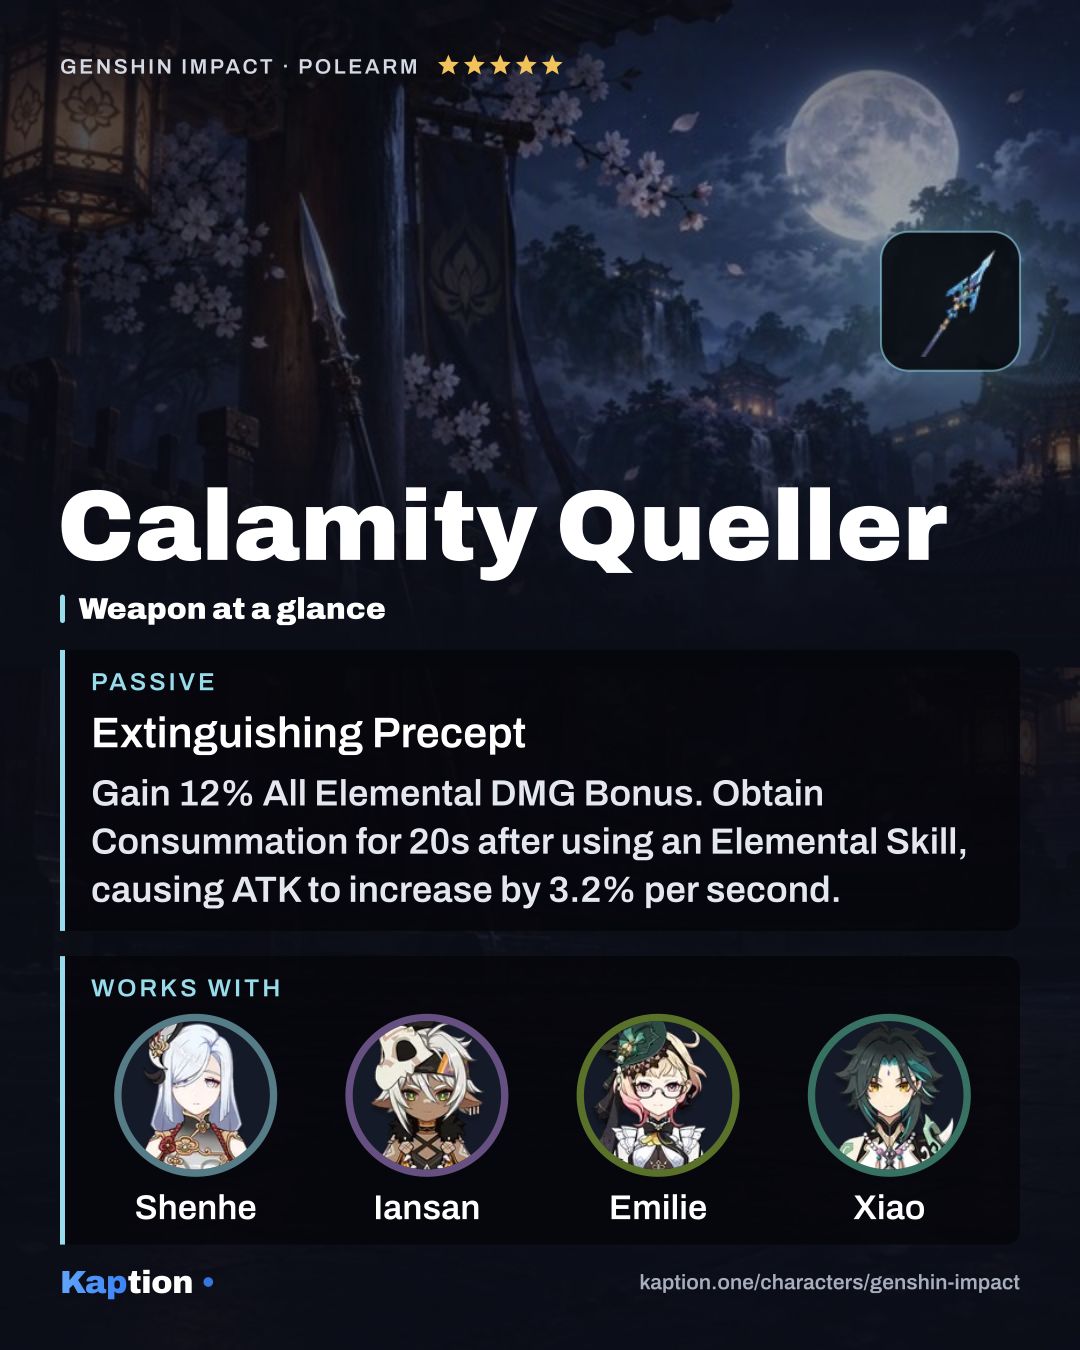
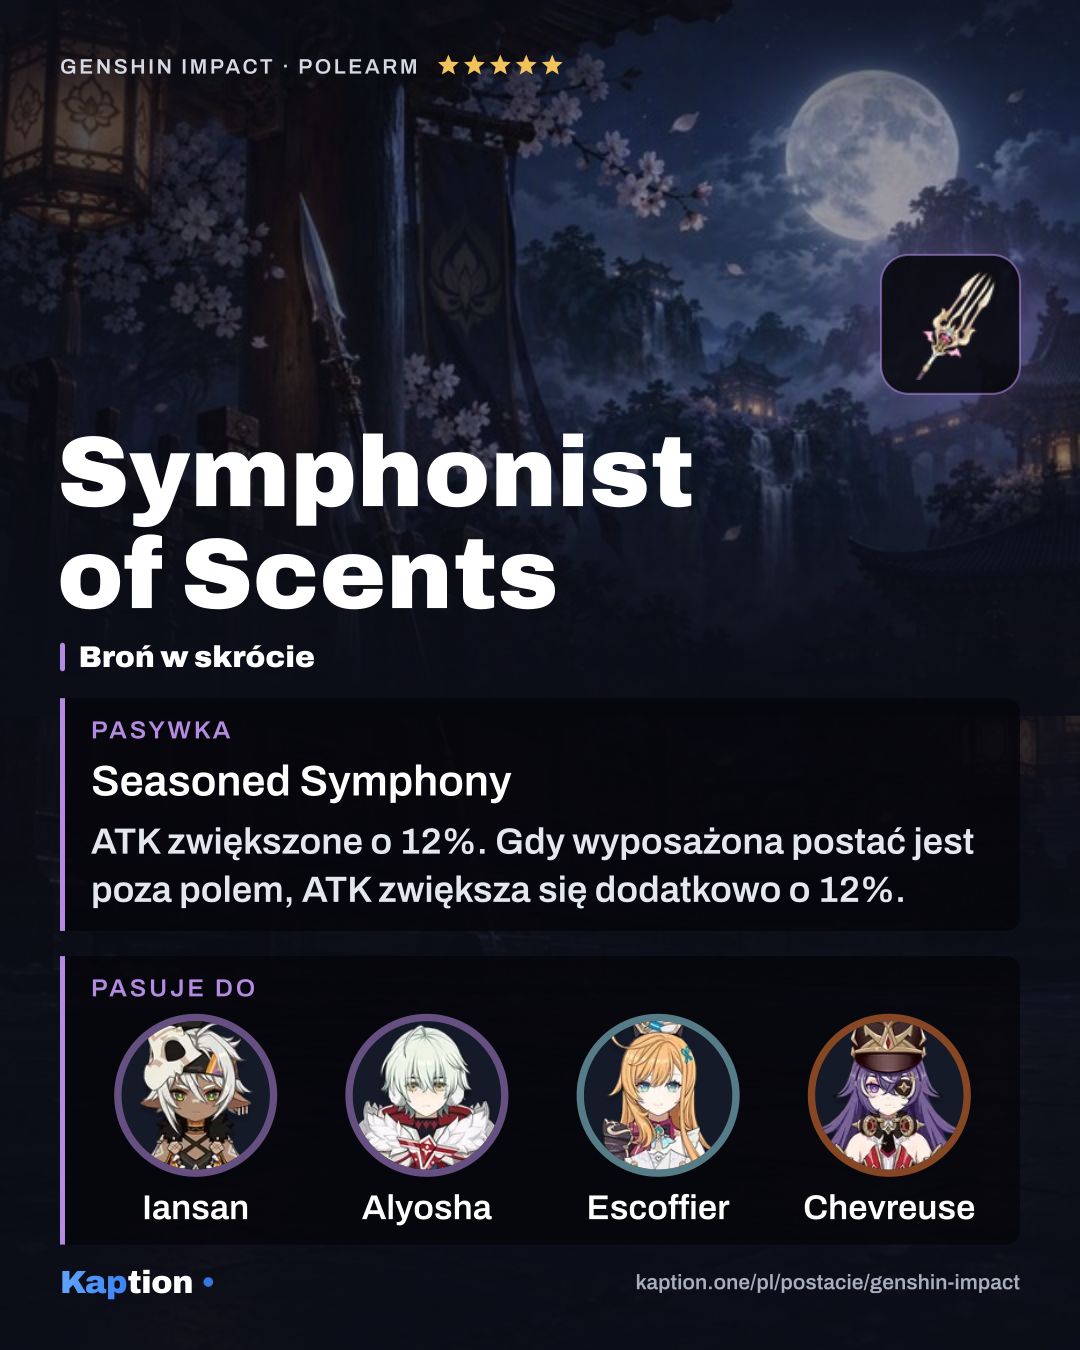
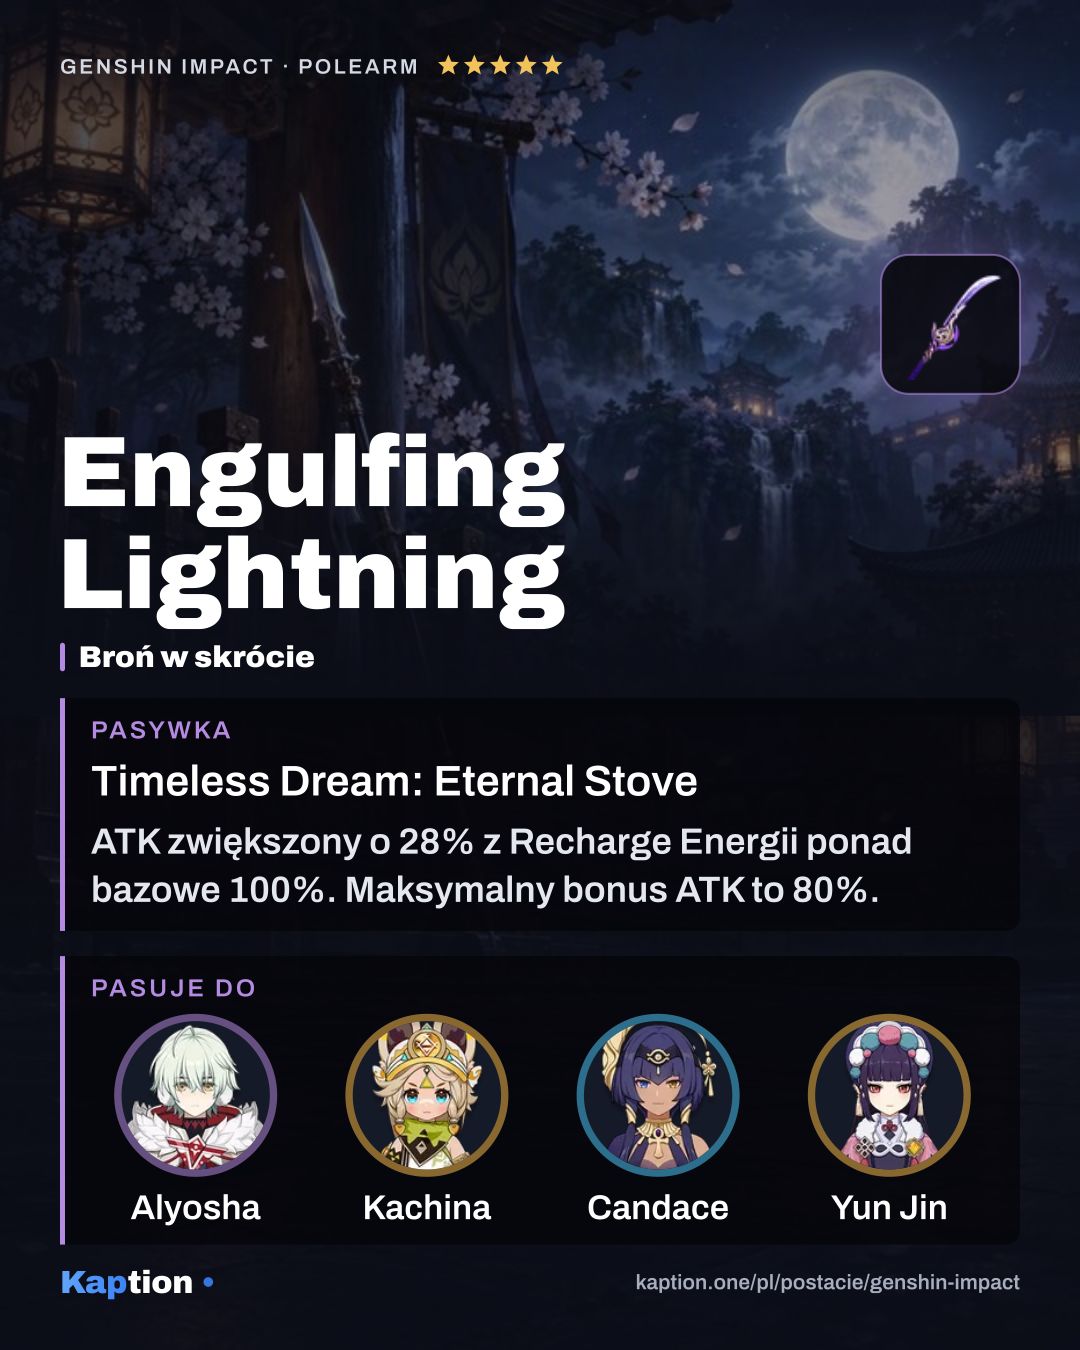
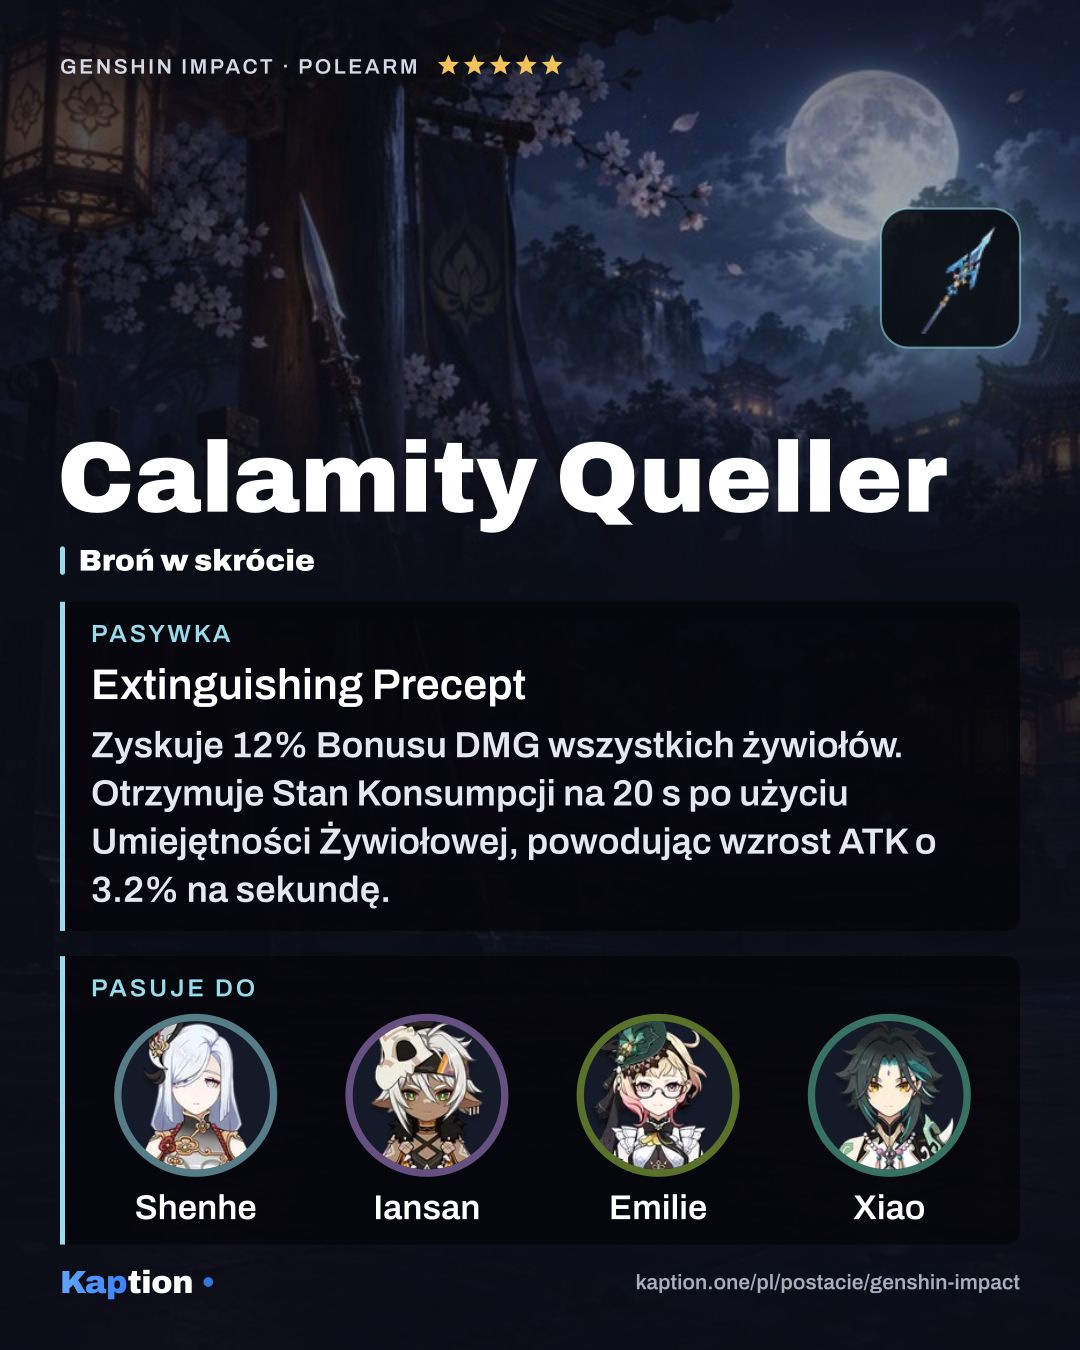
Symphonist of Scents is the first weapon choice: it gives ATK, more ATK off-field, and an ATK effect after healing. Engulfing Lightning turns Energy Recharge above the base 100% into ATK. Calamity Queller builds ATK after the Skill, with that increase doubled off-field. Favonius Lance is another option: CRIT Hits can generate Elemental Particles.
Leveling priority
For a support build, level The Three Principles of Power first because the Scale is the center of the build. Thunderbolt Rush is a reasonable second choice for its damage. Leave Weighted Spike (NA) until last if you mainly use the quick stomp to activate the passive rather than keeping Iansan on-field.
For ascension, collect Mora, Dracolite, Vajrada Amethyst Sliver, Vajrada Amethyst Fragment, Vajrada Amethyst Chunk, Vajrada Amethyst Gemstone and Ensnaring Gaze. You also need Sentry’s Wooden Whistle, Warrior’s Metal Whistle and Saurian-Crowned Warrior’s Golden Whistle.
Skills use Mora and the same three whistle materials, along with Teachings of Contention, Guide to Contention, Philosophies of Contention, Denial and Judgment, and Crown of Insight.
Constellations worth it
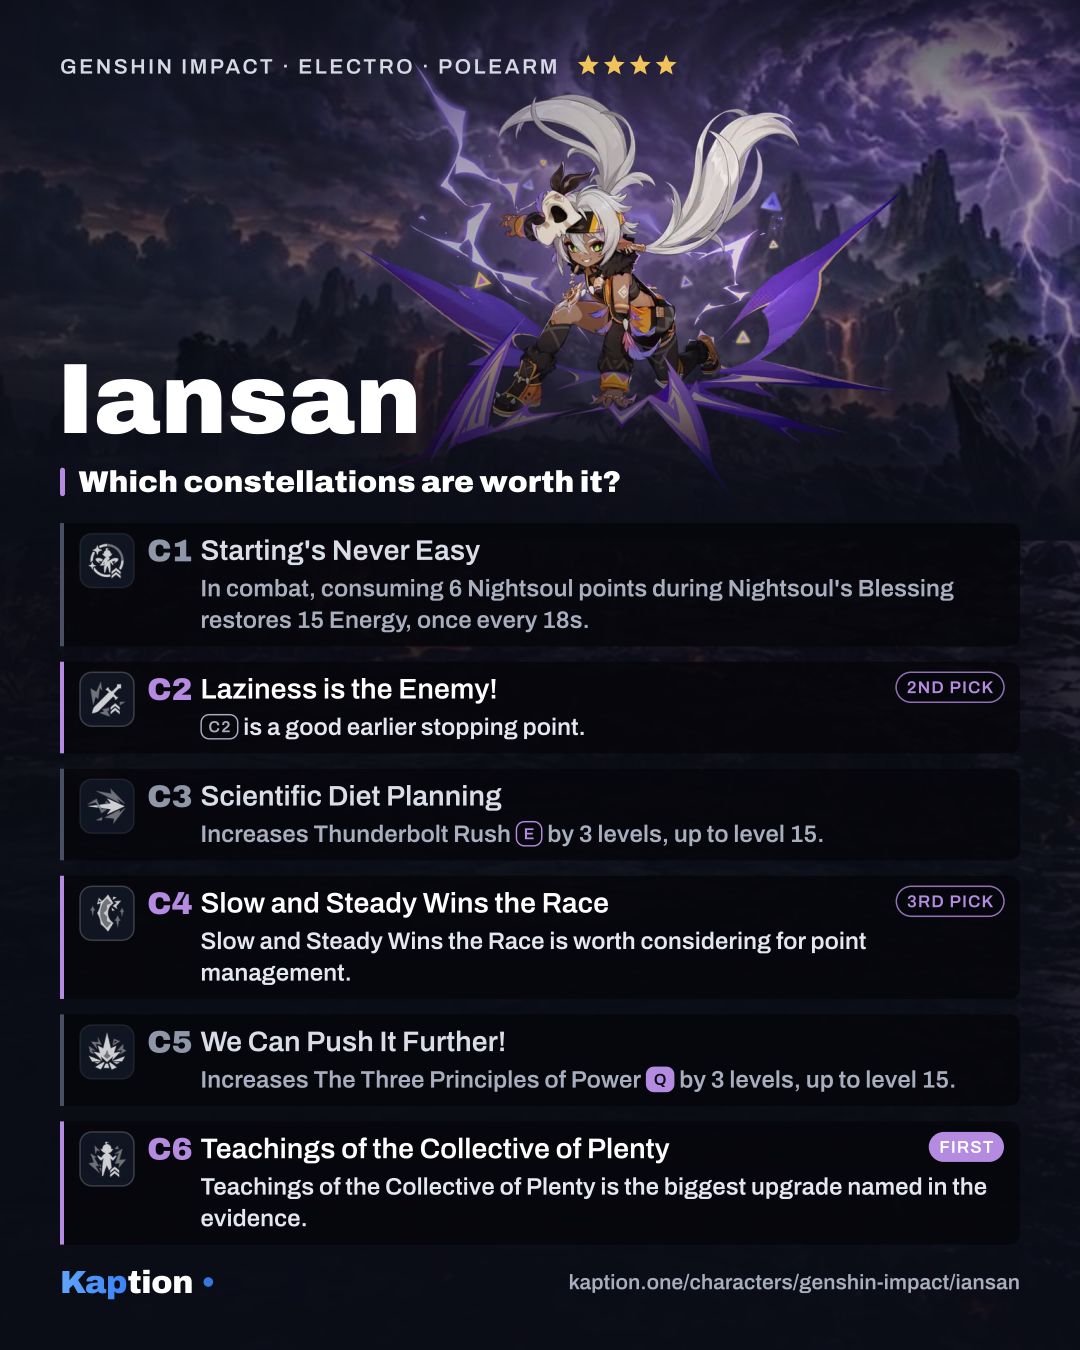
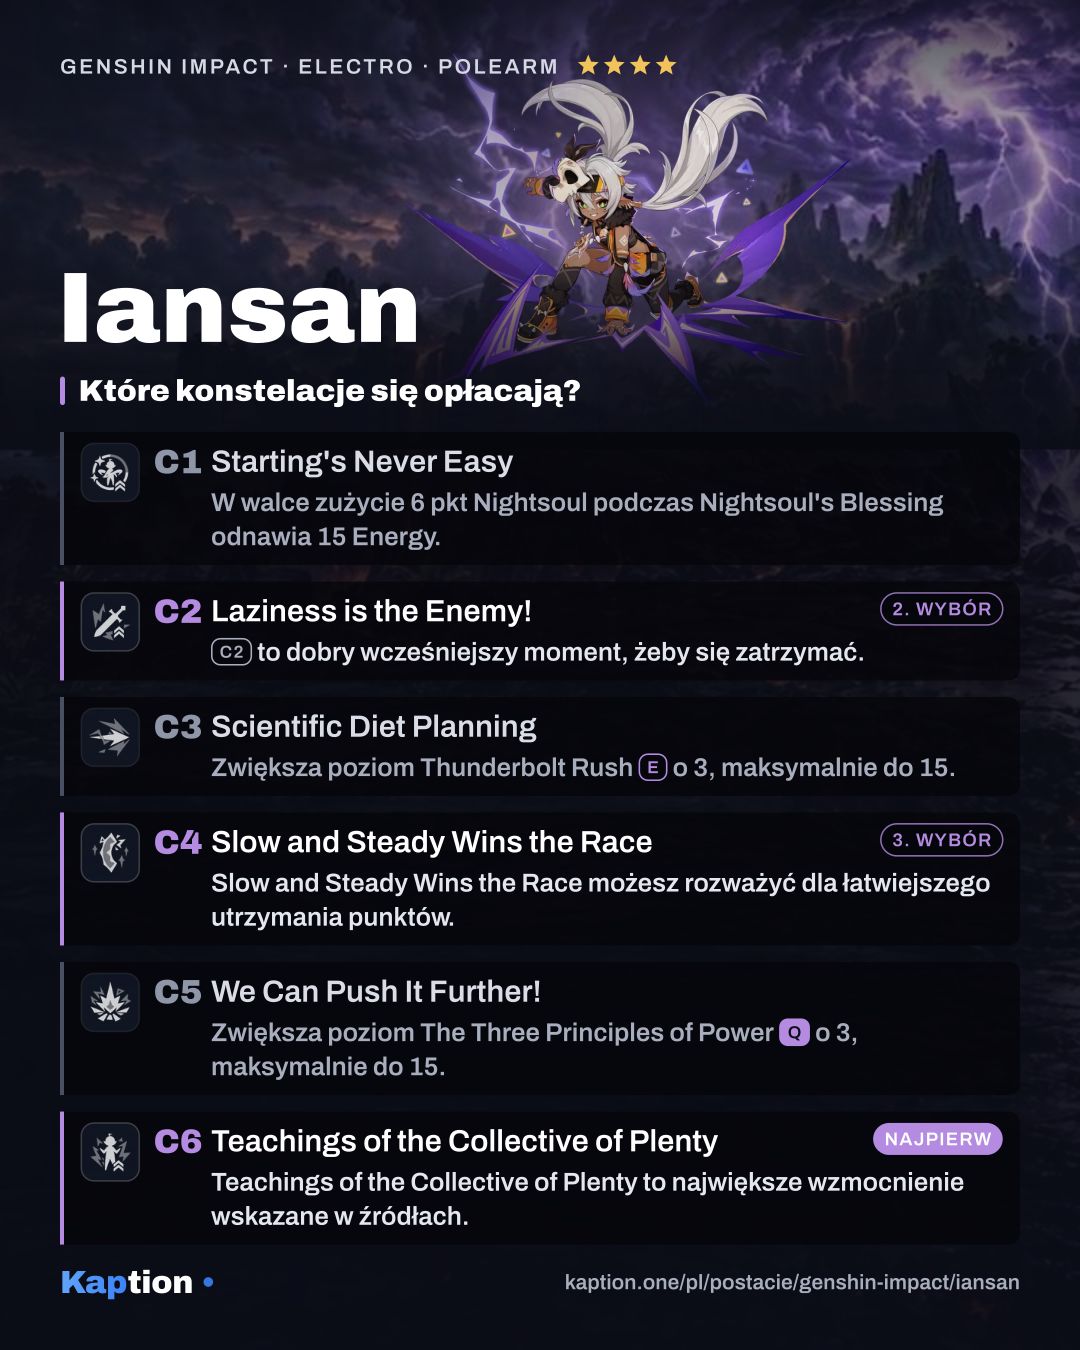
Teachings of the Collective of Plenty is the biggest upgrade named in the evidence. It extends the Scale by 3 seconds. When Iansan restores Nightsoul points and some overflow, the active character gains 25% DMG for 3 seconds.
Laziness is the Enemy! is a good earlier stopping point. Using the Burst grants Precise Movement for 15 seconds, and while Iansan is off-field with that effect active, the current character gains 30% ATK. You must have unlocked Enhanced Resistance Training for this effect.
Slow and Steady Wins the Race is worth considering for point management. While the Scale is present, another active character’s Burst gives Iansan two stacks that add 4 points each to later Scale restorations. It also carries 50% of any Scale restoration overflow into the next restoration.
Starting’s Never Easy (C1) helps with Energy in combat, restoring 15 Energy for every 6 Nightsoul points consumed, up to once every 18 seconds. Scientific Diet Planning only adds Skill levels, so you can stop at C2 if the later upgrades are not your goal. Reaching C6 requires the earlier constellations.
Common mistakes
Don’t skip the quick stomp after Thunderbolt Rush at C0. It needs to hit an opponent to activate Precise Movement, giving Iansan ATK and helping with point restoration. Also avoid using the Skill again while you want to keep the Scale: doing so ends Nightsoul’s Blessing.
Don’t stand still and expect the Scale to restore points through movement. Switch to another character and move, especially if Iansan is below the 42-point threshold. The Scale also disappears after 1 second outside combat.
Don’t build only ATK if you struggle to use the Burst regularly. Balance it with Energy Recharge, and add CRIT Rate when using Favonius Lance. Finally, don’t rely on Iansan as a constant team-wide healer: her healing needs the Nightsoul Burst effect and point restoration.